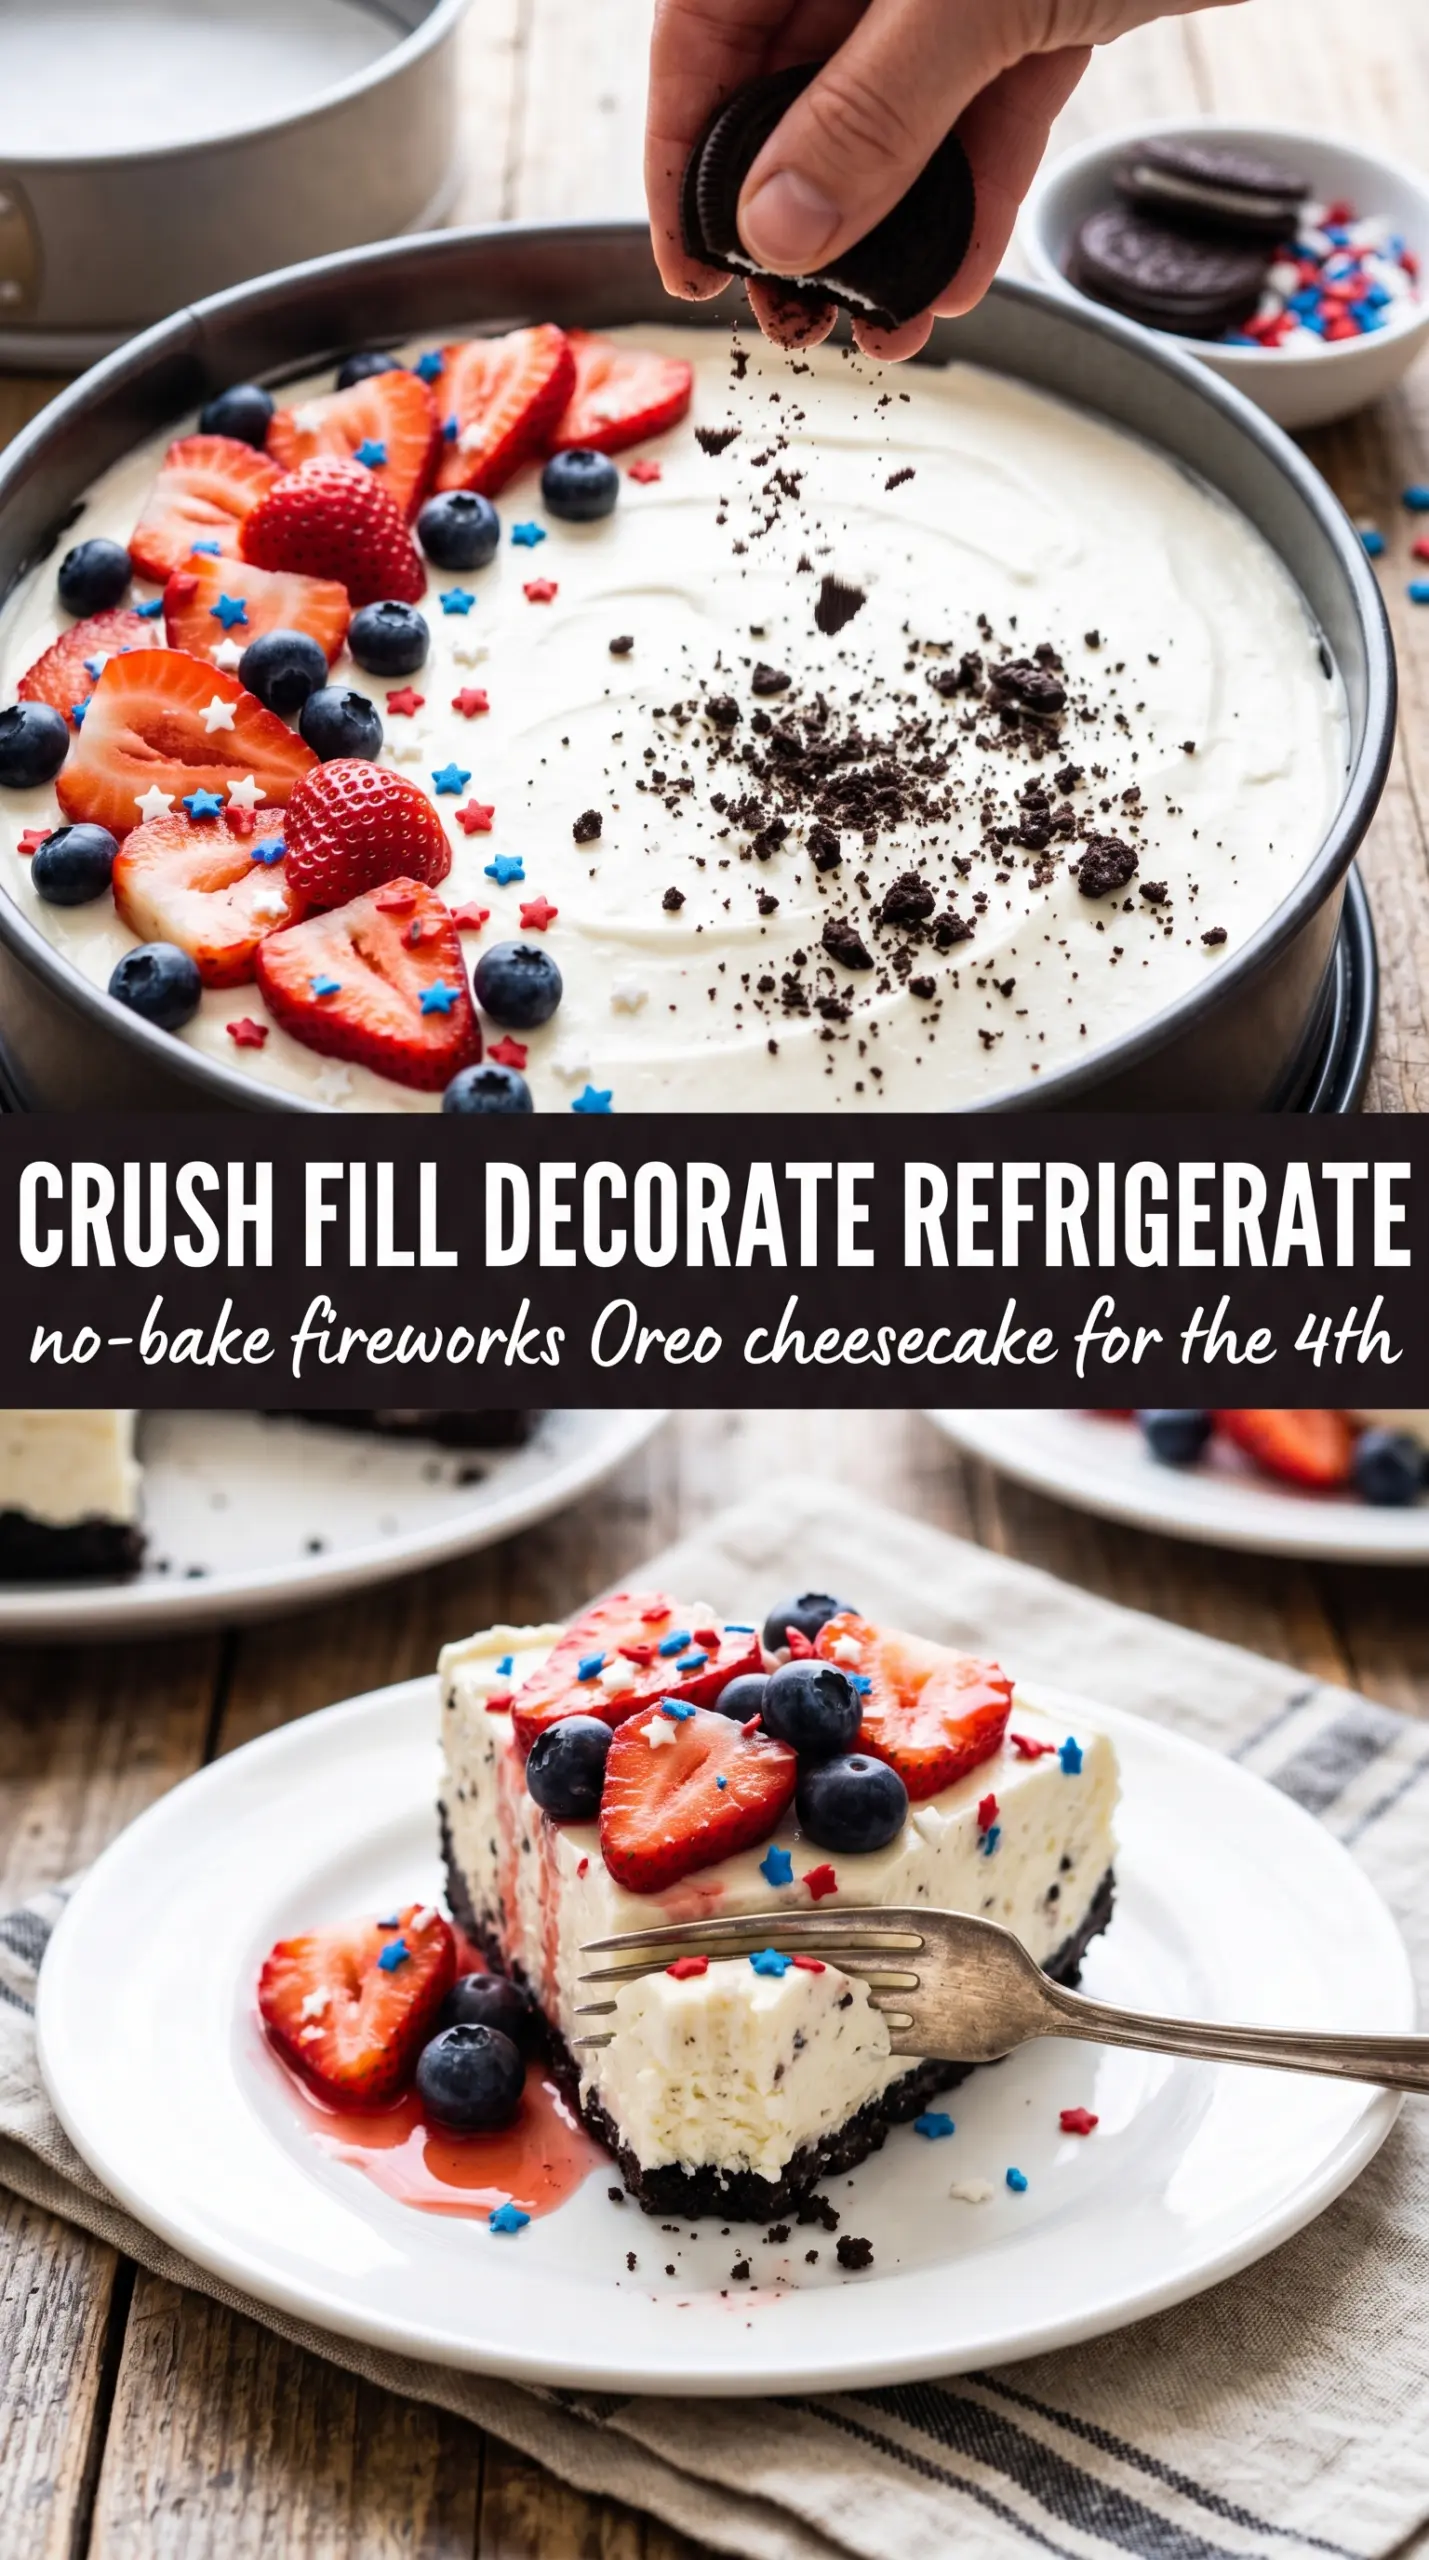
Every slice of this no-bake Fireworks Oreo cheesecake lands with the kind of contrast that gets people hovering near the dessert table. You get a dark, buttery Oreo crust at the bottom, a cloud-soft vanilla cheesecake filling in the middle, and that red, white, and blue finish on top that makes the whole thing look festive before the first bite even happens. It’s chilled, clean-cut, and rich without feeling heavy.
The filling works because the cream cheese gets beaten completely smooth before the whipped cream goes in. That step matters. If the base is lumpy, the whole cheesecake stays lumpy. The whipped cream is folded in for structure instead of eggs or baking, which keeps the texture light and sliceable after a good long chill. A springform pan helps the crust stay compact and the sides release neatly, and the Oreo crust firms up best when you press it in firmly enough that it feels almost packed.
Below, you’ll find the exact cues for a filling that sets properly, plus a few ways to swap the decorations without losing the fireworks look.
The crust held together perfectly and the filling set up overnight into clean slices. I loved that the Oreo flavor stayed front and center instead of tasting overly sweet.
Love the fireworks look on this Oreo cheesecake? Save it to Pinterest for a no-bake dessert that sets up creamy and slices clean.
The Chill Time Is What Gives This Cheesecake Its Sliceable Finish
No-bake cheesecake gets shaky when people rush the set. The filling can taste great and still slump on the plate if it hasn’t had enough time to chill all the way through. Six hours is the minimum here, and overnight is even better because the butter in the crust firms up, the whipped cream stabilizes, and the whole cake slices instead of smearing.
The other common failure is overmixing after the whipped cream goes in. You want volume, not deflation. Fold it in gently and stop as soon as the mixture looks uniform. If you beat it after that point, you knock out the air that gives this cheesecake its light texture.
What Each Ingredient Is Actually Doing in the Oreo Base and Filling
- Oreo cookies — These give the crust its flavor and structure at the same time. Regular Oreos work best because the filling in the cookie adds enough fat to help the crust hold together once the butter chills. You can use generic chocolate sandwich cookies, but the crust will taste a little less rich.
- Unsalted butter — This is what turns crumbs into a crust that cuts cleanly. Melt it fully, then mix until every crumb looks moistened, like damp sand. If the crust seems greasy, it usually means the ratio is off or the crumbs weren’t fine enough.
- Cream cheese — This is the backbone of the filling, and it has to be softened all the way. Cold cream cheese leaves tiny lumps that never disappear once the whipped cream is folded in. Full-fat cream cheese gives the best texture and the cleanest slice.
- Powdered sugar — It sweetens the filling without leaving it grainy. Granulated sugar won’t dissolve as smoothly in a no-bake filling, and that gritty texture shows up in the final slice.
- Heavy whipping cream — This creates the mousse-like texture and helps the cheesecake set without baking. Whip it to stiff peaks before folding it in. Half-and-half or light cream won’t hold enough air for this recipe.
- Vanilla extract — It softens the cocoa flavor and rounds out the filling. A good vanilla gives the cheesecake a more balanced taste, especially since the crust is bold and chocolatey.
- Sprinkles, crushed Oreos, and whipped cream — These are for the fireworks look, but they also add texture and keep the top from looking flat. Add them just before serving so the whipped cream stays fluffy and the cookie crumbs don’t turn damp.
Building the No-Bake Layers Without Losing the Texture
Pressing the Crust Until It Holds
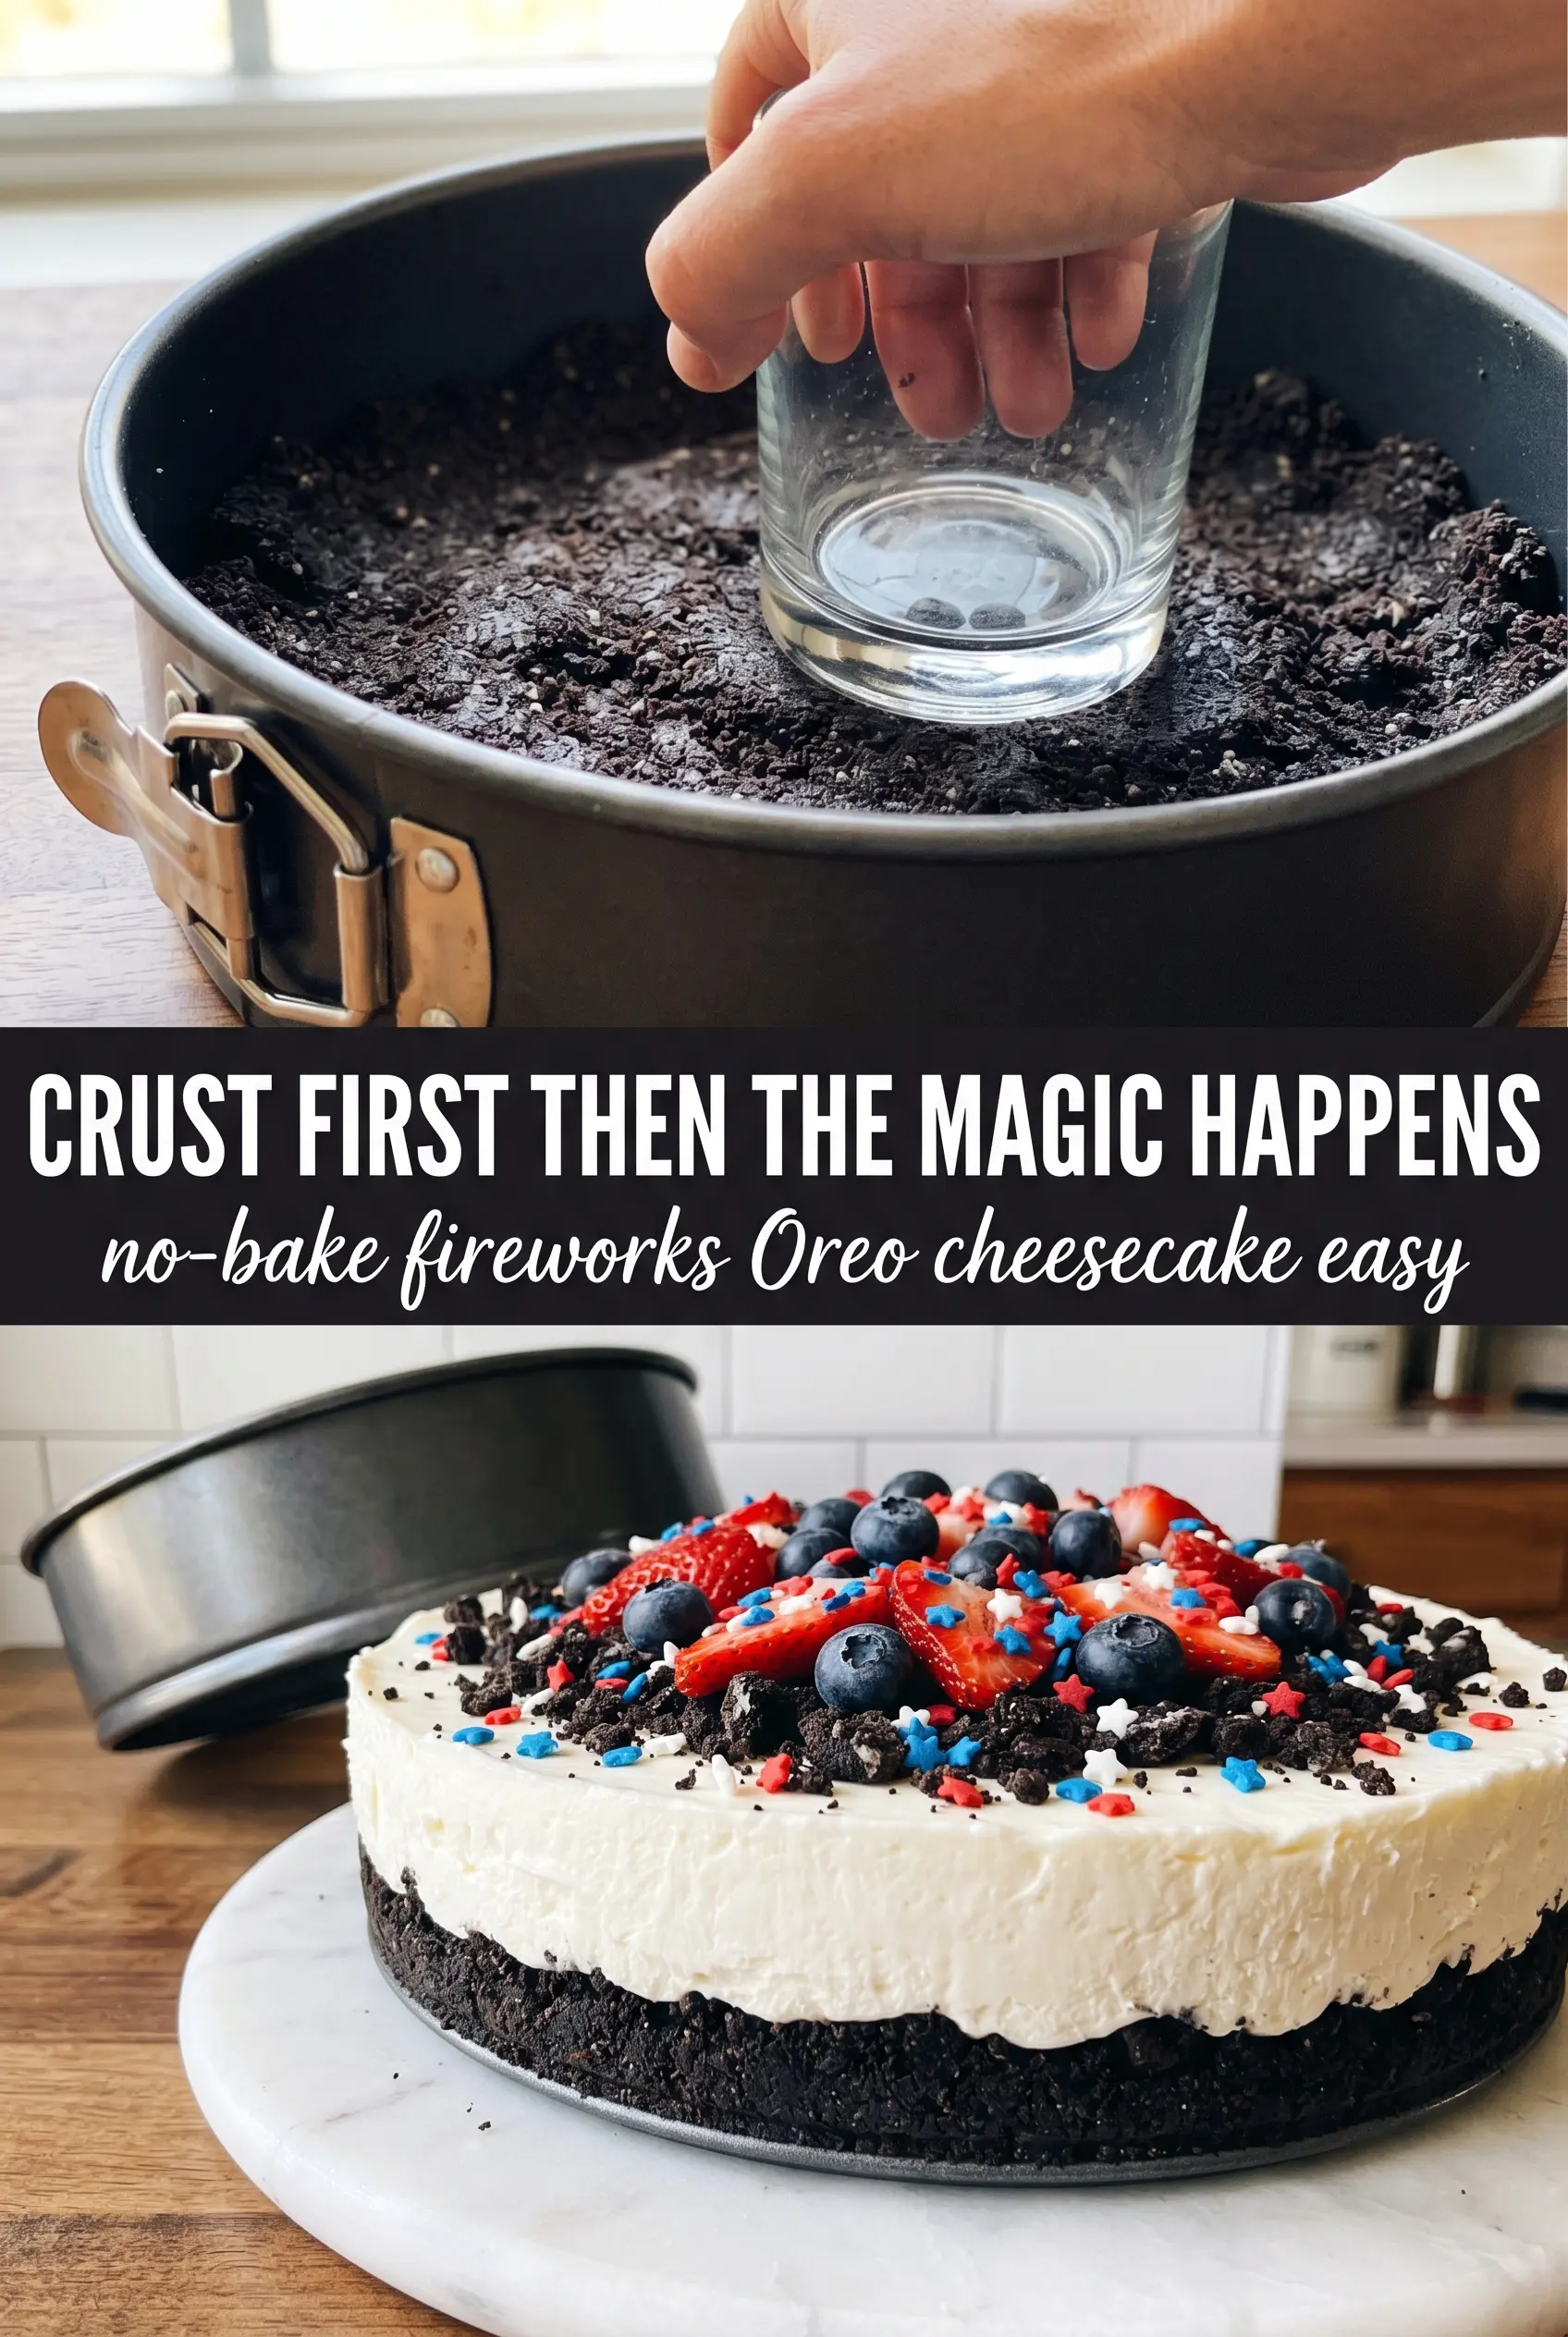
Mix the crushed Oreos with melted butter until every crumb is coated and the texture looks like wet sand. Dump it into a 9-inch springform pan and press it down firmly with the bottom of a glass or measuring cup. The crust should feel compact, not loose or sandy, because a weak base falls apart when you lift the first slice. Chill it while you make the filling so the butter starts to set.
Whipping the Filling for a Light Set
Beat the softened cream cheese, powdered sugar, and vanilla until the mixture is completely smooth and glossy. Scrape the bowl well; a hidden streak of cream cheese will show up later as a lump. In a separate bowl, whip the heavy cream to stiff peaks so it holds its shape when you lift the whisk. If the cream is soft, the cheesecake won’t set cleanly.
Folding and Chilling Without Deflating It
Add the whipped cream to the cream cheese mixture in two additions, folding gently from the bottom up. The mixture should look airy but still thick enough to mound. Pour it over the crust, smooth the top, and chill it covered for at least 6 hours. If you cut it too early, the center will slump and the slices won’t stay neat.
Finishing the Fireworks Look
Pipe the whipped cream around the edge once the cheesecake is fully set. Scatter the red and blue sprinkles across the center, then add crushed Oreos in the middle and around the edges for that burst effect. Put the decoration on right before serving so the whipped cream keeps its shape and the sprinkles stay bright.
How to Adapt the Fireworks Look Without Changing the Cheesecake
Dairy-Free Version
Use dairy-free cream cheese and a whipping-style coconut cream instead of heavy cream. The texture will be a little softer and the flavor will pick up a faint coconut note, but it still chills into a neat no-bake slice if you give it the full resting time.
Gluten-Free Swirl Top
Use certified gluten-free chocolate sandwich cookies for the crust and topping. The method stays the same, but the cookie flavor can be slightly less sweet depending on the brand, so the vanilla in the filling matters a little more.
Make It Ahead for a Party
This cheesecake is actually better made the day before. Chill it overnight, then decorate it a few hours before serving so the piped cream stays fluffy and the sprinkles don’t bleed into the topping.
Storage and Reheating
- Refrigerator: Store covered for up to 5 days. The crust softens a little over time, but the filling stays creamy.
- Freezer: Freeze the cheesecake without the whipped cream decoration for up to 1 month. Wrap it tightly, then thaw overnight in the refrigerator before decorating.
- Reheating: This dessert isn’t meant to be reheated. Serve it cold straight from the fridge for the cleanest slices and the best texture.
Questions I Get Asked About This Recipe
No-Bake Fireworks Oreo Cheesecake
Ingredients
Equipment
Method
- Mix the finely crushed Oreo cookies with the melted unsalted butter until the mixture resembles wet sand. Press the crust firmly into the bottom of a 9-inch springform pan, then refrigerate for 30 minutes.
- Beat the softened cream cheese, powdered sugar, and vanilla extract until completely smooth with no lumps. Scrape the bowl as needed for an even texture.
- Whip the heavy whipping cream to stiff peaks in a separate bowl. Fold it gently into the cream cheese mixture in two additions to keep the filling airy.
- Pour the filling over the chilled crust and smooth the top with an offset spatula. Tap the pan lightly to level the surface.
- Cover the cheesecake and refrigerate for at least 6 hours or overnight until fully set. Keep it covered to prevent odors from soaking in.
- Before serving, pipe whipped cream around the edge to form a starburst pattern. Scatter red and blue star sprinkles across the center and dust with crushed Oreos in a fireworks burst pattern.