These red, white, and blue Jell-O shots set up with clean, distinct layers and a bright, party-ready look that holds its shape when you pick them up. The texture is firm enough to stack flavor without turning rubbery, and the sweetened condensed milk layer gives the middle stripe a creamy bite that keeps the whole thing from tasting one-note.
The trick is patience between layers. Each color needs to be fully set before the next goes on, and the liquid for the next layer has to cool down before it hits the cup. That keeps the layers from bleeding together and gives you those sharp patriotic stripes people notice first.
Below, I’ll show you how to keep the layers separate, what happens if your vodka ratio is off, and how to adapt these for different colors or flavors without losing that clean finish.
The layers set up cleanly and the white middle stayed creamy instead of turning cloudy. I made them the night before and they still looked sharp the next day.
These red, white, and blue Jell-O shots are worth making when you want clean layers and a patriotic look without a lot of fuss.
The Layer Line That Keeps These Shots from Bleeding Together
Layered Jell-O shots fail for one of two reasons: the first layer isn’t fully set, or the next layer goes on while it’s still warm enough to melt the surface. Either mistake gives you fuzzy stripes instead of crisp bands. With these, each pour needs to be cool and each layer needs to be firm to the touch before you move on.
The other thing people miss is volume. A shot cup only has so much room, and if you pour too much of the first layer, you won’t leave enough space for the middle and top. The cleanest version comes from dividing the liquid evenly and using a gentle pour or a spoon to control where it lands.
- Letting the red layer set completely keeps the white layer from sinking through it. If the surface still wiggles like syrup, wait longer.
- Cooling the blue mixture before pouring protects the white layer. Warm liquid is the fastest way to blur the finish.
- Adding the vodka after dissolving the gelatin preserves the set. Too much heat can dull the alcohol and weaken the structure.
- Spoon-pouring the middle layer gives you more control than tipping the cup straight from a measuring jug.
What Each Ingredient Is Doing in the Three-Layer Build
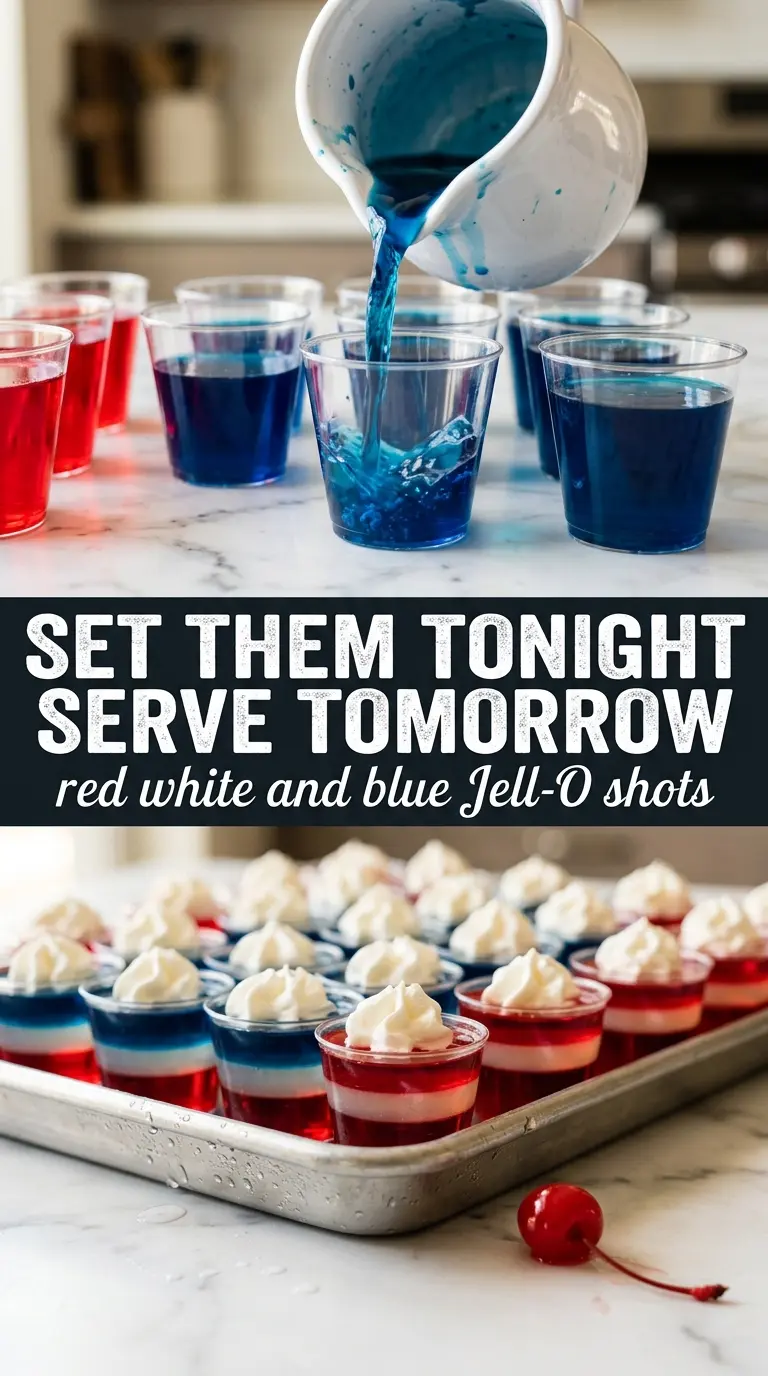
The cherry or strawberry Jell-O gives the red layer its color and firmness. Berry blue does the same job on top, and either one works as long as you use the full box and let it dissolve completely in boiling water. Don’t swap in sugar-free versions unless you know how they set, because the texture can be a little different and usually comes out less glossy.
Unflavored gelatin is what makes the white layer hold its shape instead of turning into a cloudy milk mixture. Sweetened condensed milk brings sweetness and that soft, opaque finish, while the cold water helps it spread without overheating the red layer underneath. The vodka is best used cold, and that matters more than people think; warm alcohol can slow setting and make the layers softer than you want.
If you want a nonalcoholic version, replace the vodka with cold water or chilled white grape juice. The cups will still set nicely, but the finished shots will taste more like classic layered gelatin cups and less like a cocktail.
Building the Cups in the Right Order
Starting with the Red Base
Dissolve the red Jell-O in boiling water until every grain is gone, then stir in the cold vodka and pour it into the cups to about one-third full. The mixture should be smooth and clear, with no granules at the bottom of the bowl. If you rush and pour it while it’s still steaming, the next layer will have trouble holding its edge.
Making the Creamy Middle
Mix the unflavored gelatin into the boiling water with the sweetened condensed milk until it’s fully dissolved, then let it cool slightly before adding the cold water. This middle layer should be warm, not hot, when it goes over the red. Spoon it gently over the back of a spoon or down the side of the cup so it doesn’t punch through the set layer below.
Finishing with the Blue Top
Dissolve the blue Jell-O in boiling water, stir well, and add the cold vodka before letting it come down to room temperature. Pour it only when the white layer is firm. A slow pour matters here; if you dump it in too fast, the blue can tunnel through and create marbled streaks instead of a clean top band.
Chilling Until the Centers Are Set
Give the finished cups at least an hour after the final layer goes on, and longer if your refrigerator runs warm. The tops should no longer slosh when you tilt the tray. If they still move like liquid in the center, they need more time or the layers will slide apart when you serve them.
How to Adapt These Layered Jell-O Shots for Different Crowds
Make them nonalcoholic
Swap the vodka for cold water or chilled white grape juice. The texture stays set, but the flavor becomes sweeter and more kid-friendly, which works well for a mixed-age gathering.
Use a different color theme
Any three colors will work as long as you keep one creamy or opaque layer in the middle for contrast. The technique stays the same, but the final look changes from patriotic to whatever party theme you need.
Make them stronger or lighter
You can nudge the vodka up a little for a firmer cocktail bite, but don’t push it too far or the shots won’t set cleanly. If you want a milder version, replace part of the vodka with cold water so the layers stay stable and the flavor stays balanced.
Storage and Reheating
- Refrigerator: Store covered for up to 3 days. The layers stay neat, though the tops can lose a little shine after the first day.
- Freezer: Don’t freeze these. The texture turns icy and the layers can separate when they thaw.
- Reheating: Not applicable. Serve them cold straight from the refrigerator; letting them sit at room temperature too long softens the structure and makes the layers slump.
Answers to the Questions Worth Asking
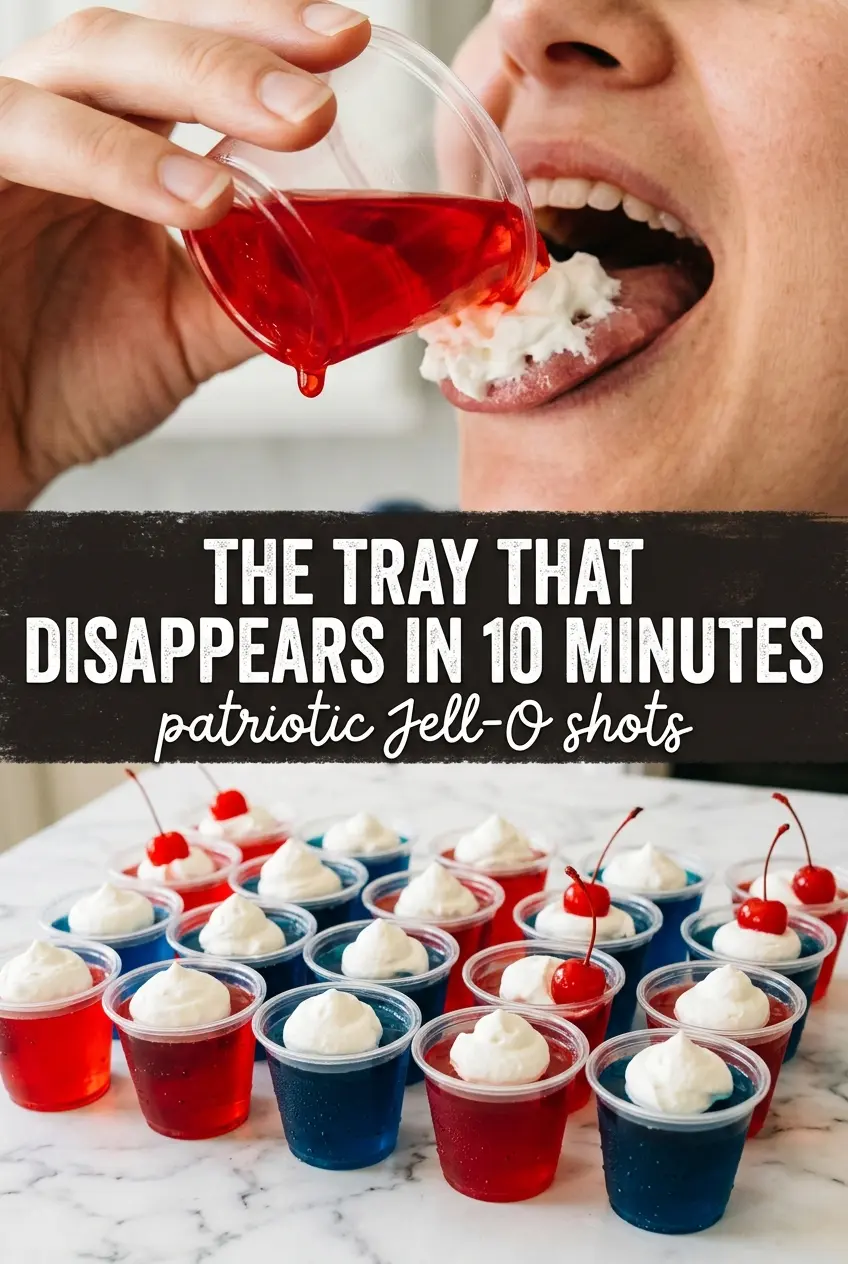
Jell-O Shots (Red, White, and Blue)
Ingredients
Equipment
Method
- Dissolve the cherry or strawberry Jell-O in 1 cup boiling water, stirring for 2 minutes until fully dissolved.
- Mix in 1/2 cup cold vodka and pour into shot cups to fill one-third of the way.
- Refrigerate for 45 minutes until fully set, with the top appearing firm and slightly glossy.
- Combine sweetened condensed milk, 1 cup boiling water, and unflavored gelatin, stirring until dissolved.
- Cool slightly, then stir in 1/2 cup cold water for a pourable mixture.
- Spoon gently over the set red layer, keeping the layers distinct.
- Refrigerate for another 45 minutes until the white layer is set and holds its shape.
- Dissolve the berry blue Jell-O in 1 cup boiling water, stirring for 2 minutes until fully dissolved.
- Mix in 1/2 cup cold vodka, then cool to room temperature to prevent disturbing the layers.
- Gently pour over the white layer until cups are filled to your preferred level.
- Refrigerate for at least 1 hour until fully set, then serve cold with clear, jiggly layers.