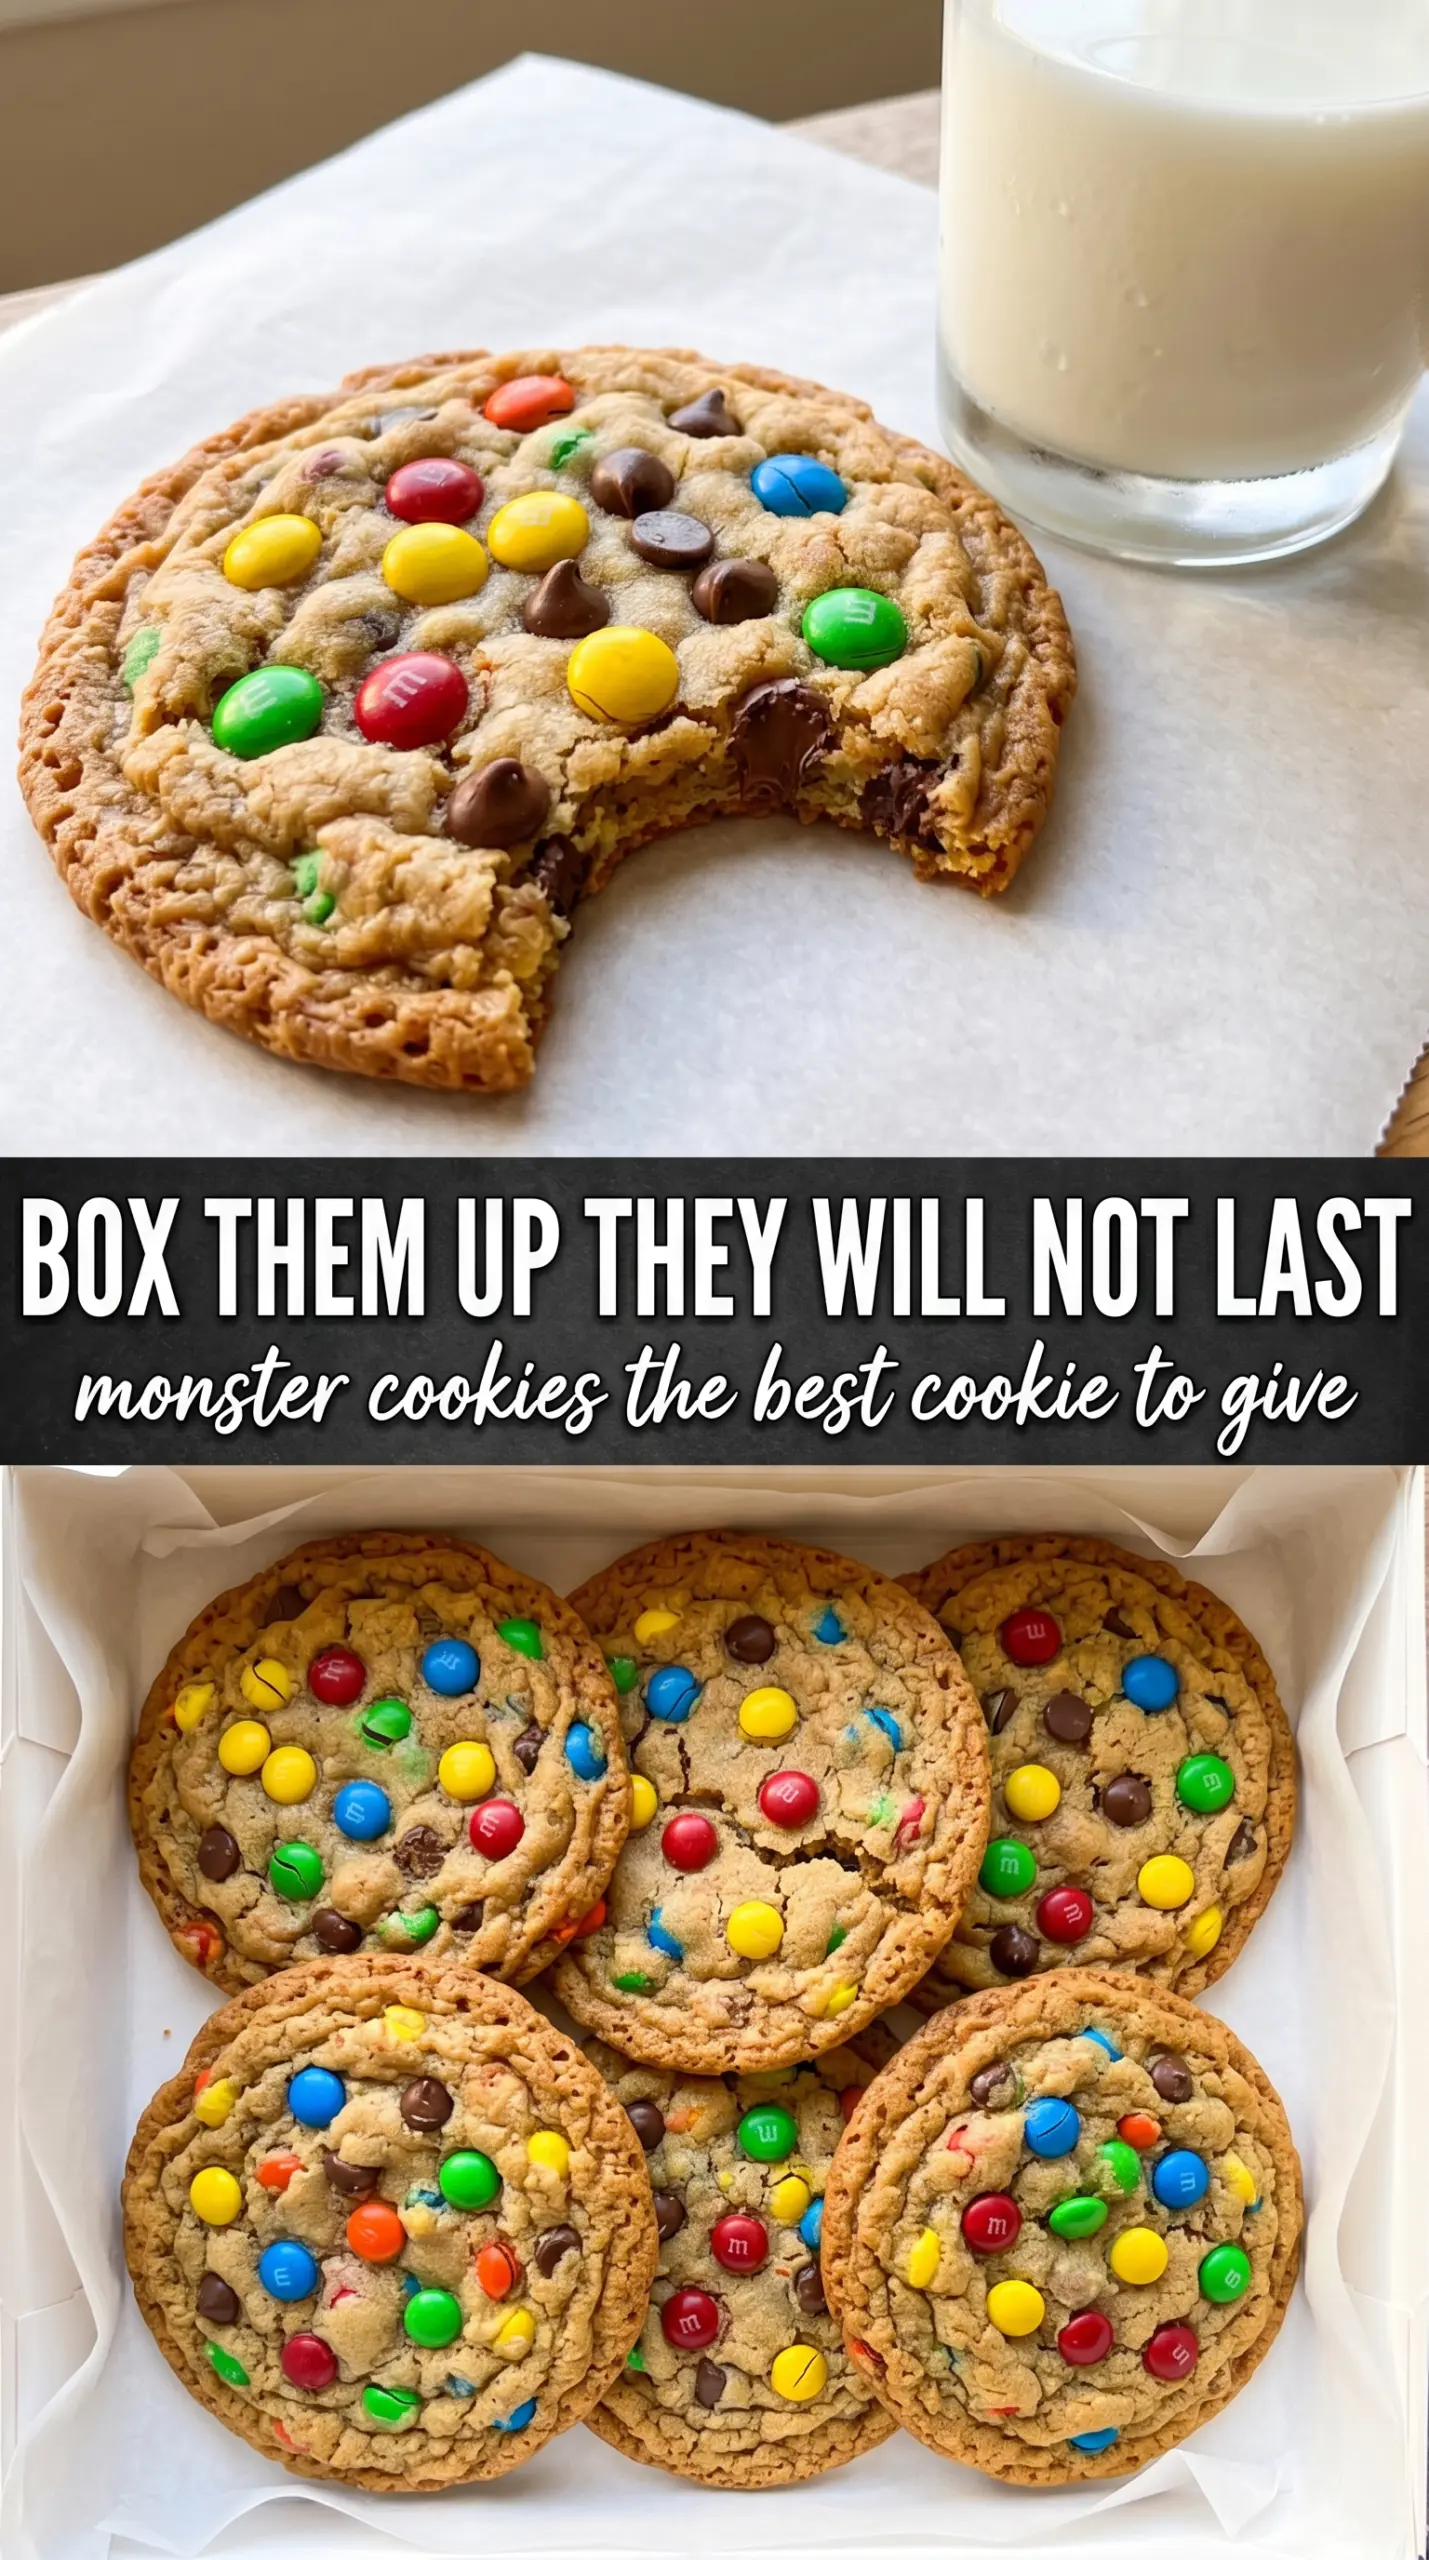
Monster cookies earn their spot in the rotation because they deliver the kind of thick, chewy bite that disappears fast from a cooling rack. The edges bake up golden and set, while the centers stay soft enough to feel almost underbaked at first glance. That contrast is the whole point here. You get peanut butter, oats, chocolate chips, and M&Ms in every bite, so there’s no thin, crisp cookie hiding behind the mix-ins.
This version works because the dough skips flour entirely and leans on peanut butter and oats for structure. The peanut butter brings fat and body, while the quick oats hold everything together without making the cookies dry or cakey. A short bake is the other key piece. Pull them when the centers still look a little soft, then let them finish setting on the pan so they stay chewy instead of turning crumbly.
Below, I’ll walk through the small details that matter most, including how to keep the cookies thick, how to mix in the candy without crushing it, and what to do if you want to swap the colors for a different holiday or just use what’s already in the pantry.
These baked up thick and chewy with the perfect soft center, and the M&Ms stayed colorful instead of melting into the dough. I pulled them at 11 minutes like you said and they set up perfectly on the pan.
Save these chewy peanut butter Monster Cookies for the days when you want thick oatmeal cookies loaded with M&Ms and chocolate chips.
The Trick to Keeping Monster Cookies Thick Instead of Spreading
Monster cookies can spread more than people expect because there’s no flour to slow the dough down. The fix is in the balance: enough oats to give the cookies structure, enough peanut butter to hold them together, and no extra mixing once the add-ins go in. If the dough gets overworked, the oats start to break down and the cookies bake up flatter.
The other place these go wrong is the bake time. Pulling them when they look fully done on top is too late; by then, they’ll cool into a firmer, drier cookie. The centers should still look a little soft and puffy when they come out. That carryover heat on the baking sheet finishes the job.
- Quick-cooking oats — These give the dough the right texture without leaving large, tough oat flakes in every bite. Old-fashioned oats work in a pinch, but the cookies will be chunkier and a little less cohesive.
- Creamy peanut butter — This is the backbone of the dough, so use a standard shelf-stable peanut butter, not the natural kind that separates in the jar. Natural peanut butter can make the dough oily and harder to portion evenly.
- Brown sugar — It adds moisture and that deeper, caramel note that keeps the cookies chewy. White sugar alone makes the texture a little drier and more crisp.
- M&Ms and chocolate chips — Folding them in at the end keeps the candy from breaking apart. If you stir too aggressively, the colors smear and the dough gets streaked instead of dotted.
What Each Ingredient Is Actually Doing in This Recipe
- Primary ingredient (the star) — Quality matters most. Choose the best you can find.
- Cooking medium (oil, butter, or broth) — This carries flavors and prevents dryness.
- Seasonings (salt, pepper, spices, herbs) — Layer flavors so nothing overpowers. Build depth gradually.
- Aromatics (garlic, onion, herbs) — Cook with fat to bloom flavors. Become the foundation.
- Supporting ingredients — Complement the main ingredient without overpowering it.
- Sauce or liquid (if applicable) — Brings flavors together. Balance richness with acid.
- Acid (lemon, vinegar, wine, or other) — Brightens and prevents flat-tasting results.
- Final finish (garnish, glaze, or sauce) — Prevents one-dimensional taste and adds visual appeal.
What Each Ingredient Is Doing in These Cookies
The ingredient list looks straightforward, but each piece has a job. Peanut butter replaces the usual butter-and-flour structure, eggs bind the dough, and oats act like the framework that keeps everything from turning into a puddle on the pan. The candies are there for texture and contrast, but the dough underneath needs to be sturdy enough to carry them.
If you want the best result, use room-temperature eggs so they mix in smoothly and don’t seize the peanut butter. The vanilla won’t read as a separate flavor, but it rounds out the peanut butter and chocolate so the cookies taste fuller. Mini chocolate chips are worth keeping in the mix if you have them, because they spread the chocolate better through each cookie instead of leaving all the chocolate in big pockets.
Building the Dough and Baking Until the Centers Stay Soft
Mix the Base Until It Looks Even, Not Fluffy
Beat the peanut butter with both sugars just until the mixture looks uniform and thick. You’re not trying to whip air into it like cake batter. Once the eggs, vanilla, and baking soda go in, the dough should look glossy and smooth. If it looks separated, keep mixing for a few more seconds before adding the oats.
Fold in the Oats and Candy Without Beating Them Up
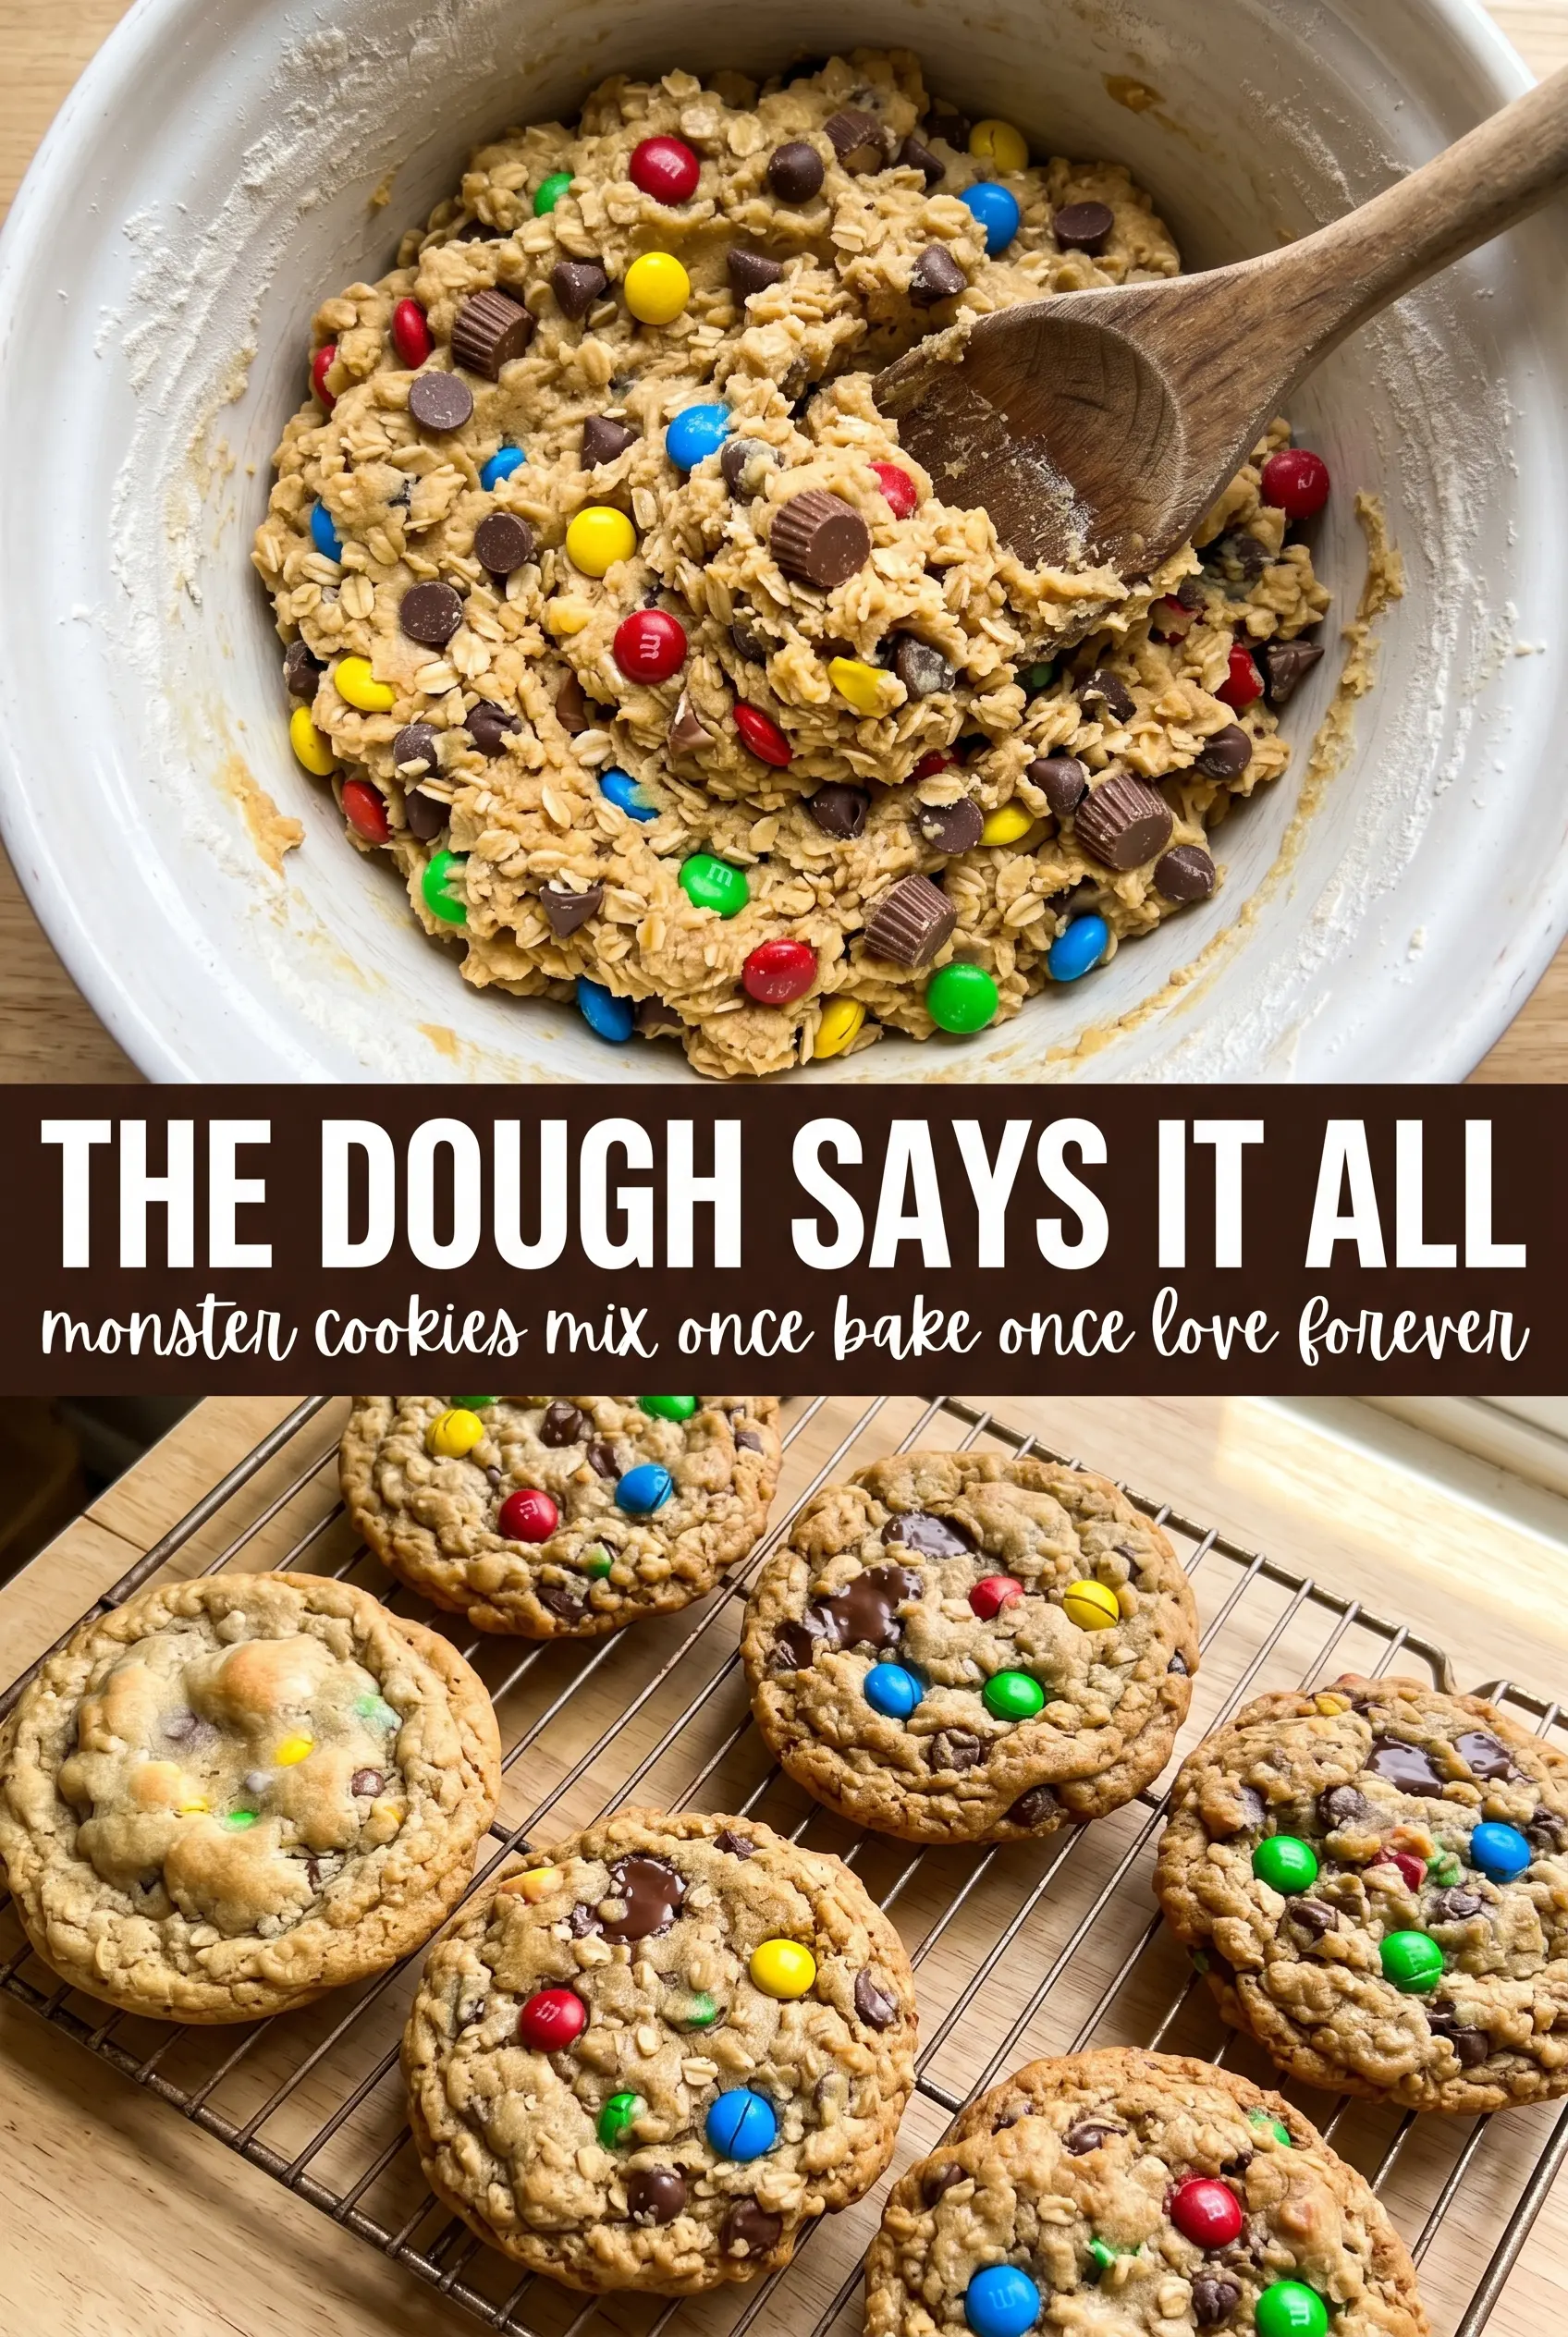
Stir in the oats until every bit of dough is coated, then fold in the M&Ms and chocolate chips with a spoon or spatula. Stop as soon as you don’t see dry oats anymore. Overmixing at this point can make the dough tighter and crush the candies, which gives you muddy-looking cookies instead of bright, chunky ones.
Shape for Thickness, Then Bake Just Until Set
Scoop the dough into 2-tablespoon portions and flatten each one slightly with your palm. These cookies won’t spread like a classic butter cookie, so that little press helps them bake evenly. They’re done when the edges look set and lightly golden, but the centers still look soft and a touch underdone. Let them sit on the baking sheet for 5 minutes before moving them; if you try to lift them too soon, they can break while they’re still fragile.
Three Ways to Work with the Same Monster Cookie Dough
Gluten-Free by Design
These are naturally gluten-free as long as you use oats that are certified gluten-free. The texture stays chewy and hearty, which is one reason monster cookies are such a reliable gluten-free dessert. Just check your candy labels too, since some seasonal M&Ms or chocolate chips may be processed differently.
Different Candy, Same Cookie
Swap the red, white, and blue M&Ms for any color mix that fits the occasion, or use chopped peanut butter cups for a richer, more candy-bar style cookie. The dough can handle sturdy mix-ins, but very soft fillings can melt into the dough and blur the texture.
Lower-Sugar Version
You can reduce the M&Ms slightly and lean harder on chocolate chips for a less candy-heavy cookie. The texture will still be chewy, but the cookies lose some of that classic colorful crunch. I wouldn’t cut the sugar in the dough itself much more than that, or the cookies start tasting flat and baking up drier.
Storage and Reheating
- Refrigerator: Store in an airtight container for up to 5 days. They stay chewy, but the oats will firm up a bit after the first day.
- Freezer: Freeze baked cookies for up to 2 months, or freeze portioned dough balls and bake from frozen with 1 to 2 extra minutes.
- Reheating: Warm a cookie in the microwave for 8 to 10 seconds if you want the chocolate soft again. Don’t overheat it or the peanut butter texture turns greasy and the edges get hard.
Questions I Get Asked About This Recipe
Monster Cookies
Ingredients
Equipment
Method
- Preheat the oven to 350°F and line two baking sheets with parchment paper.
- Beat peanut butter, brown sugar, and granulated sugar together in a large bowl until combined.
- Add eggs, vanilla, and baking soda, then mix until smooth.
- Stir in oats until fully incorporated.
- Fold in M&Ms and chocolate chips until evenly distributed.
- Scoop dough into 2-tablespoon balls and place 2 inches apart on the prepared baking sheets.
- Flatten each dough ball slightly with your palm.
- Bake for 10–12 minutes at 350°F until edges are set but centers still look slightly underdone, with golden edges and a soft center.
- Let the cookies cool on the baking sheet for 5 minutes.
- Transfer to a wire rack so they firm up as they cool.