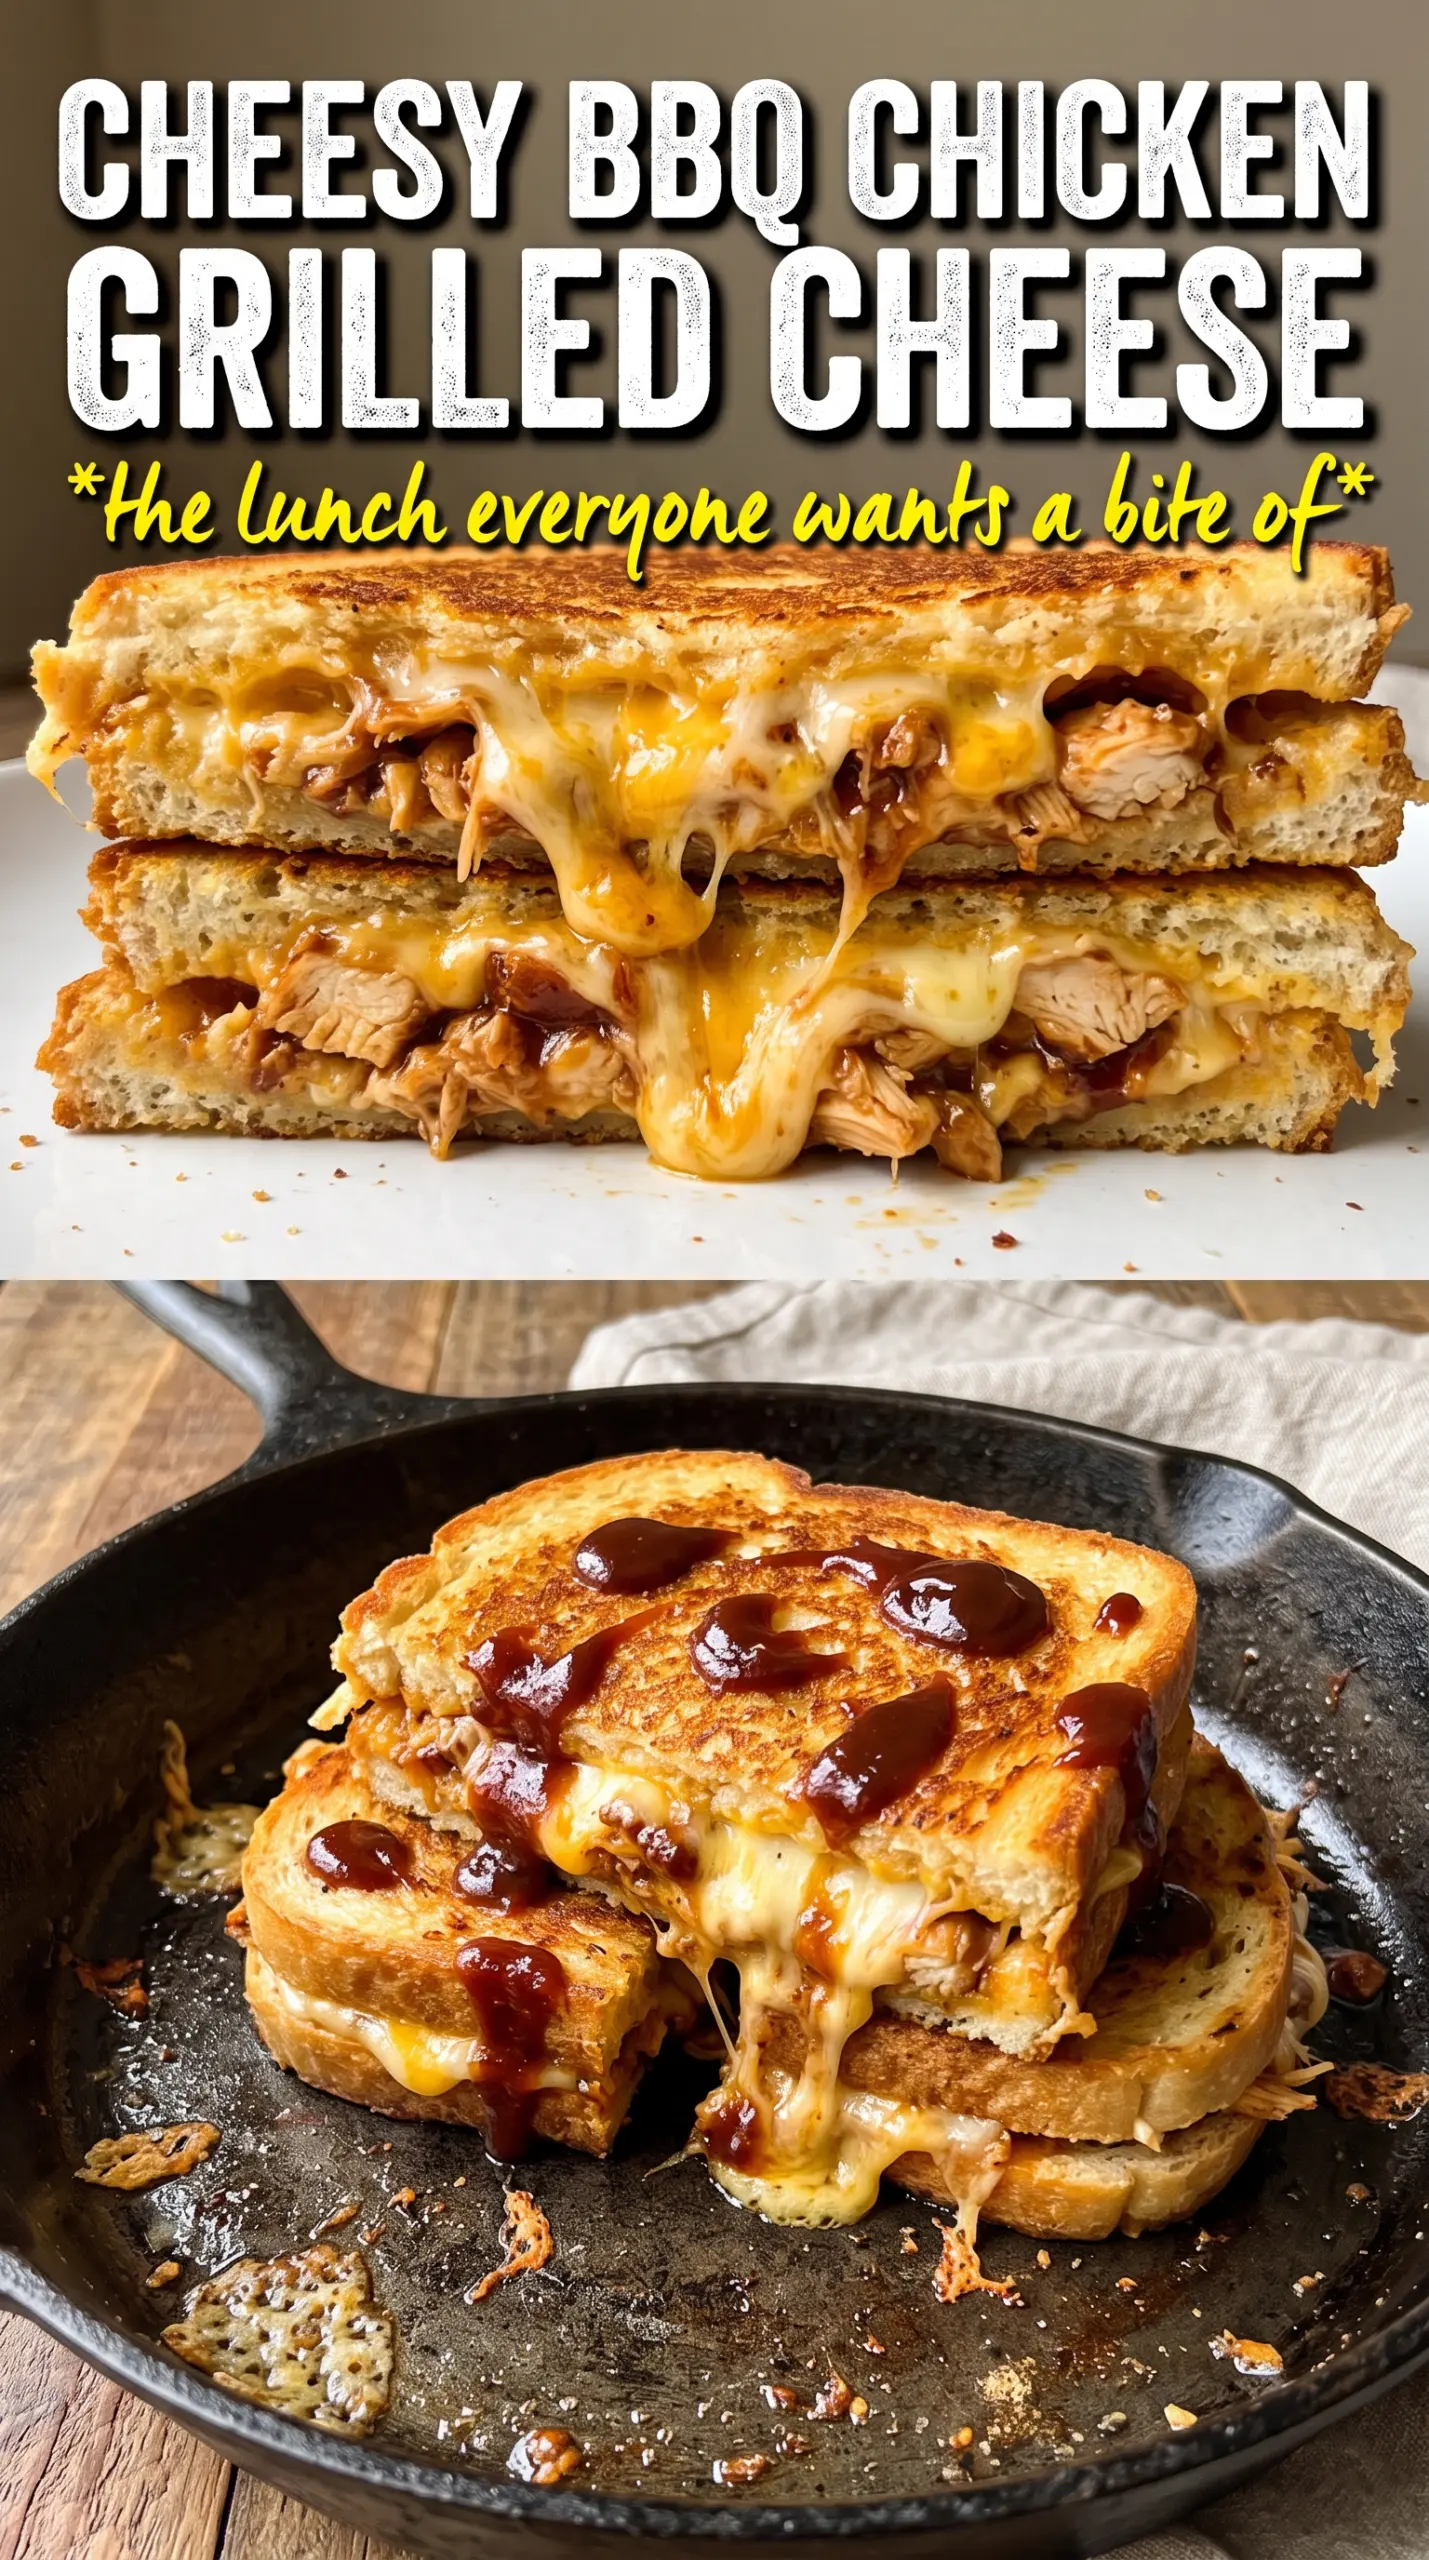
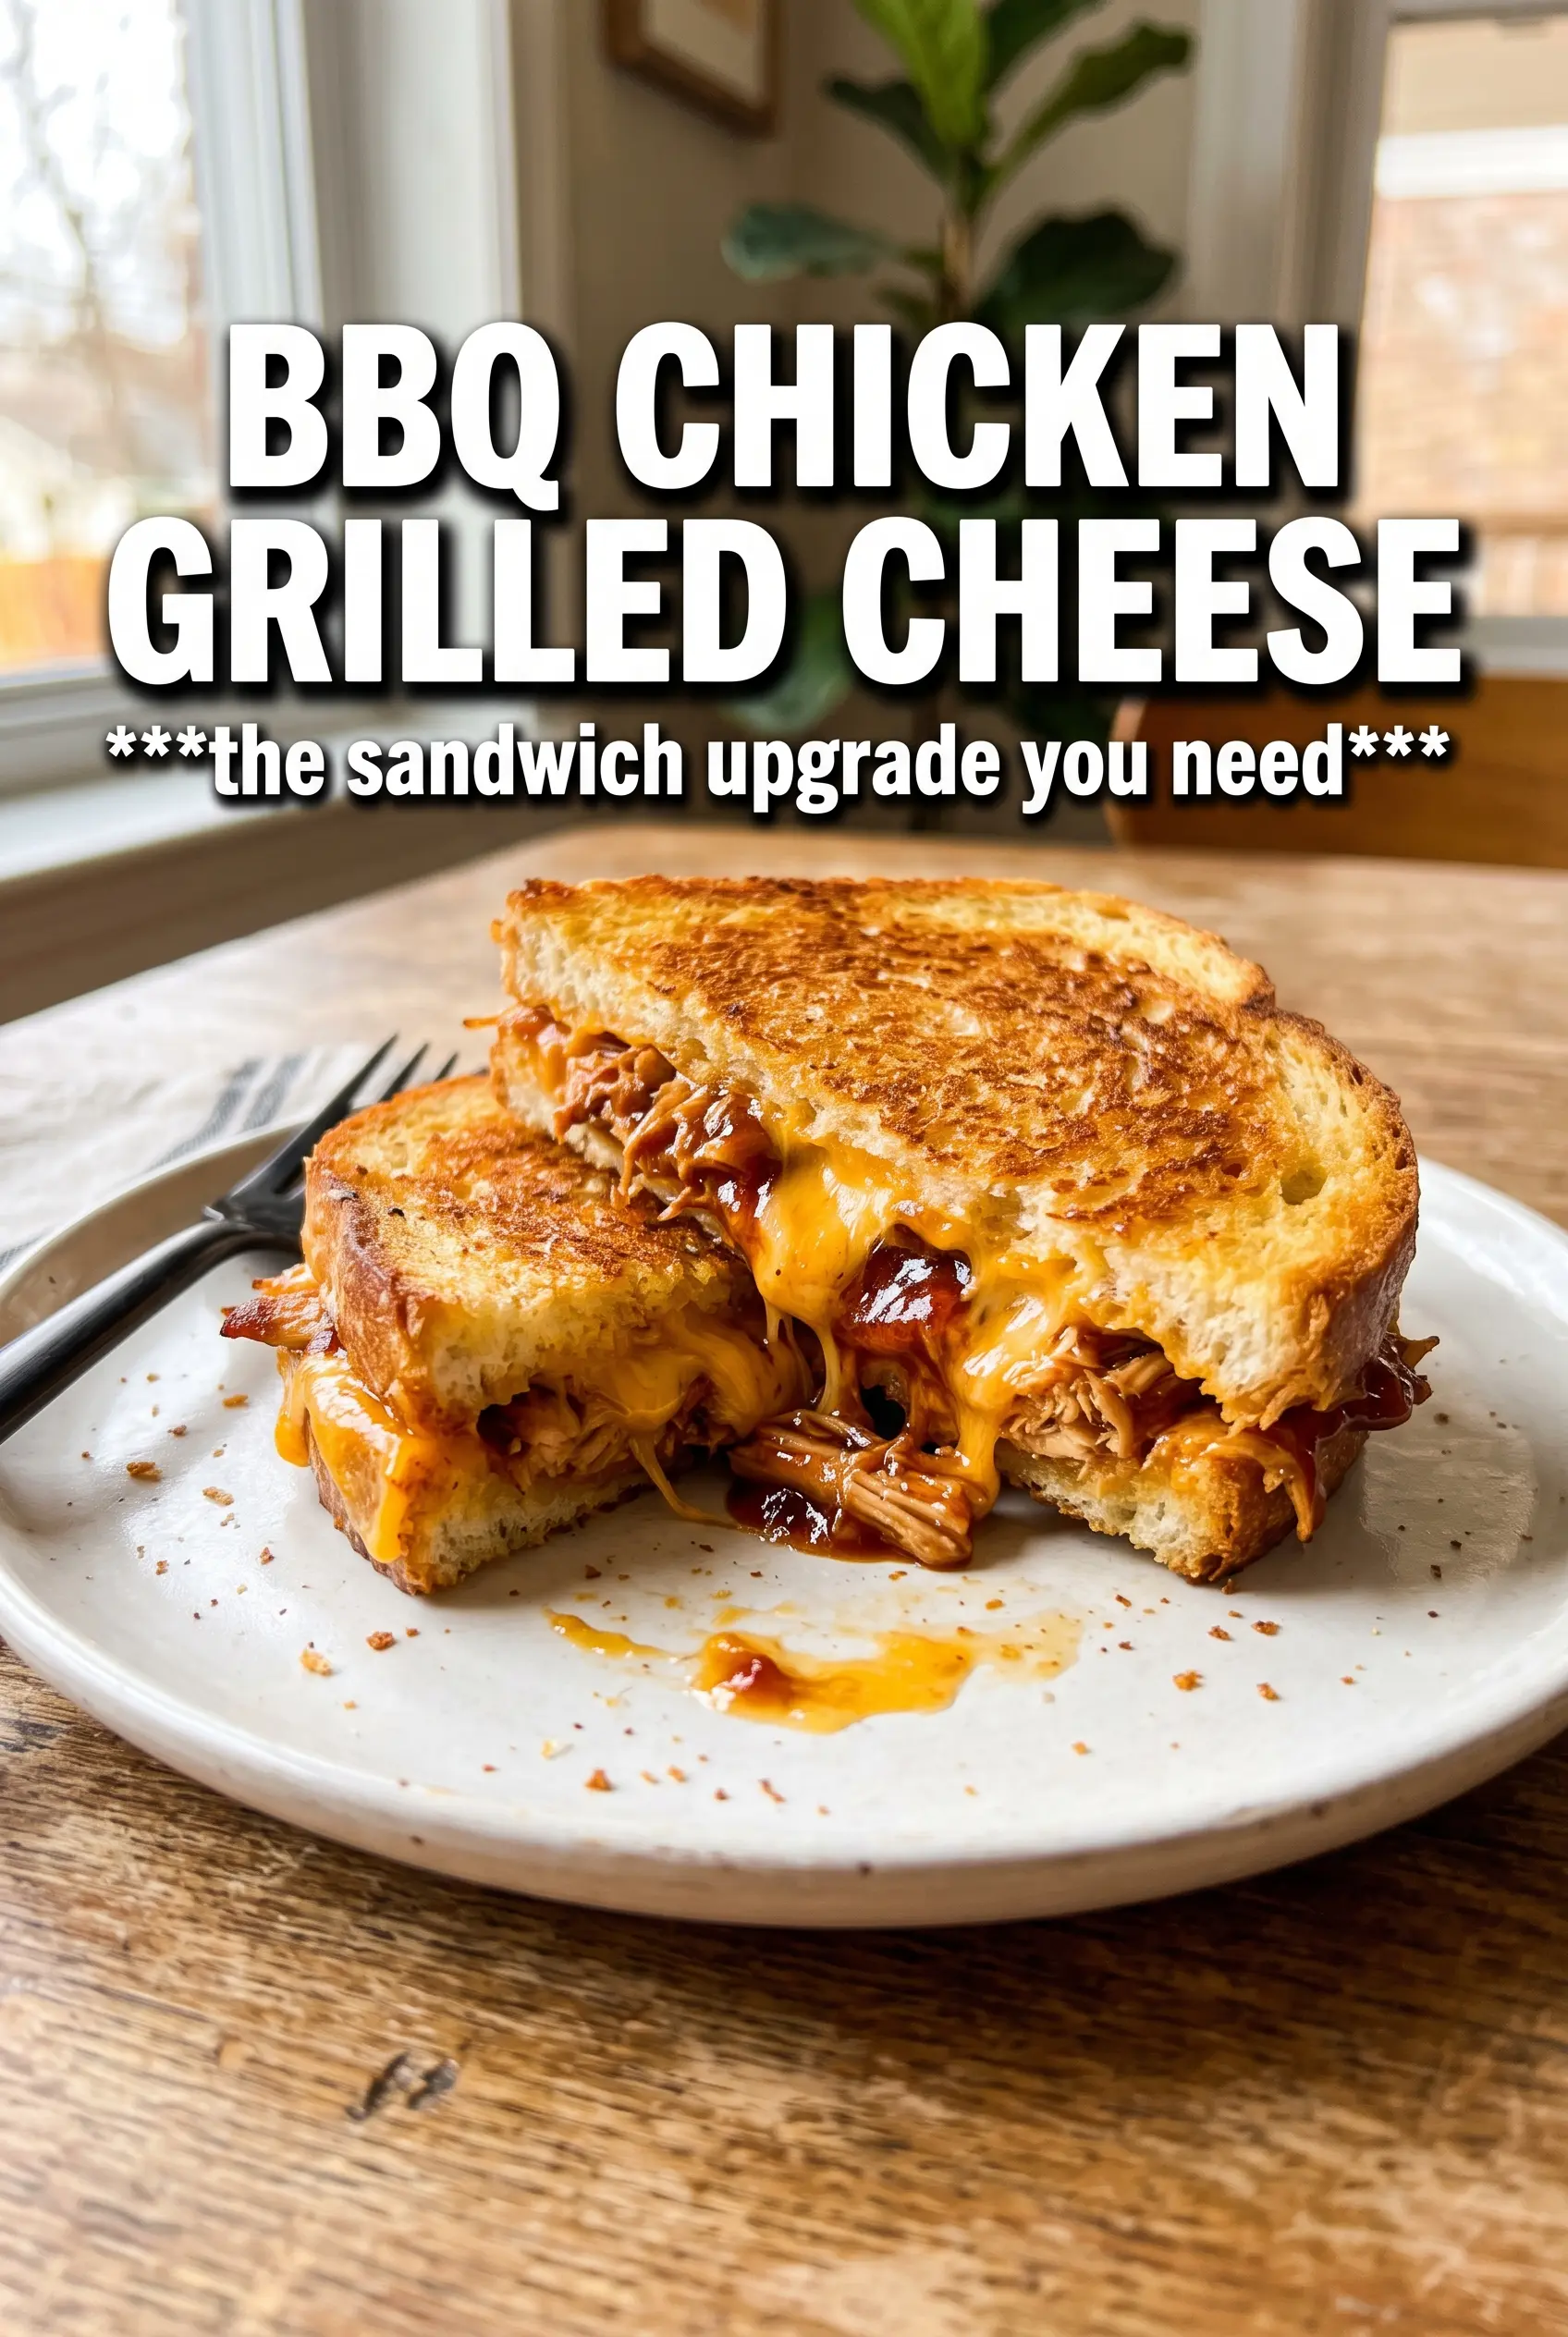
BBQ chicken grilled cheese hits that sweet spot between comfort food and fast dinner. The bread gets deeply golden and crisp, the cheese melts into a stretchy layer, and the sauced chicken stays juicy instead of drying out in the skillet. Every bite gives you smoky BBQ, sharp cheddar, and that little pop of red onion that keeps the sandwich from tasting one-note.
What makes this version work is the balance. The chicken is already cooked, so the skillet only has to do two jobs: brown the bread and melt the cheese. Mixing cheddar with mozzarella gives you both flavor and that pull-apart melt, while cooking over medium-low heat keeps the bread from scorching before the center turns molten.
Below, I’ll walk through the one part that matters most if you want a crisp exterior and a fully melted middle, plus a few easy swaps if you want to change the cheese, bread, or make it a little lighter.
The bread turned perfectly crisp and the mozzarella-cheddar mix melted around the BBQ chicken without making the sandwich soggy. I used leftover rotisserie chicken and it came together in no time.
Love the gooey BBQ chicken filling and golden crust? Save this sandwich for the nights when you want a quick dinner with big grilled-cheese payoff.
The mistake that keeps grilled cheese from crisping before the filling melts
The biggest trap with a sandwich like this is turning the heat up to rush it. That gives you browned bread and a cold center. Medium-low heat is the sweet spot because the bread slowly dehydrates and crisps while the cheese has time to melt all the way through. If you press too hard, you squeeze the filling out; if you don’t press at all, the sandwich can toast unevenly and feel bulky in the middle.
The other thing that matters here is the filling moisture. BBQ sauce adds flavor, but too much can leak into the bread and make the sandwich heavy. Three tablespoons is enough to coat the chicken without turning it into a wet pile, which keeps the texture balanced once it hits the skillet.
- Chicken — Cooked shredded chicken is the right choice because it warms through fast and catches the sauce evenly. Rotisserie chicken works well here, and leftover grilled chicken is great too. If the pieces are in long strands, chop them once or twice so the filling stays inside the sandwich.
- BBQ sauce — Use a sauce you actually like on its own, because the flavor comes through clearly. A thicker sauce clings to the chicken better than a thin, vinegary one. If yours runs loose, simmer the coated chicken in a skillet for a minute or two to tighten it up before assembling.
- Cheddar and mozzarella — Cheddar brings the sharpness, mozzarella brings the stretch. That combination melts cleaner than cheddar alone, which can turn oily if the heat runs too high. Pre-shredded cheese works, but freshly shredded melts a little smoother.
- Thick bread — Sourdough or Texas toast gives you enough structure to hold the filling without tearing. Thin sandwich bread can work in a pinch, but it softens quickly and is easier to overcook before the center melts. Thicker slices also give you that crunchy edge that makes grilled cheese worth eating.
What Each Ingredient Is Actually Doing in This Recipe
- Primary ingredient (the star) — Quality matters most. Choose the best you can find.
- Cooking medium (oil, butter, or broth) — This carries flavors and prevents dryness.
- Seasonings (salt, pepper, spices, herbs) — Layer flavors so nothing overpowers. Build depth gradually.
- Aromatics (garlic, onion, herbs) — Cook with fat to bloom flavors. Become the foundation.
- Supporting ingredients — Complement the main ingredient without overpowering it.
- Sauce or liquid (if applicable) — Brings flavors together. Balance richness with acid.
- Acid (lemon, vinegar, wine, or other) — Brightens and prevents flat-tasting results.
- Final finish (garnish, glaze, or sauce) — Prevents one-dimensional taste and adds visual appeal.
Building the sandwich so the cheese melts before the bread burns
Coating the chicken
Toss the shredded chicken with the BBQ sauce until every piece is glossy and lightly coated. You want the chicken to look seasoned, not submerged. If there’s a puddle of sauce in the bowl, the sandwich will slide around and the bread will pick up too much moisture. A thicker coating also helps the filling stay put when you cut the sandwich in half.
Layering for an even melt
Put some of the cheese directly against the bread, then add the chicken, then finish with more cheese before closing the sandwich. That gives the hot cheese a chance to glue everything together as it melts. The red onion should be sliced very thin so it softens as the sandwich cooks; thick slices stay sharp and can make each bite pull apart unevenly.
Cooking low and steady
Set the skillet over medium-low heat and give the sandwiches time. The first side usually takes 4 to 5 minutes, but the real cue is a deep golden underside and cheese starting to ooze at the edges. Flip carefully and cook the second side until the bread is evenly browned and the sandwich feels lighter when lifted, which tells you the moisture has cooked off and the center is hot.
How to change the bread, cheese, or filling without losing the point of the sandwich
Dairy-free version that still browns well
Use a good melting dairy-free cheese and a plant-based butter for the exterior. The texture won’t stretch quite like mozzarella, but you’ll still get a crisp crust and a hot, savory filling if you keep the heat low. Choose a cheese labeled for melting, not just snacking, or it can turn grainy instead of creamy.
Gluten-free bread that won’t fall apart
Use a sturdy gluten-free sandwich bread with a soft center and a decent crust, then toast it a little more gently than regular bread. Gluten-free slices can brown fast on the outside before the inside warms through, so keep the skillet at medium-low and use a lid for the last minute if needed. That trapped heat helps the cheese finish melting without burning the bread.
Spicy BBQ chicken grilled cheese
Stir a little hot sauce or chipotle powder into the chicken before assembling, or use a smoky spicy BBQ sauce. The heat cuts through the richness of the cheese and makes the sandwich taste a little more layered. Don’t overdo it if your sauce is already bold; the goal is a back-of-the-throat kick, not a sandwich that drowns everything else out.
Storage and Reheating
- Refrigerator: Store leftovers for up to 2 days. The bread softens as it sits, but the flavor stays good.
- Freezer: It freezes, but the texture changes after thawing, so I only do this if I’m making sandwiches ahead on purpose. Wrap tightly and freeze before cooking, then cook from thawed for the best result.
- Reheating: Reheat in a skillet over low heat until the bread crisps again and the center is hot. The microwave makes the bread rubbery and the cheese greasy, so skip it if you want the sandwich to taste like grilled cheese instead of leftovers.
Questions I Get Asked About This Recipe
BBQ Chicken Grilled Cheese
Ingredients
Equipment
Method
- Toss the shredded chicken with the BBQ sauce until evenly coated, so every strand looks glossy with sauce.
- Mix the shredded sharp cheddar and shredded mozzarella together into a single cheese blend.
- Butter one side of each bread slice so the outside browns evenly in the skillet.
- Assemble the sandwiches by placing BBQ-sauced shredded chicken, the cheese blend, and the very thinly sliced red onion on the unbuttered sides, then close with buttered sides facing out.
- Cook in a large skillet over medium-low heat for 4-5 minutes per side, pressing gently, until deep golden brown and the cheese is fully melted.
- Slice diagonally and serve immediately so the melted cheese stretches when you pull the sandwich apart.