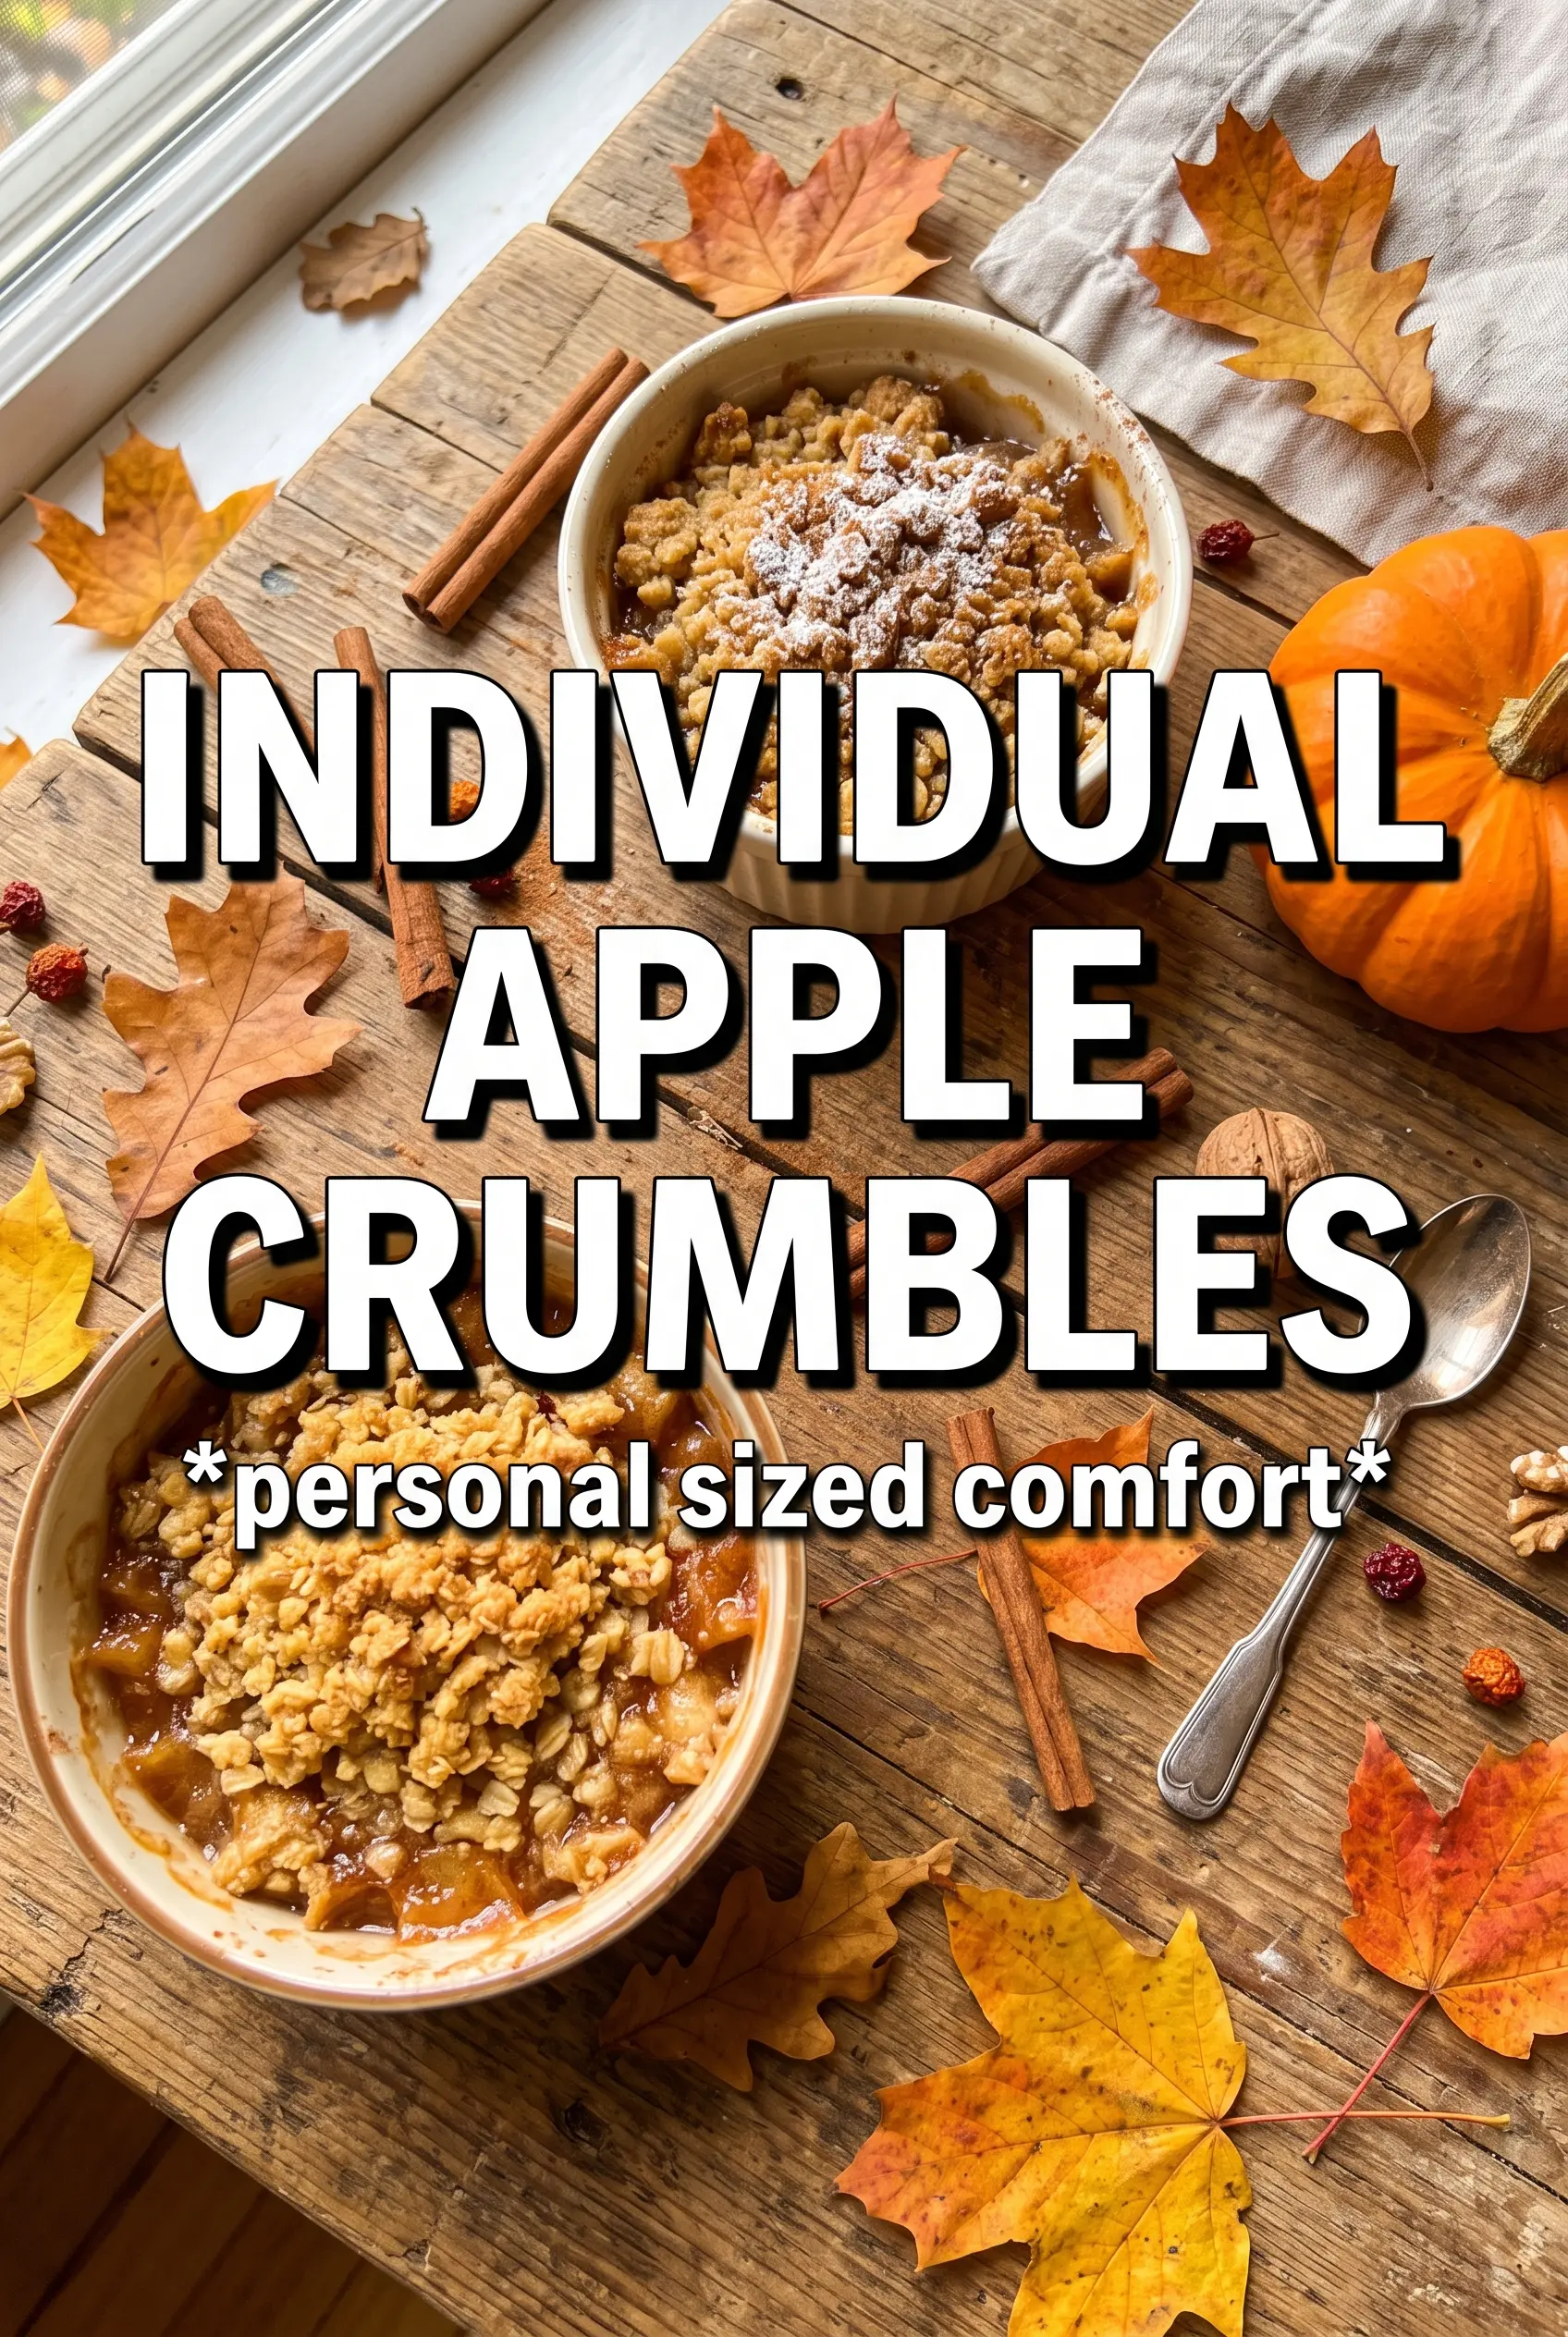
Individual apple crumbles bake up with bubbling cinnamon apples under a thick oat topping that turns crisp at the edges and tender in the middle. Serving them in ramekins means every portion gets its own deep golden lid, and there’s no digging through one big dish to find the crunchy bits. When a spoon hits the warm filling and cold vanilla ice cream starts melting into the cracks, the whole dessert feels a little more special than the work it takes to make it.
The trick here is cooking the apples briefly before they go into the oven. That step gives the filling a head start, so you don’t end up with a topping that’s done before the fruit softens. Cornstarch keeps the juices from turning soupy, while a mix of oats, flour, and brown sugar makes a crumble that bakes up with both chew and crunch. Using cold butter matters too; once it melts in the oven, it leaves little pockets that help the topping crisp instead of turning pasty.
Below, I’ve included the small details that keep the filling thick and the topping clumpy, plus a few swaps if you need to work with what’s already in the pantry.
The apples thickened beautifully on the stove, and the topping stayed crisp on top even after we added ice cream. I loved having individual ramekins because everyone got those caramelized edges.
Save these individual apple crumbles for the nights when you want crisp oat topping, tender cinnamon apples, and a built-in scoop of ice cream in every ramekin.
The Secret to Crisp Topping in Tiny Ramekins
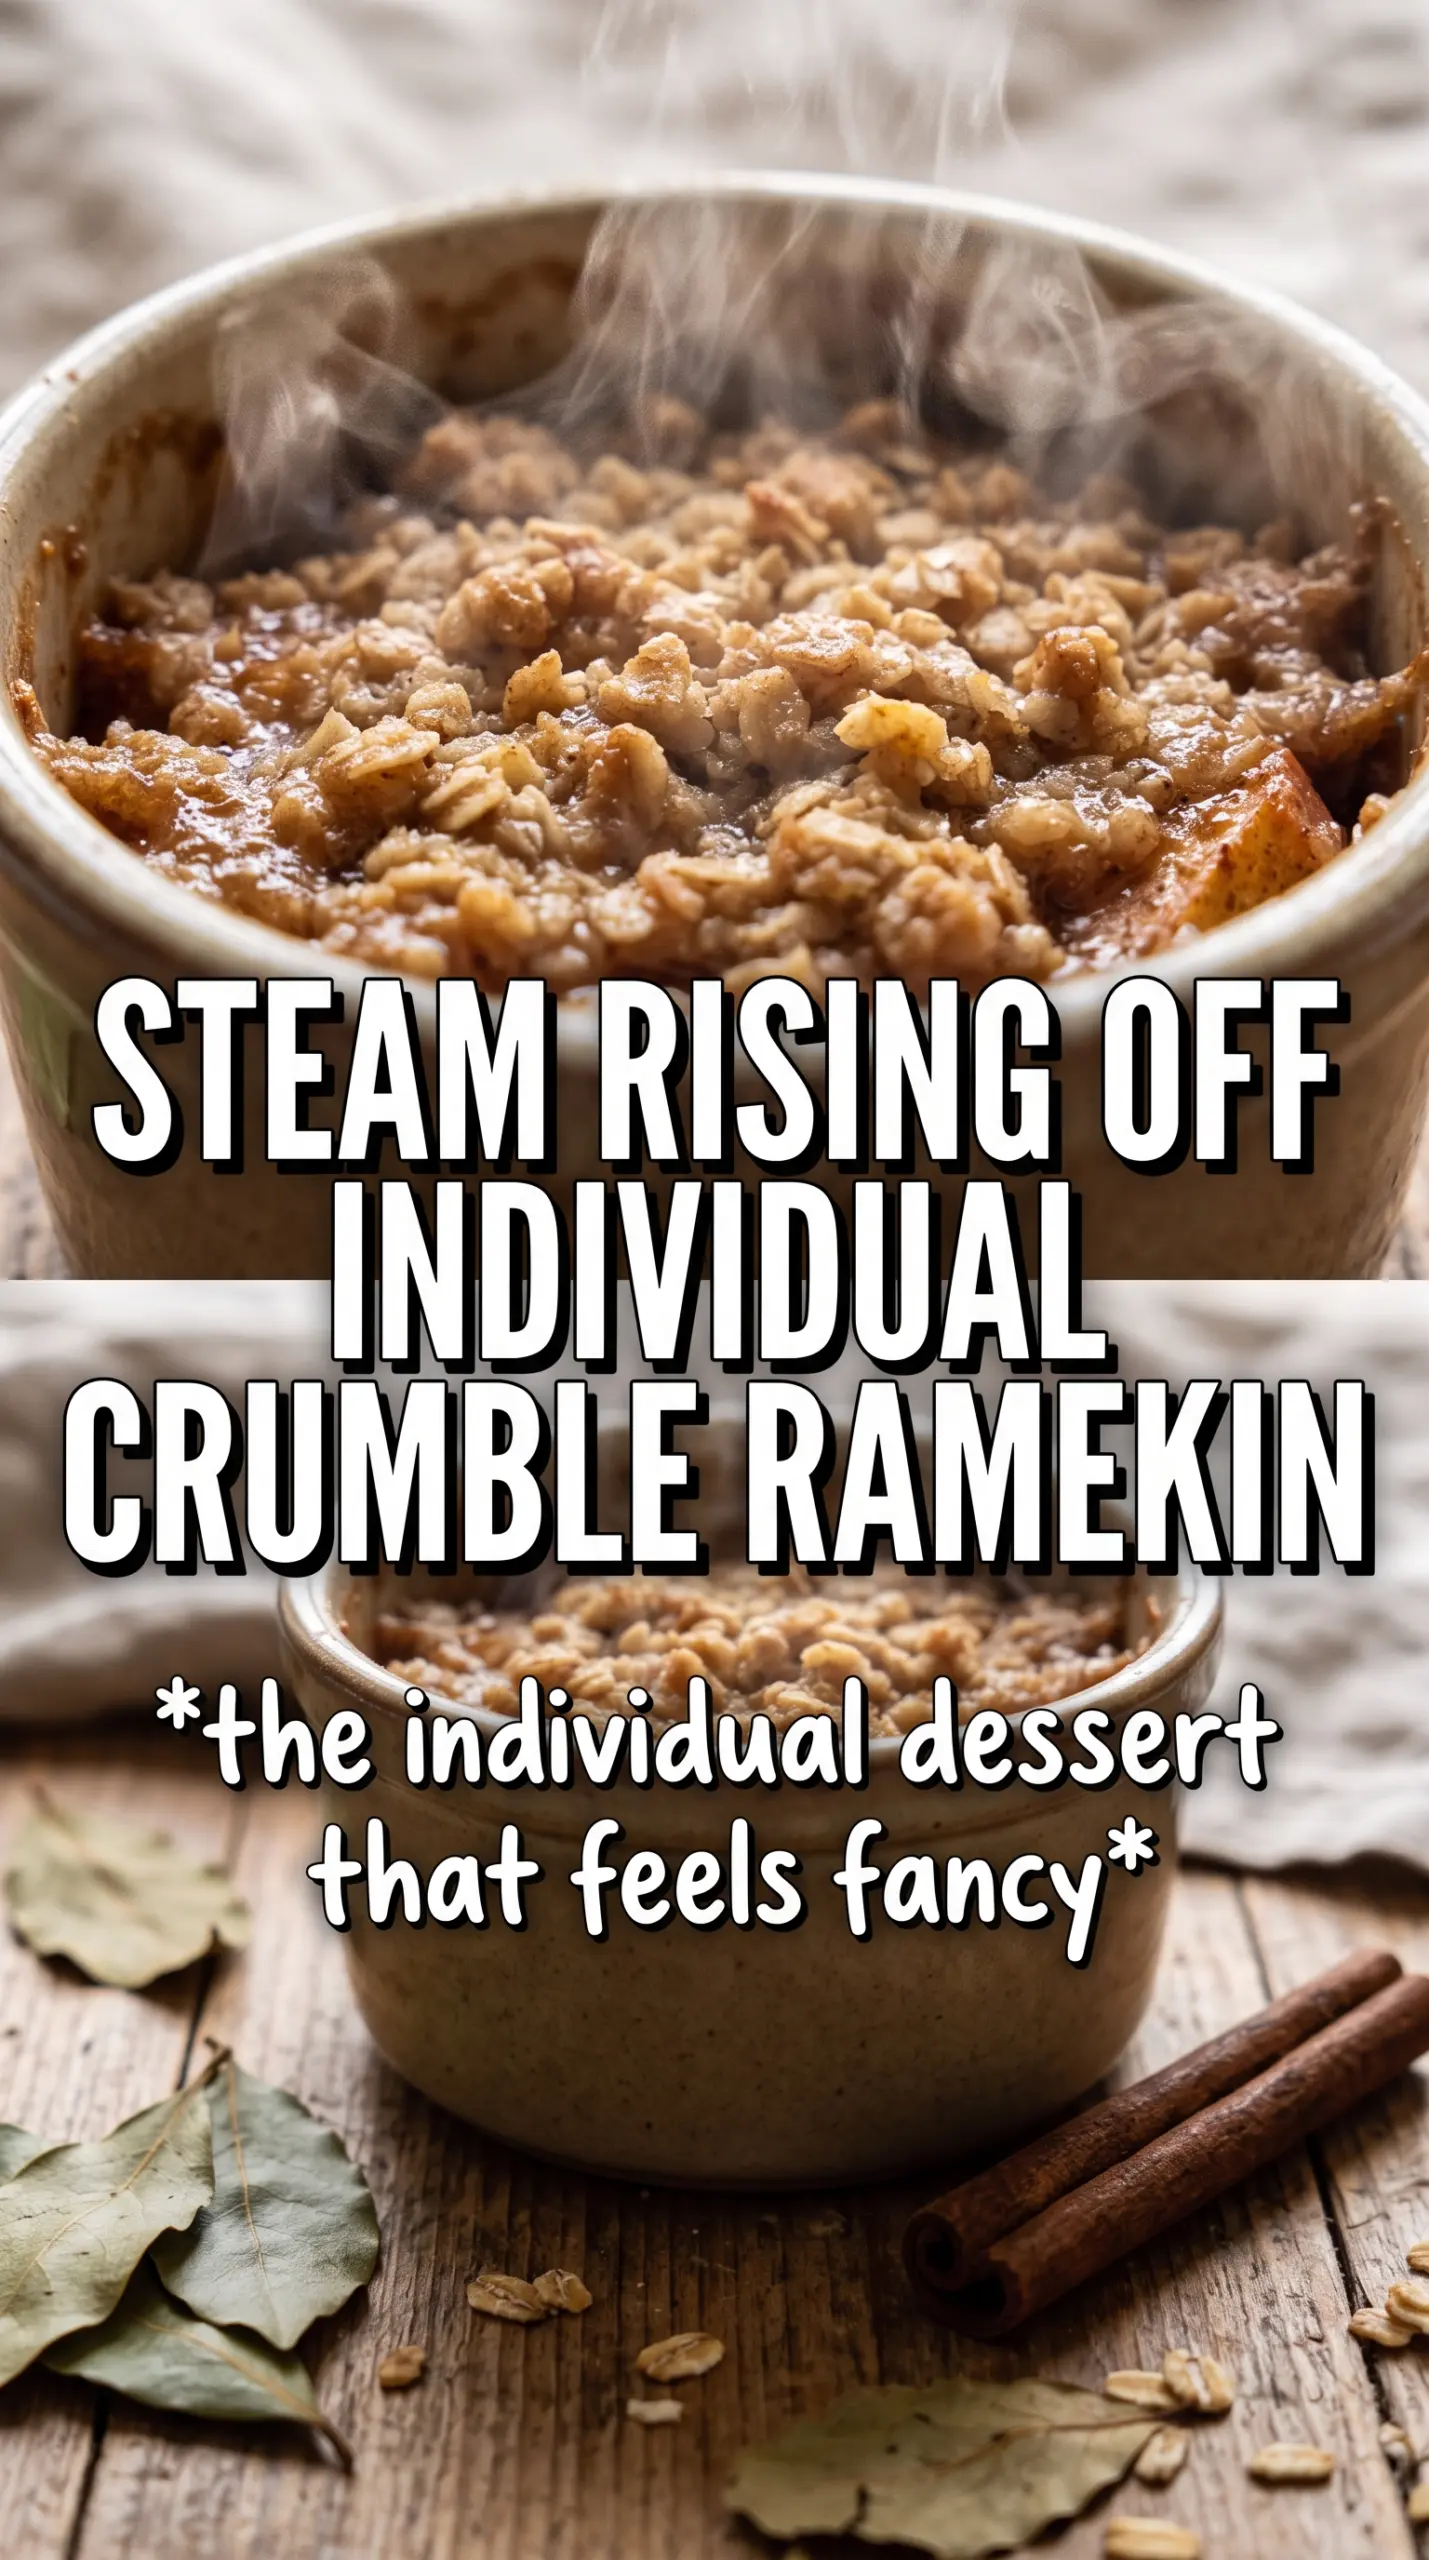
Ramekins change the baking game here. The smaller portions give the fruit and topping a shallow depth, which means the apples cook through before the crumble has a chance to over-brown. If you’ve ever pulled a fruit crisp from the oven only to find the center still firm and the top already dark, this method fixes that problem fast.
The other thing that matters is the pre-cooked filling. Fresh diced apples release juice as they bake, and that liquid can soak into the topping if you skip the stovetop step. Cooking the apples with cornstarch first thickens the juices before they go into the oven, so each ramekin bakes into a spoonable filling instead of a loose stew.
- Small ramekins — They give you those crisp, browned edges around every serving. Larger dishes work too, but the bake time will stretch and the center may need extra minutes.
- Cornstarch — This is what turns the apple juices glossy and thick. Flour can work in a pinch, but it gives a duller, heavier filling.
- Cold butter — Cold cubes create the chunky crumble texture. If the butter softens before baking, the topping turns sandy instead of craggy.
- Granulated sugar plus brown sugar — Granulated sugar sweetens the apples cleanly, while brown sugar in the topping adds that deeper caramel note you want against the fruit.
What Each Ingredient Is Actually Doing in This Recipe
- Primary ingredient (the star) — Quality matters most. Choose the best you can find.
- Cooking medium (oil, butter, or broth) — This carries flavors and prevents dryness.
- Seasonings (salt, pepper, spices, herbs) — Layer flavors so nothing overpowers. Build depth gradually.
- Aromatics (garlic, onion, herbs) — Cook with fat to bloom flavors. Become the foundation.
- Supporting ingredients — Complement the main ingredient without overpowering it.
- Sauce or liquid (if applicable) — Brings flavors together. Balance richness with acid.
- Acid (lemon, vinegar, wine, or other) — Brightens and prevents flat-tasting results.
- Final finish (garnish, glaze, or sauce) — Prevents one-dimensional taste and adds visual appeal.
Building the Filling and Topping in the Right Order
Cooking the Apples Until They Start to Thicken
Start by cooking the diced apples with the butter, sugar, cinnamon, nutmeg, cornstarch, and lemon juice over medium heat. Stir often and watch for the point where the apples look glossy and the juices go from watery to thick and syrupy, usually after 5 to 7 minutes. You’re not cooking them until they collapse; you want them just tender enough to finish in the oven. If the mixture still looks loose, give it another minute on the stove before dividing it into the ramekins.
Making a Crumble That Clumps Instead of Sanding Out
Combine the oats, flour, brown sugar, cinnamon, and salt, then cut in the cold butter until you get chunky clumps. The mixture should hold together when you squeeze it, but still break apart easily with your fingers. If it looks powdery, the butter needs a little more work. If it starts to look paste-like, the butter warmed too much, and the topping will bake up flatter and less crisp.
Baking Until the Edges Bubble
Spoon the crumble generously over each ramekin and set them on a baking sheet so they’re easier to move in and out of the oven. Bake at 375°F for 25 to 30 minutes, watching for bubbling juices around the edges and a deep golden top. The bubbles tell you the filling is hot enough and the cornstarch has fully set. Pull them too early and the apples can stay thin and sharp instead of soft and jammy.
Serving Before the Top Softens
Let the ramekins sit just long enough to stop actively bubbling, then serve while they’re still warm. That’s when the topping is crispiest and the apple filling has the best texture. Add the vanilla ice cream at the table so it melts into the crumble instead of disappearing into it. If you wait too long, the steam from the fruit will soften the top faster than you want.
How to Adapt These Apple Crumbles for Different Pantries
Make It Gluten-Free
Swap the all-purpose flour for a 1:1 gluten-free baking blend that includes xanthan gum. The topping will still clump and crisp, though it may bake a shade more delicate than the original. Keep the oats certified gluten-free if you need the dessert fully gluten-free.
Dairy-Free Apple Crumbles
Use a plant-based butter that bakes well and stays firm when cold. The filling will still thicken the same way, but the topping may brown a little faster depending on the brand, so start checking a few minutes early. Serve with a dairy-free vanilla ice cream if you want the same cold-creamy contrast.
What to Use When You Don’t Have Ramekins
A muffin tin can work for smaller portions, but the baking time will be shorter and cleanup a little trickier. You can also bake the whole mixture in a single 8-inch baking dish; just expect the center to need several extra minutes for the filling to bubble through. The flavor stays the same, but you’ll lose some of the extra browned edges that make the individual version special.
Choose the Apples for Better Texture
Use a mix of tart and sweet apples if you can. Firm apples like Granny Smith hold their shape, while softer sweet apples add roundness to the filling. All-one-type apples work, but the best texture comes from mixing varieties so the filling tastes layered instead of one-note.
Storage and Reheating
- Refrigerator: Cover and refrigerate for up to 4 days. The topping will soften a bit, but the filling stays flavorful.
- Freezer: These freeze well baked or unbaked. Wrap the ramekins tightly, freeze up to 2 months, and bake from frozen with extra time, or thaw overnight before reheating.
- Reheating: Warm in a 325°F oven until the filling is hot and the top starts to crisp again. The microwave will heat the apples, but it turns the crumble soft, which is the main thing people wish they had avoided.
Answers to the Questions Worth Asking
Individual Apple Crumbles
Ingredients
Equipment
Method
- Preheat the oven to 375F and grease 6 individual ramekins (6-8 oz each).
- Set the ramekins on a baking sheet so they’re ready for filling and baking.
- In a skillet over medium heat, cook the diced apples with butter, granulated sugar, cinnamon, nutmeg, cornstarch, and lemon juice for 5-7 minutes until thickened and glossy.
- Divide the thickened apple filling among the prepared ramekins.
- Combine rolled oats, all-purpose flour, brown sugar, cinnamon, and salt in a bowl.
- Cut the cold cubed butter into the oat mixture until chunky clumps form.
- Top each ramekin generously with the oat crumble.
- Bake on the preheated sheet pan for 25-30 minutes at 375F until the topping is golden and the filling bubbles.
- Serve the individual apple crumbles warm with vanilla ice cream.