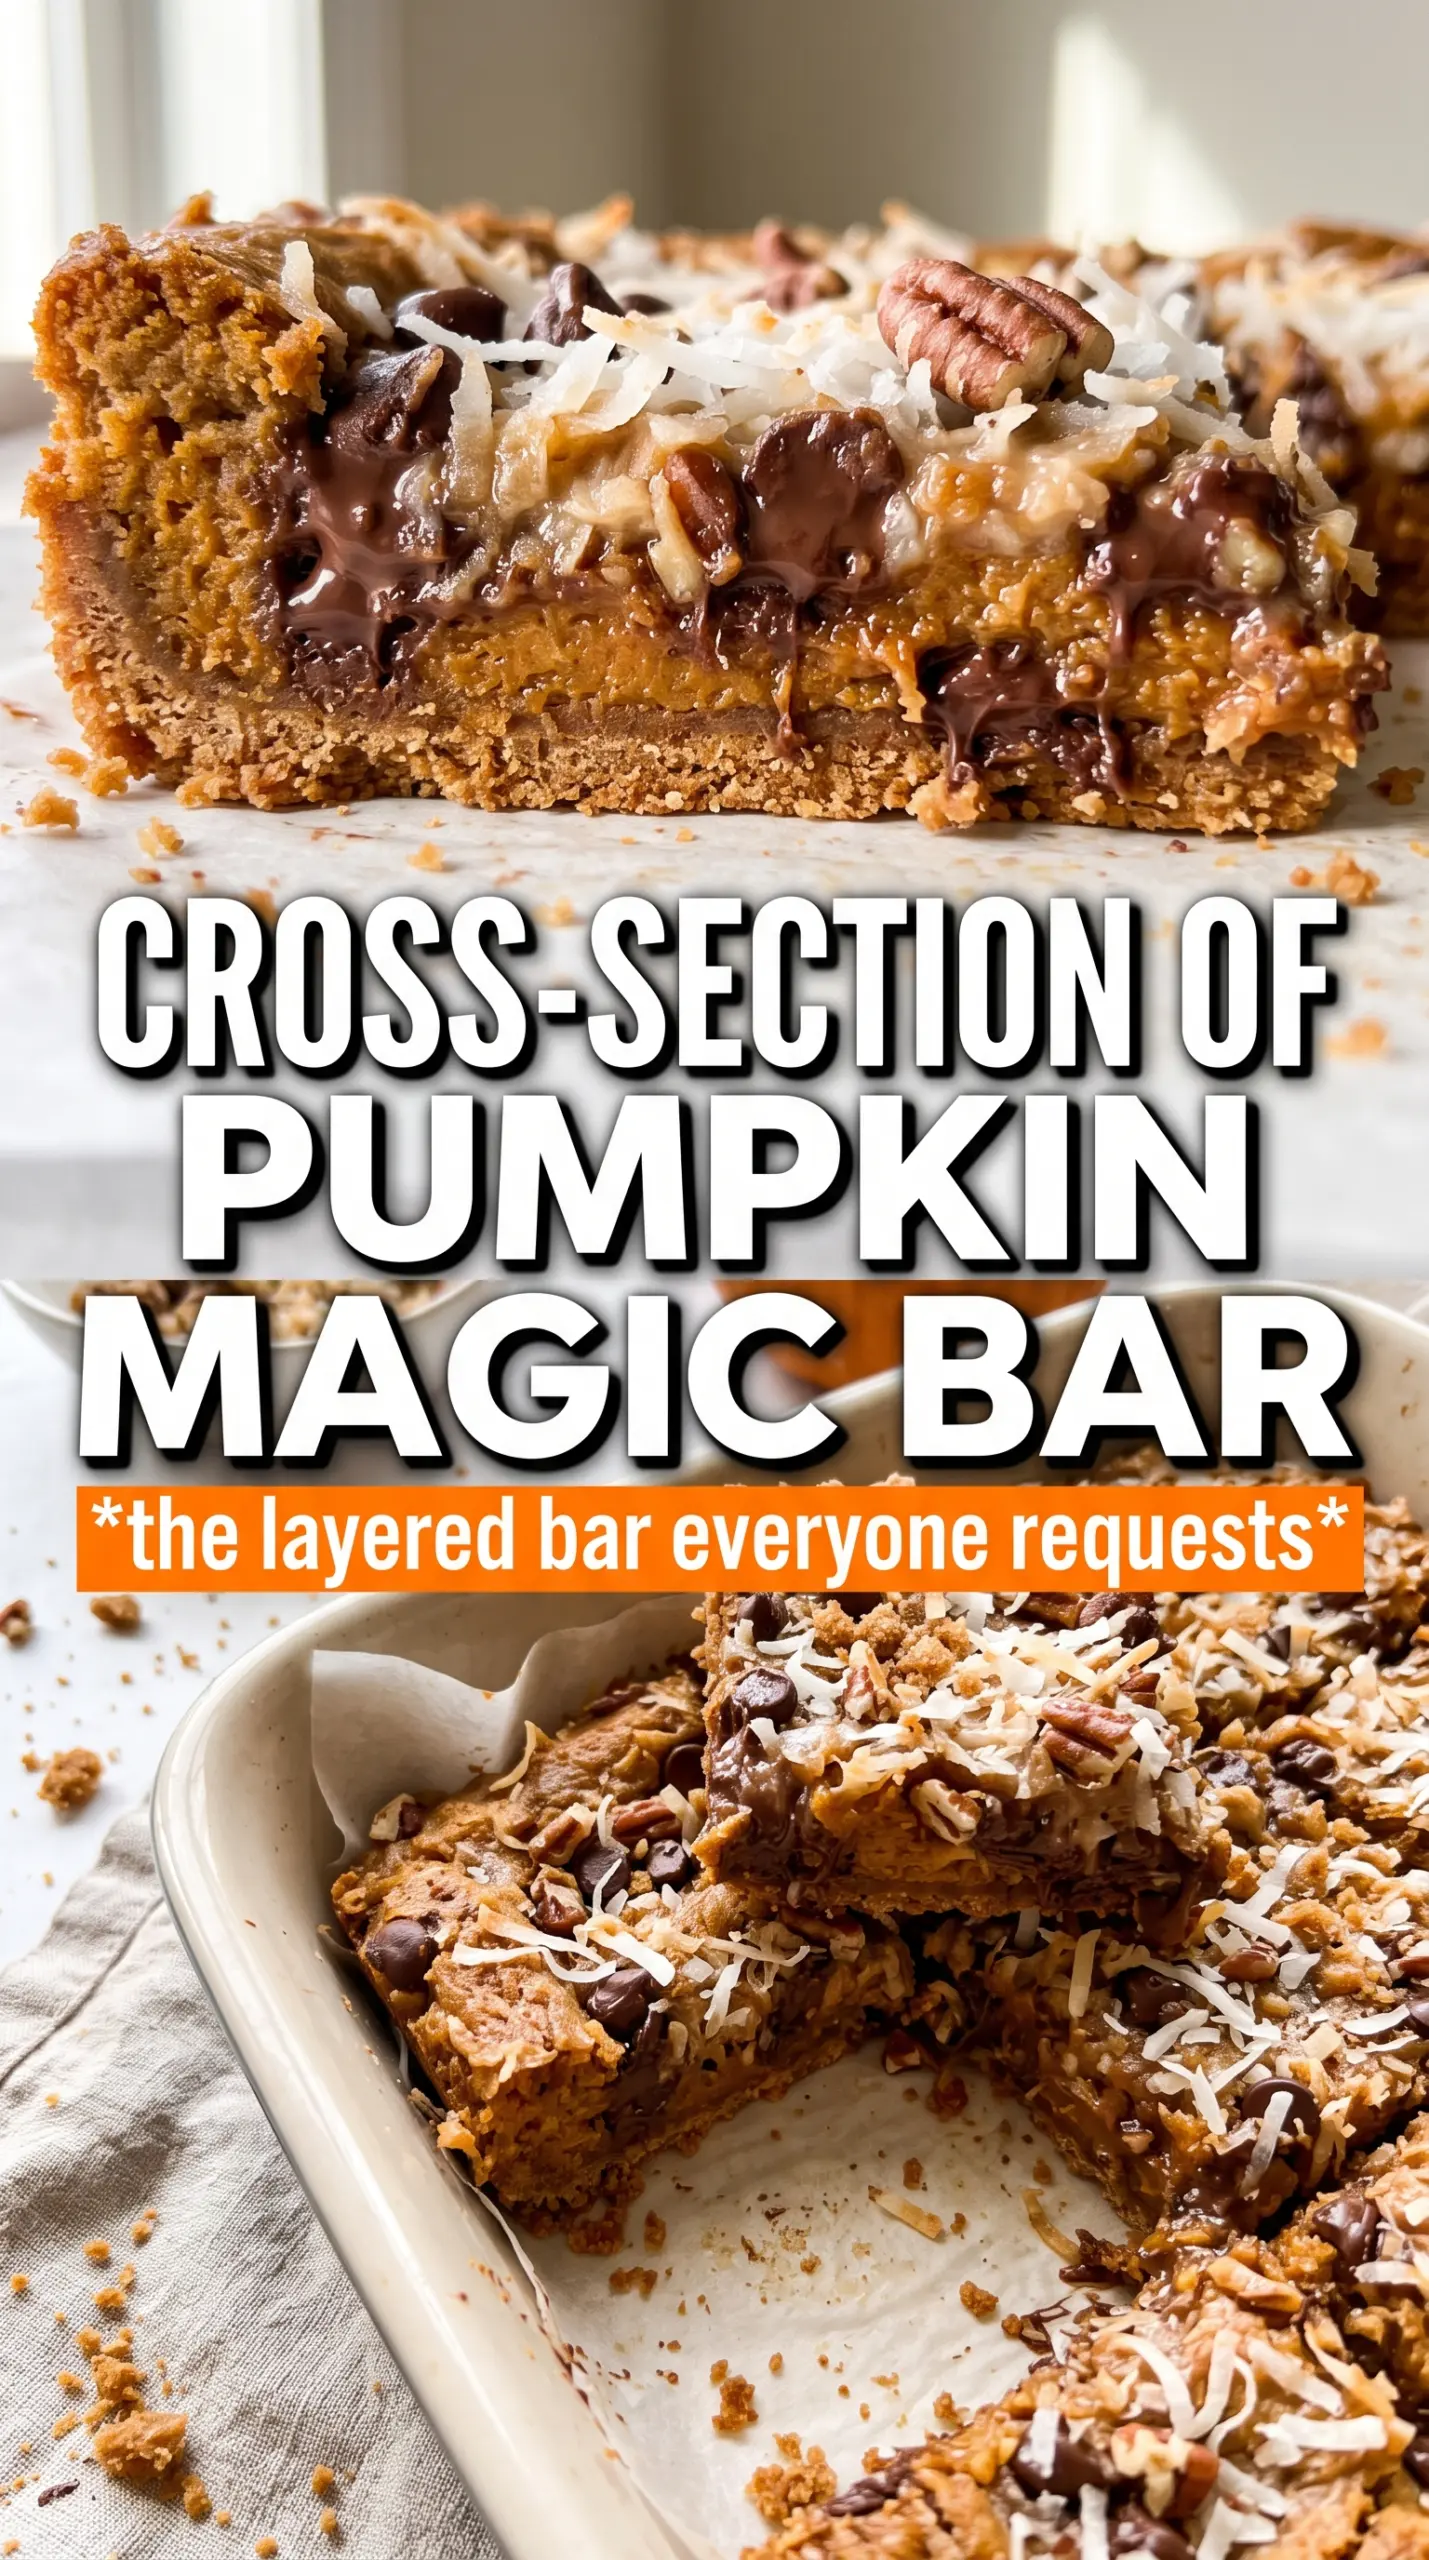
Golden, gooey Pumpkin Spice Magic Cookie Bars hit that sweet spot between a chewy cookie, a layered candy bar, and a fall dessert that disappears fast from the pan. The gingersnap crust brings a warm snap under all that soft, sticky filling, and the mix of coconut, white chocolate, butterscotch, and pecans gives every bite a little crunch, a little melt, and a lot of contrast. They slice best after cooling, but the smell alone will have people hovering around the kitchen before that happens.
What makes this version work is the pumpkin layer itself. Pumpkin puree adds flavor and color, but it also brings moisture, so the filling needs to be spread evenly and baked until the center is just set, not loose. The sweetened condensed milk keeps everything cohesive without turning the bars cakey, while the gingersnap crumbs keep the bottom from tasting flat. That spice-on-spice pairing matters here: pumpkin pie spice gives the bars their familiar warmth, and a little extra cinnamon sharpens it.
Below, you’ll find the one step that keeps these bars from turning gummy, plus a few swaps if you need to work with what you have in the pantry.
The bars set up with that perfect chewy center and the gingersnap base stayed crisp even the next day. I loved how the pumpkin layer kept the whole thing from being cloyingly sweet.
Love the gooey layers in these Pumpkin Spice Magic Cookie Bars? Save this one for the next time you want a fast pan dessert with a crisp crust and a spiced caramel center.
The Pumpkin Layer Needs Even Baking, Not Extra Heat
The mistake with magic cookie bars is usually thinking a wetter layer just needs more oven time. With pumpkin in the mix, that approach backfires fast. The top can look set while the center is still loose, and if you chase it with more heat, the edges dry out before the middle firms up.
These bars finish best when the filling looks mostly set and only a small patch in the center still has a soft wobble. That residual carryover heat does the rest as the pan cools. The gingersnap crumbs help here too, because they give the base more structure than plain graham crumbs and keep the bottom from tasting soggy under all that sweetened condensed milk.
- Gingersnap crumbs — These bring spice and a firmer, more aromatic base than graham crackers. Graham crumbs work fine, but gingersnaps give the bars a deeper fall flavor and help the crust stand up to the moist pumpkin layer.
- Sweetened condensed milk — This is the binder that holds the whole bar together. There isn’t a true substitute that behaves the same way, so don’t swap in regular milk or evaporated milk and expect the same set.
- Pumpkin puree — Use plain pumpkin puree, not pumpkin pie filling. Pie filling is already sweetened and spiced, which throws off both the texture and the balance of the bars.
- Pecans and toffee bits — Both add crunch, but in different ways. Pecans give a nutty bite, while toffee bits melt slightly into the top layer and make the bars taste more layered than just sweet.
What Each Ingredient Is Actually Doing in This Recipe
- Primary ingredient (the star) — Quality matters most. Choose the best you can find.
- Cooking medium (oil, butter, or broth) — This carries flavors and prevents dryness.
- Seasonings (salt, pepper, spices, herbs) — Layer flavors so nothing overpowers. Build depth gradually.
- Aromatics (garlic, onion, herbs) — Cook with fat to bloom flavors. Become the foundation.
- Supporting ingredients — Complement the main ingredient without overpowering it.
- Sauce or liquid (if applicable) — Brings flavors together. Balance richness with acid.
- Acid (lemon, vinegar, wine, or other) — Brightens and prevents flat-tasting results.
- Final finish (garnish, glaze, or sauce) — Prevents one-dimensional taste and adds visual appeal.
Building the Layers So the Bars Slice Cleanly
Start With a Buttered Pan and a Tight Crumb Base
Pour the melted butter straight into the 9×13 pan, then scatter the crumbs evenly over it and press lightly so the base holds together. You don’t want a hard-packed crust here; you want enough compression that it slices cleanly, but not so much that it turns dense. If the crumbs are left loose, the bars break apart when you cut them.
Whisk the Pumpkin Layer Until It Looks Uniform
Mix the condensed milk, pumpkin puree, pumpkin pie spice, and cinnamon until the color is even and no streaks of pumpkin remain. That step matters because clumps of puree bake into soft pockets, and those pockets are usually what make the center seem underdone. Pour it over the crumb layer and spread it gently all the way to the corners.
Layer the Toppings Without Burying the Filling
Sprinkle the coconut, white chocolate chips, butterscotch chips, pecans, and toffee bits across the top in an even layer, then press down lightly with your hands. The goal is contact, not compression. If you press too hard, the toppings sink and the bars lose that stacked, candy-bar look. Bake until the edges are deeply golden and the middle no longer sloshes when you nudge the pan.
Cool Completely Before the First Cut
Let the pan cool all the way before slicing, even if that means waiting longer than you want to. Warm bars smear, and the layers won’t hold. For the cleanest squares, chill the pan briefly after it reaches room temperature, then lift out the slab and cut with a sharp knife wiped clean between cuts.
How to Adapt These Bars for the Pantry You Have
Gluten-Free Crust With Almond Flour Cookies
Use certified gluten-free gingersnap cookies or gluten-free graham-style crumbs in the base. The rest of the recipe is naturally gluten-free as long as your chips and toffee bits are labeled that way. The bars still bake up chewy and layered, but the base may be a little more delicate, so let them cool fully before cutting.
Dairy-Free Version That Still Holds Together
Swap in a dairy-free sweetened condensed milk alternative and use dairy-free white chocolate-style chips and butterscotch-style chips. The texture will be close, but the top may set a touch softer, so give the bars extra cooling time before slicing. This is the best route if you need a dairy-free dessert that still has that sticky, layered finish.
Swap the Nuts for a Kinder Crunch
Leave out the pecans and add the same amount of extra coconut or more toffee bits if you need a nut-free pan. The bars will still have plenty of texture, but they’ll lean sweeter and a little softer on top. If you’re serving someone with allergies, check the labels on the chips and toffee bits too, since those can hide nut warnings.
Storage and Reheating
- Refrigerator: Store in an airtight container for 5 days. The bars get a little firmer in the fridge, which actually helps the layers stay neat.
- Freezer: These freeze well. Wrap the cut bars individually, then store them in a freezer-safe container for up to 2 months.
- Reheating: Eat them cold or let them sit at room temperature for 15 to 20 minutes. If you warm them, use very short bursts so the chocolate and toffee don’t melt into a puddle.
Questions I Get Asked About This Recipe
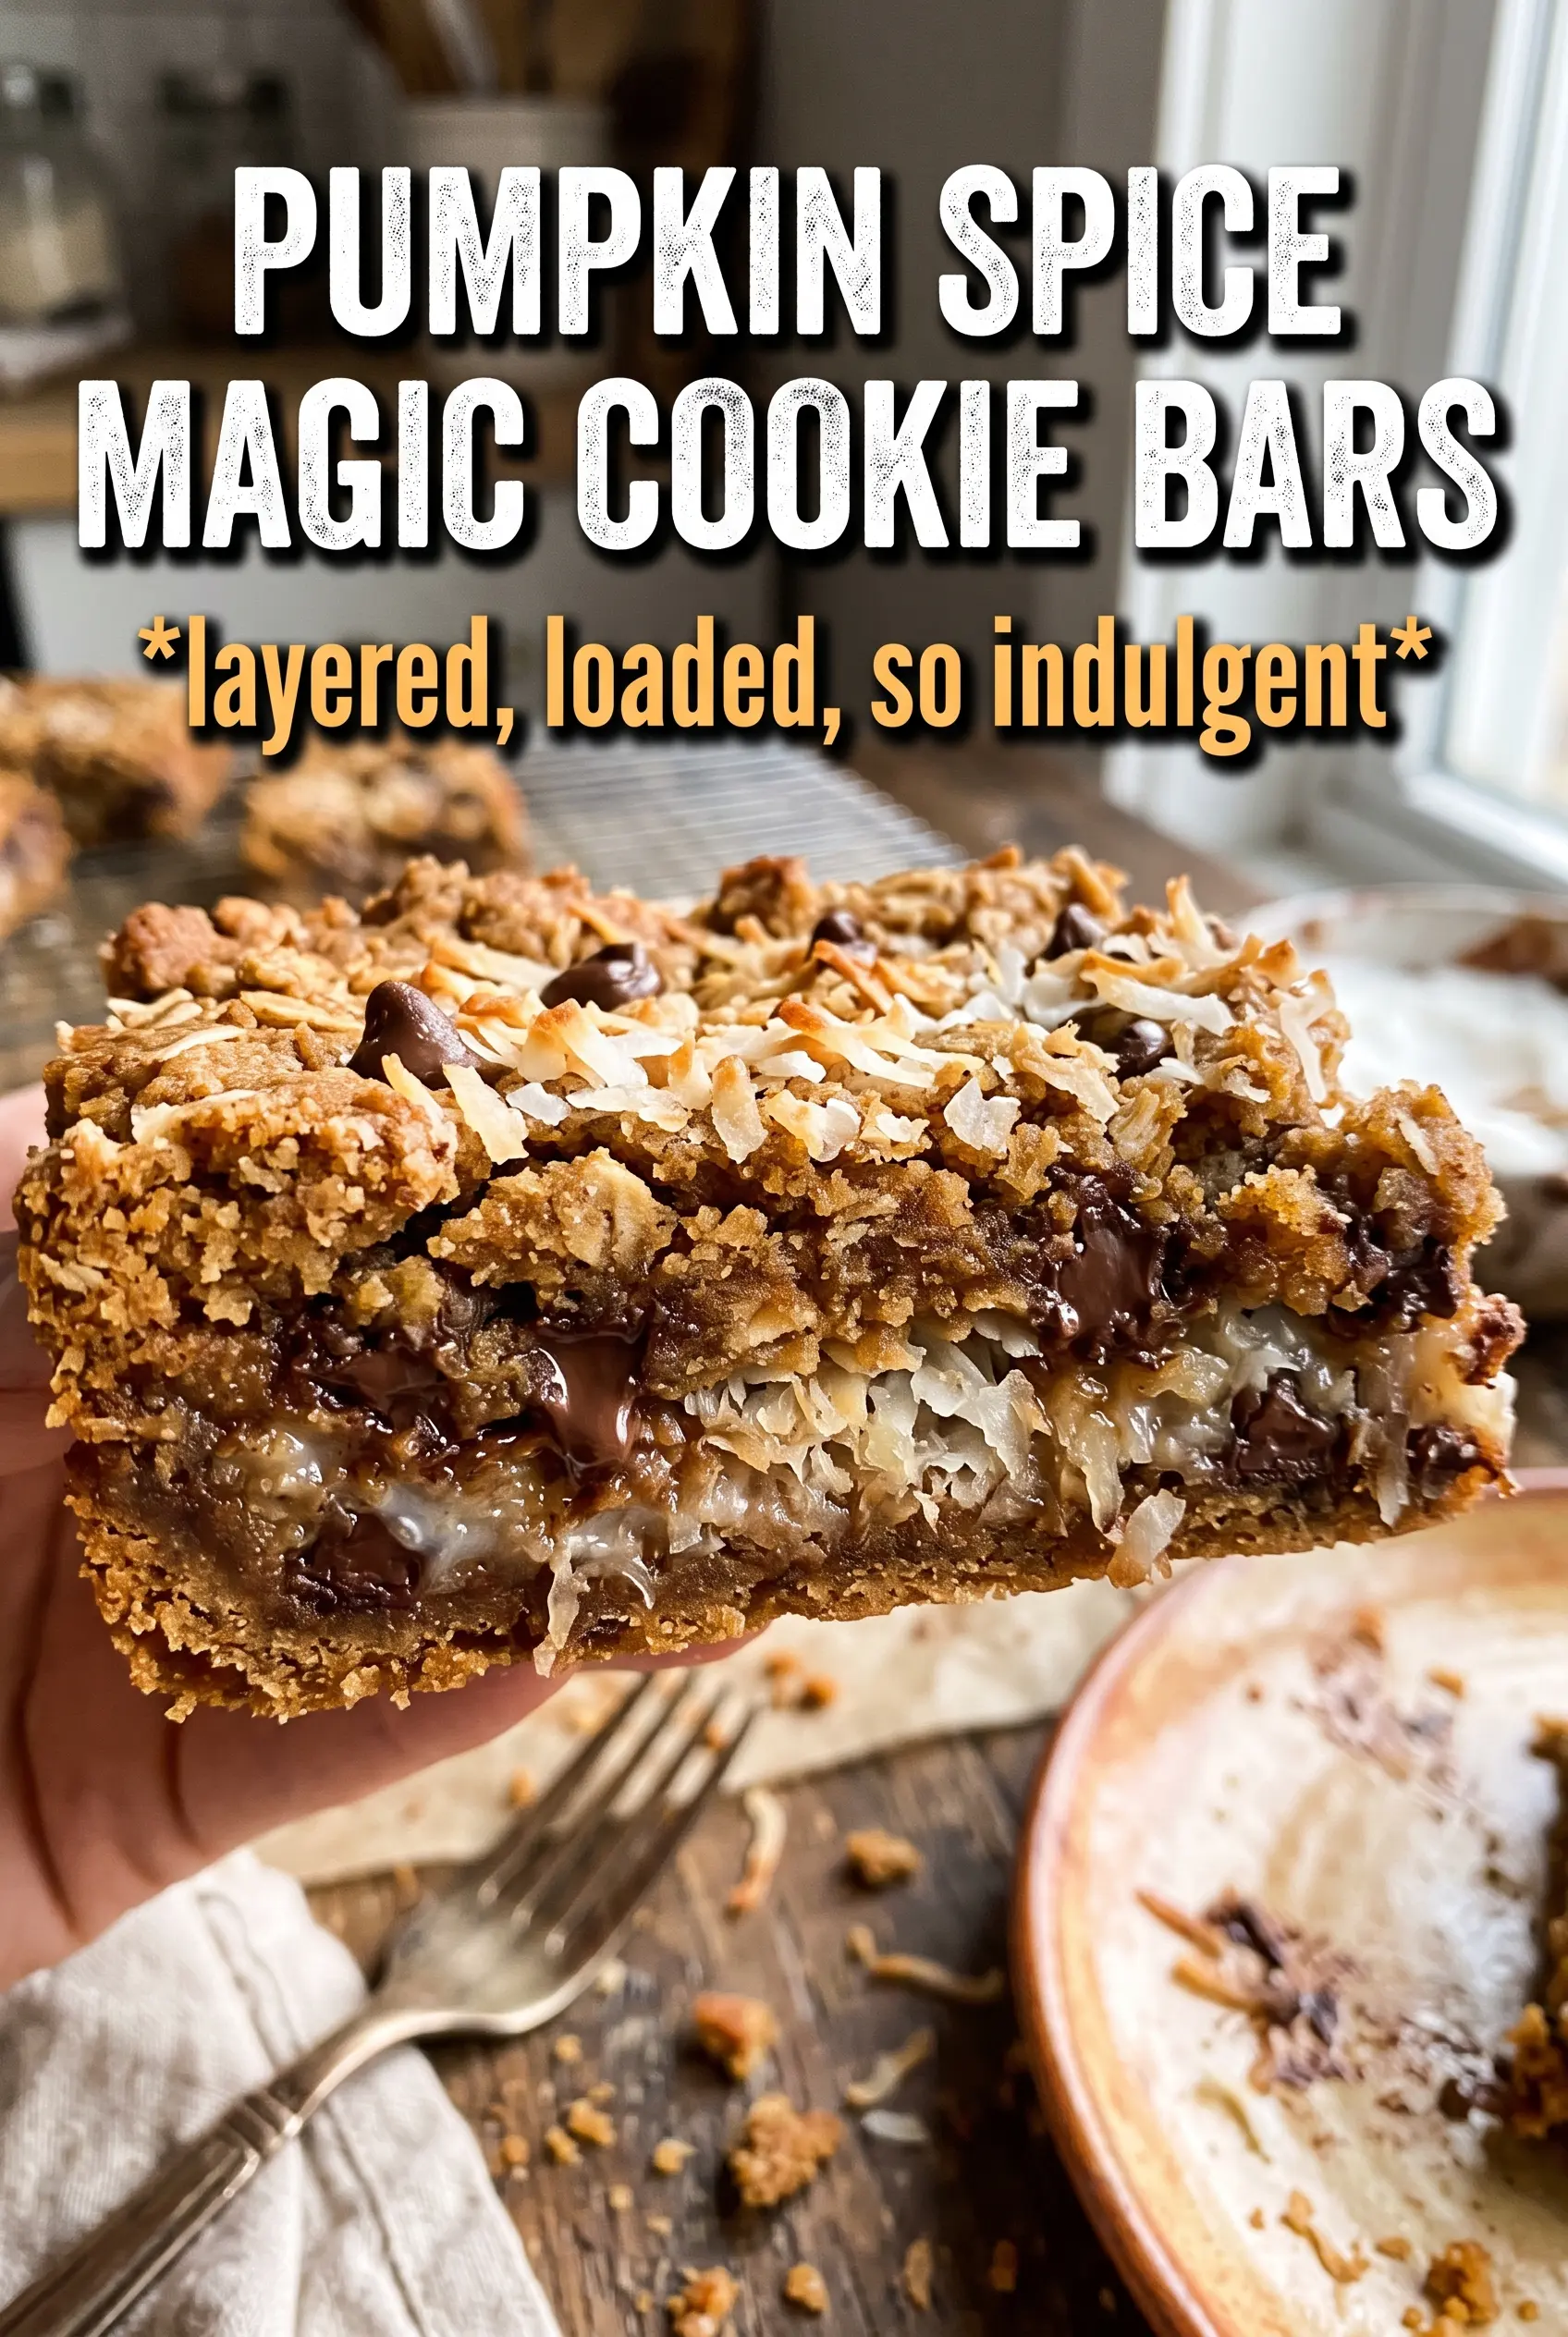
Pumpkin Spice Magic Cookie Bars
Ingredients
Equipment
Method
- Preheat the oven to 350F, and set out a 9x13 pan. Pour the melted butter into the pan to coat the bottom.
- Sprinkle the gingersnap or graham cracker crumbs evenly over the butter, covering the surface. Use a gentle shake or quick press to help the crumbs settle.
- Whisk the sweetened condensed milk, pumpkin puree, pumpkin pie spice, and cinnamon together until smooth. Pour the pumpkin mixture evenly over the crumbs so it reaches the edges.
- Layer the sweetened shredded coconut, white chocolate chips, butterscotch chips, pecans, and toffee bits evenly over the top. Spread in a thin, even layer so every bar gets all the mix-ins.
- Press down gently with your hands to compact the layers. Stop once the top looks slightly flattened rather than compressed hard.
- Bake at 350F for 30-35 minutes, until the edges are golden and the center is set. Look for a firm center that doesn’t wobble when you gently move the pan.
- Cool completely before cutting into bars. Wait until the pan is fully cool so the caramel layer slices cleanly.