Apple crisp with oatmeal delivers the kind of contrast that keeps people going back for a second spoonful: tender, spiced apples underneath a thick, craggy topping that bakes up crisp at the edges and slightly chewy in the middle. The oat crumble gives you more texture than a plain streusel, and that’s what makes this version feel hearty without getting heavy.
The trick is keeping the butter cold and the topping chunky. If you work the butter too far, the crumble turns sandy and bakes into a flat lid instead of those nubbly golden bits that catch in the oven and brown in uneven, beautiful ways. Cornstarch matters here too, because apples leak plenty of juice as they bake; it thickens the filling just enough so you get a spoonable base instead of apple soup.
Below, I’ll walk through the part that matters most for the topping and share a few smart swaps if your apples are extra tart, your pantry is short on butter, or you want to make it ahead.
The topping came out thick and crunchy instead of sandy, and the apple filling bubbled up just enough to thicken without turning watery. I served it with vanilla ice cream, and the whole pan disappeared.
Like this apple crisp with oatmeal? Save it to Pinterest for the nights when you want a bubbling fruit dessert with a thick, buttery crumble.
The Reason the Crumble Stays Chunky Instead of Turning Dense
The topping only works if the butter stays in visible pieces when it goes into the oven. Those cold butter cubes melt in place, leaving little pockets that steam and crisp, which is why you want chunky clumps instead of a paste. If you overmix, the flour and oats coat every bit of butter too evenly and the topping bakes up more like a cookie layer than a proper crisp.
The apple filling has the opposite job: it needs to soften and thicken without collapsing into mush. That’s why the apples are sliced, not chopped, and why cornstarch goes in before baking. The slices hold their shape long enough to give you texture under the topping, while the cornstarch catches the juices that collect in the pan.
- Cold butter — This is the structure. Use it straight from the fridge and cut it in fast. If it starts softening in your hands, the crumble gets greasy instead of crisp.
- Old-fashioned oats — These hold up in the oven and give the topping its chew. Quick oats can work in a pinch, but they make a finer, softer layer.
- Cornstarch — It keeps the apple juices in check. Flour can thicken the filling too, but it tends to turn cloudy and heavier.
- Lemon juice — It wakes up the apples and keeps the flavor from tasting flat. If your apples are already very tart, use a little less, not none.
What Each Ingredient Is Actually Doing in the Pan
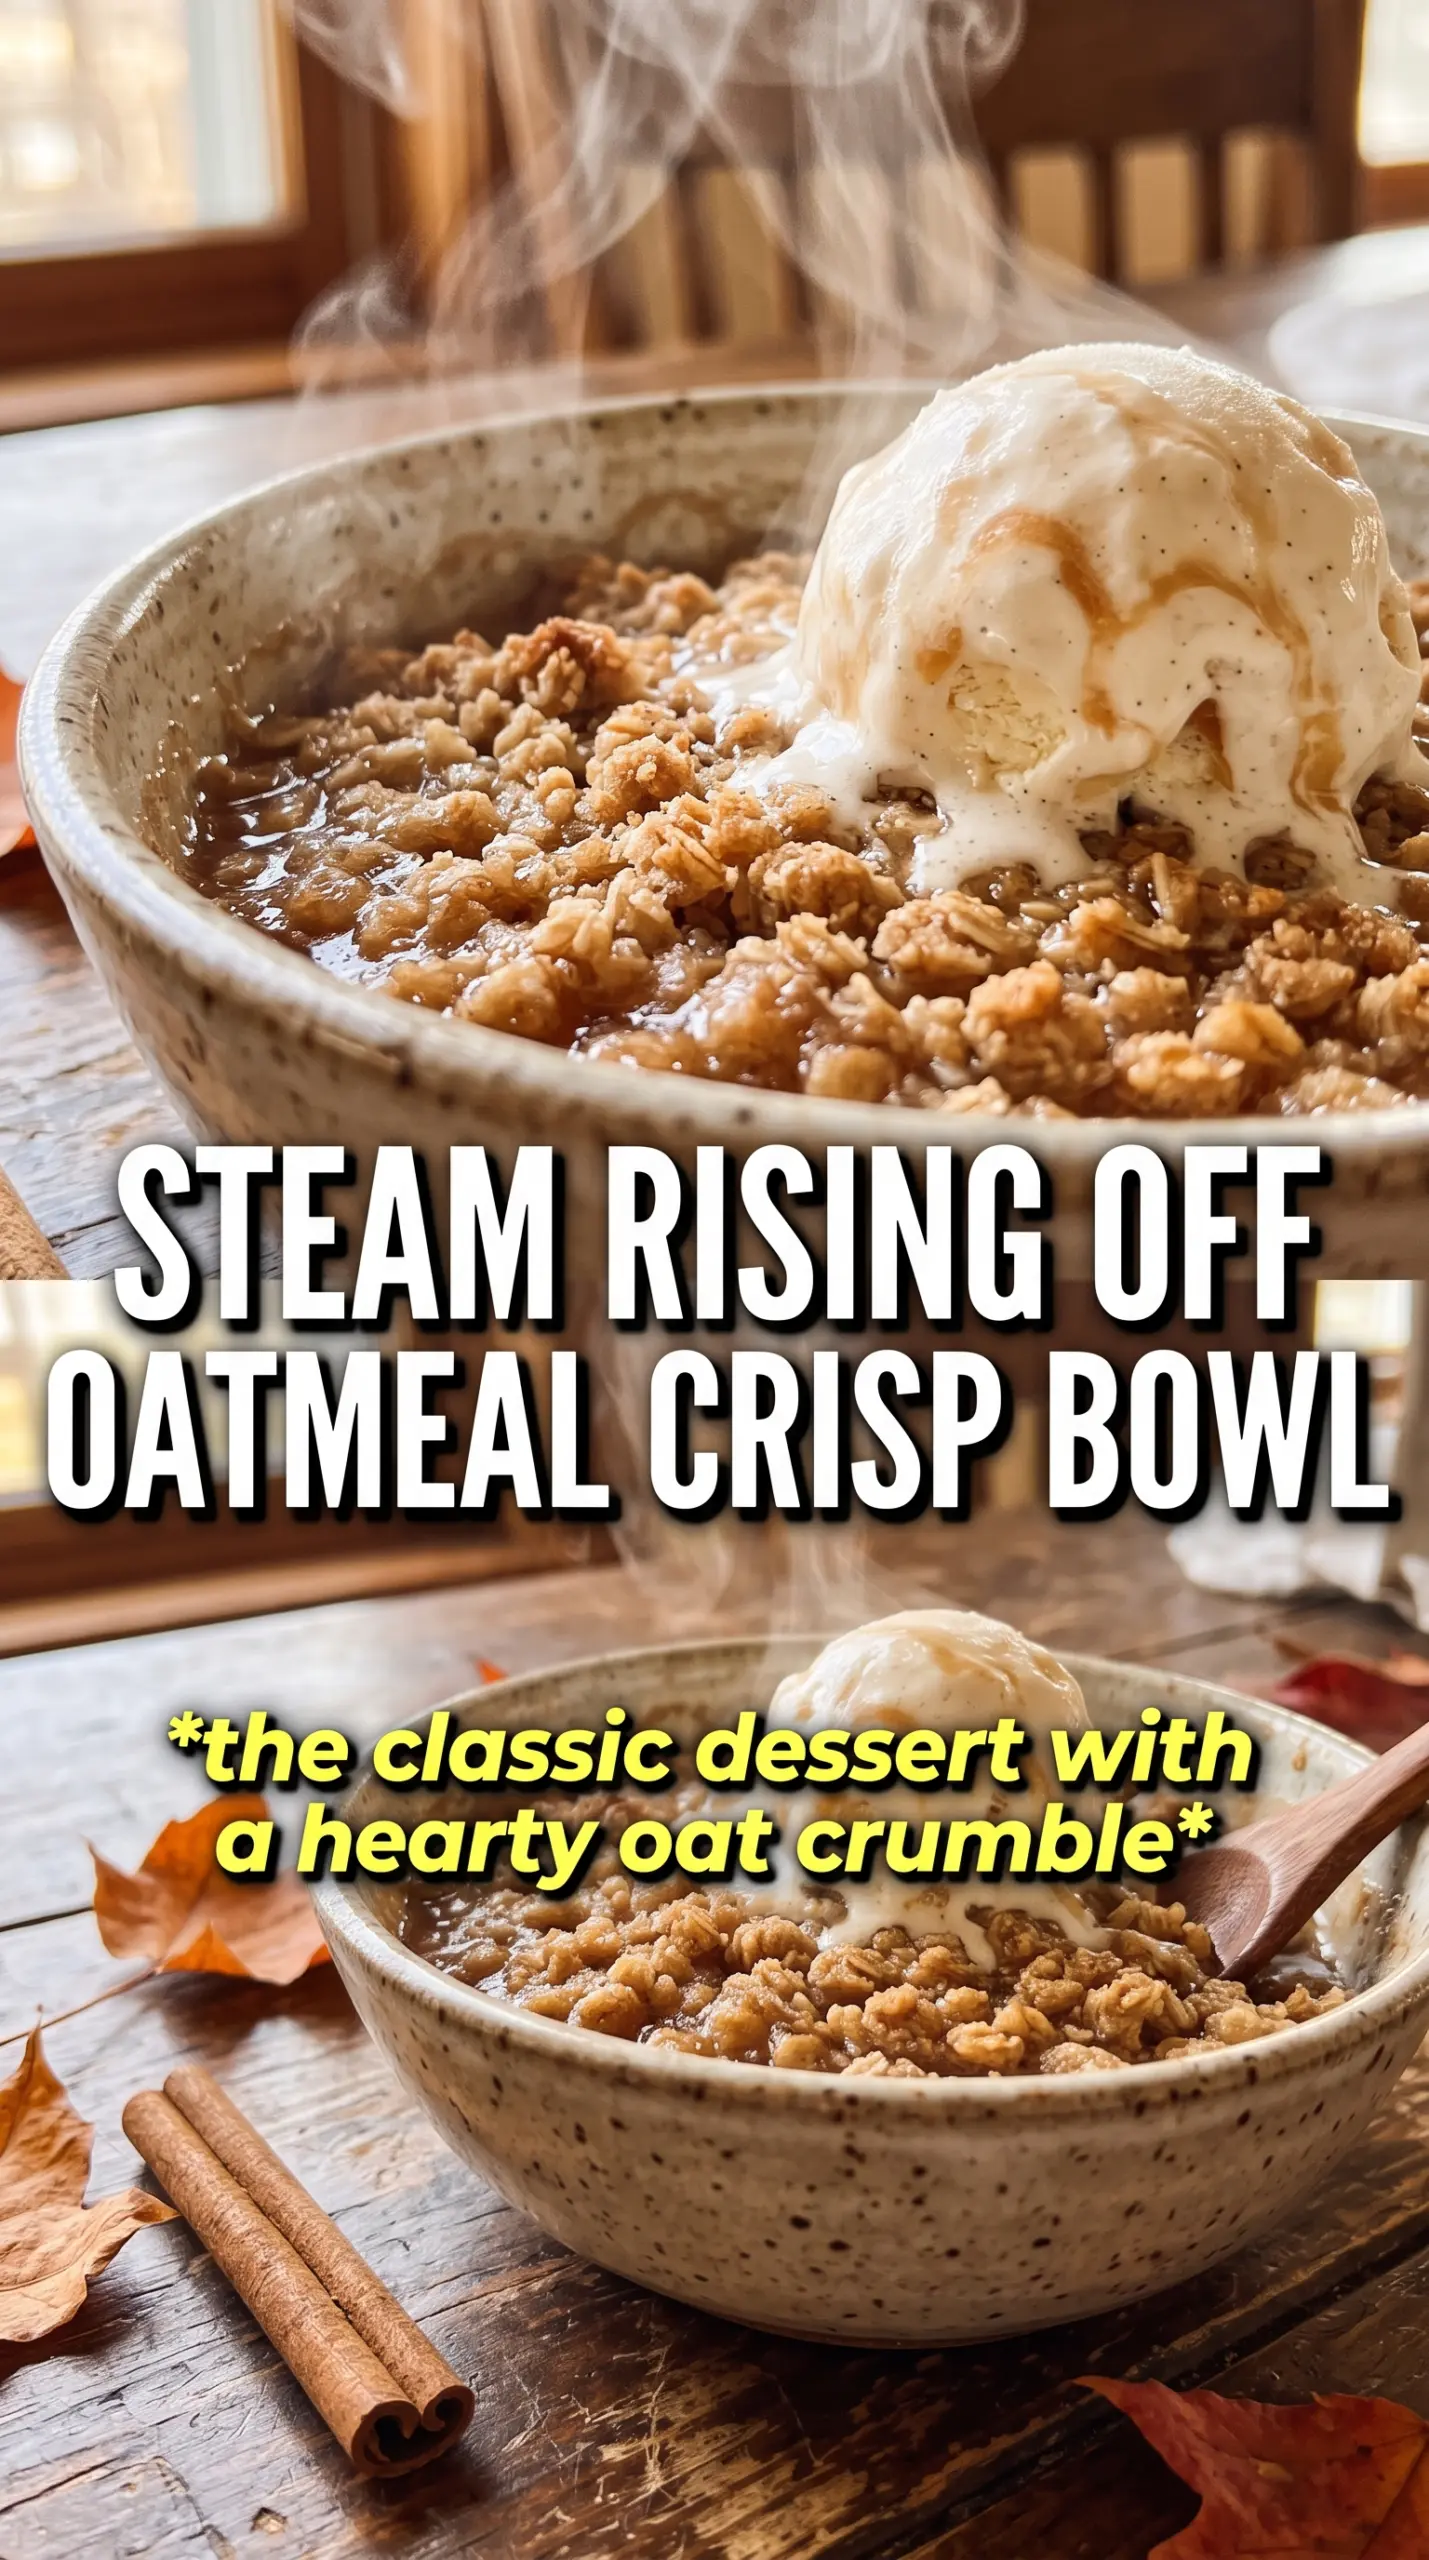
- Apples — Use a firm baking apple if you can. Granny Smith, Honeycrisp, Braeburn, or a mix all work well because they stay intact instead of turning to applesauce.
- Brown sugar — This adds moisture and a deeper caramel note in both the filling and topping. If you swap it for all white sugar, the crisp tastes a little flatter and less rounded.
- Cinnamon and nutmeg — Cinnamon does most of the work, but nutmeg adds that warm background note that makes the apples taste baked instead of merely sweet.
- Flour and oats — Flour binds the crumble, while oats give it that rough, rustic texture. Together they keep the topping from melting into the fruit as it bakes.
How to Build the Crisp So the Top Stays Crunchy
Coating the Apples Evenly
Toss the sliced apples with the sugars, spices, cornstarch, and lemon juice until every piece looks lightly coated. You want the cornstarch dispersed before the dish goes into the oven, or you’ll get little pockets of gummy filling. Spread the apples in a steady layer in the baking dish so they cook evenly; if they pile up too high in one corner, that spot stays too wet.
Making the Oat Crumble
Mix the oats, flour, brown sugar, cinnamon, and salt first, then work in the cold butter with your fingertips or a pastry cutter. Stop when the mixture forms large, uneven clumps and still looks a little floury in places. That uneven texture is what gives you crisp edges and nubby golden pieces, while overworking it turns the top into a compact sheet.
Baking Until the Filling Bubbles
Scatter the crumble all the way to the edges, then bake until the top is deeply golden and the filling bubbles up around the sides. That bubbling is the signal that the cornstarch has activated and the fruit juices have thickened. If the top is brown but the corners aren’t bubbling yet, keep baking; a pale, underbaked filling is the most common reason apple crisp turns runny once you scoop it.
Resting Before Serving
Let the crisp sit for about 10 minutes after it comes out of the oven. The juices settle and thicken a little more during that pause, which keeps the first spoonful from flooding the plate. Serve it warm with vanilla ice cream so it melts into the cracks in the topping and turns the whole dish into something soft, crisp, and cold at once.
How to Adapt This Apple Crisp When Your Pantry or Apples Change
Make it gluten-free
Swap the all-purpose flour for a 1:1 gluten-free baking blend. The texture stays close to the original, though the topping can be a touch more delicate, so let it cool for the full rest time before serving.
Use pears for a softer, floral filling
Replace half the apples with firm pears if that’s what you have. Pears cook down faster and give you a gentler sweetness, so keep the slices on the thick side and check the dish a few minutes early.
Add nuts for extra crunch
Stir chopped pecans or walnuts into the crumble after the butter is worked in. They toast as the crisp bakes and give the topping more bite, but they also make the topping a little less uniform, so keep the pieces small.
Storage and Reheating
- Refrigerator: Store covered for up to 4 days. The topping softens a bit in the fridge, but the flavor holds up well.
- Freezer: It freezes well baked or unbaked. Wrap tightly and freeze for up to 2 months; if baking from frozen, add extra time and wait for the filling to bubble through the center.
- Reheating: Warm in a 325°F oven until the topping crisps back up. The microwave softens the crumble, so use it only if you don’t mind losing that contrast.
Questions I Get Asked About This Recipe
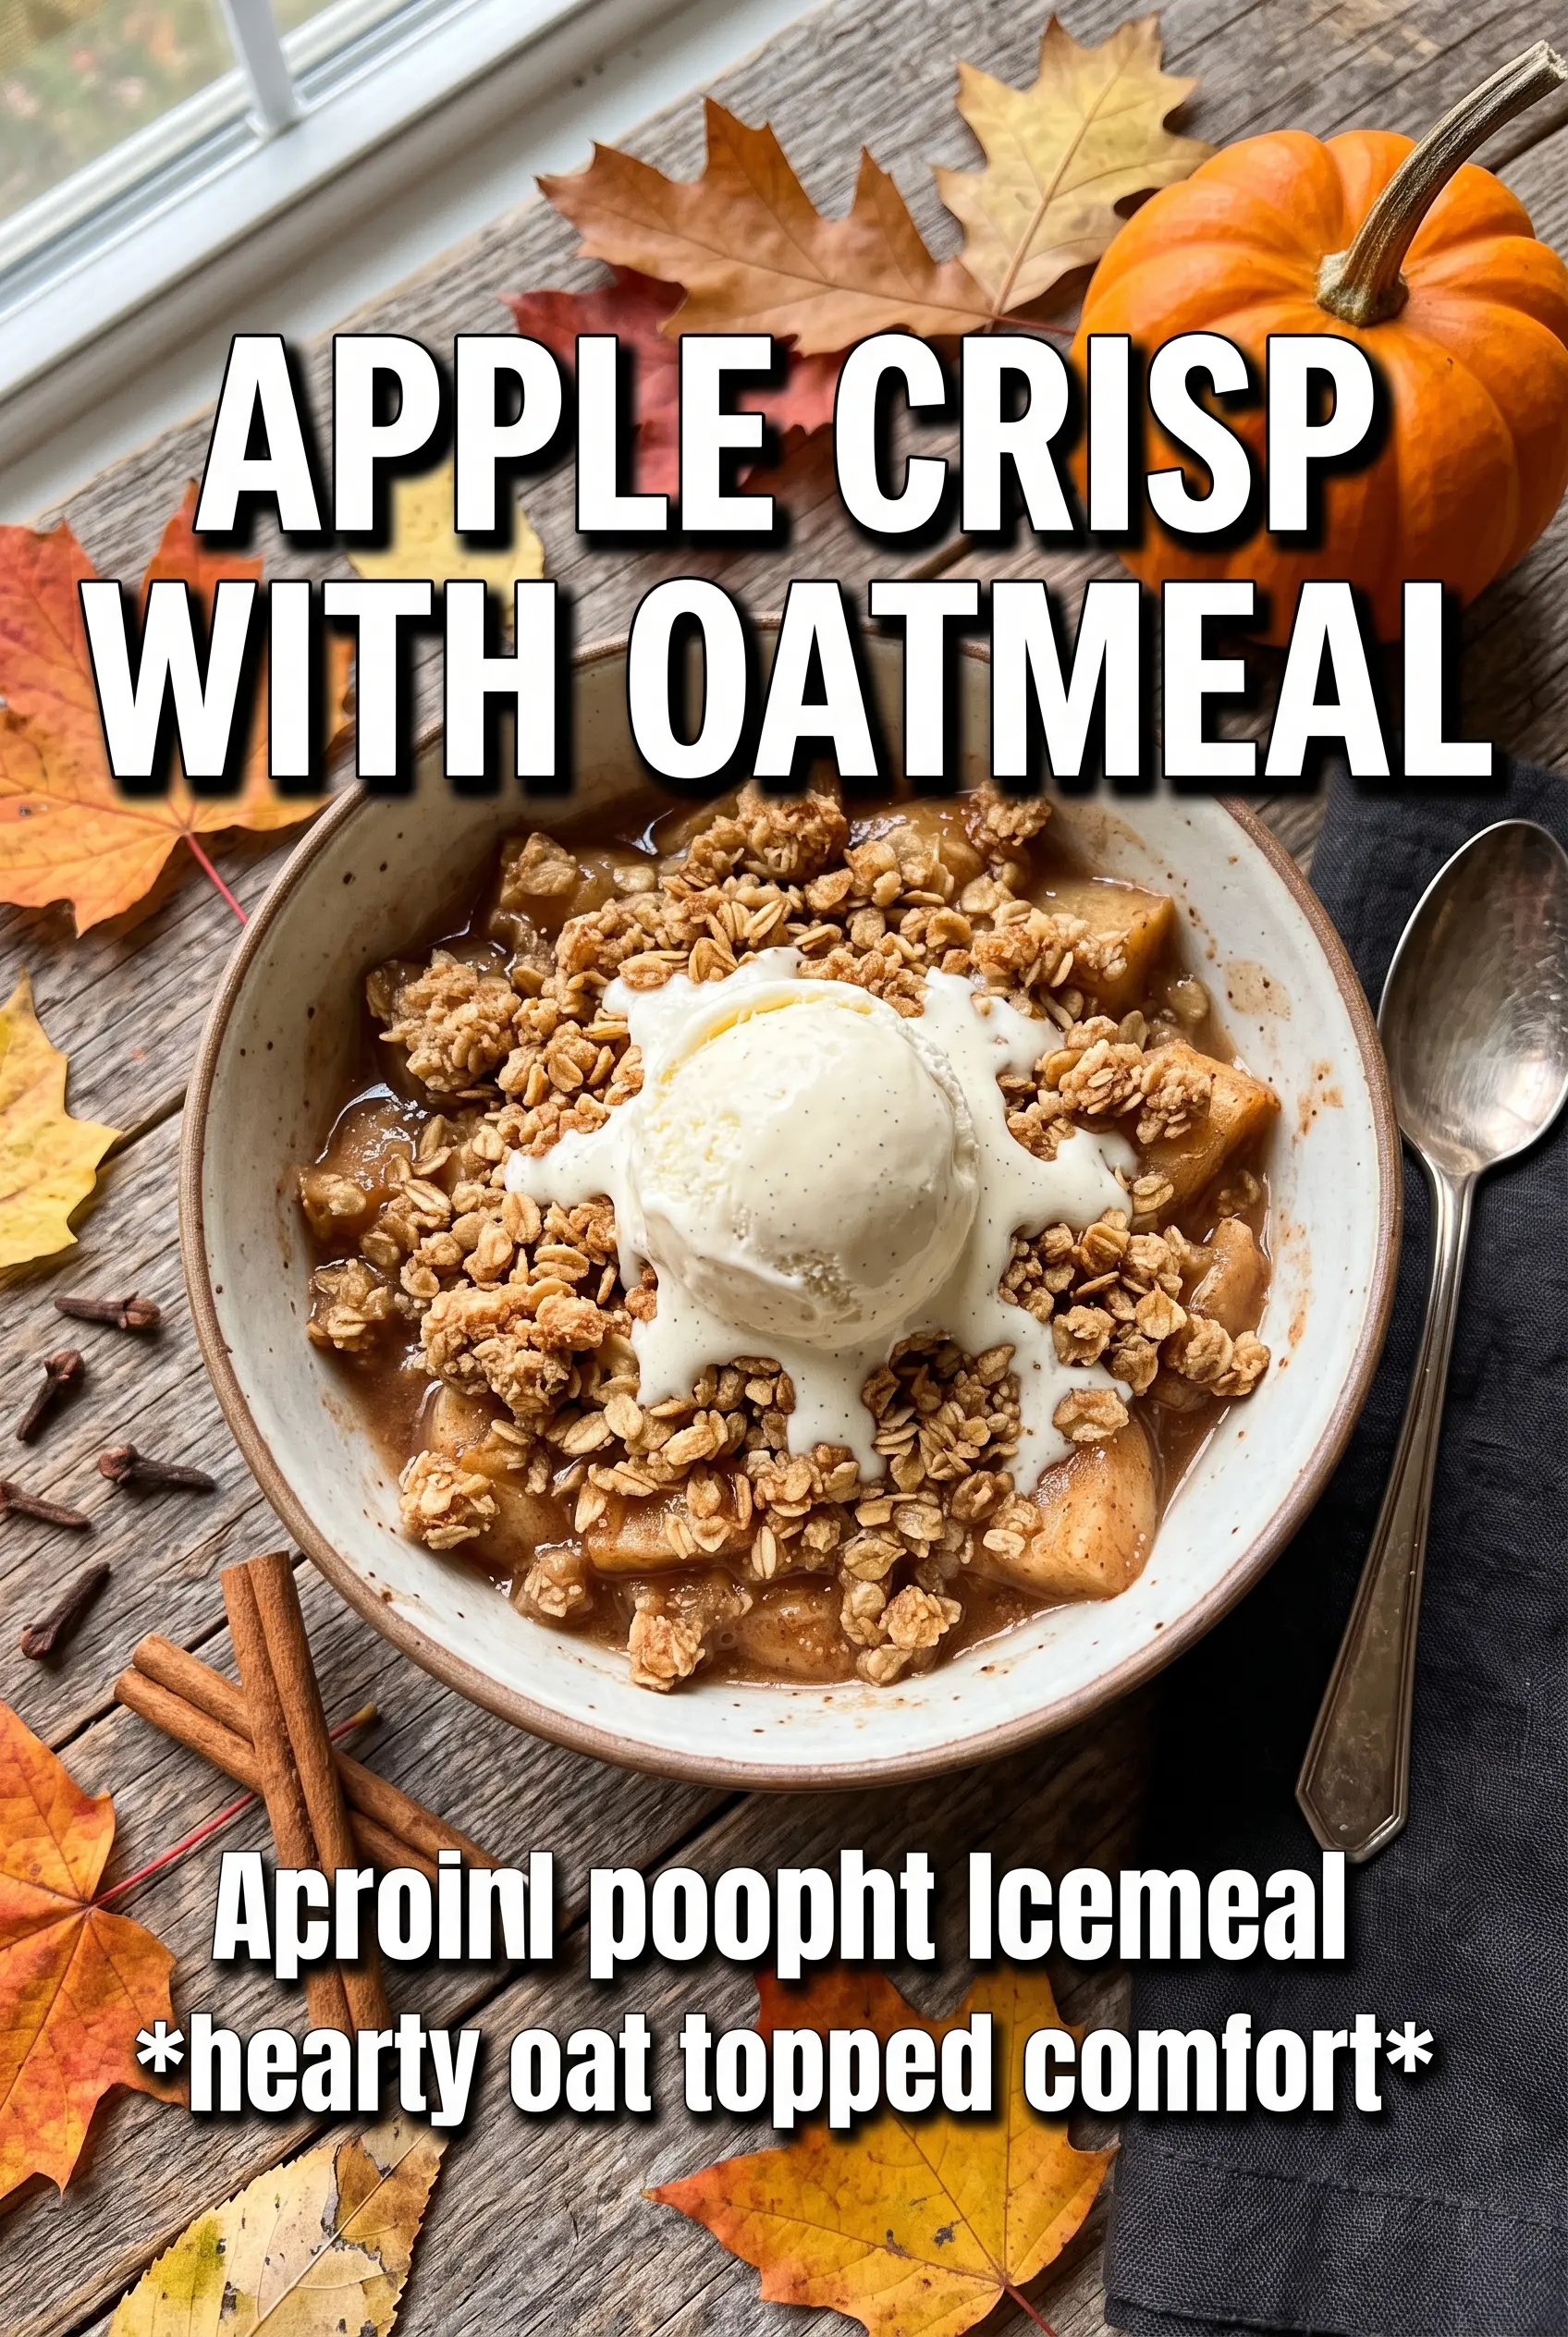
Apple Crisp With Oatmeal
Ingredients
Equipment
Method
- Preheat the oven to 375F and grease a 9x13 baking dish. Use a light coating so the topping releases easily.
- Toss the apple slices with granulated sugar, brown sugar, cinnamon, nutmeg, cornstarch, and lemon juice. Spread the coated apples evenly in the prepared dish and keep any thick pieces gathered in a single layer.
- Combine the rolled oats, all-purpose flour, packed brown sugar, cinnamon, and salt in a bowl. Mix until evenly distributed with no dry flour pockets.
- Cut the cold butter into the oat mixture with your fingertips or a pastry cutter until large, chunky clumps form. The crumbs should hold together when squeezed.
- Scatter the crumble generously over the apples, covering every inch. Aim for full coverage so the top turns deeply golden.
- Bake for 40-45 minutes at 375F until the topping is deeply golden and the apple filling bubbles at the corners. Let bubbling reach the edges for best set.
- Rest the crisp for 10 minutes before serving. Serve warm with vanilla ice cream.