Roasted vegetable pizza earns its spot because the vegetables taste like they’ve actually been cooked, not just warmed up under cheese. The zucchini goes silky at the edges, the peppers soften into something sweet, and the tomatoes collapse into little bursts that cut through the richness of the mozzarella. You get a crust that stays crisp enough to hold a slice without folding into a soggy mess, which is the whole point of doing the vegetables separately first.
The difference here is in the roasting. Putting raw vegetables on pizza dumps extra water onto the dough and steals the chance for browning. Roasting them first concentrates their flavor and keeps the top of the pizza from turning damp. A little balsamic glaze at the end sharpens everything and makes the roasted vegetables taste even more intentional.
Below, I’ve laid out the little details that matter most: how to keep the crust from going soft, which vegetables can swap without changing the result too much, and what to do if you want to make it ahead for a faster dinner.
Roasting the vegetables first made all the difference. The crust stayed crisp, and the balsamic at the end tied the zucchini, peppers, and tomatoes together perfectly. My husband asked for this again the next night.
Save this roasted vegetable pizza for a crisp crust, caramelized vegetables, and that final balsamic drizzle.
The Trick to Keeping Roasted Vegetables from Making the Crust Soggy
The biggest mistake with vegetable pizza is piling on raw produce and hoping the oven sorts it out. It usually doesn’t. Raw zucchini and tomatoes leak moisture as the cheese melts, and that moisture sits right on the dough where it blocks browning. Roasting the vegetables first solves that problem by driving off excess water and giving you browned edges that taste deeper and sweeter.
That first roast also changes the texture in a good way. The onion softens and turns sweet, the peppers lose their crunch, and the tomatoes collapse just enough to become jammy at the edges. If your vegetables are crowded on the pan, they’ll steam instead of caramelize, so spread them out in a single layer and give them room.
- Zucchini — This is the first vegetable to turn watery if you skip the roast. Slice it a little thicker than paper thin so it softens without disappearing.
- Cherry tomatoes — Halved tomatoes roast into sweet, juicy pockets. Leave them cut-side up on the sheet so they concentrate instead of bursting flat.
- Red onion — Rings give you sweeter, more defined pieces on the finished pizza. Thin slices can burn before the rest of the vegetables are ready.
- Mozzarella — Use low-moisture shredded mozzarella if you can. Fresh mozzarella tastes great, but it brings extra moisture that works against the crisp crust.
What Each Ingredient Is Actually Doing in This Pizza

- Pizza dough — Homemade dough gives you more control over chew and lift, but store-bought dough works fine here. Let it come close to room temperature before stretching so it doesn’t snap back.
- Olive oil — The oil on the vegetables helps them brown instead of drying out, and the oil brushed on the dough helps the underside crisp. Don’t skip the dough brush; that thin layer helps protect against sauce seepage.
- Garlic — Minced garlic stirred into the vegetable mix adds a little sharpness that carries through the cheese. It’s a small amount, but it keeps the pizza from tasting flat.
- Pizza sauce or marinara — Use a thicker sauce here. Thin sauce spreads fast and adds moisture where you don’t want it.
- Parmesan — This adds a salty, nutty edge and helps the top taste more balanced. Freshly grated parmesan melts better and tastes cleaner than the canned stuff.
- Basil and balsamic glaze — Both go on at the end, not before. Basil stays bright, and the glaze adds acidity after baking without watering down the pizza.
Building the Pizza So the Crust Stays Crisp
Roasting the Vegetables First
Toss the zucchini, bell pepper, onion, and tomatoes with olive oil, salt, and pepper, then spread them on a baking sheet in a single layer. Roast them until the edges take on color and the tomatoes look softened and glossy. If the pan is crowded, they’ll steam, and you’ll lose the caramelized flavor that makes this pizza worth doing. Pull them when they’re tender but still holding shape; if they cook all the way down, they’ll turn mushy on the pizza.
Stretching and Prepping the Dough
Roll or stretch the dough on parchment so you can move it easily without tearing it. Brush the surface with olive oil before the sauce goes on. That small step helps the bottom brown and keeps the sauce from soaking directly into the dough. If the dough keeps springing back, let it rest a few minutes and try again instead of forcing it thin and ripping it.
Layering Without Overloading
Spread the sauce in a thin, even layer, then top with the roasted vegetables and both cheeses. The goal is coverage, not a mountain of toppings. Too much cheese or too many vegetables traps steam and softens the crust. Sprinkle the Italian seasoning over the top so it lands on the cheese and vegetables, where the heat can wake it up.
Baking Until the Cheese Bubbles
Bake at 450°F until the crust is golden at the edges and the cheese is bubbling with a few browned spots. If the bottom is pale, give it a few extra minutes on the lower rack. Don’t yank it too early just because the cheese looks melted; a proper pizza needs the crust fully set under the toppings. Finish with basil and balsamic glaze after it comes out so the herbs stay fresh and the glaze keeps its sharp bite.
Three Ways to Make This Pizza Fit What’s in Your Kitchen
Dairy-Free Version
Use a good melting dairy-free mozzarella and skip the parmesan, or replace it with a dairy-free hard cheese if you have one you trust. You’ll lose a little of the salty depth, so lean harder on the balsamic glaze and a pinch more salt after baking.
Gluten-Free Crust Swap
Use a gluten-free pizza dough that’s meant for high heat, since some versions brown too fast before the center firms up. Bake it on parchment and watch the bottom closely, because gluten-free dough often needs a little extra time to set through.
Change the Vegetables Without Changing the Method
Mushrooms, eggplant, and yellow squash all work well if you roast them first. Keep the total amount about the same so the pizza doesn’t get overloaded, and choose vegetables with similar cook times so nothing turns to mush while you wait for the denser pieces.
Storage and Reheating
- Refrigerator: Store slices in an airtight container for up to 3 days. The vegetables soften a little, but the flavor holds.
- Freezer: Freeze slices tightly wrapped and then bagged for up to 2 months. The crust won’t be quite as crisp after thawing, but it still works for a quick lunch.
- Reheating: Reheat in a 400°F oven or toaster oven until the crust crisps back up and the cheese melts again. The microwave will make the crust rubbery, which is the fastest way to ruin leftover pizza.
Answers to the Questions Worth Asking
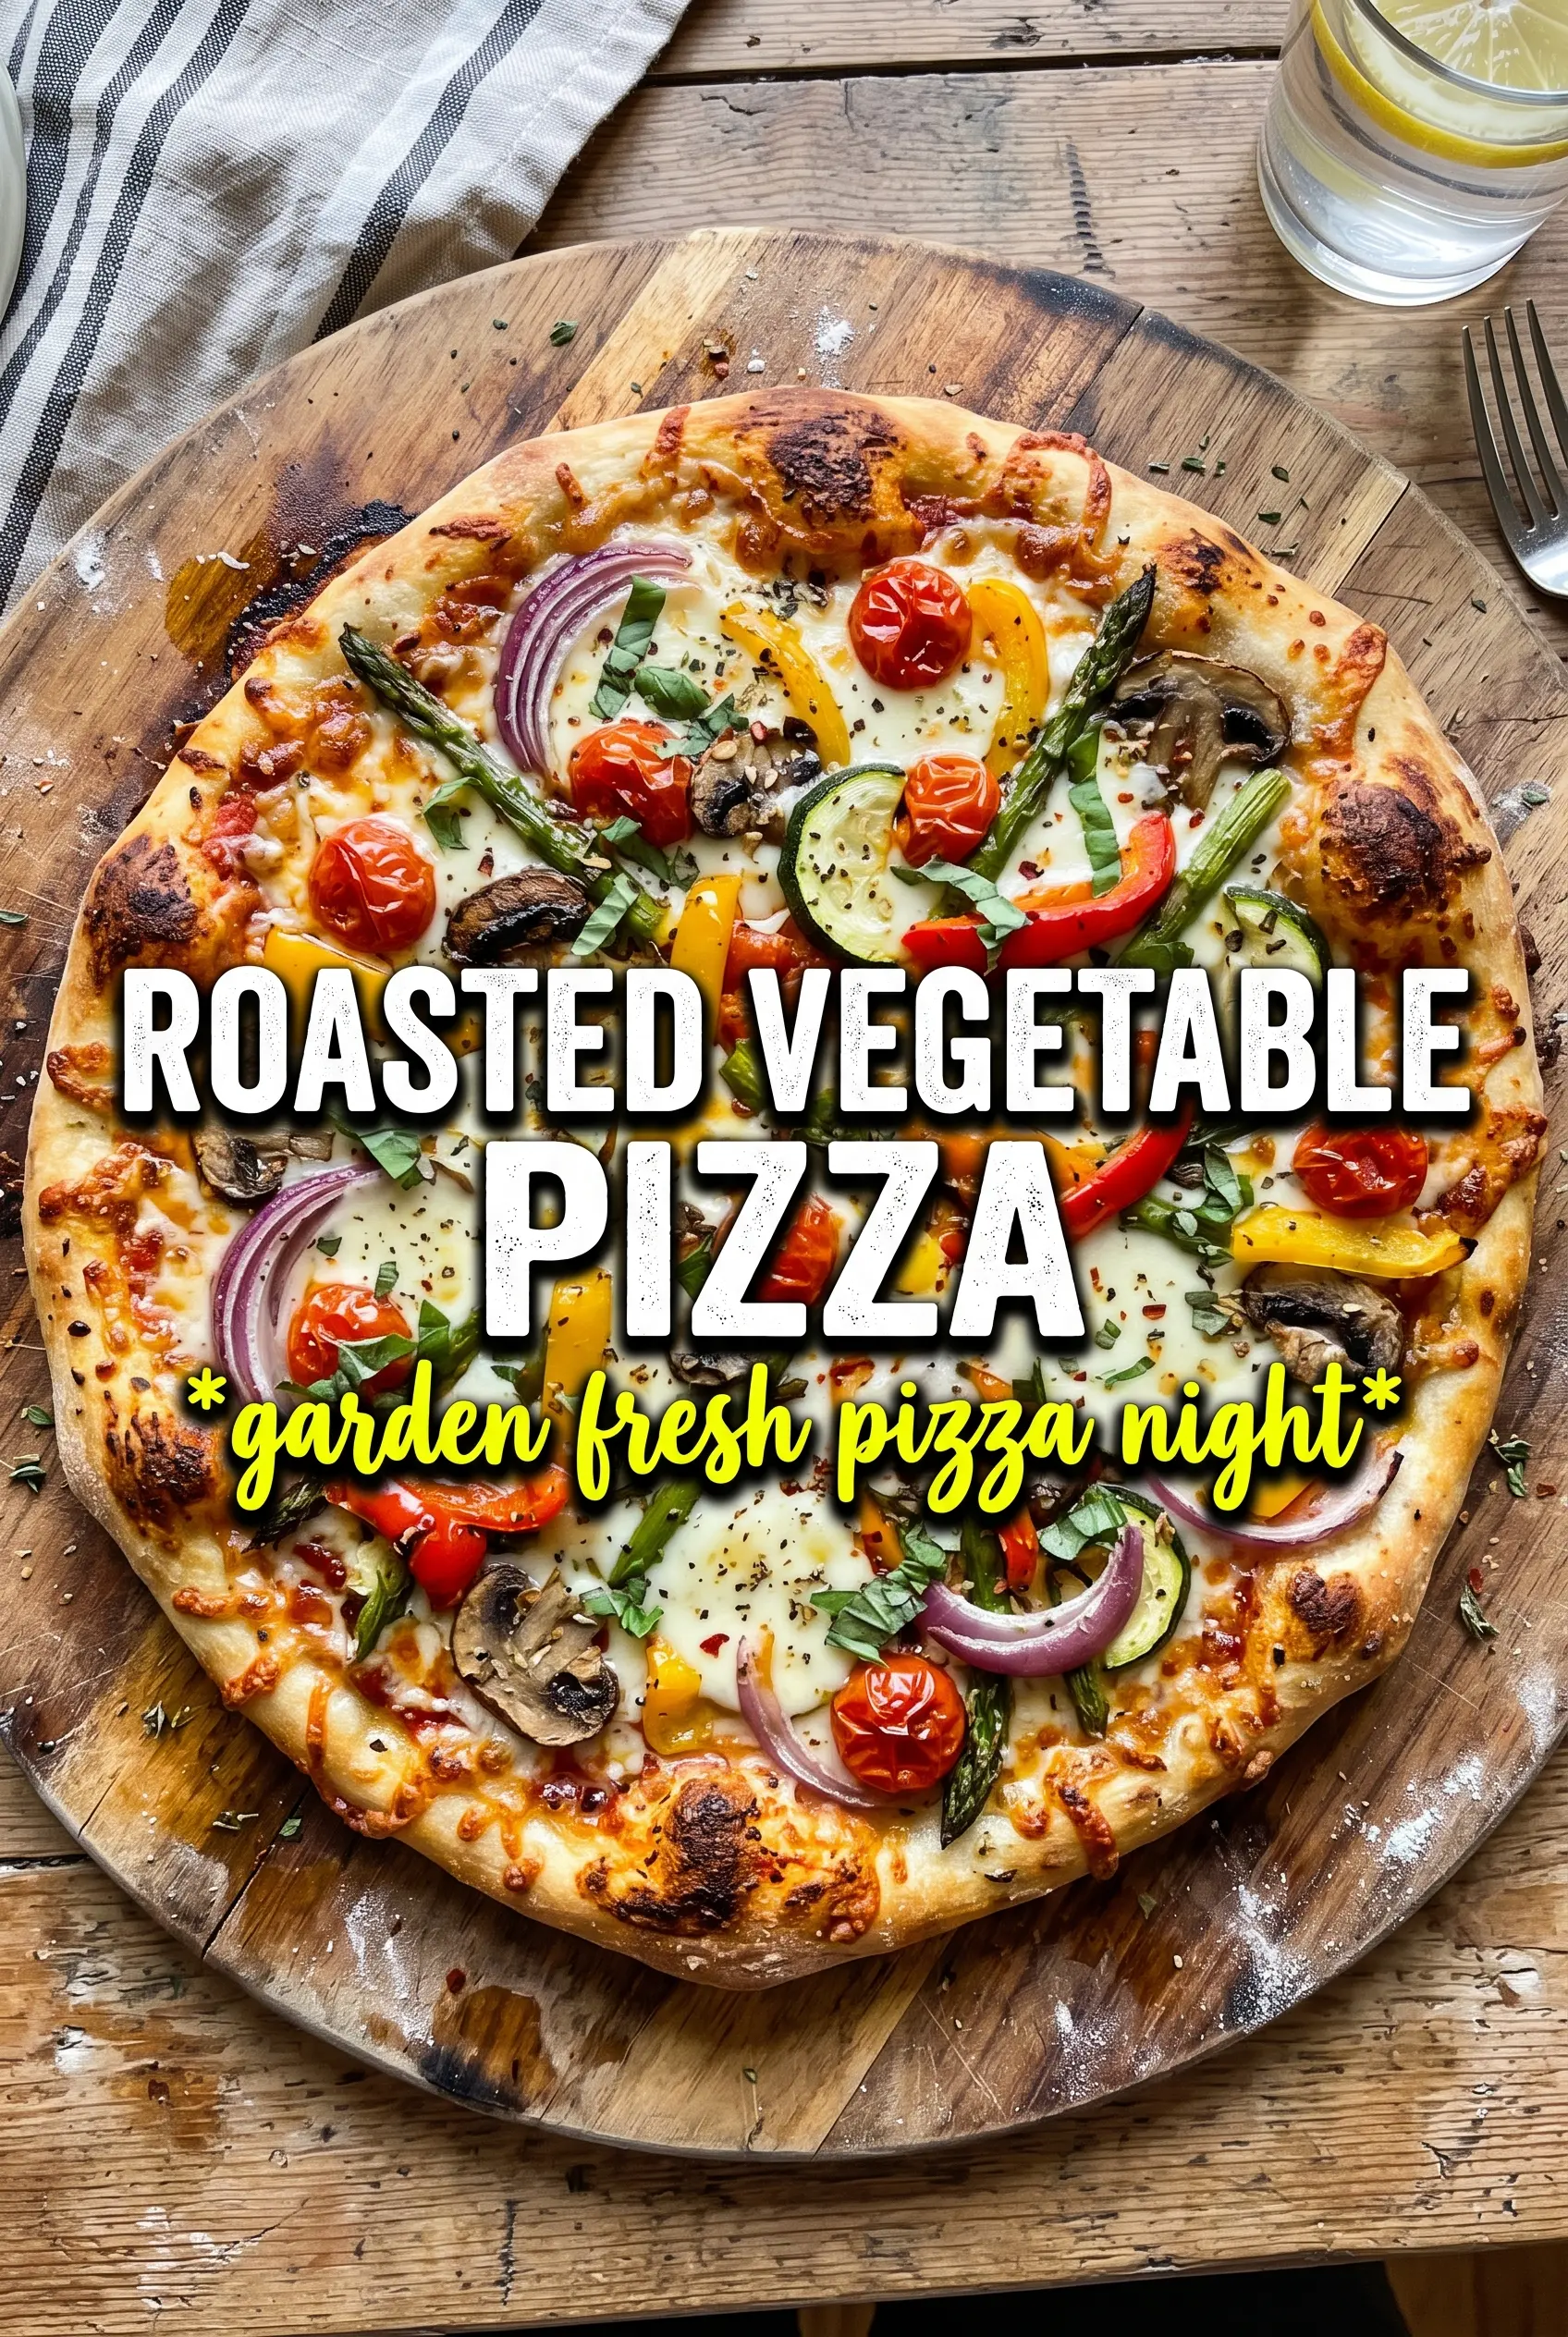
Roasted Vegetable Pizza
Ingredients
Equipment
Method
- Preheat the oven to 450F. Toss zucchini, bell pepper, red onion, and cherry tomatoes with 2 tablespoons olive oil, salt, pepper, and the minced garlic.
- Spread the vegetables on a sheet pan in a single layer. Roast for 15-18 minutes until caramelized, stirring once halfway if needed.
- Roll out the pizza dough on a parchment-lined sheet. Brush the dough with the remaining olive oil.
- Spread pizza sauce over the dough. Top with the roasted vegetables and both cheeses (mozzarella and parmesan).
- Sprinkle Italian seasoning over the pizza. Bake for 12-15 minutes until the crust is golden and the cheese is bubbly.
- Finish with fresh basil and drizzle with balsamic glaze. Slice and serve while hot.