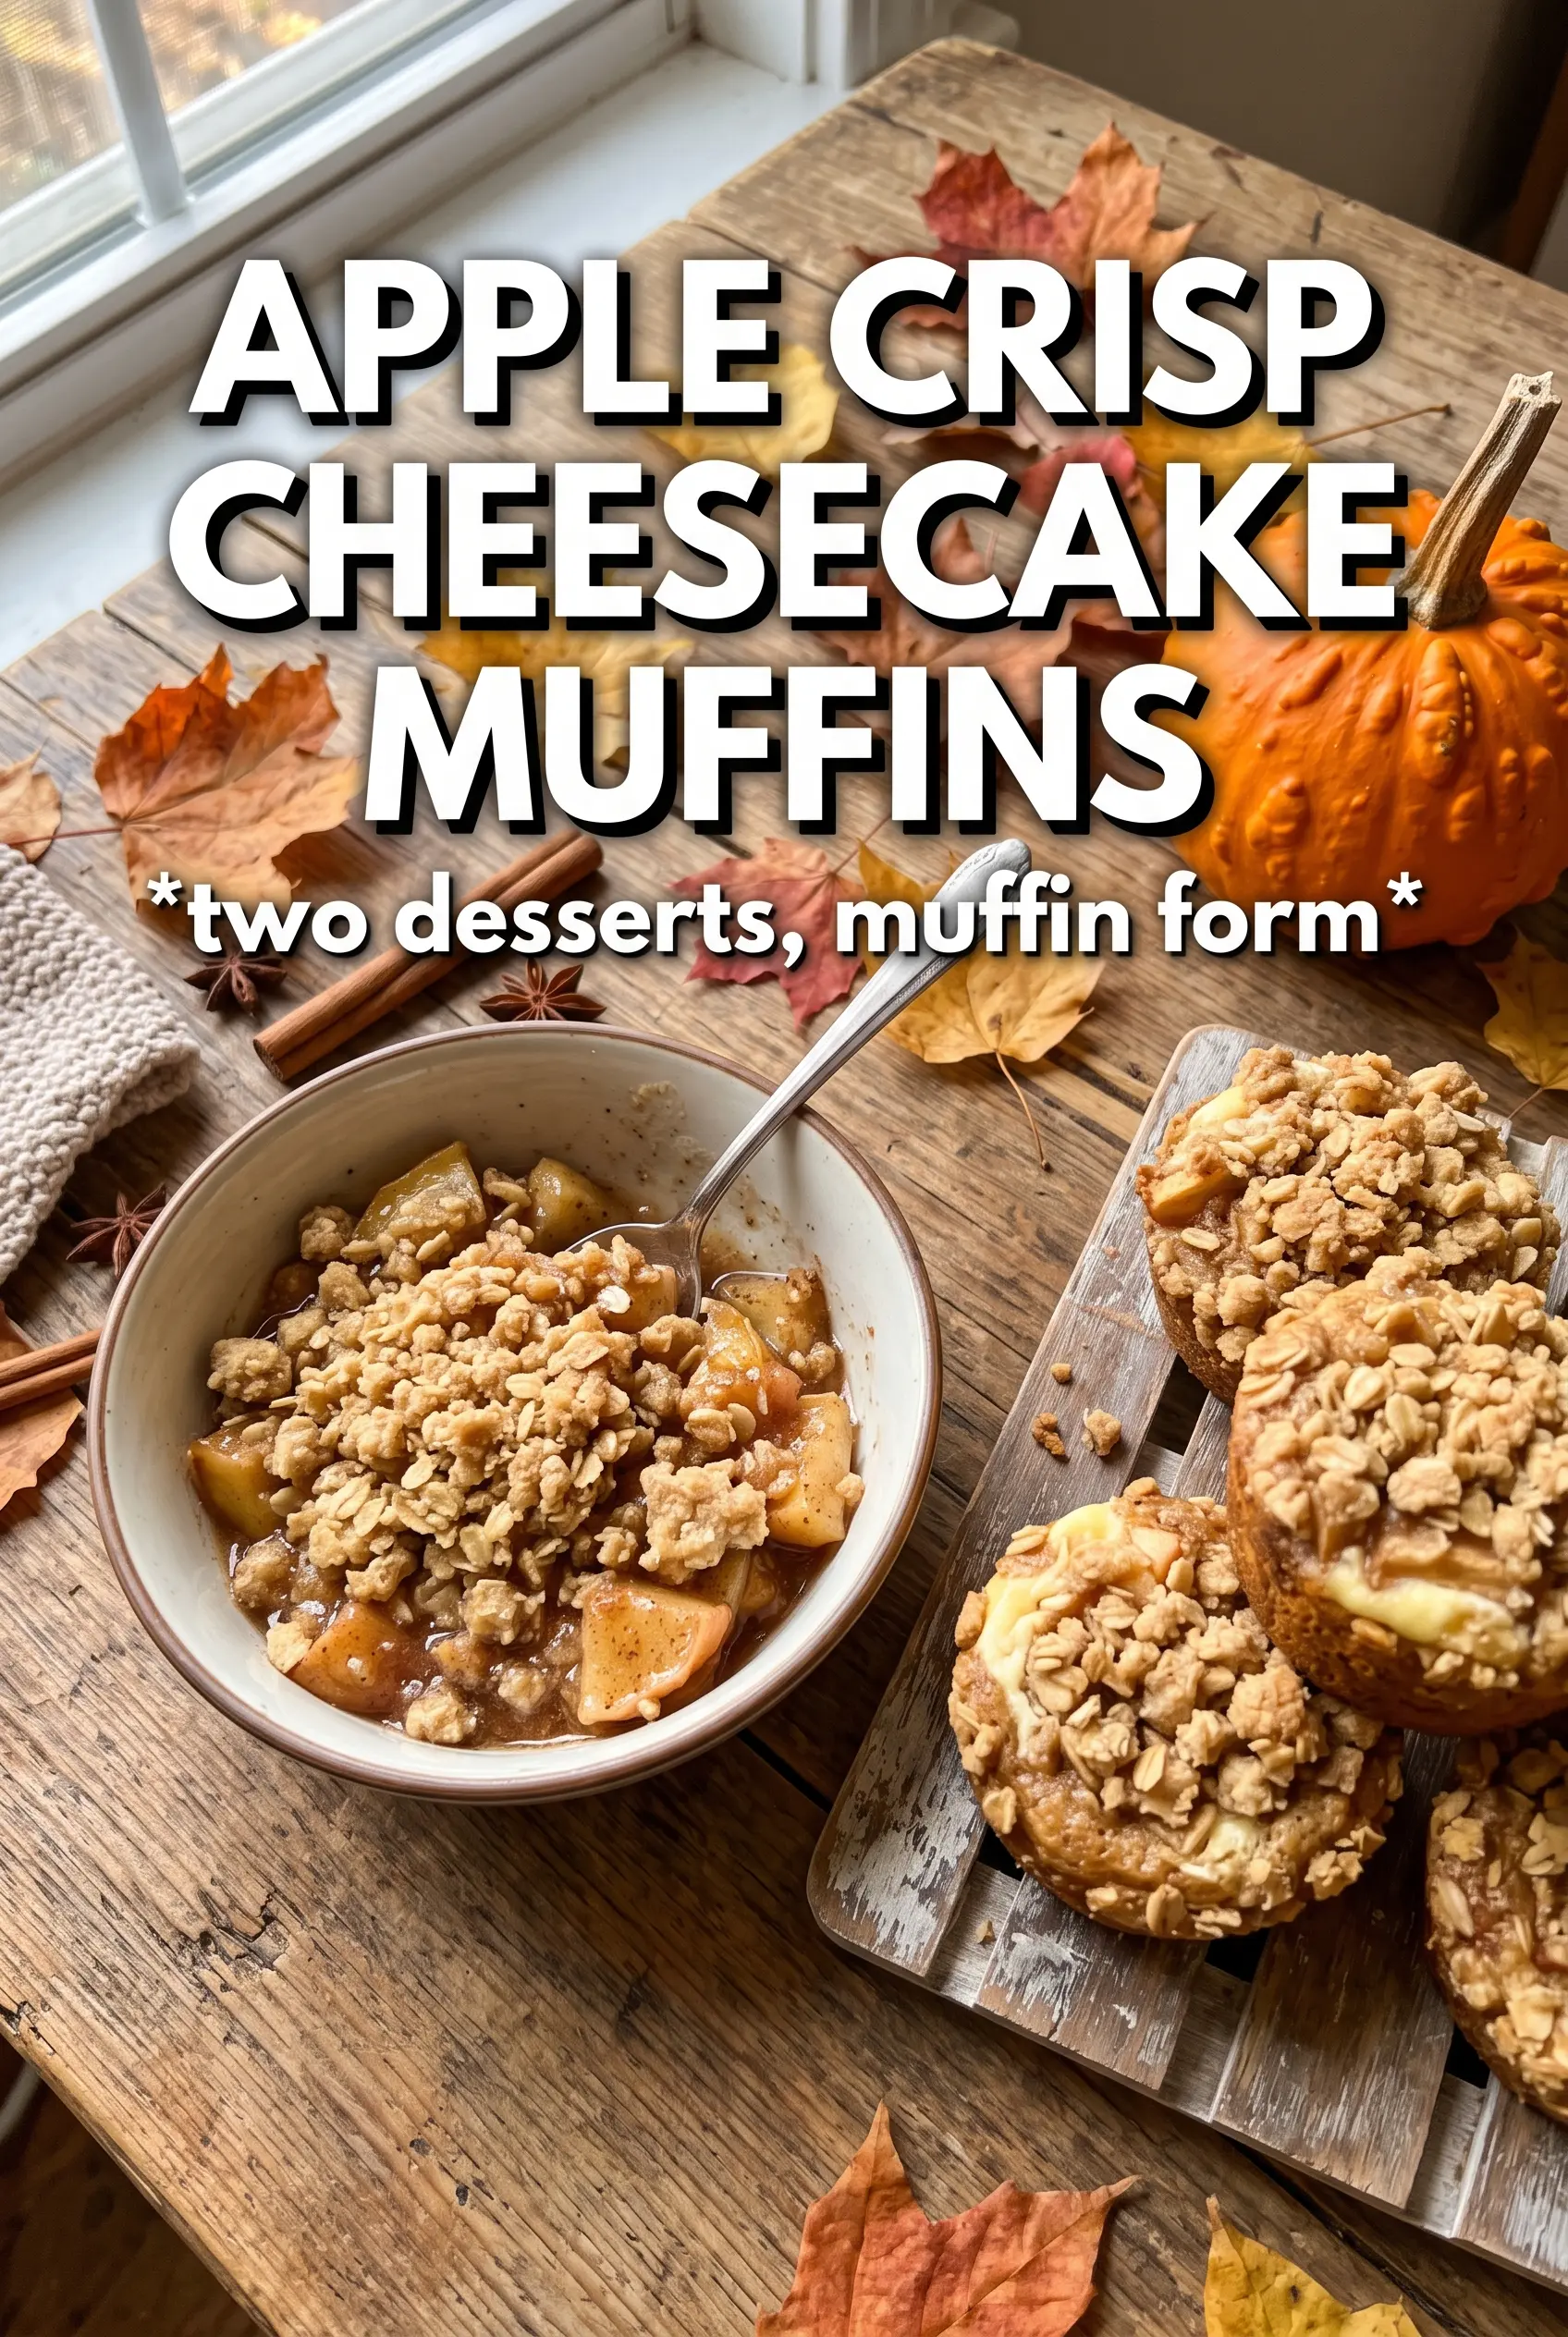
Apple crisp cheesecake muffins bake up with tender cinnamon-scented crumb, a cool cream cheese center, and a buttery oat topping that turns golden and crisp in the oven. They land somewhere between bakery muffin and breakfast dessert, which is exactly why they disappear fast from the cooling rack. The apple pieces keep the crumb moist without turning wet, and the cheesecake filling gives each bite a little surprise instead of a heavy swirl that sinks to the bottom.
The trick is keeping each part distinct. The cream cheese filling gets mixed first and chilled so it stays put when you portion the batter. The crumble also needs a quick trip back to the fridge so the butter stays cold long enough to bake into actual crumbs instead of melting into the top. That balance is what gives these muffins their crisp cap, soft middle, and creamy center all in one bite.
Below, I’ve included the small details that keep the filling from leaking, the crumble from disappearing, and the apples from getting lost in the batter. If you’ve ever ended up with dry muffins or a topping that vanished, these are the fixes that matter.
The cream cheese center stayed right in the middle and the oat topping turned crisp instead of sinking. I baked them for 24 minutes and the kitchen smelled like an apple bakery.
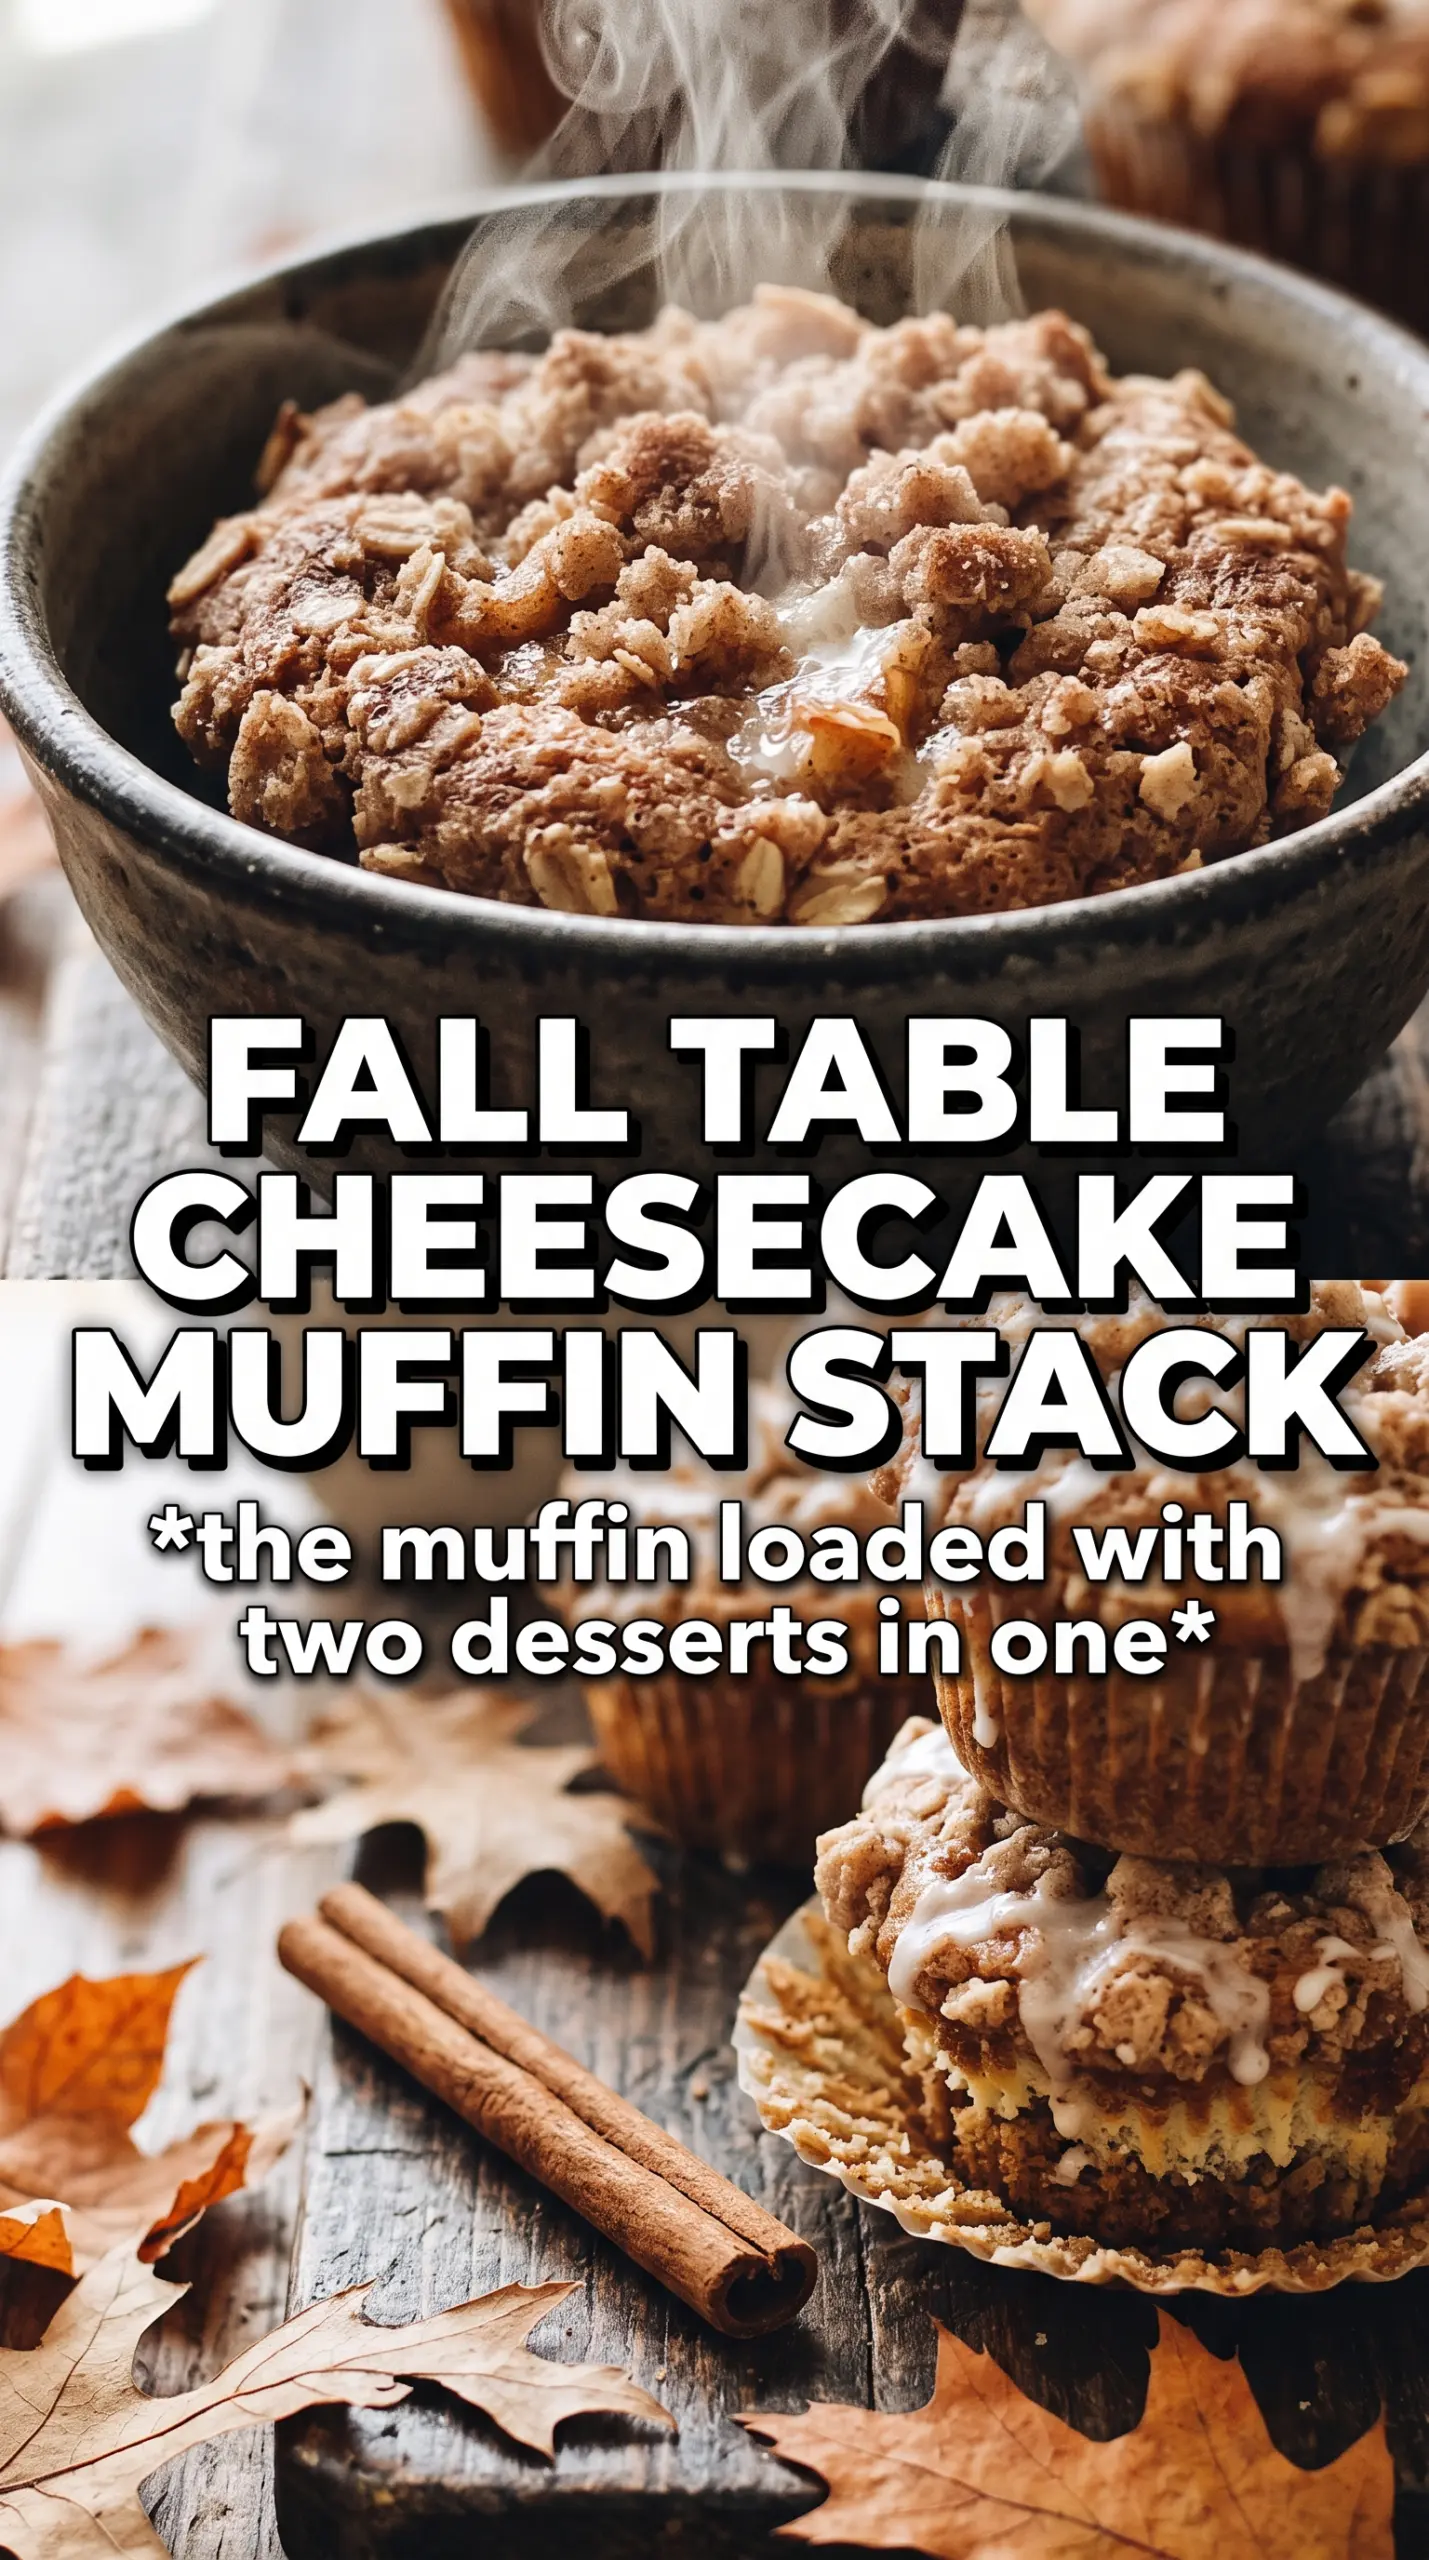
Pin these apple crisp cheesecake muffins for the mornings when you want a bakery-style muffin with a creamy center and crunchy oat topping.
The Secret to Keeping the Cream Cheese Center Where It Belongs
Most filled muffins fail for one of two reasons: the batter is too thin, or the filling goes in warm. This recipe avoids both. A thicker batter gives the cream cheese something to sit in, and chilling the filling keeps it from melting into the muffin as it bakes. That is how you get a clean pocket of cream cheese instead of a tunnel that disappears into the crumb.
The other thing that matters is layering. Half batter, filling, then more batter. If the filling sits too close to the top, it can leak out or dry out before the muffin is done. If it sits too low, it gets buried and disappears. The middle layer gives you that neat cheesecake bite right through the center.
What Each Ingredient Is Actually Doing in These Muffins
- Apples — Finely diced apples distribute evenly through the batter, so every bite gets fruit without creating wet pockets. A firm baking apple holds its shape best. If your apples are juicy, blot the dice lightly with a paper towel before folding them in.
- Sour cream — This is what keeps the muffins tender and gives the crumb a little richness. Greek yogurt works in a pinch, but the texture will be a touch tangier and slightly less plush. Full-fat is best here.
- Cream cheese — Softened cream cheese is the filling that gives the muffins their cheesecake middle. Don’t skip the chilling step after mixing it. Cold filling stays centered better and bakes into a distinct pocket.
- Brown sugar — It does double duty in the muffin batter and the crumble, adding molasses depth that plays well with cinnamon and apples. Light brown sugar is fine. Dark brown sugar will give a deeper caramel note.
- Oats — The oats are what make the topping taste like apple crisp instead of plain streusel. Old-fashioned oats give the best texture. Quick oats work if that’s what you have, but the crumble will be finer and less crunchy.
Building the Batter, Filling, and Crumble in the Right Order
Mix the filling and topping first
Start with the cream cheese filling and beat it until smooth, with no lumps left behind. Then make the crumble and cut the butter in until the mixture looks like damp crumbs. Both parts need a short chill. If you leave either one at room temperature, the cream cheese will spread and the topping will melt into the batter instead of sitting on top.
Keep the muffin batter just mixed
Whisk the wet ingredients until they look uniform, then fold in the dry ingredients only until the flour disappears. A few streaks are better than overmixing. Once flour is overworked, the muffins turn dense and a little tough instead of soft and cakey. Fold the apples in at the end so they stay evenly distributed.
Layer for the cleanest center
Spoon batter into each cup halfway, add a teaspoon of cream cheese filling, then cover it with more batter. The filling should be hidden, not peeking out. Finish with the crumble and press it on lightly so it adheres. Bake until the tops are golden and the centers spring back when touched; if the tops brown too fast, the middle is probably still underdone, so trust the texture, not just the color.
Make Them Without the Cream Cheese Filling
If you want a straight apple crisp muffin, skip the filling and add an extra 2 tablespoons of sour cream to keep the crumb tender. You’ll lose the cheesecake bite, but the muffins bake a little more evenly and are easier to pack for lunches.
Use Greek Yogurt Instead of Sour Cream
Plain full-fat Greek yogurt works well if that’s what you have. The muffins will still stay moist, though the crumb comes out a little firmer and less rich. Use the same amount and don’t thin it out.
Gluten-Free Version
A good 1:1 gluten-free baking flour can replace the all-purpose flour in the muffins and the crumble. The topping may brown a little faster, so start checking a few minutes early. The texture stays soft, though it will be slightly more delicate when warm.
Storage and Reheating
- Refrigerator: Store in an airtight container for up to 4 days. The crumble softens a bit, but the muffins stay moist.
- Freezer: Freeze well for up to 2 months. Wrap individually and thaw in the fridge overnight so the filling doesn’t get watery.
- Reheating: Warm in a 300F oven for 8 to 10 minutes or microwave very briefly. The mistake to avoid is blasting them too long, which makes the cream cheese center rubbery and dries out the edges.
Answers to the Questions Worth Asking
Apple Crisp Cheesecake Muffins
Ingredients
Equipment
Method
- Preheat oven to 375F, then line a 12-cup muffin tin. Set aside the lined pan for quick filling.
- Beat cream cheese filling ingredients together until smooth, then refrigerate. Chill until firm enough to hold a teaspoon at the center.
- Make oat crumble by combining the dry ingredients and cutting in cold butter until crumbly, then refrigerate. Keep it cold so it stays crisp on top.
- Whisk the flour, baking powder, baking soda, cinnamon, and salt until evenly combined. Mix thoroughly so there are no streaks of baking soda.
- Whisk the melted butter, brown sugar, eggs, sour cream, milk, and vanilla until smooth. The batter should look glossy and cohesive.
- Fold in the flour mixture, then add the diced apples. Mix just until no dry pockets remain and stop as soon as the batter is combined.
- Fill muffin cups halfway with batter. Press lightly so the center stays level.
- Add a teaspoon of cream cheese filling to the center of each muffin, then cover with more batter. Use enough batter to fully surround the filling.
- Top each muffin with oat crumble right before baking. Pinch crumbs gently so they adhere.
- Bake at 375F for 22-25 minutes until the tops are golden. Look for a set center with browned crumble edges and springy muffins.