Apple crisp with oats delivers everything people want from a baked apple dessert: tender fruit, a thick cinnamon syrup underneath, and a craggy oat topping that bakes up deeply golden instead of sandy. The best versions hold onto their crunch at the edges while the center stays buttery and just a little chewy, with the apples bubbling up around the sides of the pan.
This version works because the filling is lightly thickened before it hits the oven, so you get a spoonable fruit layer instead of watery apples puddling at the bottom. The topping stays rustic on purpose — cold butter is cut into the oats and flour until you’ve got both fine crumbs and bigger clumps, which is what gives you those crisp, caramelized bits on top. A mix of tart and sweet apples keeps the filling balanced and keeps it from tasting flat.
Below, I’ve included the one thing that keeps oat crisps from turning soggy, plus the small ingredient choices that make a big difference when you’re baking this for a crowd.
The topping baked up with those big crunchy clumps I never seem to get right, and the apples were thick and bubbly instead of runny. I used a mix of Granny Smith and Honeycrisp and it tasted like the filling was made for the topping.
Love that thick, bubbling apple filling and the golden oat crumble? Save this Apple Crisp With Oats for the next time you want a warm dessert with a crisp top and tender apples underneath.
The Reason the Topping Stays Crisp Instead of Turning Pasty
The biggest mistake with apple crisp is packing the topping down or overworking the butter. Once the butter starts melting before it goes into the oven, you lose those little clumps that bake into crunchy ridges. Cold butter is what gives you that mix of fine crumble and bigger nuggets, and that mix is the difference between a topping that tastes baked and one that tastes dry.
The other piece is the cornstarch in the filling. Apples release a lot of liquid as they bake, and without a little thickener, that juice can soak into the topping and leave the bottom layer soft. The goal is bubbling fruit that looks glossy and loose in the oven, then settles into a spoonable filling as it cools.
- Cold butter — Keep it cubed and chilled until the last second. If it softens too much, the topping turns greasy and dense instead of crisp.
- Cornstarch — It thickens the apple juices without making the filling cloudy or heavy. Flour works in a pinch, but it takes more and gives a softer set.
- Mixed apples — Use a tart apple for structure and a sweeter apple for roundness. One-note apples can taste flat or collapse too quickly.
What Each Ingredient Is Doing Under the Crumble
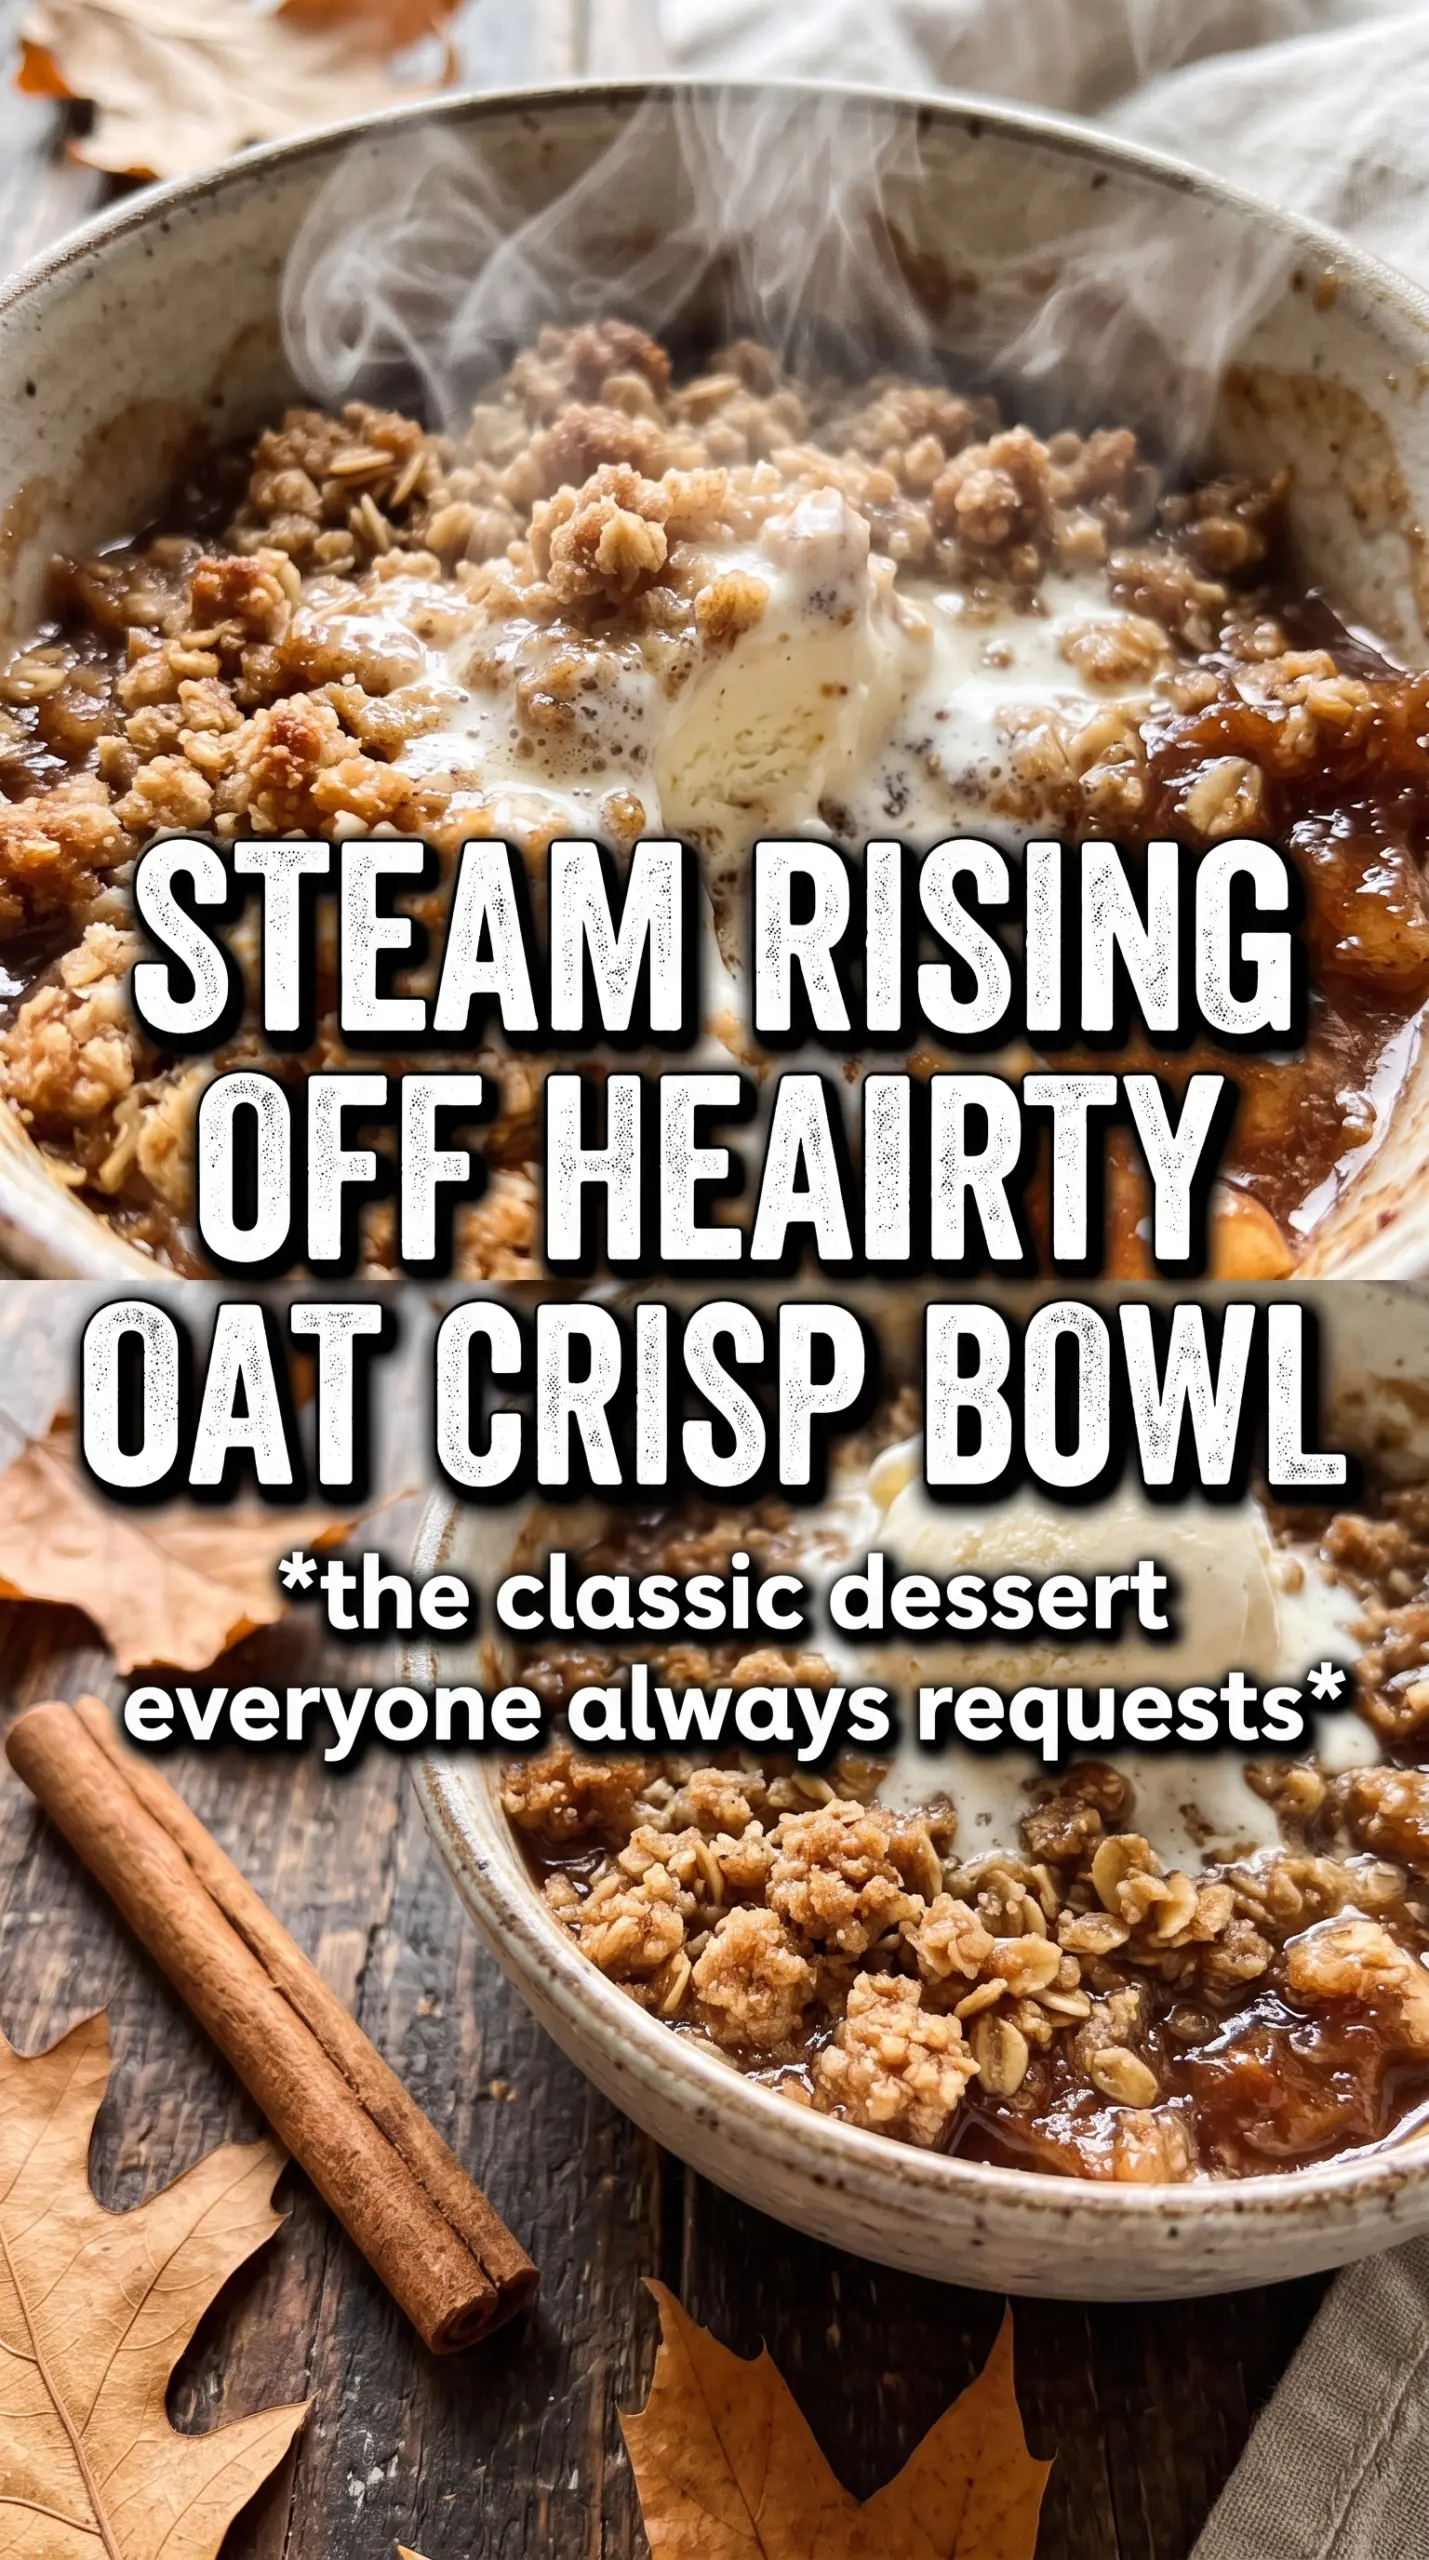
- Old-fashioned rolled oats — These hold their shape and bake into that hearty, nubbly texture people expect from a proper crisp. Quick oats break down more and make the topping tighter and softer.
- Brown sugar — It brings moisture and a light caramel note to both layers. If you swap in all white sugar, the topping bakes up drier and the flavor loses depth.
- Flour — It binds the crumble so the topping clumps instead of falling into sandy crumbs. A gluten-free flour blend can work if it’s a 1:1 blend with xanthan gum.
- Cinnamon, nutmeg, and allspice — This is the spice trio that makes the apples taste like themselves, just warmer. Nutmeg and allspice should stay in the background; too much and they take over.
- Lemon juice — It keeps the apples from tasting dull and helps the filling stay bright after baking. You won’t taste lemon, but you’ll miss it if it’s gone.
Building the Layers So the Crisp Bakes Evenly
Coating the Apples First
Toss the apple slices with the sugars, spices, cornstarch, and lemon juice until every piece looks lightly coated. That coating should cling to the fruit and look a little pasty before baking, because that’s what turns into a thick syrup in the oven. If the apples look dry in the dish, the filling usually bakes unevenly and the bottom ends up watery.
Making the Oat Clusters
Work the cold butter into the oats, flour, sugar, cinnamon, and salt with your fingertips until the mixture looks like damp gravel with some larger chunks. Those larger chunks matter. If you rub everything into a fine meal, the top bakes into a uniform layer instead of a crisp, craggy crust. Stop as soon as the butter is evenly distributed and the mixture holds together when squeezed.
Baking Until the Center Is Actively Bubbling
Spread the crumble all the way to the edges so the apples are covered, then bake until the topping is deeply golden and the filling is bubbling up at the corners. Those bubbles are your cue that the cornstarch has thickened the juices. If you pull it early because the top looks done, the filling will stay loose underneath.
Letting It Set Before Serving
Give the crisp about 10 minutes before spooning it into bowls. That short rest lets the filling settle from loose syrup into something that holds together on the spoon. Straight from the oven, it will taste great but slide around the dish more than it should.
Three Ways to Adapt This Crisp Without Losing the Crunch
Make it gluten-free
Swap the all-purpose flour for a good 1:1 gluten-free baking blend. The topping will still clump and crisp, but the texture may be a little more delicate, so don’t overmix once the butter goes in.
Go dairy-free
Use a plant-based butter block, not a tub spread. You need the firm fat content to get those chunky crumbles, and softer spreads melt out too fast.
Use only sweet apples in a pinch
If you only have sweet apples, add an extra tablespoon of lemon juice and don’t skip the cinnamon. The crisp will still work, but the filling will taste softer and less sharp than it does with a tart-sweet mix.
Storage and Reheating
- Refrigerator: Cover and refrigerate for up to 4 days. The topping softens a bit as it sits, but the flavor stays excellent.
- Freezer: Bake, cool completely, and freeze in tight portions for up to 2 months. Thaw overnight in the fridge before reheating so the filling doesn’t weep.
- Reheating: Warm in a 325F oven until the center is hot and the top crisps back up, usually 15 to 20 minutes. The microwave heats the filling but turns the topping soft, which is the one thing worth avoiding here.
Questions I Get Asked About This Recipe
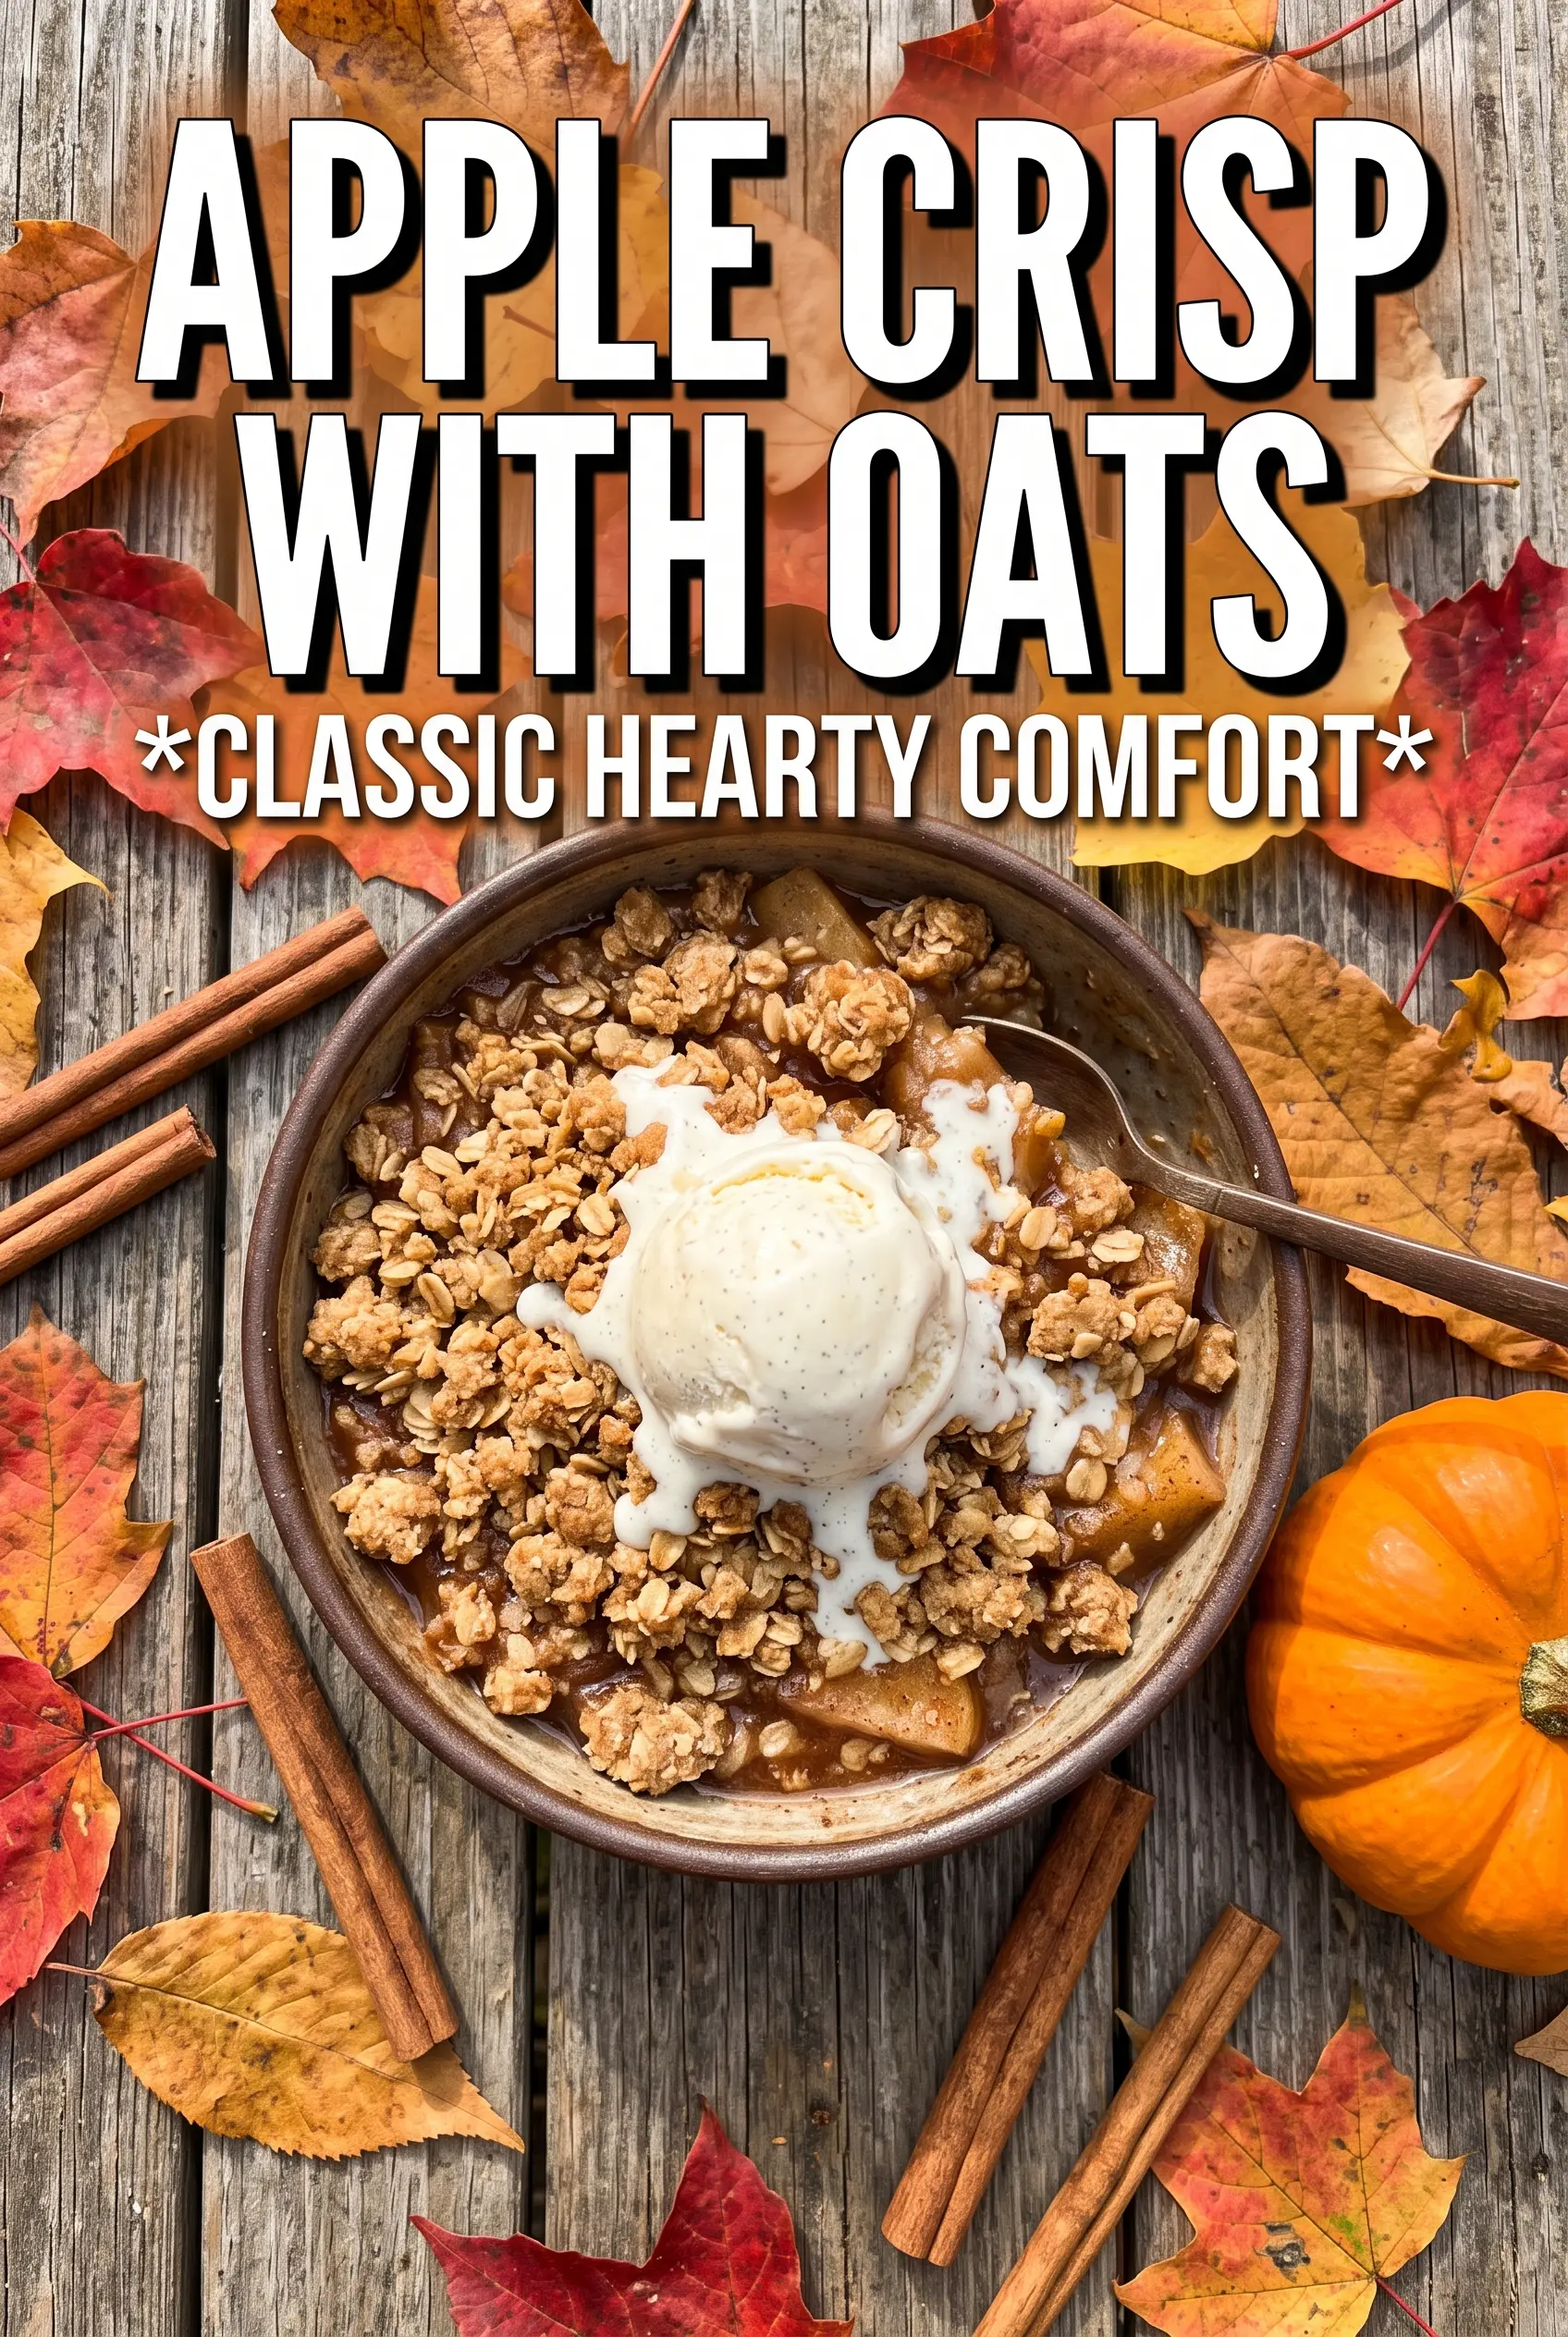
Apple Crisp With Oats
Ingredients
Equipment
Method
- Preheat the oven to 375F and grease a 9x13 baking dish.
- Toss the apple slices with granulated sugar, brown sugar, cinnamon, nutmeg, allspice, cornstarch, and lemon juice until evenly coated, then spread in the prepared dish.
- Combine old-fashioned rolled oats, all-purpose flour, packed brown sugar, cinnamon, and salt, then cut in the cold cubed butter with your fingertips until the mixture forms large chunks and clumps.
- Scatter the crumble evenly over the apples so every surface is covered.
- Bake at 375F for 40-45 minutes until the oat topping is deeply golden and the apple filling is bubbling at the corners.
- Cool for 10 minutes, then serve warm with vanilla ice cream or whipped cream.