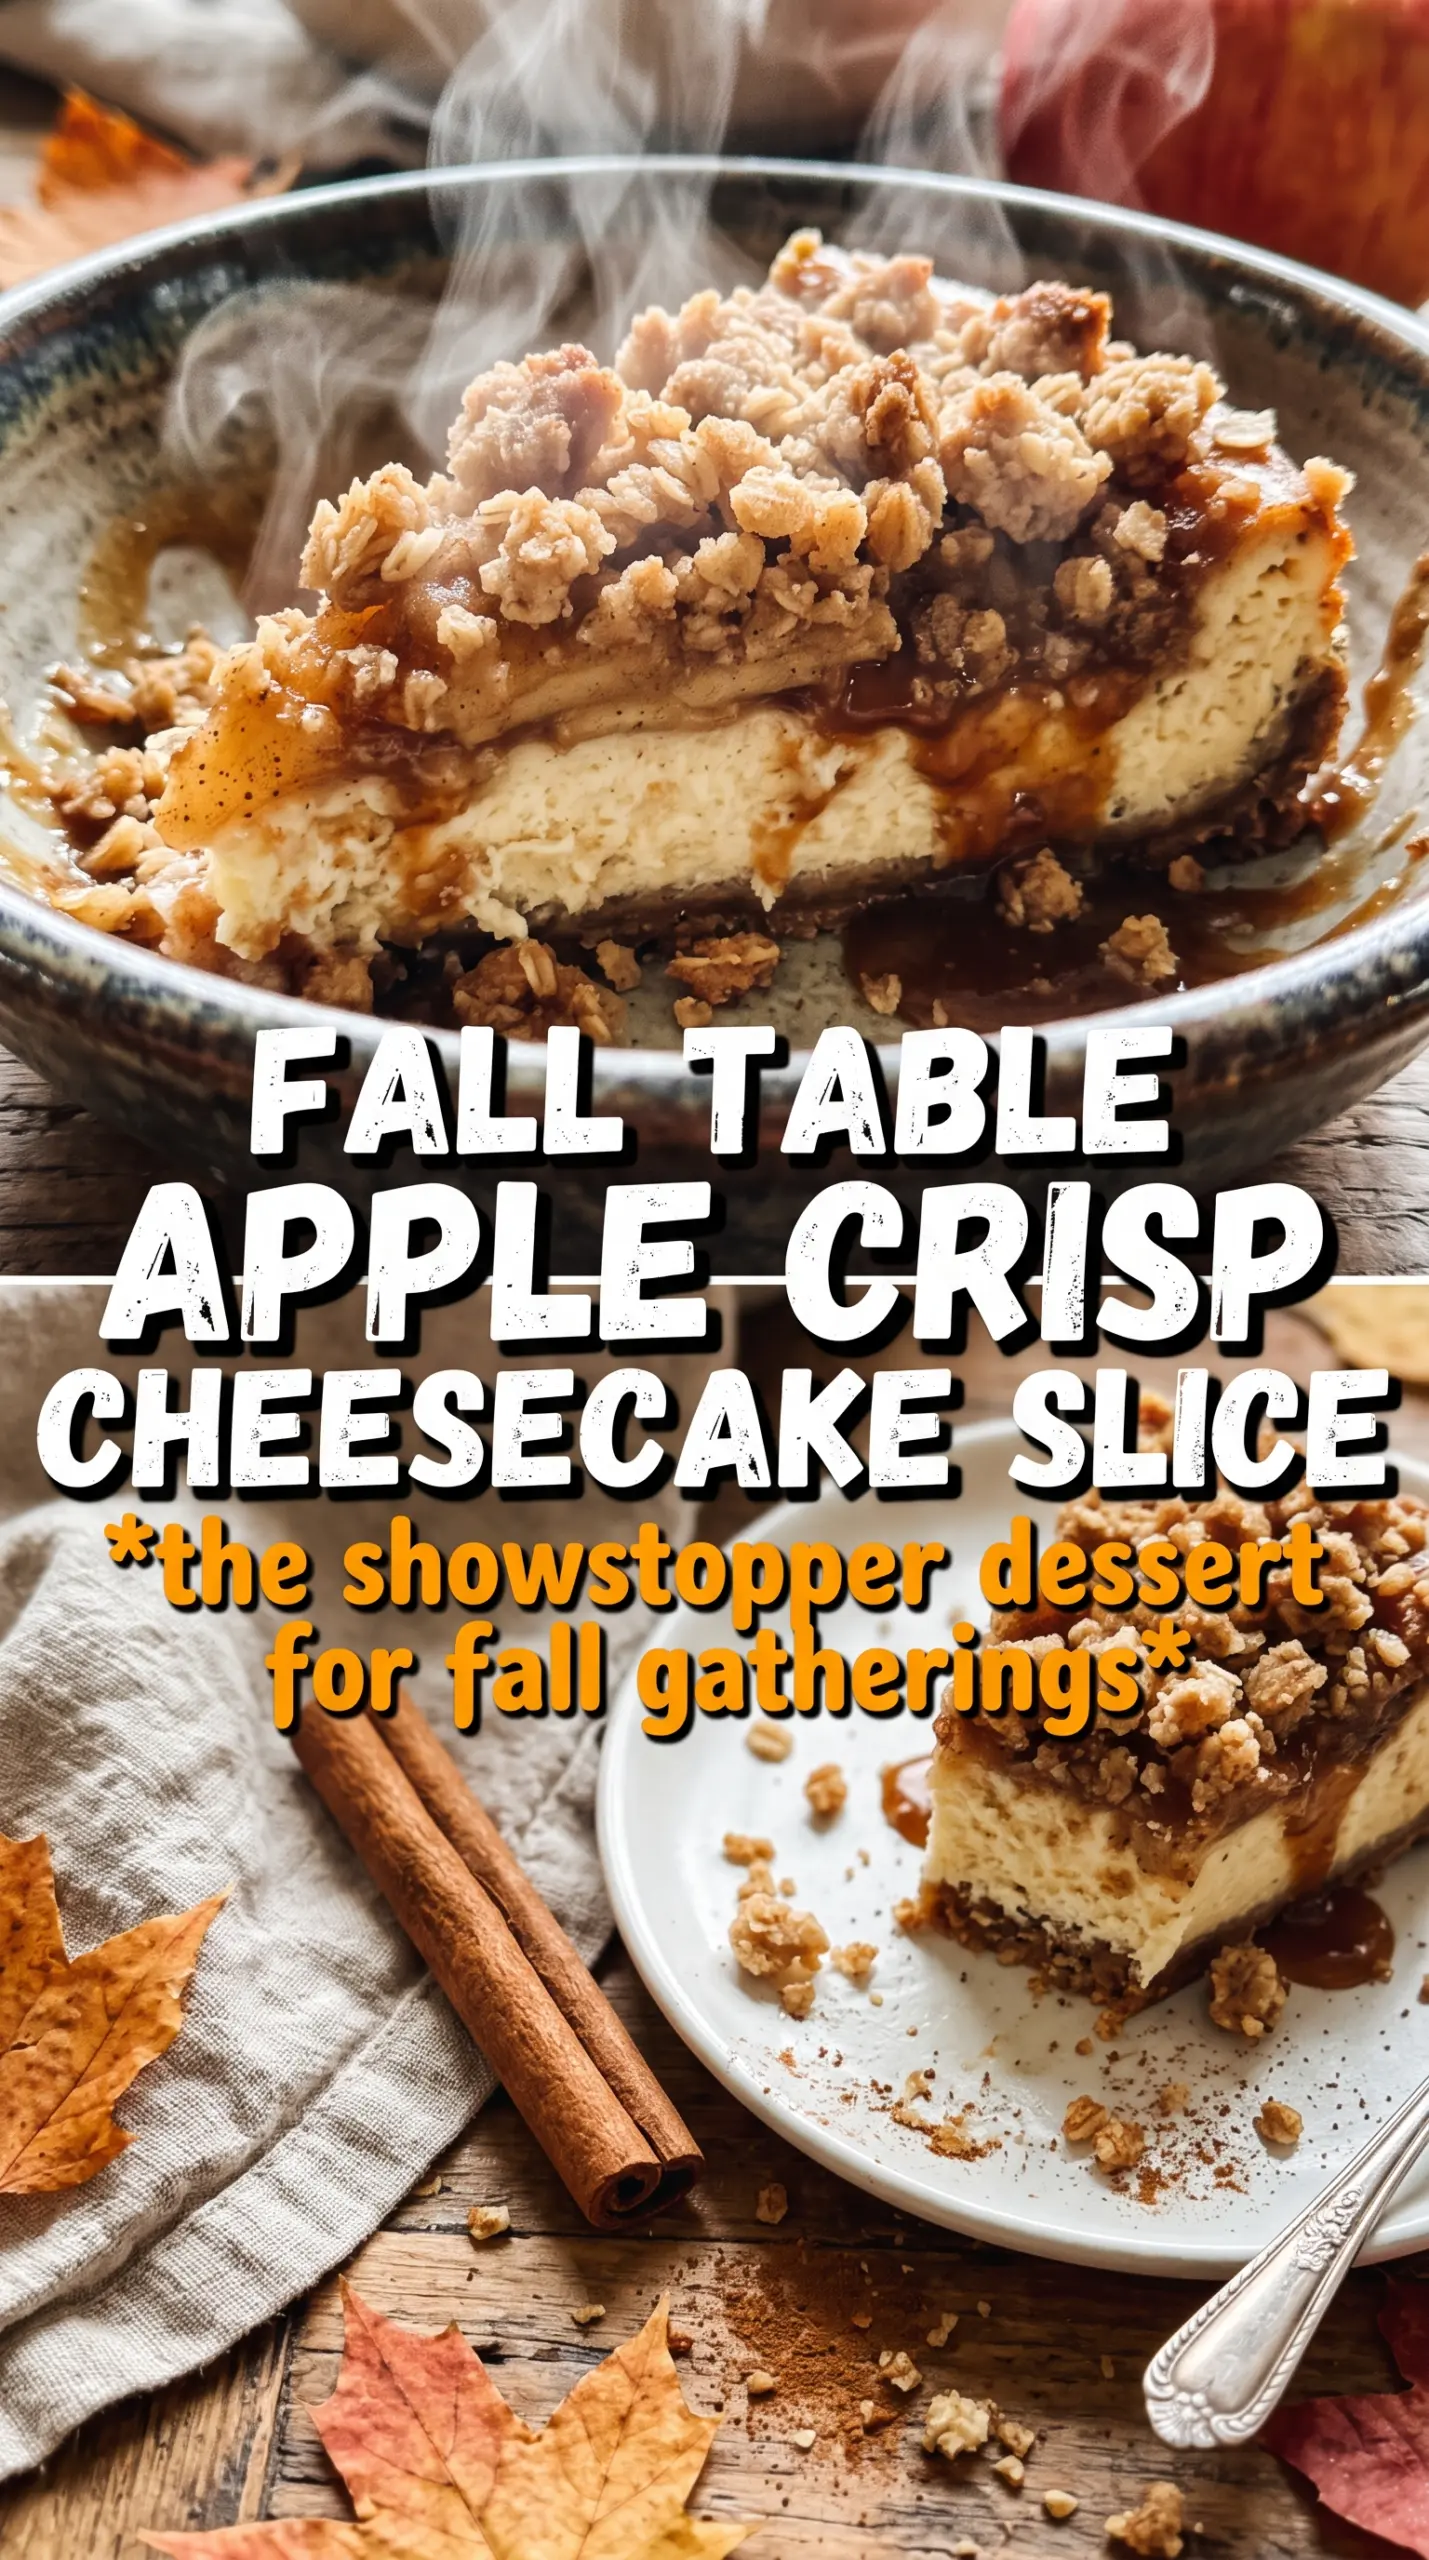
Apple crisp cheesecake brings three classic desserts into one slice that actually holds together: a buttery graham crust, a silky baked cheesecake, tender cinnamon apples, and a golden oat crumble on top. What you get is a clean cross-section with contrast in every bite — creamy, soft, crisp, and a little tart from the apples so the whole dessert doesn’t feel heavy.
The part that makes this version work is balance and order. The apples get cooked briefly before they go on the cheesecake, which keeps them from leaking juice into the batter and turning the center watery. The water bath matters too. It gives the cheesecake gentle heat so the edges don’t overbake before the middle sets, and that means fewer cracks and a smoother texture under the crumble.
Below, you’ll find the little details that keep the crust crisp, the filling smooth, and the topping crumbly instead of sandy. If you’ve ever had a cheesecake collapse under fruit or a crisp topping turn soft in the oven, this one fixes both problems.
The cheesecake layer came out unbelievably smooth, and the apple filling stayed tucked in instead of soaking the crust. The oat topping stayed crisp even after chilling overnight, which was exactly what I wanted.
Save this apple crisp cheesecake for the dessert table when you want a creamy center, cinnamon apples, and a crunchy oat crown in one slice.
The Part That Keeps the Cheesecake From Going Watery
The biggest mistake in layered cheesecake desserts is letting the fruit do all the work raw. Apples release moisture as they bake, and that extra liquid can seep into the filling or soften the crust before the cheesecake has a chance to set. Cooking the apples first gives you control. They soften enough to taste cooked through, but they don’t collapse into applesauce, and the filling stays clean underneath.
The water bath matters for the same reason. Cheesecake likes gentle heat. Without it, the edges can overbake and puff while the center lags behind, which is how cracks and grainy texture show up. In this dessert, the cheesecake should look set around the edges with a slight wobble in the center when it comes out of the oven. That wobble finishes setting in the fridge.
What Each Layer Is Doing in This Dessert
- Graham cracker crumbs — These give you a sturdy, sweet base that stands up to the filling. Fresh crumbs are fine from a box, and that’s the easiest route here. Press them firmly so the crust bakes into a thin, even layer instead of crumbling when you slice.
- Cream cheese — This is the backbone of the filling, and temperature matters. Softened cream cheese beats smooth much faster, which keeps you from overmixing and whipping in extra air. Cold cream cheese leaves tiny lumps that never fully disappear.
- Sour cream — This adds tang and keeps the center from tasting flat. Full-fat sour cream gives the best body, but a thick Greek yogurt can work in a pinch. The texture will be a little firmer and the flavor a touch sharper.
- Apples — Use a baking apple that keeps some shape, like Granny Smith, Honeycrisp, or a mix. Softer apples can work, but they’ll break down more and blur into the filling. A quick pre-cook is what keeps the fruit layer distinct.
- Rolled oats — They bring the crisp part of the crisp topping. Quick oats will work, but the topping will be finer and less rustic. Old-fashioned oats give better clumps and a better crunch after baking.
Building the Layers Without Losing the Texture
Pressing and Pre-Baking the Crust
Mix the graham crumbs, sugar, and melted butter until every crumb looks damp, then press the mixture firmly into the springform pan. A flat-bottomed cup helps pack it evenly so the crust doesn’t crumble at the first slice. Bake it for the full 8 minutes; that short bake sets the butter and gives you a base that stays intact under the filling. If the crust looks pale and loose, it hasn’t had enough time to firm up.
Cooking the Apples Just Enough
Cook the diced apples with butter, brown sugar, and cinnamon until they’re slightly softened and glossy, not falling apart. Five minutes is enough if the pieces are small and even. The goal is to draw out some moisture before the apples go on the cheesecake, because raw fruit would steam inside the oven and make the layer soupy. Let them cool before layering or they’ll start warming the filling on contact.
Mixing the Cheesecake Until It’s Smooth, Not Puffy
Beat the cream cheese and sugar until the mixture turns completely smooth, then add the eggs one at a time. Stop as soon as each egg disappears into the batter. Overbeating at this stage pulls in air, and that air expands in the oven and later collapses, which can cause cracks. Sour cream, vanilla, and cinnamon go in last, and the batter should look satiny rather than fluffy.
Finishing with the Oat Crumble
Cut the cold butter into the oats, flour, brown sugar, and cinnamon until you have uneven clumps. Those clumps are what turn into crisp, craggy pieces in the oven. If the butter warms up and the mixture turns pasty, the topping will bake into a sandy layer instead of a crisp one. Scatter it over the apples without pressing it down so the heat can move through and brown it properly.
Make It with a Ginger Snap Crust
Swap the graham crumbs for crushed ginger snaps if you want a warmer, spicier base. The crust will be darker and a little snappier, and it plays especially well with the apples and cinnamon. Use the same butter amount, but pack it firmly because ginger snap crumbs can be looser.
Dairy-Free Version
Use dairy-free cream cheese, plant-based butter, and a thick unsweetened coconut yogurt in place of sour cream. The filling will be a little softer and the tang will shift slightly, but the dessert still slices well after a full chill. Choose a brand of dairy-free cream cheese that bakes smoothly, since some versions get grainy under heat.
Gluten-Free Swap
Use gluten-free graham-style crumbs for the crust and a 1:1 gluten-free flour blend in the topping. The texture stays close to the original if the crumb mix still has enough butter to hold together. The topping may brown a little faster, so watch the oven near the end.
Make-Ahead for a Crowd
This dessert is at its best after a full chill, which makes it a smart make-ahead option. Bake it the day before, cool it completely, then refrigerate overnight so the layers firm up cleanly. The slices come out neater and the apple layer settles into the filling instead of sliding around.
Storage and Reheating
- Refrigerator: Keep covered for up to 4 days. The topping softens a little after the first day, but the cheesecake stays sliceable.
- Freezer: Freeze slices wrapped tightly and stored in an airtight container for up to 1 month. Thaw in the refrigerator overnight for the cleanest texture.
- Reheating: Serve this cold or slightly cool. If you want to take the chill off, leave a slice at room temperature for 15 to 20 minutes. Microwaving softens the crumble and can make the cheesecake greasy.
Answers to the Questions Worth Asking
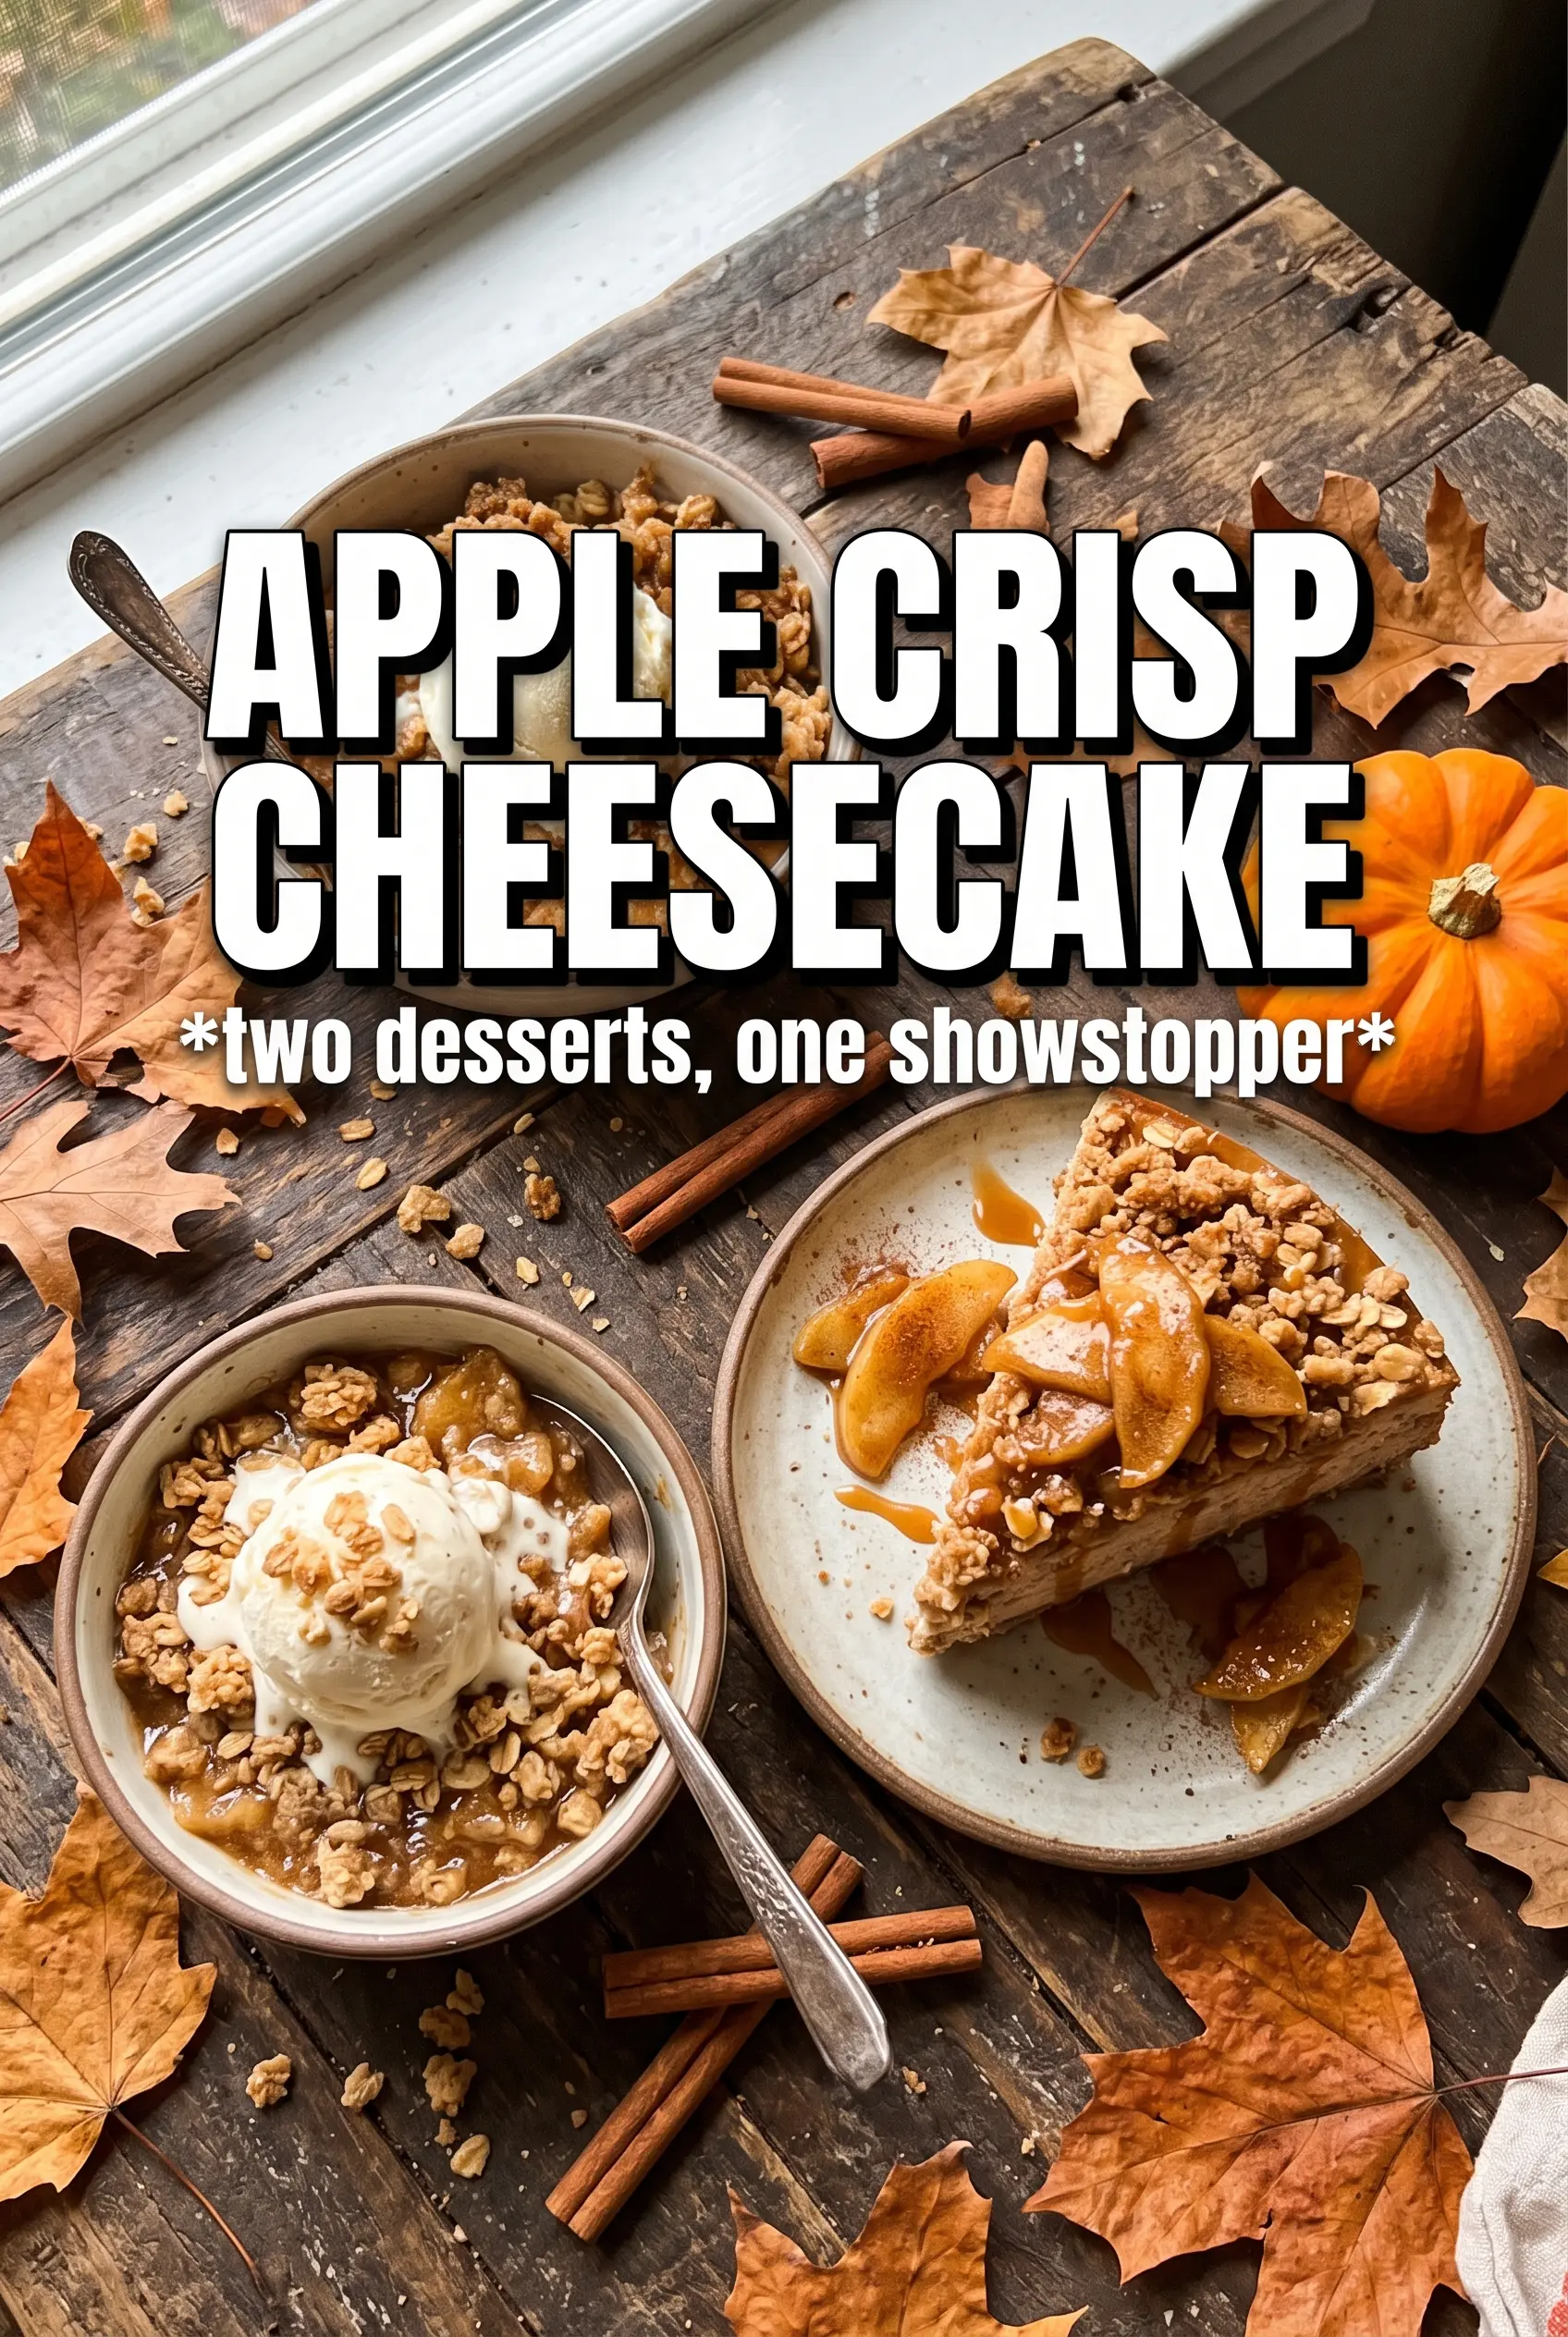
Apple Crisp Cheesecake
Ingredients
Equipment
Method
- Preheat oven to 325F, press graham crust into a 9-inch springform pan, and bake 8 minutes until set and lightly golden at the edges.
- Cook diced apples with butter, brown sugar, and cinnamon for 5 minutes until softened, then cool until room temperature so they don’t melt the filling.
- Beat cream cheese and sugar until smooth, then add eggs one at a time and mix just until combined for a creamy texture.
- Mix in sour cream, vanilla, and cinnamon until fully incorporated, scraping the sides to keep the batter lump-free.
- Pour filling over the crust and top with the cooked apples so the fruit layer is evenly distributed.
- Make oat topping by combining rolled oats, flour, brown sugar, and cinnamon, then cut in cold butter until clumpy.
- Scatter the oat crisp topping over the apples so the crumble bakes into a golden crown.
- Place the springform pan in a water bath on a sheet pan and bake at 325F for 60-65 minutes until the center is just set and the edges look slightly puffed.
- Cool completely at room temperature, then refrigerate for 6 hours before releasing and slicing for clean, sturdy pieces.