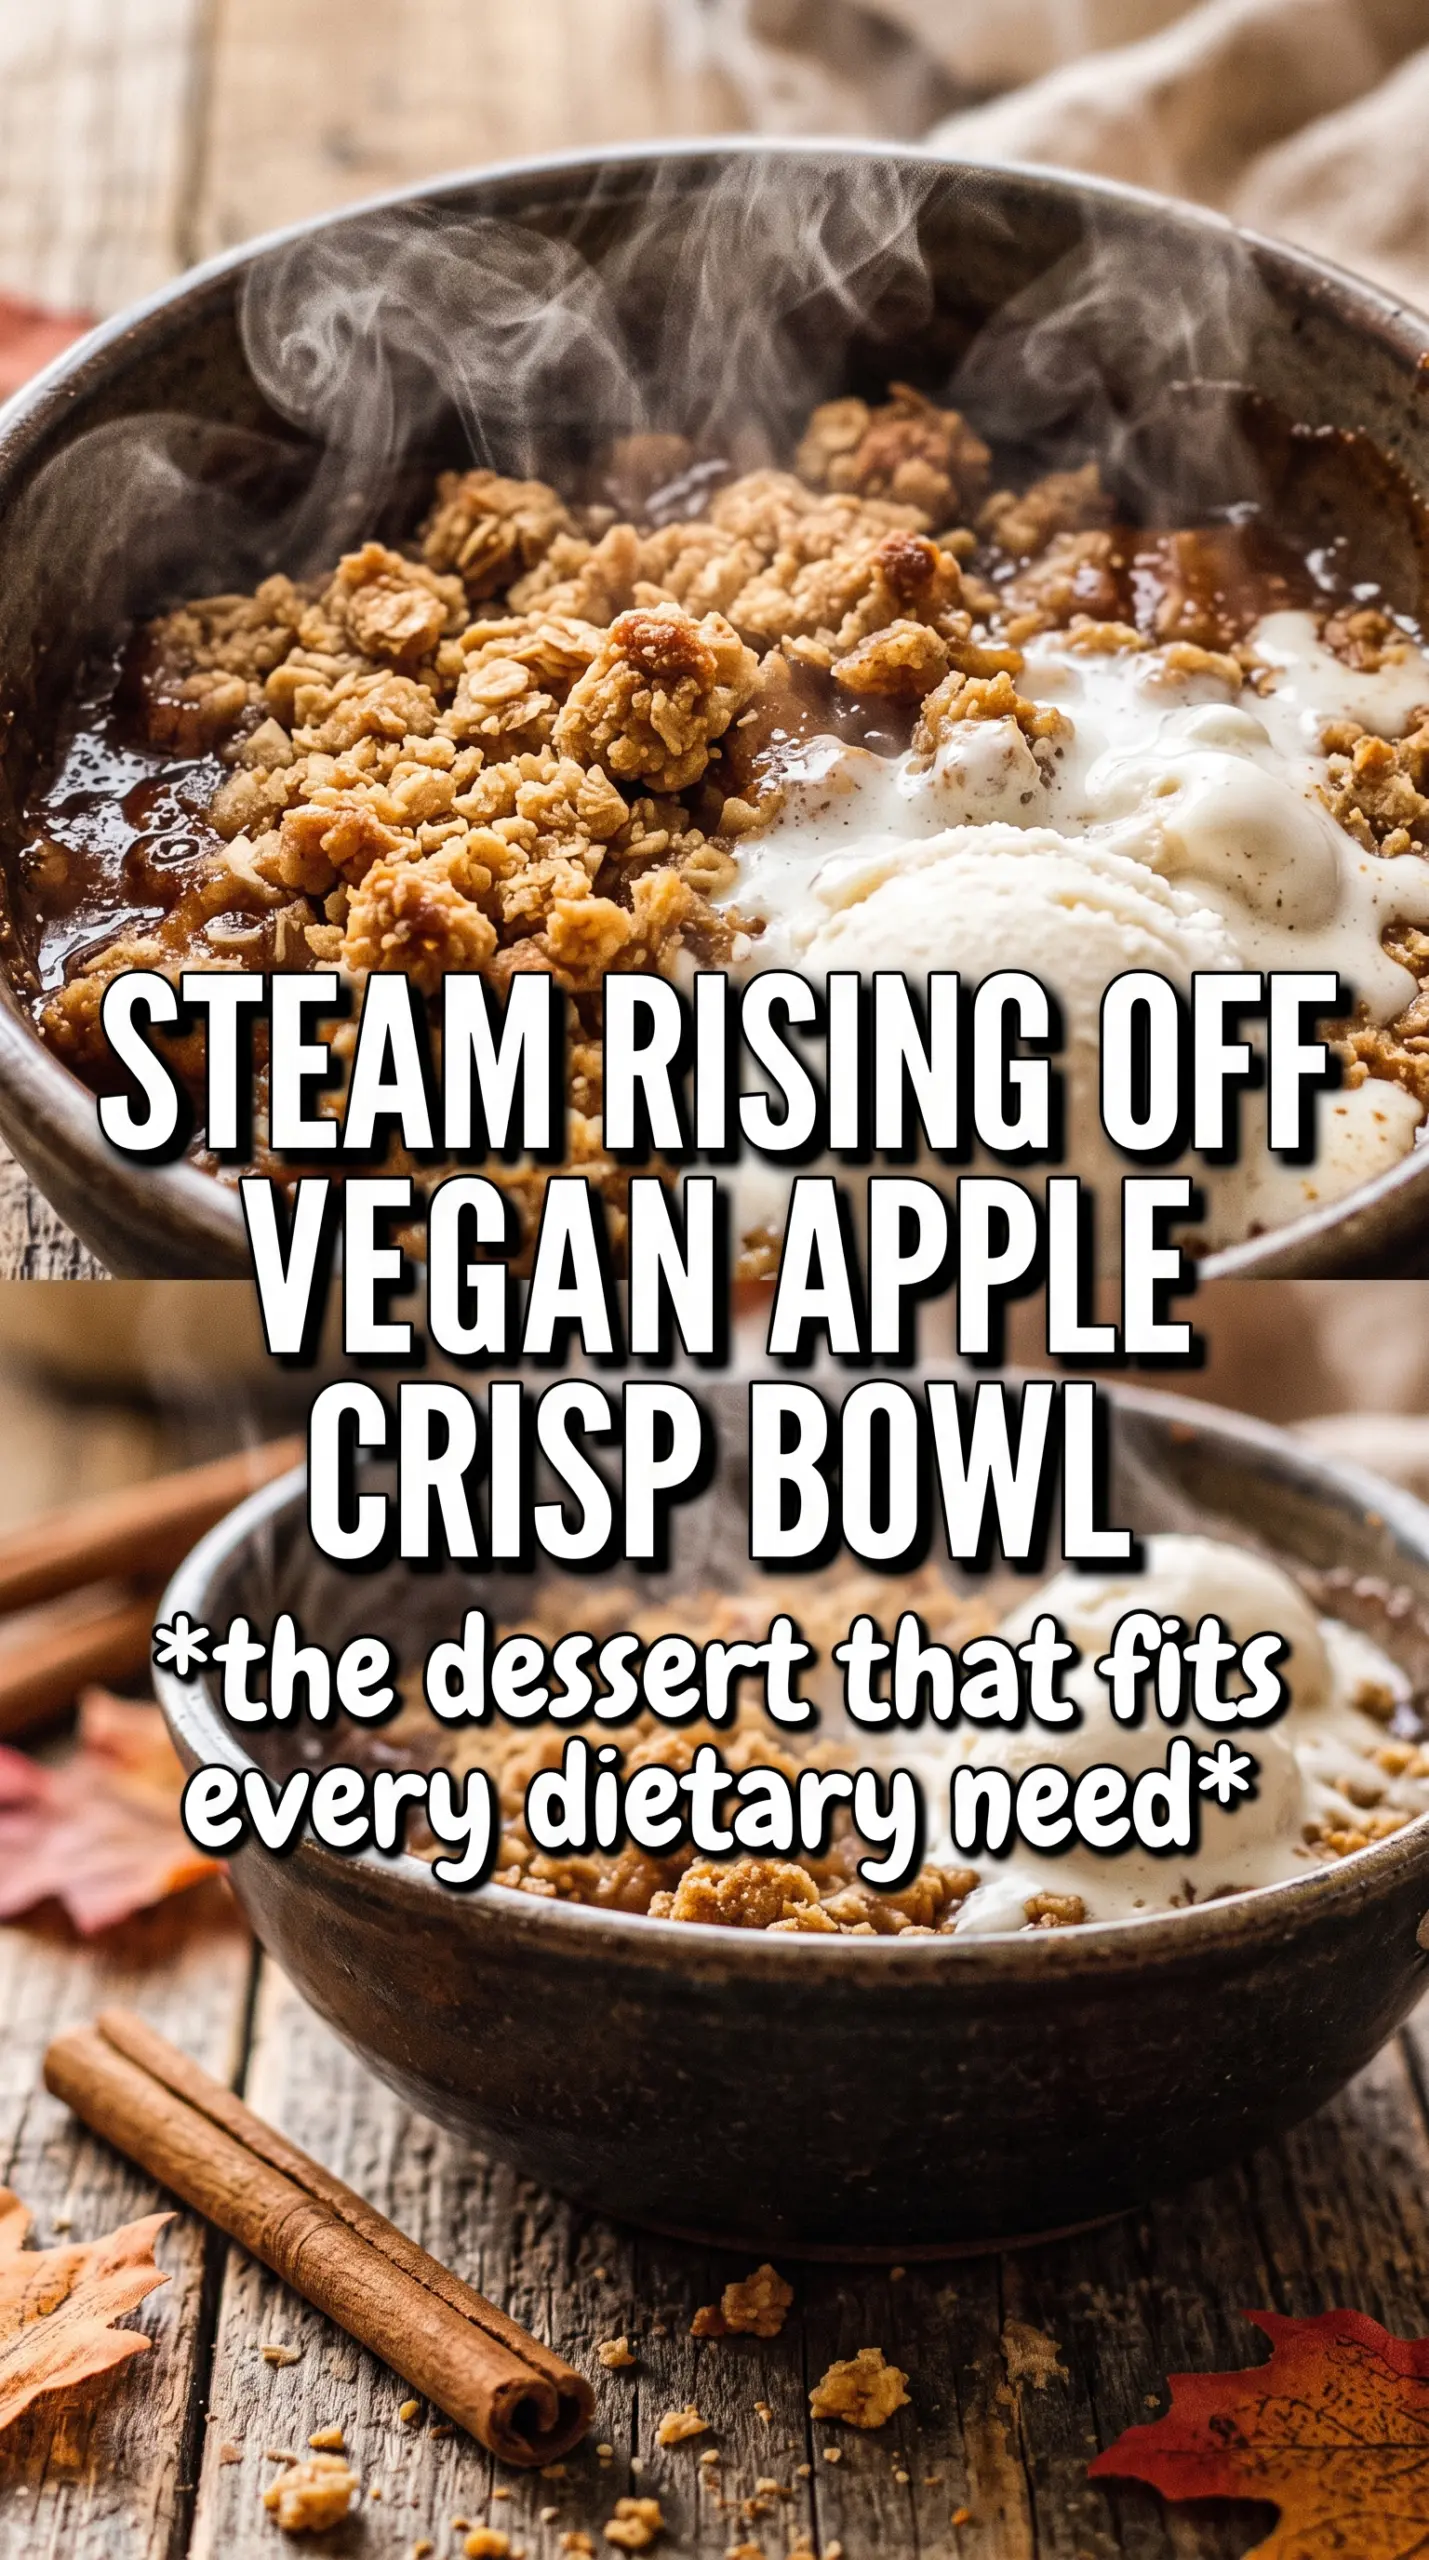
Spiced apples tucked under a golden oat crumble are the kind of dessert that disappears while the pan is still warm. The filling turns soft and jammy without going watery, and the topping bakes into crisp, buttery-feeling clumps even though there’s no butter in sight. It’s the sort of crisp that tastes homey and a little nostalgic, but still feels special enough to put out with a scoop of coconut ice cream.
The trick is in the balance: enough cornstarch to thicken the apple juices, enough lemon juice to keep the filling bright, and cold coconut oil worked into the oats so the topping bakes up with texture instead of turning sandy. I like using a mix of sweet apples so the filling has a little depth, but any firm baking apples will do the job. Once the fruit starts bubbling at the edges, you know the starch has done its work and the crumble is close to done.
Below you’ll find the part that matters most for getting that topping crisp instead of soggy, plus a few smart swaps if you want to tweak the fruit or the sweetener without losing the structure of the dessert.
The topping stayed crisp even after sitting on the counter for a bit, and the apples baked down into this perfect soft layer without turning runny. I used coconut ice cream on top and the whole dessert tasted like I’d made a lot more effort than I actually did.
Save this gluten-free vegan apple crisp for the nights when you want a bubbling fruit dessert with a cold, crunchy oat topping.
The reason the topping stays crisp instead of turning pasty
Most fruit crisps lose their appeal because the topping drinks in moisture from the apples before it has a chance to set. Cold coconut oil changes that. When you cut it into the oat mixture, it melts in the oven in little pockets, which creates those craggy, crisp bits instead of a flat layer. The other piece is the maple syrup: just enough to help the topping clump, but not so much that it turns sticky.
The apples matter too. If they’re sliced too thin, they collapse into purée before the crumble is finished. If they’re cut too thick, the filling stays sharp and the topping overbakes while you wait. Aim for slices that are thick enough to hold shape but thin enough to soften all the way through in 45 minutes.
- Cold coconut oil — This is what gives the crumble its texture. If it’s soft, the topping turns dense and greasy instead of crisp.
- Certified gluten-free oats — Don’t swap in regular oats unless you’re not cooking for anyone avoiding gluten. Certified oats give you the same chew and crunch without the cross-contamination risk.
- Almond flour — It adds a little richness and helps the topping brown. You can use finely ground sunflower seed flour if you need a nut-free version, though the color and flavor will shift slightly.
- Cornstarch — This thickens the apple juices as they bake. Without it, the bottom of the dish can turn soupy even when the topping looks done.
What Each Ingredient Is Actually Doing in This Recipe
- Primary ingredient (the star) — Quality matters most. Choose the best you can find.
- Cooking medium (oil, butter, or broth) — This carries flavors and prevents dryness.
- Seasonings (salt, pepper, spices, herbs) — Layer flavors so nothing overpowers. Build depth gradually.
- Aromatics (garlic, onion, herbs) — Cook with fat to bloom flavors. Become the foundation.
- Supporting ingredients — Complement the main ingredient without overpowering it.
- Sauce or liquid (if applicable) — Brings flavors together. Balance richness with acid.
- Acid (lemon, vinegar, wine, or other) — Brightens and prevents flat-tasting results.
- Final finish (garnish, glaze, or sauce) — Prevents one-dimensional taste and adds visual appeal.
Building the crisp so the apples bake through before the top burns
Coating the apples evenly
Toss the apple slices with the maple syrup, cinnamon, nutmeg, cornstarch, and lemon juice until every piece looks lightly coated. The cornstarch won’t look glamorous at this stage, but it’s doing the work that keeps the filling glossy instead of watery. Spread the apples into the baking dish in an even layer so they cook at the same rate; a mound in the center can leave the middle underdone while the edges overcook.
Making the crumble by feel
Stir the oats, almond flour, sugar, cinnamon, and salt together first so the sweetener and spice don’t clump in one spot. Then cut in the cold coconut oil with a fork until the mixture looks like damp pebbles and rough crumbs. Drizzle in the maple syrup and toss until you get clumps that hold when you squeeze them. If it turns paste-like, the oil was too warm or the syrup went in too fast.
Watching for the bubbling edge
Scatter the crumble over the apples without packing it down. Pressing it flat steals the airflow that helps it crisp. Bake until the top is deeply golden and the fruit is bubbling around the edges, not just steaming in the center. If the top browns before the filling bubbles, lay a loose piece of foil over it for the last 10 minutes so the fruit can finish without scorching the oats.
Use pears for a softer, perfume-like filling
Swap in firm pears for half or all of the apples if you want a softer, slightly floral crisp. Pears break down faster than apples, so keep the slices on the thicker side and watch the baking time closely. The result is gentler and a little more delicate, but it still holds the same crisp topping.
Make it nut-free without losing the crumble
Use sunflower seed flour in place of almond flour and keep the rest of the topping the same. The flavor is a little earthier and the topping browns a shade darker, but the texture stays close to the original. This is the swap I use when I’m cooking for a mixed crowd and need to avoid nuts entirely.
Cut the sugar and lean on the fruit
Use coconut sugar in both the filling and topping if you want a slightly deeper, less sweet crisp. The apples carry more of the flavor this way, and the topping bakes up a touch more rustic. Don’t cut the sugar too far, though, or the crumble won’t brown properly.
Storage and Reheating
- Refrigerator: Store covered for up to 4 days. The topping softens a bit, but the flavor stays good.
- Freezer: Freeze baked crisp in portions for up to 2 months. Wrap tightly and thaw in the fridge before reheating; the topping won’t be as crisp as fresh, but it still works.
- Reheating: Warm in a 350F oven until the filling is hot and the top re-crisps, about 15 to 20 minutes. The microwave will heat it fast, but it turns the crumble soggy and soft.
Questions I Get Asked About This Recipe
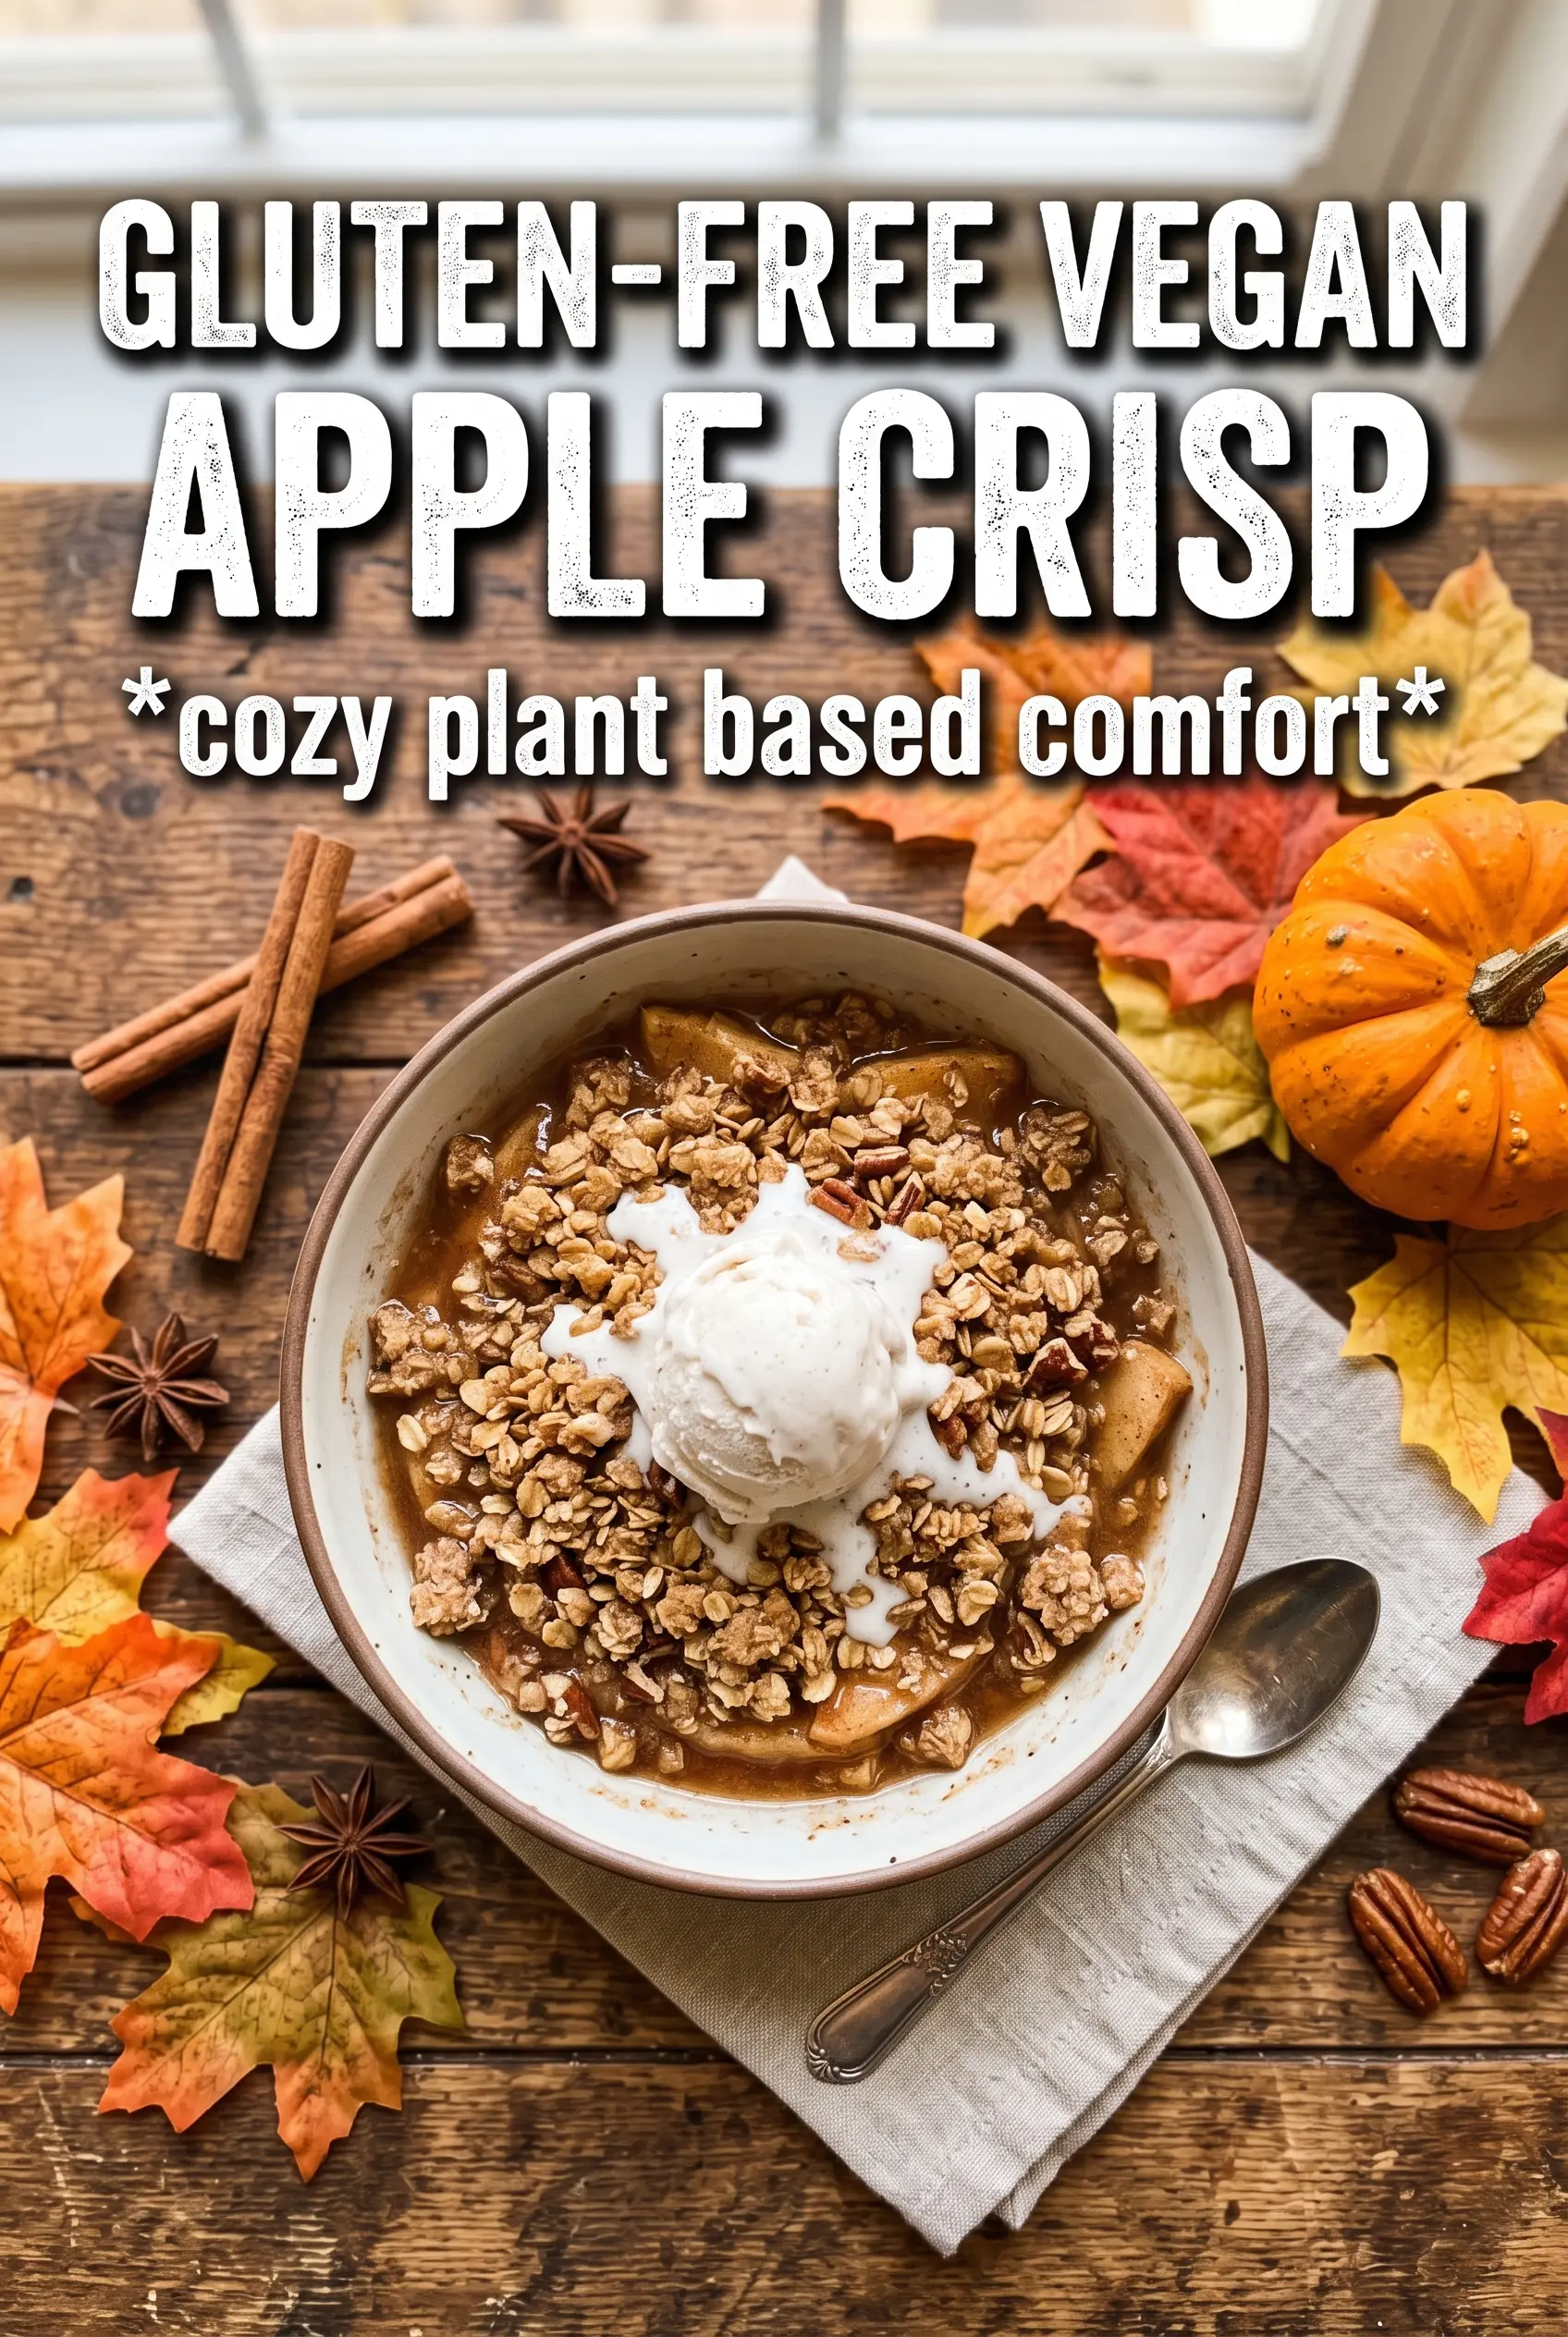
Gluten-Free Vegan Apple Crisp
Ingredients
Equipment
Method
- Preheat the oven to 375F and grease a 9x13 baking dish.
- Arrange the sliced apples in the greased baking dish in an even layer.
- Toss the apple slices with maple syrup (or coconut sugar), cinnamon, nutmeg, cornstarch, and lemon juice until coated.
- Spread the coated apples back into the dish so they fill the bottom evenly.
- In a bowl, combine the GF rolled oats, almond flour, brown sugar (or coconut sugar), cinnamon, and salt.
- Add the cold solid coconut oil and cut it in with a fork until the mixture looks crumbly with small pieces.
- Drizzle in the maple syrup and toss until the mixture forms clumps that hold together.
- Scatter the crumble evenly over the apple filling.
- Bake for 40-45 minutes at 375F until the topping is golden and the filling is bubbling.
- Let the crisp cool for 5 minutes, then serve warm with coconut ice cream.