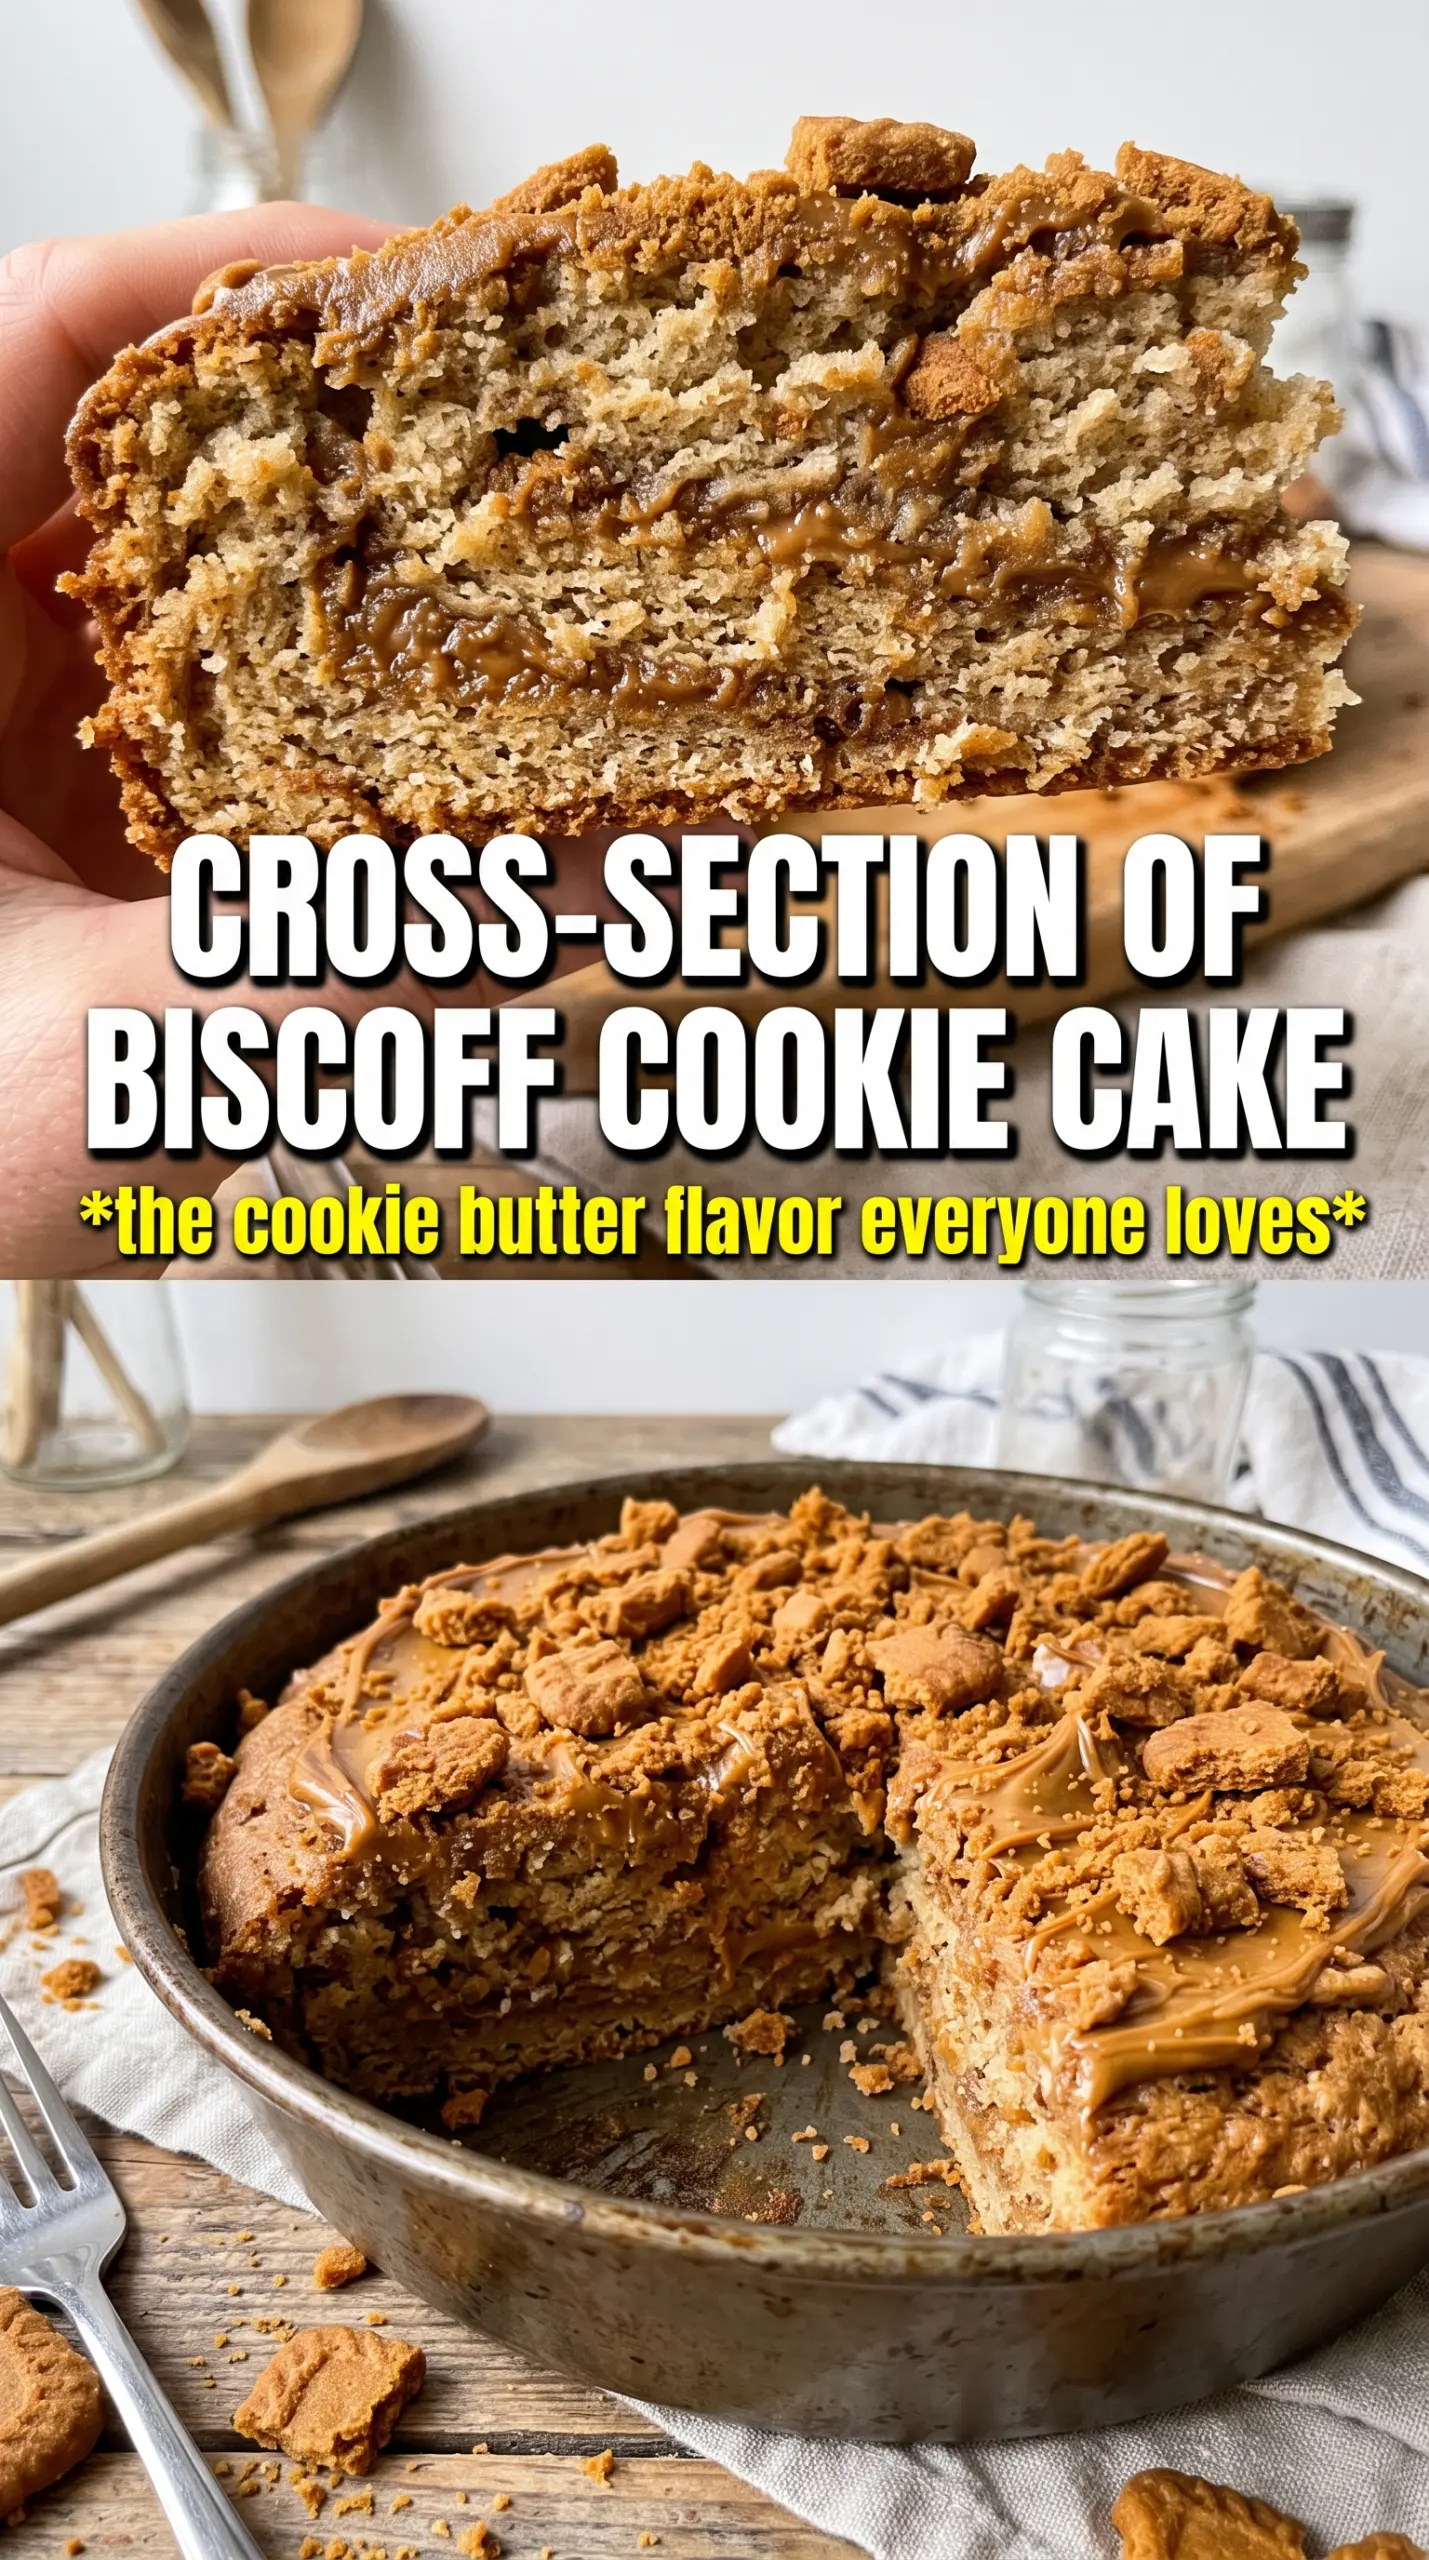
Caramel-toned, tender, and packed with that warm spiced cookie butter flavor, this Biscoff cookie butter cake earns its place on a dessert table fast. The crumb stays soft without turning heavy, and the frosting brings enough sweetness to feel like a celebration without burying the cake underneath it. Pressed with crushed Biscoff cookies on the outside, it looks bakery-made but still tastes like something you’d happily serve from your own kitchen.
What makes this version work is the balance: brown sugar for depth, buttermilk for a fine, moist crumb, and Biscoff spread in both the cake and frosting so the flavor carries all the way through. The cinnamon matters too. It doesn’t make the cake taste like cinnamon cake; it just nudges the cookie butter flavor in the right direction. The layers bake up best when the batter is mixed just until the flour disappears, because overmixing turns this kind of cake dense fast.
Below, I’ve included the one texture cue that keeps the frosting fluffy, plus a couple of smart swaps if you need to adapt the cake without losing what makes it special.
The frosting set up beautifully and the cookie butter flavor came through in every layer without getting too sweet. I had to hide the last slice because my husband kept going back for “just one more bite.”
Save this Biscoff Cookie Butter Cake for the kind of dessert that needs soft layers, a fluffy cookie butter frosting, and a crushed-cookie finish.
The Secret to Keeping Biscoff Flavor Bold Without a Heavy Crumb
The mistake with cookie butter cakes is usually the same one: too much spread in the batter, not enough structure from the flour and eggs. Biscoff brings a lot of fat and sweetness, so if you treat it like a standard flavor add-in, the cake can bake up tight or greasy. Here, the flour stays high enough to hold the layers together, and the buttermilk gives the crumb lift so the cake still feels light when you cut into it.
The other thing that matters is how the butter and brown sugar are beaten. You want them pale and fluffy before the eggs go in, because that trapped air is what keeps the layers from turning flat. Once the flour is added, stop mixing as soon as the batter smooths out. If you keep going, the cake loses that soft, even texture and starts baking up a little chewy around the edges.
What Each Ingredient Is Doing in This Cake
- Biscoff cookie butter — This is the flavor anchor in both the cake and frosting. A generic cookie spread won’t give the same spiced caramel note, and the texture can be different enough to change how the batter behaves.
- Buttermilk — This keeps the crumb tender and helps the baking soda do its job. If you don’t have it, mix 1 tablespoon lemon juice or vinegar into 1 cup milk and let it sit for 5 minutes, but the cake won’t be quite as plush.
- Brown sugar — It deepens the flavor and keeps the cake moist. White sugar will work in a pinch, but you’ll lose some of that warm, toffee-like background flavor that fits Biscoff so well.
- Butter — Use real butter here. It gives the cake a better mouthfeel and helps the frosting whip up with more body than margarine ever will.
- Cinnamon — Just enough to round out the cookie butter flavor without taking over. It should taste like it belongs there, not like a spice cake.
- Crushed Biscoff cookies — These are for texture and the finished look. Crush them finely enough to press into the frosting, but leave some small pieces so the outside has a little crunch instead of turning sandy.
Building the Layers So the Frosting Stays Fluffy
Getting the Batter Right
Start by whisking the dry ingredients together so the baking powder, baking soda, cinnamon, and salt are evenly distributed. Beat the butter and brown sugar until the mixture looks lighter and a bit fluffy, not just combined. That step gives you the structure the cake needs before the eggs and buttermilk go in. If the batter looks slightly curdled once you add the wet ingredients, that’s normal; it smooths out once the flour is folded in.
Baking the Layers Evenly
Divide the batter between three greased 8-inch pans and level it gently. The layers are done when the tops spring back lightly and a toothpick comes out with a few moist crumbs, not wet batter. Pull them before they look deeply browned. Overbaking is what dries out this kind of cake, and once cookie butter cake dries out, the frosting has to work too hard to save it.
Whipping and Spreading the Frosting
Beat the butter, Biscoff spread, powdered sugar, cream, and vanilla until the frosting looks smooth and fluffy. If it seems stiff, add cream a teaspoon at a time; if it looks loose, give it another minute of beating before adding more sugar. Frost the cake only after the layers are completely cool. Even a little warmth will soften the frosting and make the crushed cookies slide instead of sticking cleanly.
Three Ways to Make This Cake Fit the Table You’re Serving
Dairy-Free Version
Use plant-based butter in both the cake and frosting, and swap the buttermilk for a non-dairy milk mixed with 1 tablespoon lemon juice. The cake still bakes up tender, but the frosting may need a little extra powdered sugar to hold its shape.
Gluten-Free Swap
Use a good 1:1 gluten-free baking flour with xanthan gum already included. The texture will be slightly more delicate, so let the layers cool fully before moving them, and don’t overbake them while chasing color.
Cupcake Version
Bake the batter in lined muffin tins at 350°F for about 18 to 22 minutes. You’ll get a faster dessert with more frosting in each bite, but the crumb-to-frosting ratio becomes richer and less sliceable than the layer cake.
Storage and Reheating
- Refrigerator: Store covered for up to 5 days. The frosting will firm up, but the cake stays moist.
- Freezer: Freeze unfrosted layers wrapped tightly for up to 2 months, or freeze frosted slices on a tray before wrapping. The cookie topping softens a little after thawing, but the cake itself freezes well.
- Reheating: Let slices come to room temperature before serving. Cold butter cake tastes dull and the frosting feels stiff, so give it time on the counter instead of microwaving it.
Questions I Get Asked About This Cake
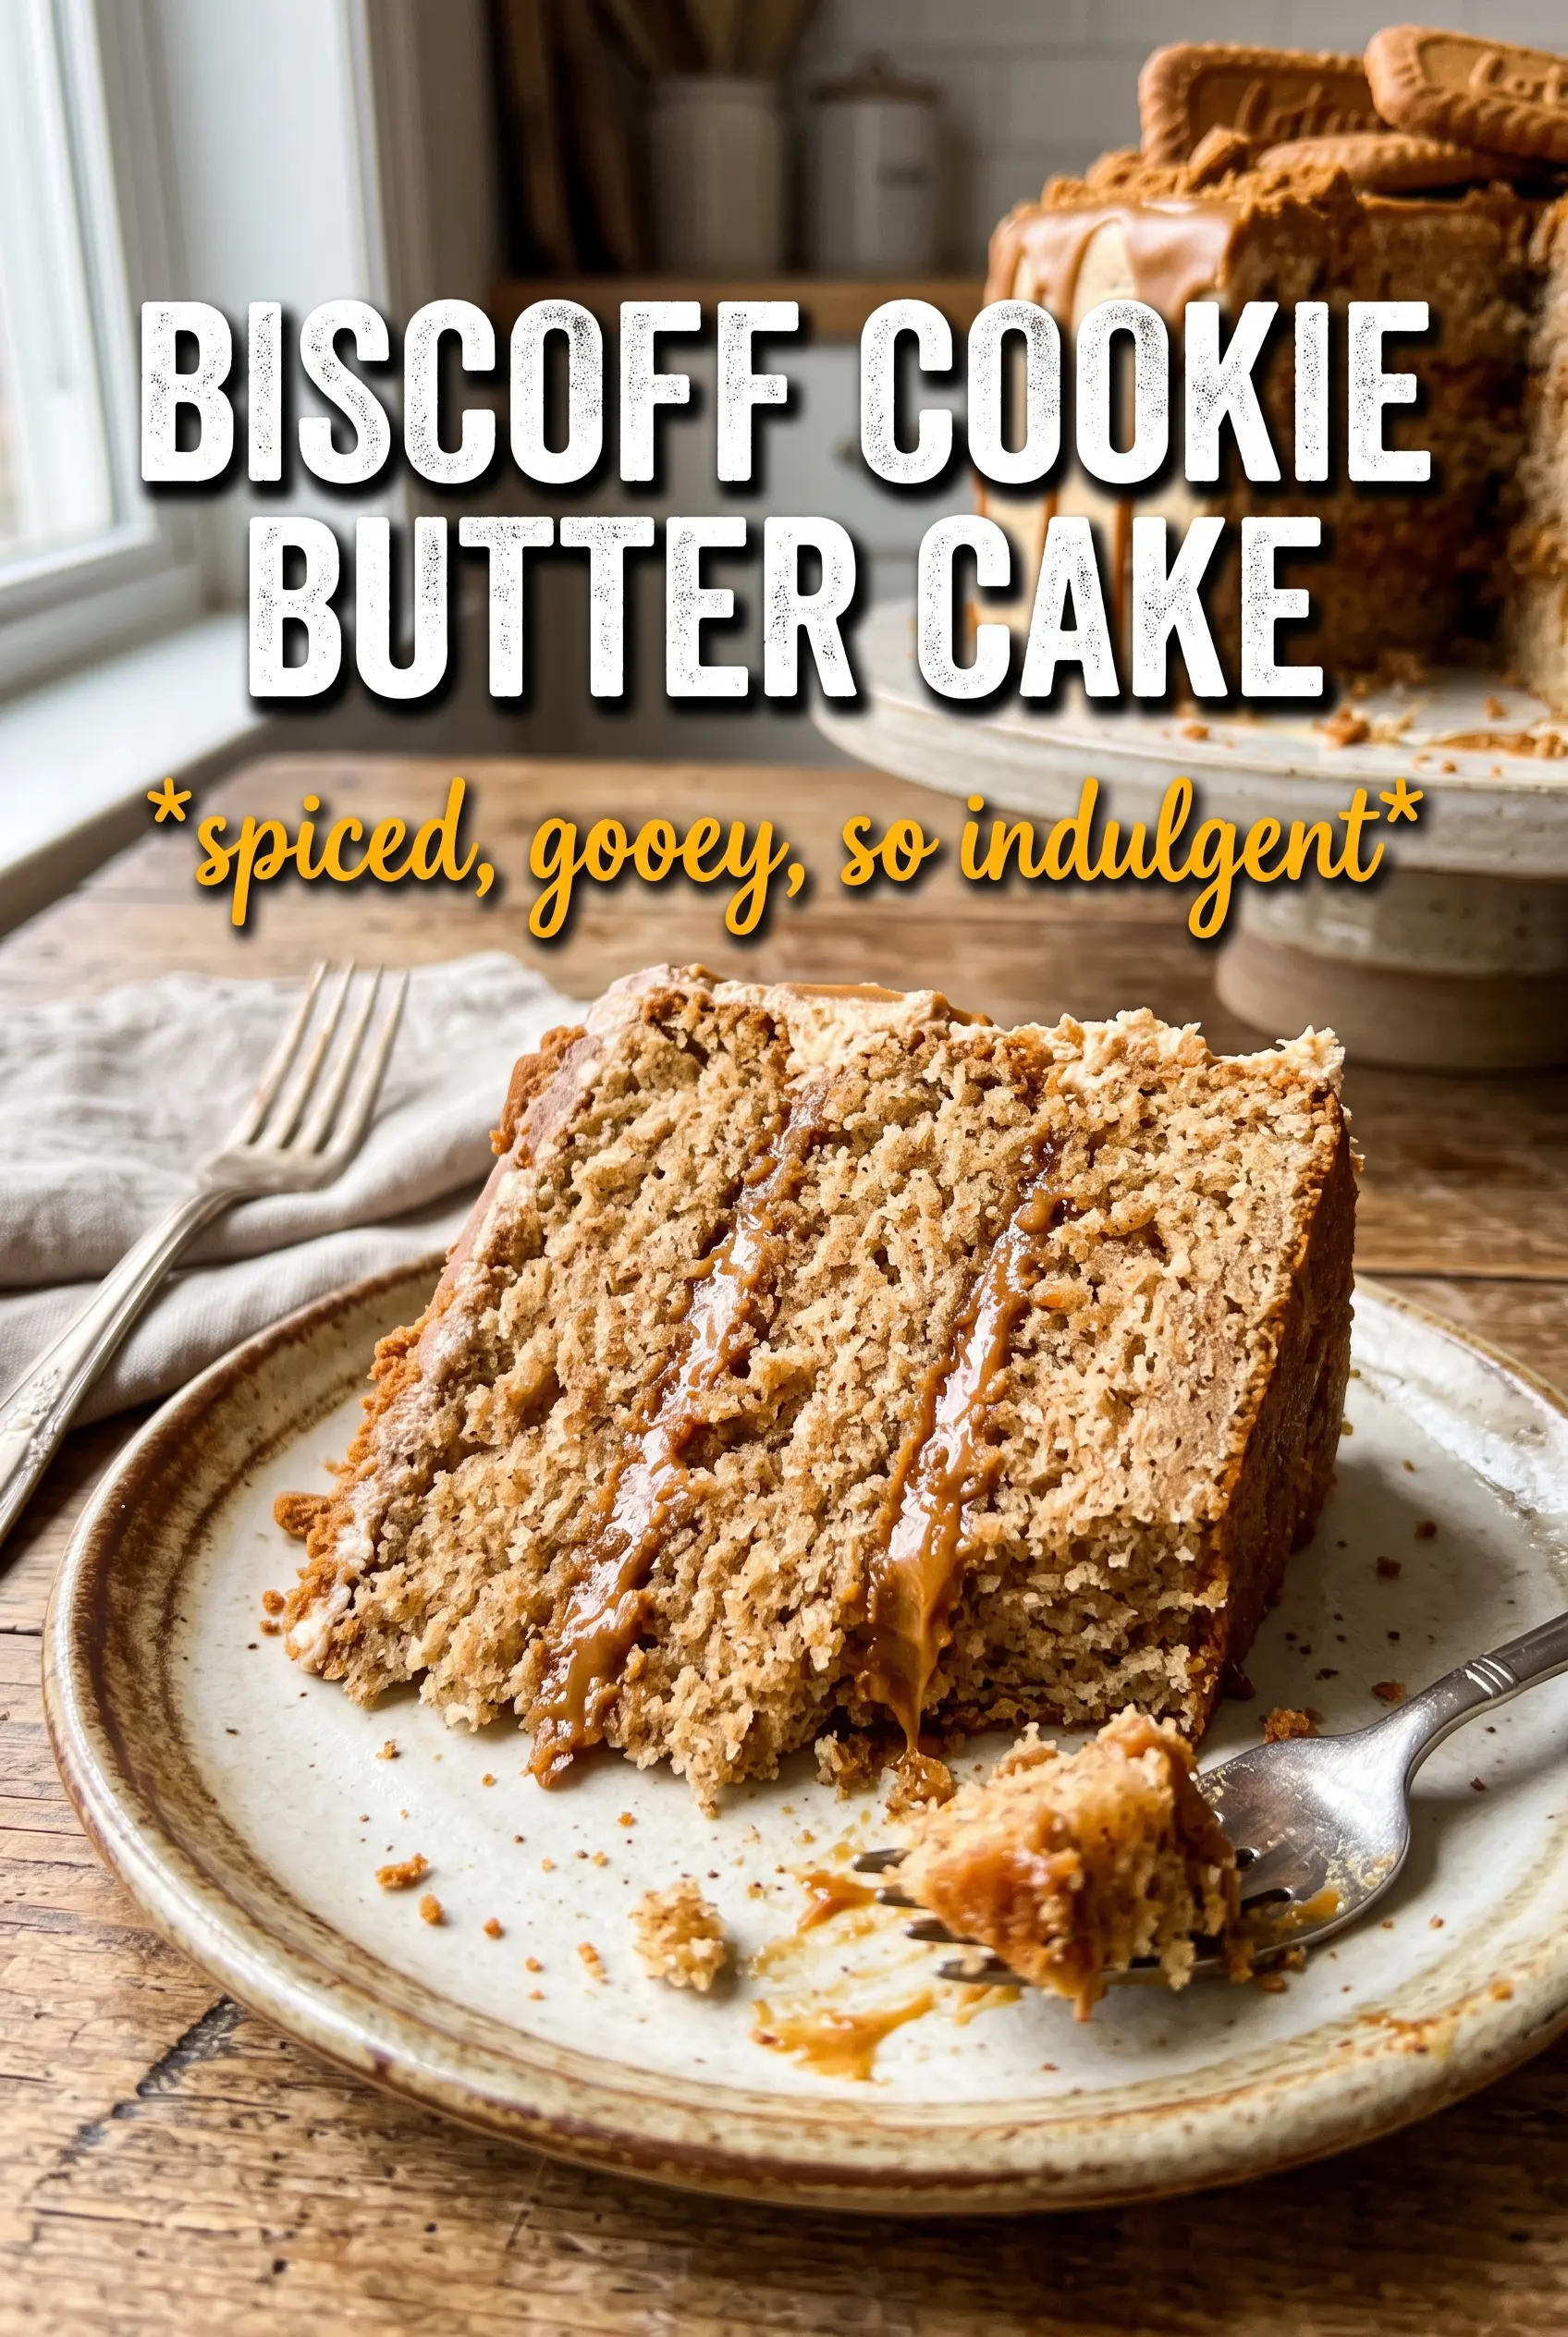
Biscoff Cookie Butter Cake
Ingredients
Equipment
Method
- Preheat the oven to 350°F, then grease three 8-inch round pans. Set the pans aside so the batter can go in right after mixing.
- Whisk all-purpose flour, baking powder, baking soda, cinnamon, and salt in a mixing bowl until evenly combined. Make sure there are no visible cinnamon or baking powder clumps.
- Beat softened butter and brown sugar until fluffy, about 2-3 minutes. Then add eggs, Biscoff cookie butter, vanilla, and buttermilk and mix just until smooth.
- Fold the flour mixture into the wet ingredients until no dry streaks remain. Divide the batter evenly among the three pans.
- Bake at 350°F for 30-35 minutes, until a toothpick comes out with only a few moist crumbs. Cool the cakes completely in the pans before frosting.
- Beat butter, Biscoff spread, powdered sugar, cream, and vanilla until fluffy. Scrape the bowl as needed so the frosting is smooth and thick.
- Spread frosting between the cooled cake layers and cover the top. Use an offset spatula to make the surface level.
- Press crushed Biscoff cookies onto the frosting for decoration along the sides. Keep pressing lightly so the cookies adhere without gouging the cake.