Apple crisp mini cheesecakes hit that sweet spot between creamy dessert and cozy bakery-style crumble. You get a buttery graham crust, a smooth cinnamon-kissed cheesecake center, tender apples, and a golden oat topping in every single bite. The best part is that each mini cheesecake keeps its own layers, so you get clean slices of flavor instead of one dessert where everything blurs together.
What makes these work is the order. The crust gets a short bake first so it stays crisp under the filling. The apple layer is cooked just enough to soften and concentrate the fruit without turning into mush, and the oat crumble is chilled before baking so it stays sandy and crisp instead of melting into the topping. The cheesecake filling itself stays simple and smooth, which keeps the apples and oat topping from feeling heavy.
Below you’ll find the little details that matter: how to keep the crust from going soggy, why the filling should still look a touch soft in the center when it comes out of the oven, and how to keep the crumble topping tall and crunchy after chilling.
The cheesecake layer baked up smooth and the apple topping stayed chunky instead of turning watery. My husband kept reaching for a second one before they even finished chilling.
Save these apple crisp mini cheesecakes for the days when you want a creamy cheesecake bite with a crunchy oat topping.
The Step That Keeps the Crust Crisp Under the Cheesecake
The crust needs that short pre-bake because the filling is wet and the apple layer releases a little steam as it bakes. Skip the crust bake and the bottom softens before the centers have a chance to set. A five-minute head start gives the crumbs enough structure to stay distinct all the way through chilling.
The other place these go wrong is overfilling. Mini cheesecakes rise a little, then settle as they cool, and if you pack the liners to the top you’ll lose the tidy layered look when the filling swells around the apples and crumble. Stop at about three-quarters full, then add the toppings with a light hand so the oat crisp stays perched on top instead of sinking in.
What Each Layer Is Doing in These Mini Cheesecakes
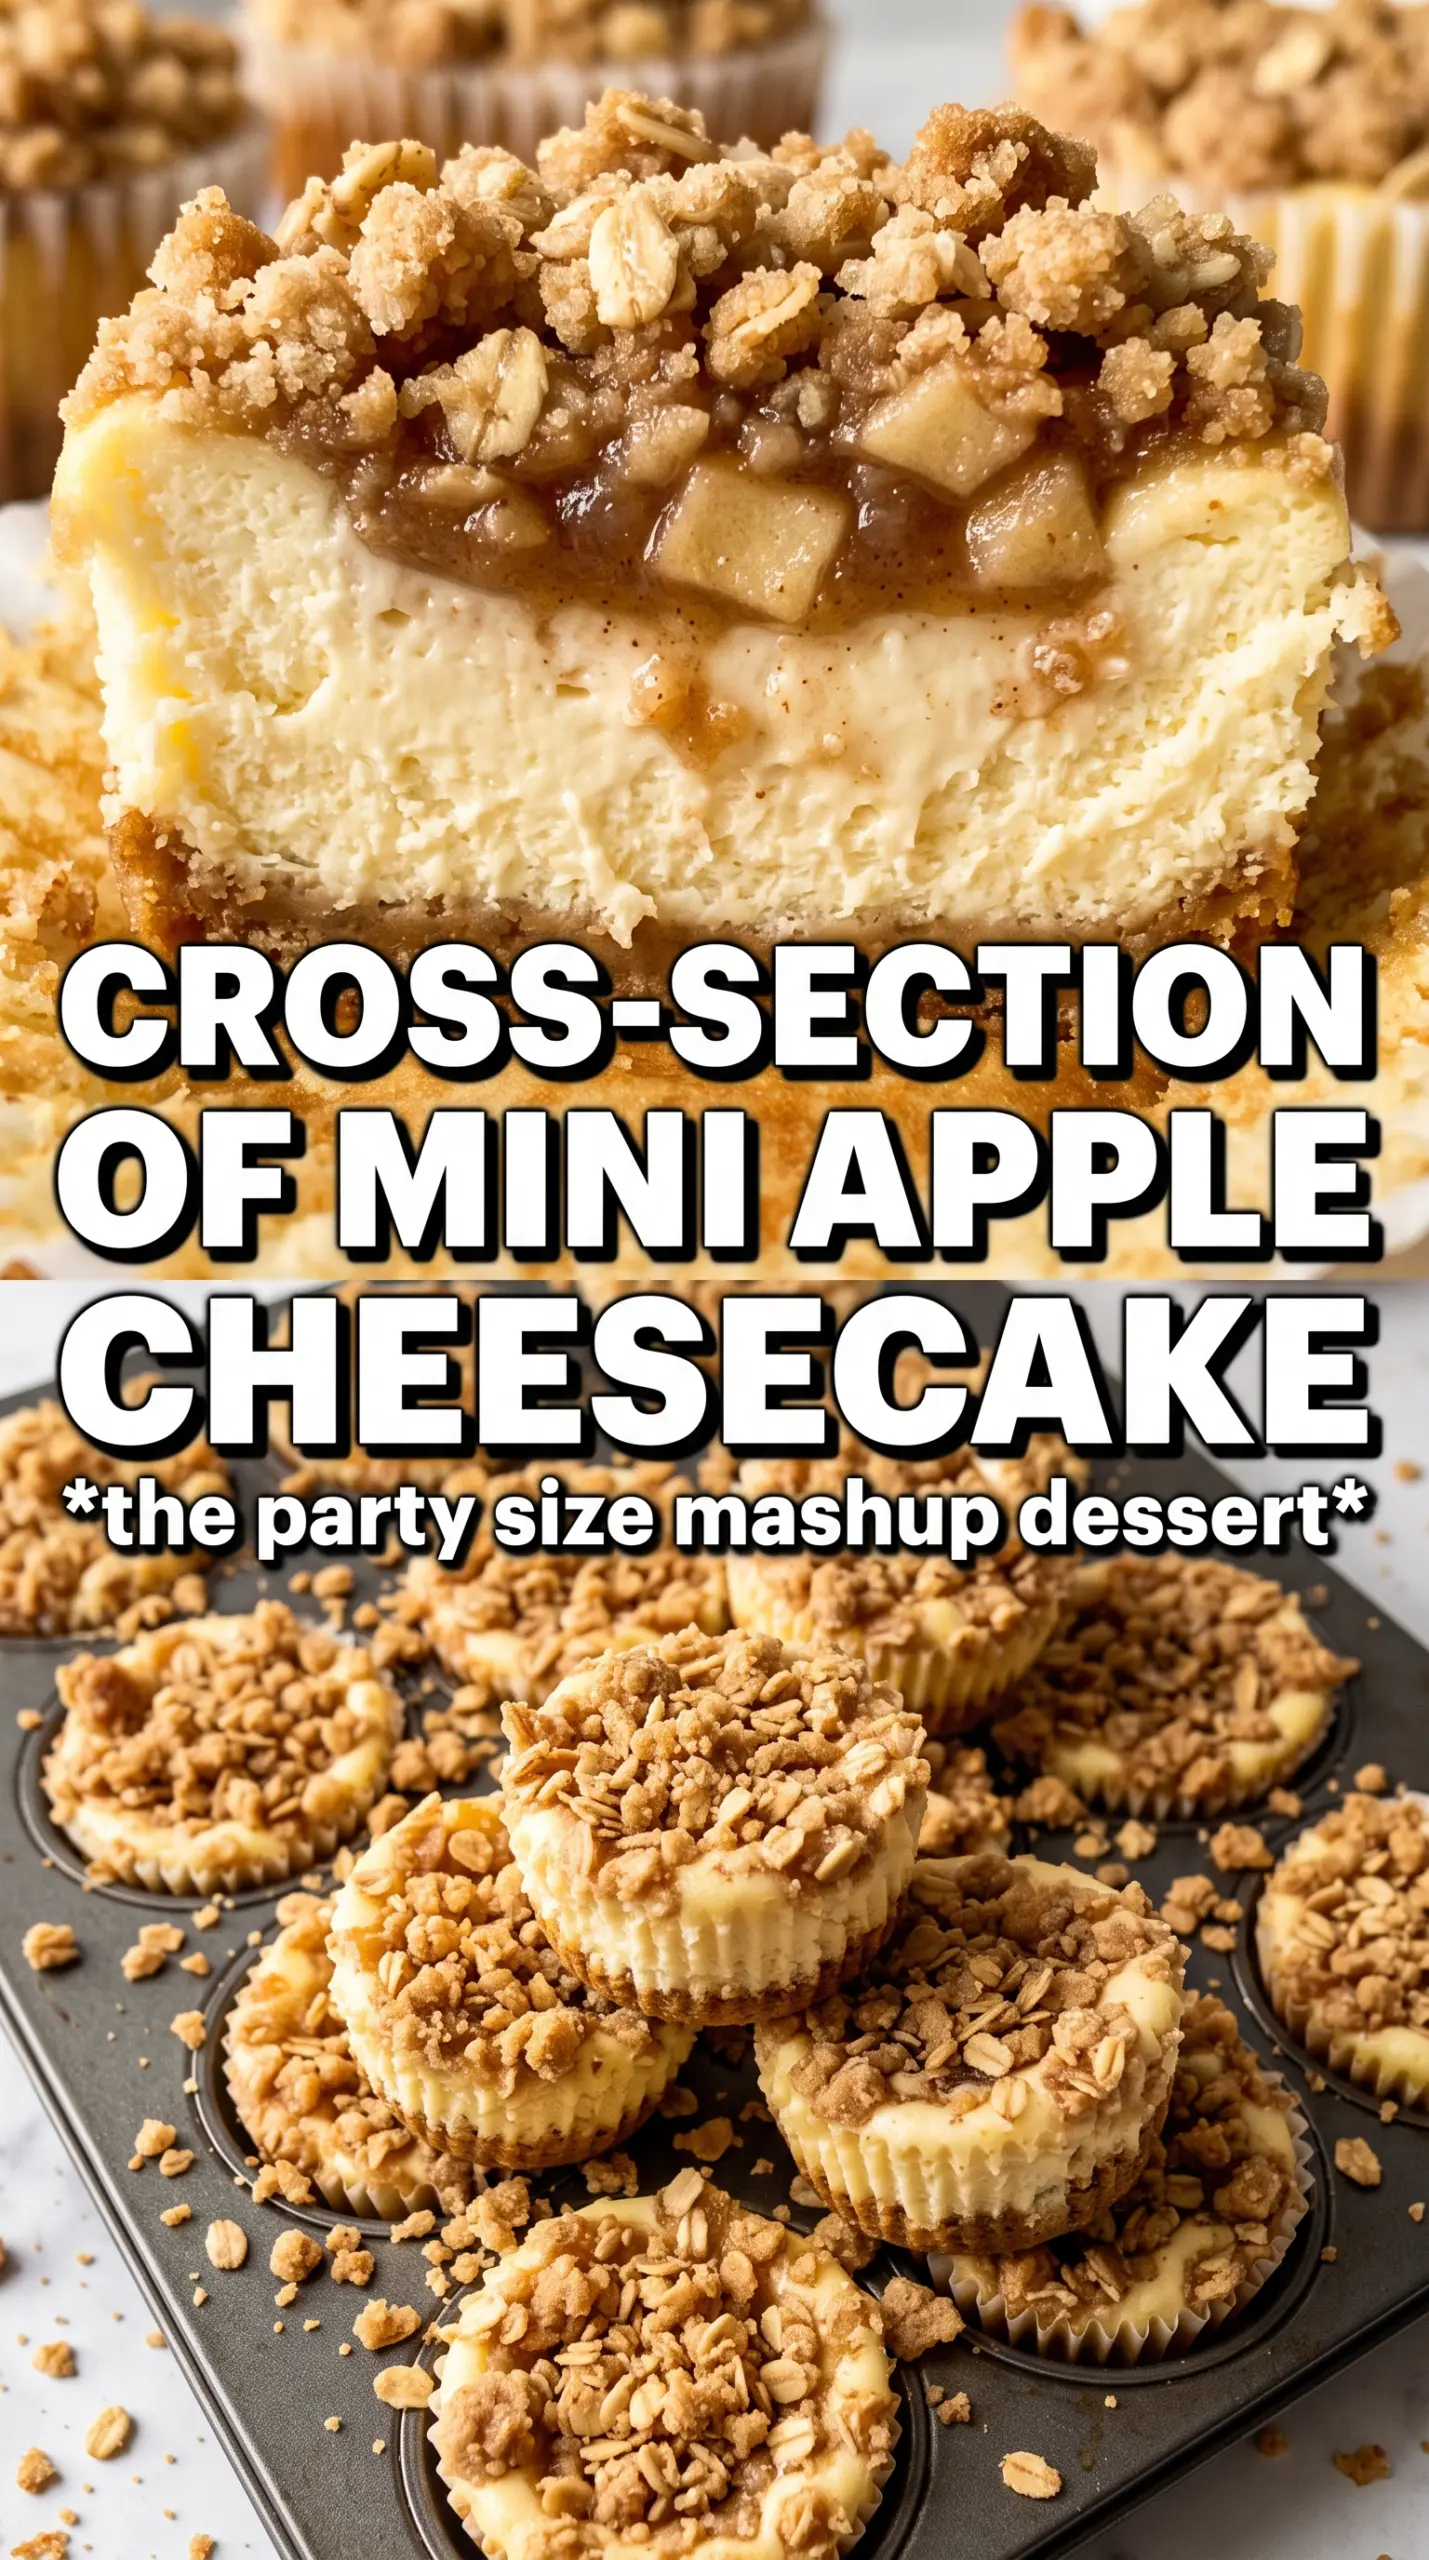
- Graham crumbs — These give you the classic cheesecake base with enough sweetness to support the apple topping. Finely crushed crumbs press together better, so if your crumbs are coarse, pulse them a little more before mixing.
- Cream cheese — Full-fat cream cheese is worth using here. Reduced-fat versions hold more water and can give you a looser filling that bakes up less cleanly.
- Sour cream — This adds tang and keeps the texture soft instead of dense. Plain Greek yogurt can work in a pinch, but the filling will taste a little sharper and set a bit firmer.
- Apples — A firm baking apple matters because you want soft pieces, not applesauce. Granny Smith, Honeycrisp, or a mix of both hold their shape after that short stovetop cook.
- Old-fashioned oats — These are what give the topping its crisp, rustic texture. Quick oats break down too fast and lose that crumbly crunch.
- Cold butter — For the oat topping, cold butter is the difference between a crumble and a paste. Work it in until the mixture looks like damp sand with some pea-sized bits left behind.
Building the Layers Without Making a Soggy Mess
Start with the crust
Stir the graham crumbs, melted butter, and sugar until every crumb looks evenly coated, then press the mixture firmly into lined muffin cups. Use the bottom of a small glass or measuring spoon to pack it down; loose crumbs will fall apart when you lift the liners later. Bake just until you smell the crust turning toasty at the edges, which is enough to set it without drying it out.
Cook the apples until they still hold shape
Dice the apples small so they soften quickly and spread evenly over the filling. Cook them with brown sugar, cinnamon, and butter for only a few minutes, just until the cubes lose their raw edge and the pan looks glossy. If the apples go too long, they start breaking down and their juices seep into the cheesecake layer.
Keep the cheesecake batter smooth and calm
Beat the cream cheese until it’s completely smooth before the eggs go in. Once the eggs are added, mix only until the batter is combined; overbeating traps air and can cause the centers to puff, crack, or sink. The filling should look thick, silky, and lump-free, with no streaks of cream cheese left behind.
Finish with the crumble before baking
Mix the oat topping until it looks clumpy and uneven, then chill it while you finish the filling. That chill helps the butter stay solid long enough for the topping to bake into crisp crumbs instead of disappearing into the cheesecake. Add the apples first, then scatter the crumble over the top so each mini cheesecake gets a little crown of crunch.
Make Them Gluten-Free with One Swap
Use gluten-free graham-style crumbs and a 1:1 gluten-free flour blend in the oat crumble. The texture stays close to the original, though the topping may bake a little more delicately, so let the cheesecakes cool completely before peeling off the liners.
Swap the Apple Filling for Pears
Firm pears work if you want something a little softer and floral. Cook them the same way, but shorten the stovetop time by a minute or two since pears collapse faster than apples and can turn mushy if you push them too far.
Dairy-Free Version That Still Holds Together
Use dairy-free cream cheese, plant-based butter, and a thick dairy-free yogurt in place of the sour cream. The flavor stays close, but the texture can be a touch softer, so chill them overnight before serving for the cleanest set.
Storage and Reheating
- Refrigerator: Store covered for up to 4 days. The crumble softens a little in the fridge, but the filling stays creamy.
- Freezer: These freeze well without the crumble getting soggy if you wrap them tightly after chilling. Freeze on a tray first, then move to a container; thaw overnight in the refrigerator.
- Reheating: No reheating is needed. Serve chilled or let them sit at room temperature for 15 to 20 minutes. Heating them will soften the crust and collapse the cheesecake texture.
Questions I Get Asked About This Recipe
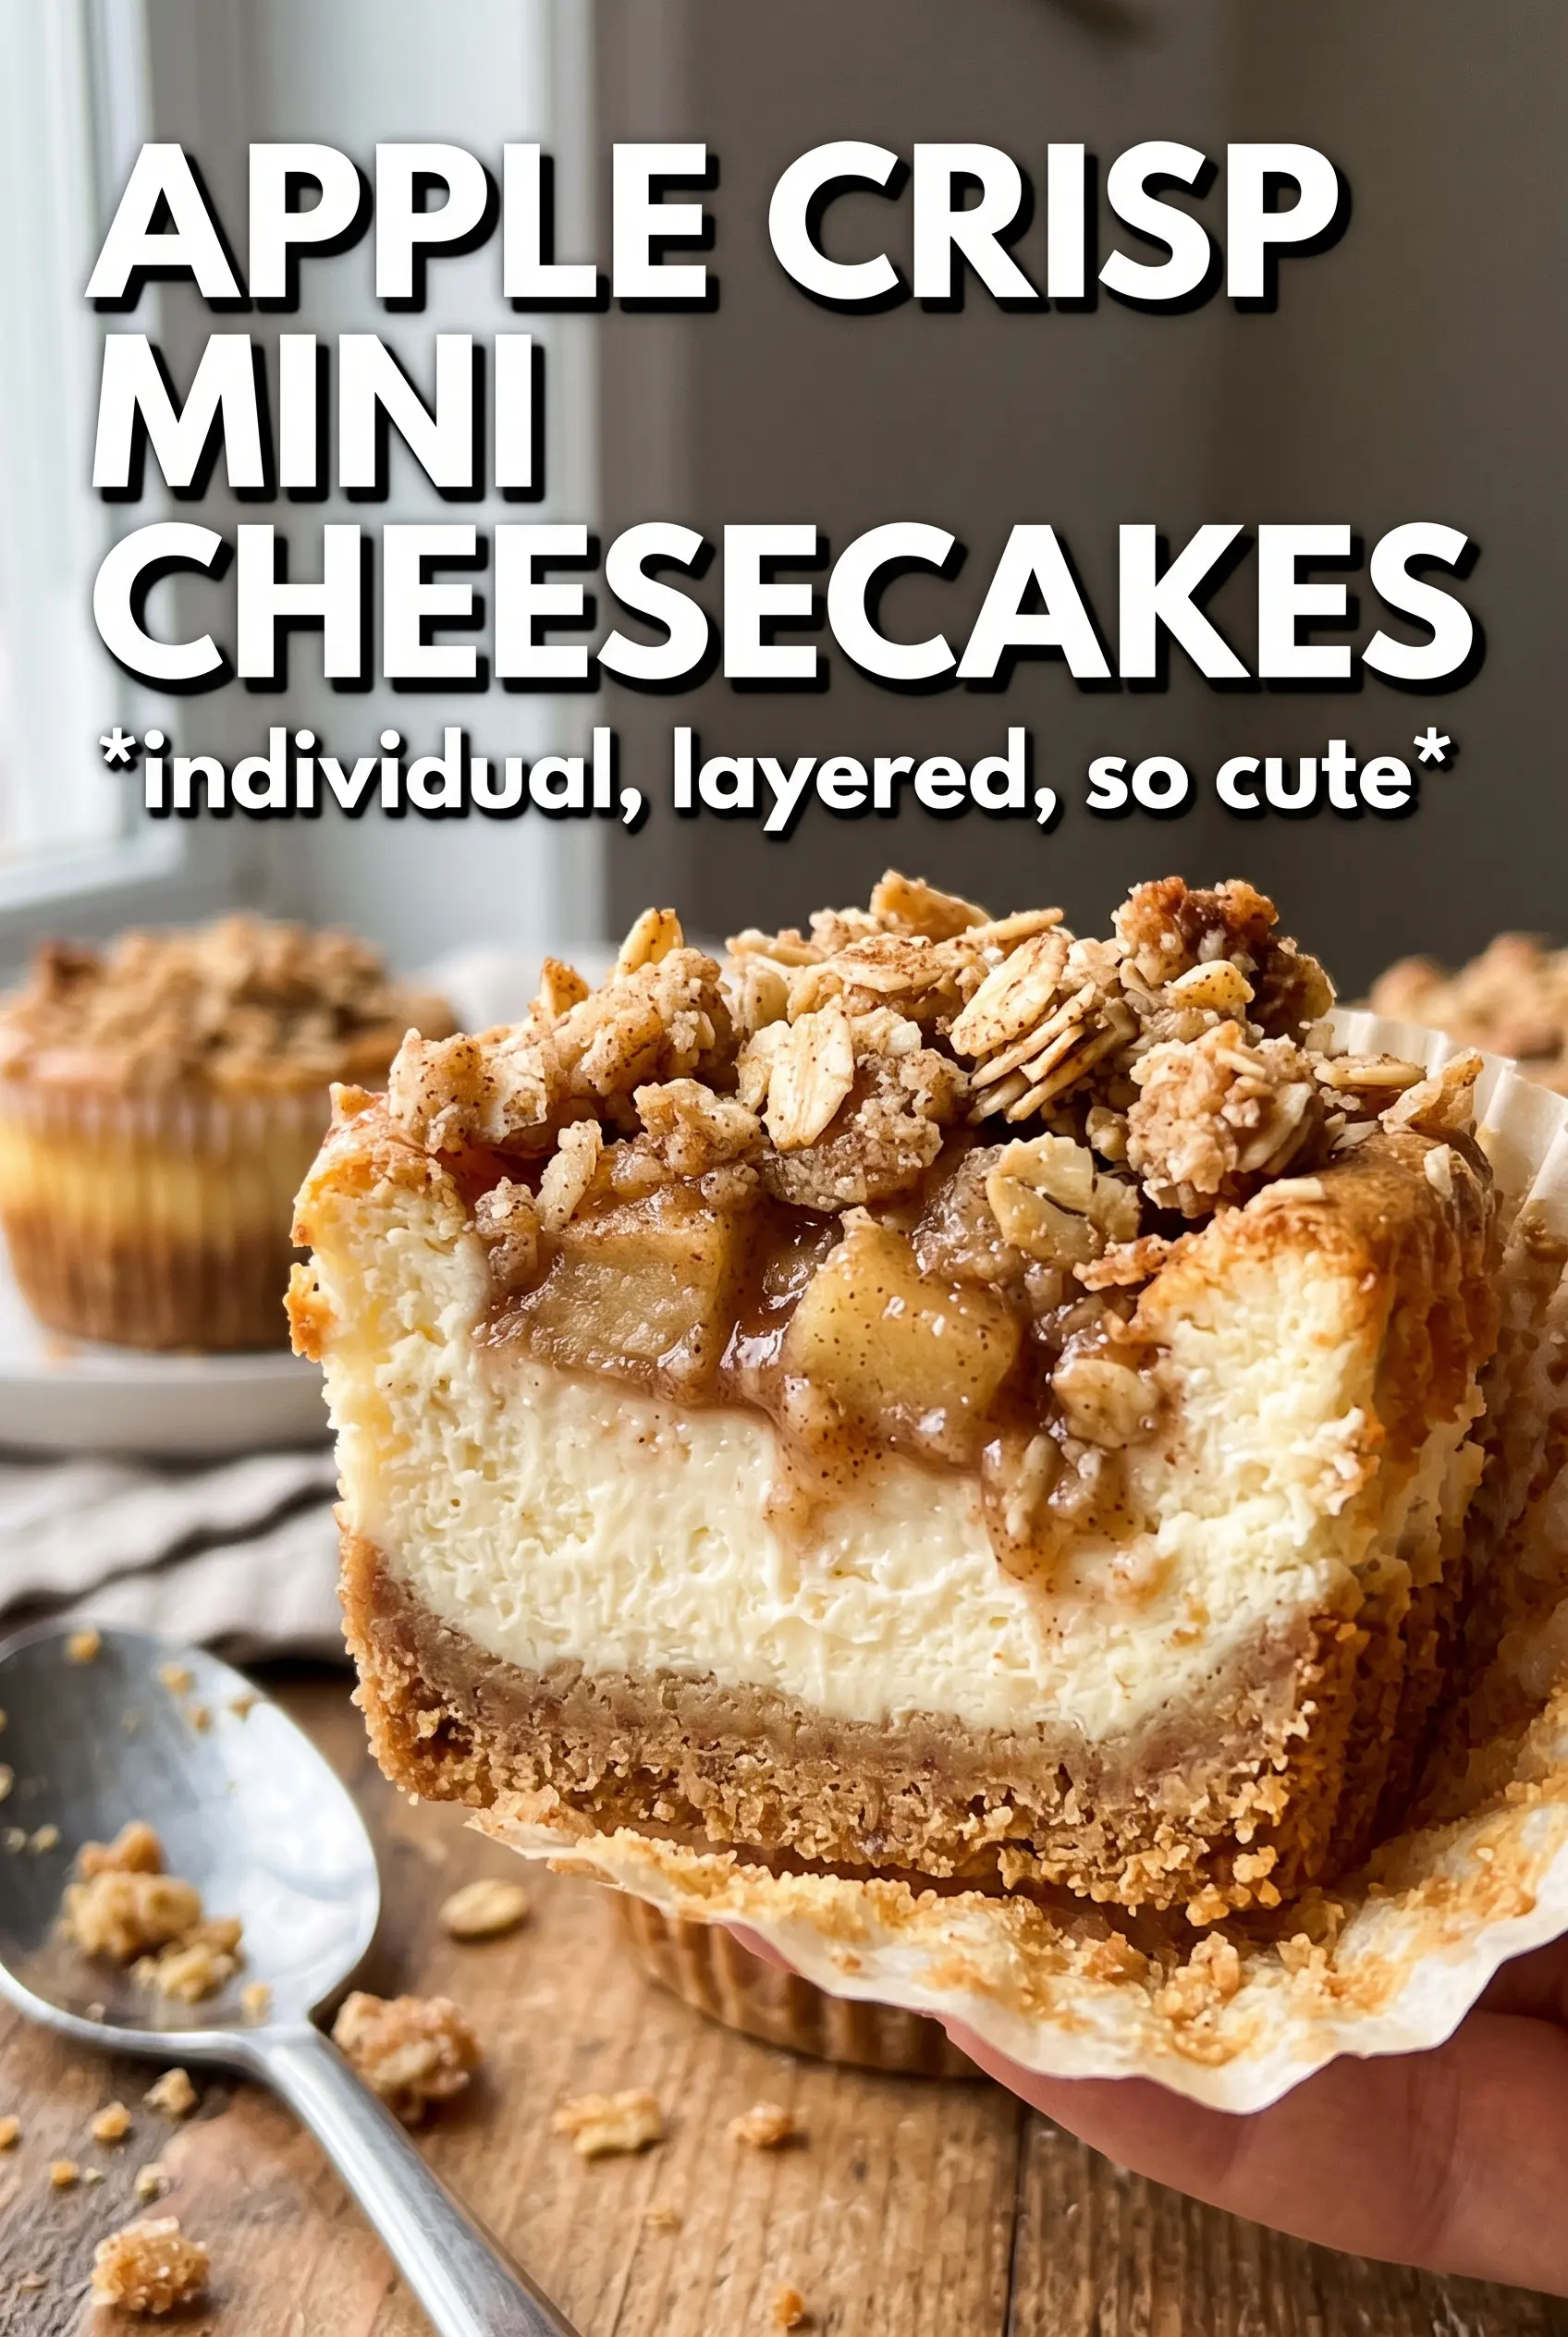
Apple Crisp Mini Cheesecakes
Ingredients
Equipment
Method
- Preheat the oven to 325F, then line a 12-cup muffin tin with paper liners.
- Press the graham crust mixture into each liner, then bake for 5 minutes until lightly set.
- Cook the apple topping for 5 minutes until softened, then cool completely.
- Make the oat crisp, then refrigerate it while you prepare the cheesecake.
- Beat the cheesecake filling until smooth, then divide it among the muffin cups.
- Top each cup with the cooled apple filling so the surface is covered.
- Scatter the oat crisp over each cheesecake like a crumble crown.
- Bake for 20-22 minutes at 325F until the centers are just set and still look slightly soft.
- Refrigerate the mini cheesecakes for 3 hours, until fully chilled and firm.