Apple pie cheesecake lands in that sweet spot where a dessert feels familiar at first bite and then keeps surprising you with every layer. The cinnamon graham crust brings a toasty, spiced crunch, the cheesecake bakes up dense and creamy, and the apple filling cuts through with soft, buttery fruit and warm spice. Then the streusel on top adds the kind of finish that makes each slice hold together beautifully instead of eating like a pile of sweet fillings.
What makes this version work is the way each layer is handled before it goes into the pan. The apples are cooked first so they don’t leak juice into the cheesecake, the crust gets a quick bake so it stays firm, and the water bath gives the filling a gentle bake instead of harsh heat. That keeps the cheesecake smooth and helps prevent the cracks and grainy texture that happen when the oven runs too hot or the batter gets overmixed.
Below you’ll find the timing that keeps the layers clean, plus the little details that make the streusel stay crisp and the caramel drizzle look as good as it tastes.
The apple layer set up perfectly and the cheesecake stayed creamy all the way through. I loved that the streusel stayed crisp even after chilling overnight, and the caramel on top made each slice taste like a bakery dessert.
Like this apple pie cheesecake? Save it to Pinterest for the days when you want a creamy cheesecake, tender spiced apples, and a crisp streusel topping in one slice.
The Part Most Cheesecakes Get Wrong: Moisture Control
The biggest threat to this dessert isn’t flavor. It’s water. Apples release juice as they cook, cheesecake releases a little steam as it bakes, and streusel can turn soft if the filling underneath gets too loose. Cooking the apples first solves the first problem, and the water bath solves the second by keeping the oven heat steady and gentle instead of blasting the edges before the center has time to set.
Don’t rush the apple layer. You want it thick enough to mound on a spoon, not glossy and soupy. If it still looks loose in the pan, it will slide into the cheesecake and leave you with a watery middle. The cheesecake itself should look just set around the edges with a slight wobble in the center when it comes out; that wobble finishes in the fridge, not in the oven.
What Each Layer Is Doing in This Apple Pie Cheesecake
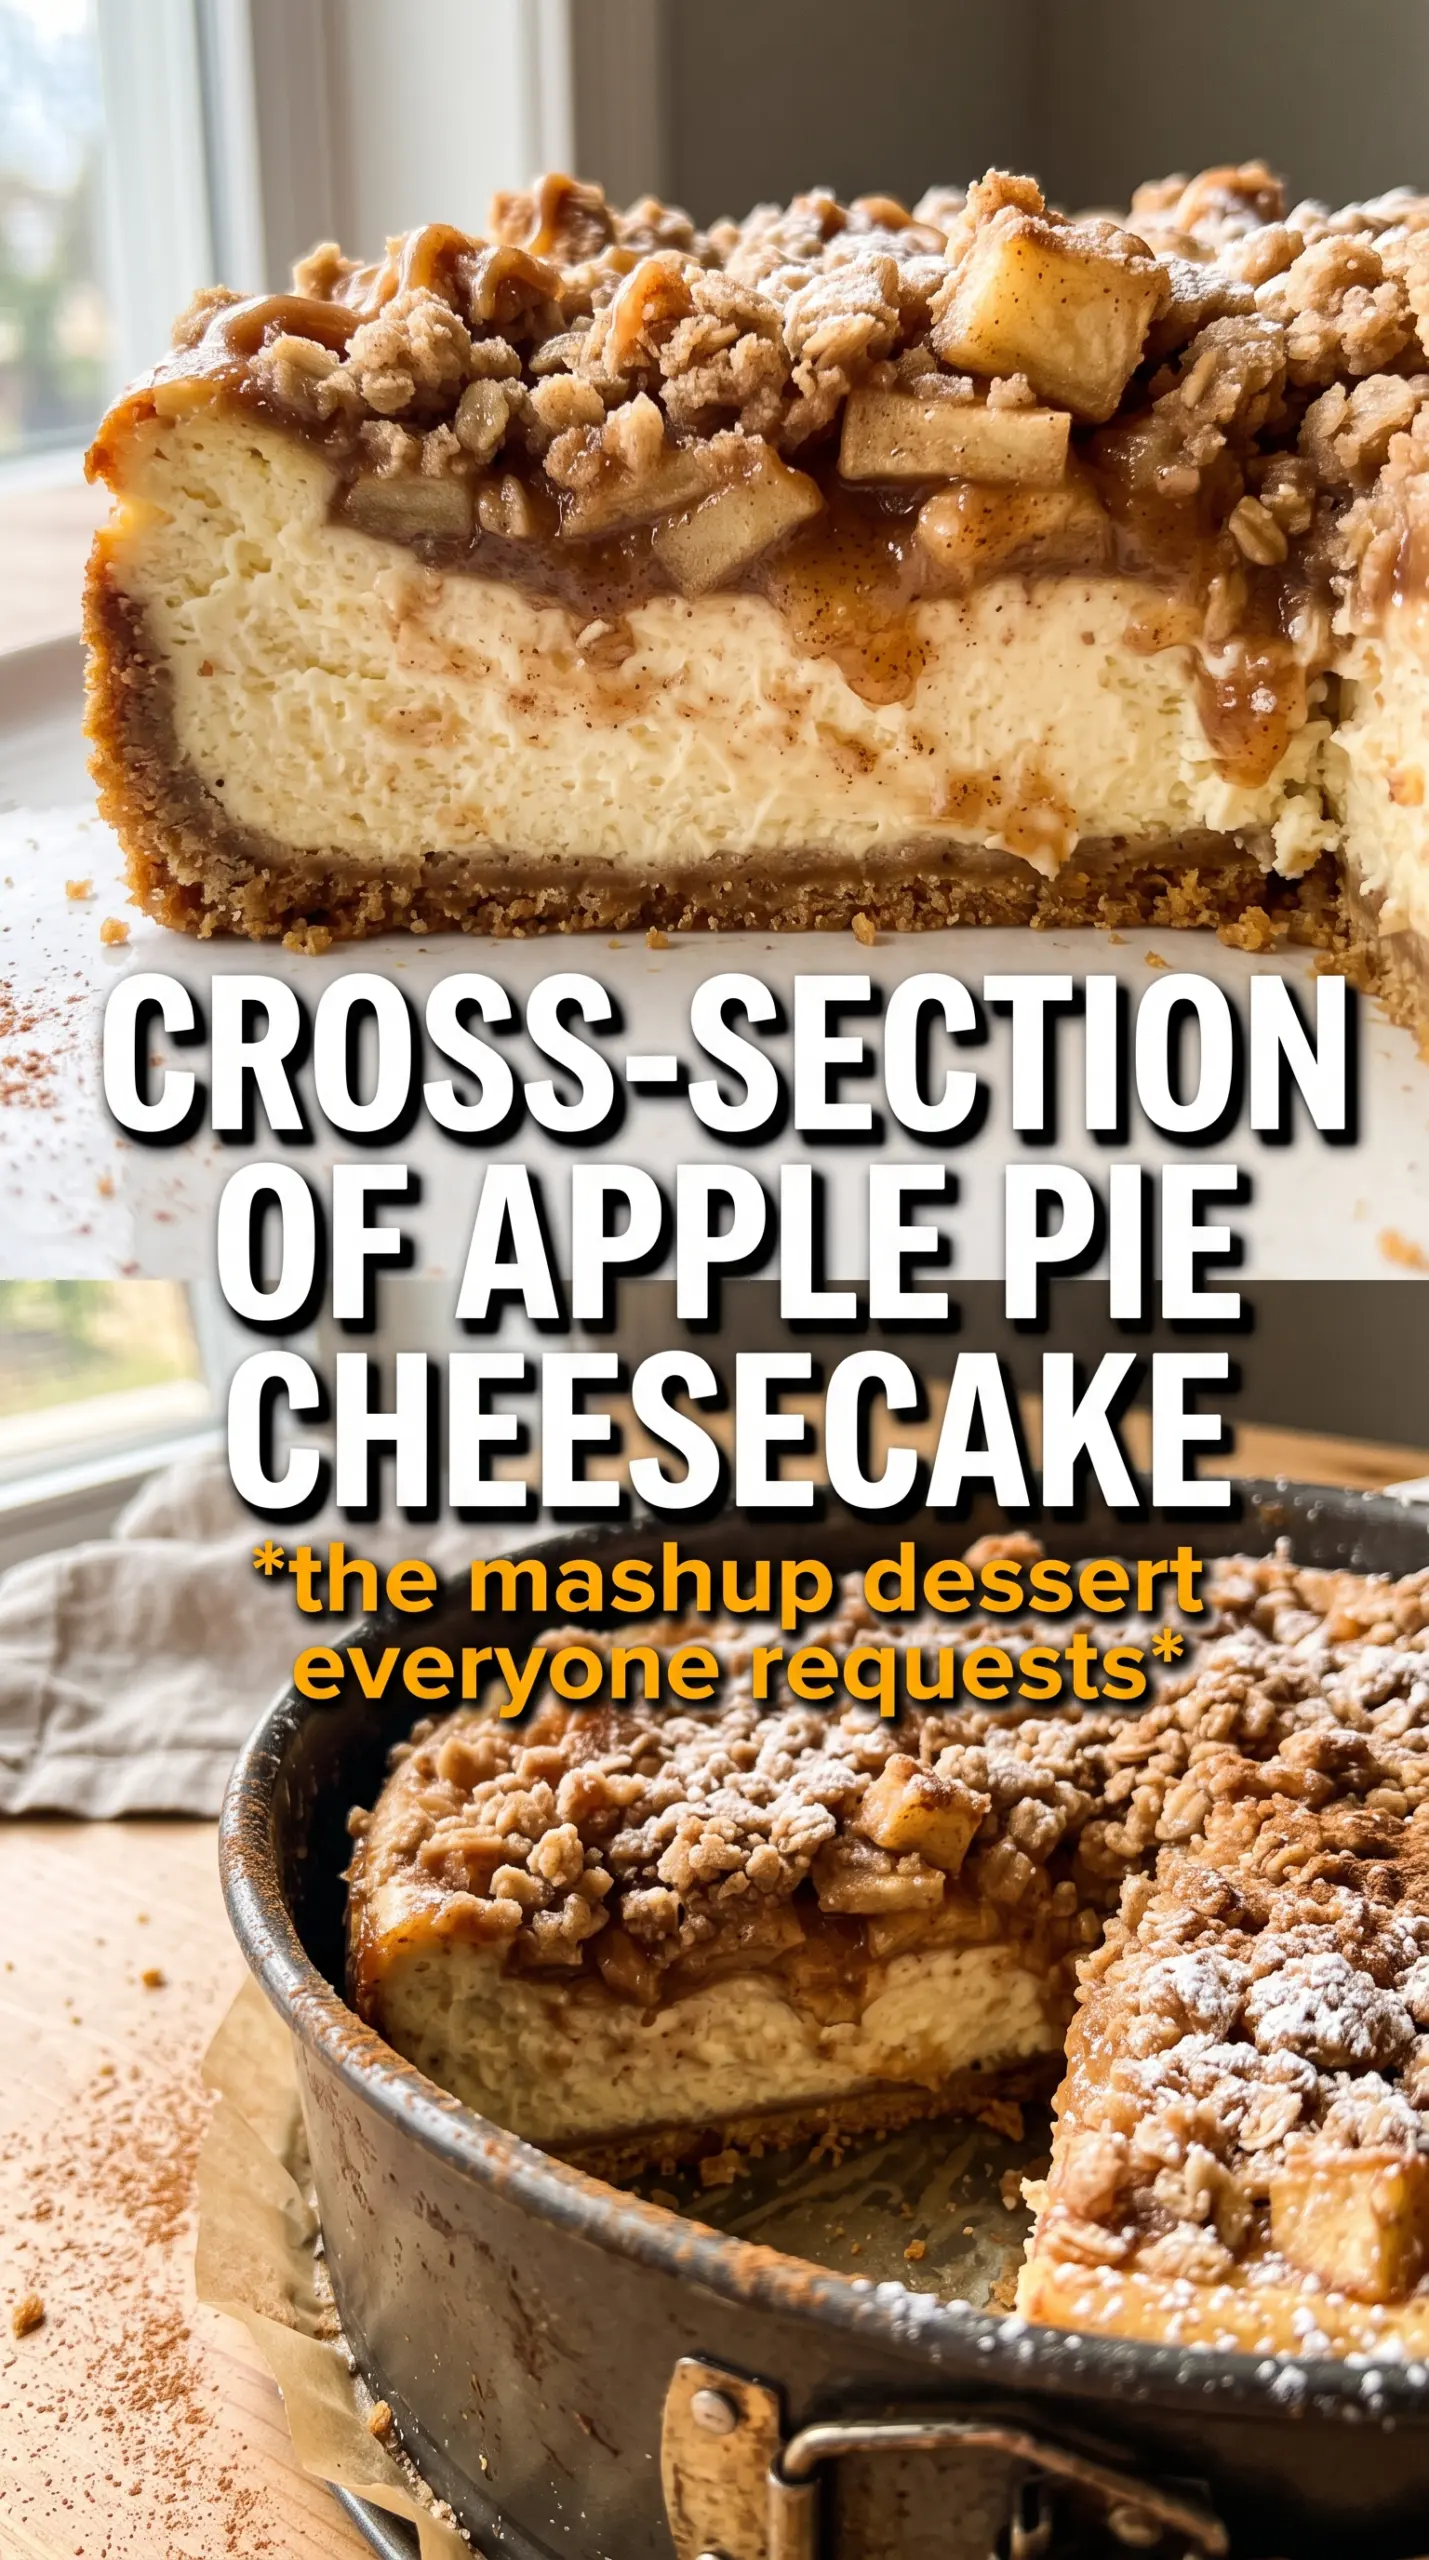
- Cinnamon graham crumbs — These give the crust its warm spice and help it taste like pie crust’s easier cousin. Regular graham crumbs work if that’s what you have, but the cinnamon version gives you a stronger base note that matches the apples.
- Cream cheese — Use full-fat block cream cheese, not the whipped tub kind. The block holds its structure and bakes into a dense, clean slice instead of a loose, airy filling.
- Sour cream — This keeps the filling from tasting flat and adds enough tang to balance the sugar and caramel. Plain Greek yogurt can work in a pinch, but the cheesecake will taste a little sharper and less plush.
- Apples — Firm apples matter here because they need to soften without turning mushy. Granny Smith gives you the best tart contrast, while Honeycrisp or Pink Lady bring more sweetness and a softer bite.
- Streusel — Cold butter is what gives the topping those crumbly clusters instead of a sandy layer. If the butter warms up too much, you’ll lose the crunch and end up with a paste.
Building the Layers So They Bake Cleanly
Setting Up the Crust
Press the crust mixture firmly into the bottom of a 9-inch springform pan and a little way up the sides if you want extra structure at the edge. Bake it until it smells toasted and looks slightly darker, which usually takes about 10 minutes. That short bake keeps the crust from going soggy under the cheesecake. If you skip it, the bottom can soften once the apple layer and filling go on.
Cooking the Apples Until They Hold Their Shape
Cook the diced apples with the brown sugar, cinnamon, nutmeg, cornstarch, and butter until the juices thicken and coat the fruit. The mixture should look glossy and spoonable, not like loose pie filling running across the pan. Cool it before layering, because hot apples can melt the cheesecake batter and make the center bake unevenly.
Mixing the Filling Without Whipping in Air
Beat the cream cheese and sugar until smooth, then add the eggs one at a time just until combined. Stop as soon as the batter looks uniform. Overmixing traps air, and that air expands in the oven, which is how you get cracks and a puffed center that sinks later. The sour cream and vanilla go in last so the batter stays silky without turning loose.
Baking Until the Center Still Moves a Little
Spread the cooled apple layer over the cheesecake batter, then scatter the streusel on top and bake in the water bath. The edges should look set and the center should still have a gentle jiggle when you nudge the pan. If the middle looks completely firm in the oven, it’s already overbaked. Let it cool slowly, then refrigerate for at least 6 hours so the layers slice cleanly.
How to Adapt This Dessert for Different Kitchens and Cravings
Gluten-Free Crust and Streusel
Use gluten-free graham-style crumbs for the crust and a 1:1 gluten-free flour blend in the streusel. The texture stays close to the original, though the topping may be a touch more delicate once chilled. Keep the butter cold so the streusel still clumps instead of turning sandy.
Make It Lighter Without Losing Structure
You can swap the sour cream for full-fat plain Greek yogurt and keep the texture stable. The filling will taste a little tangier and less rich, but it still bakes up cleanly. Don’t swap in low-fat cream cheese, since that usually makes the center softer and less sliceable.
Change the Apples for a Sweeter Slice
A mix of Honeycrisp and Fuji gives you a sweeter filling with less tang. The tradeoff is that the apples soften a little faster, so keep an eye on the stovetop and pull them as soon as the juices thicken. If you like a sharper pie note, stick with at least half Granny Smith.
Storage and Reheating
- Refrigerator: Store covered for up to 5 days. The streusel softens a little on day two, but the flavor stays strong.
- Freezer: Freeze individual slices tightly wrapped for up to 2 months. Thaw overnight in the refrigerator for the best texture; freezing the whole cheesecake is possible, but the streusel loses some crunch.
- Reheating: Serve it chilled or let a slice sit at room temperature for 15 to 20 minutes. Don’t microwave it unless you want the cheesecake to go soft and the caramel to melt off the top.
Answers to the Questions Worth Asking
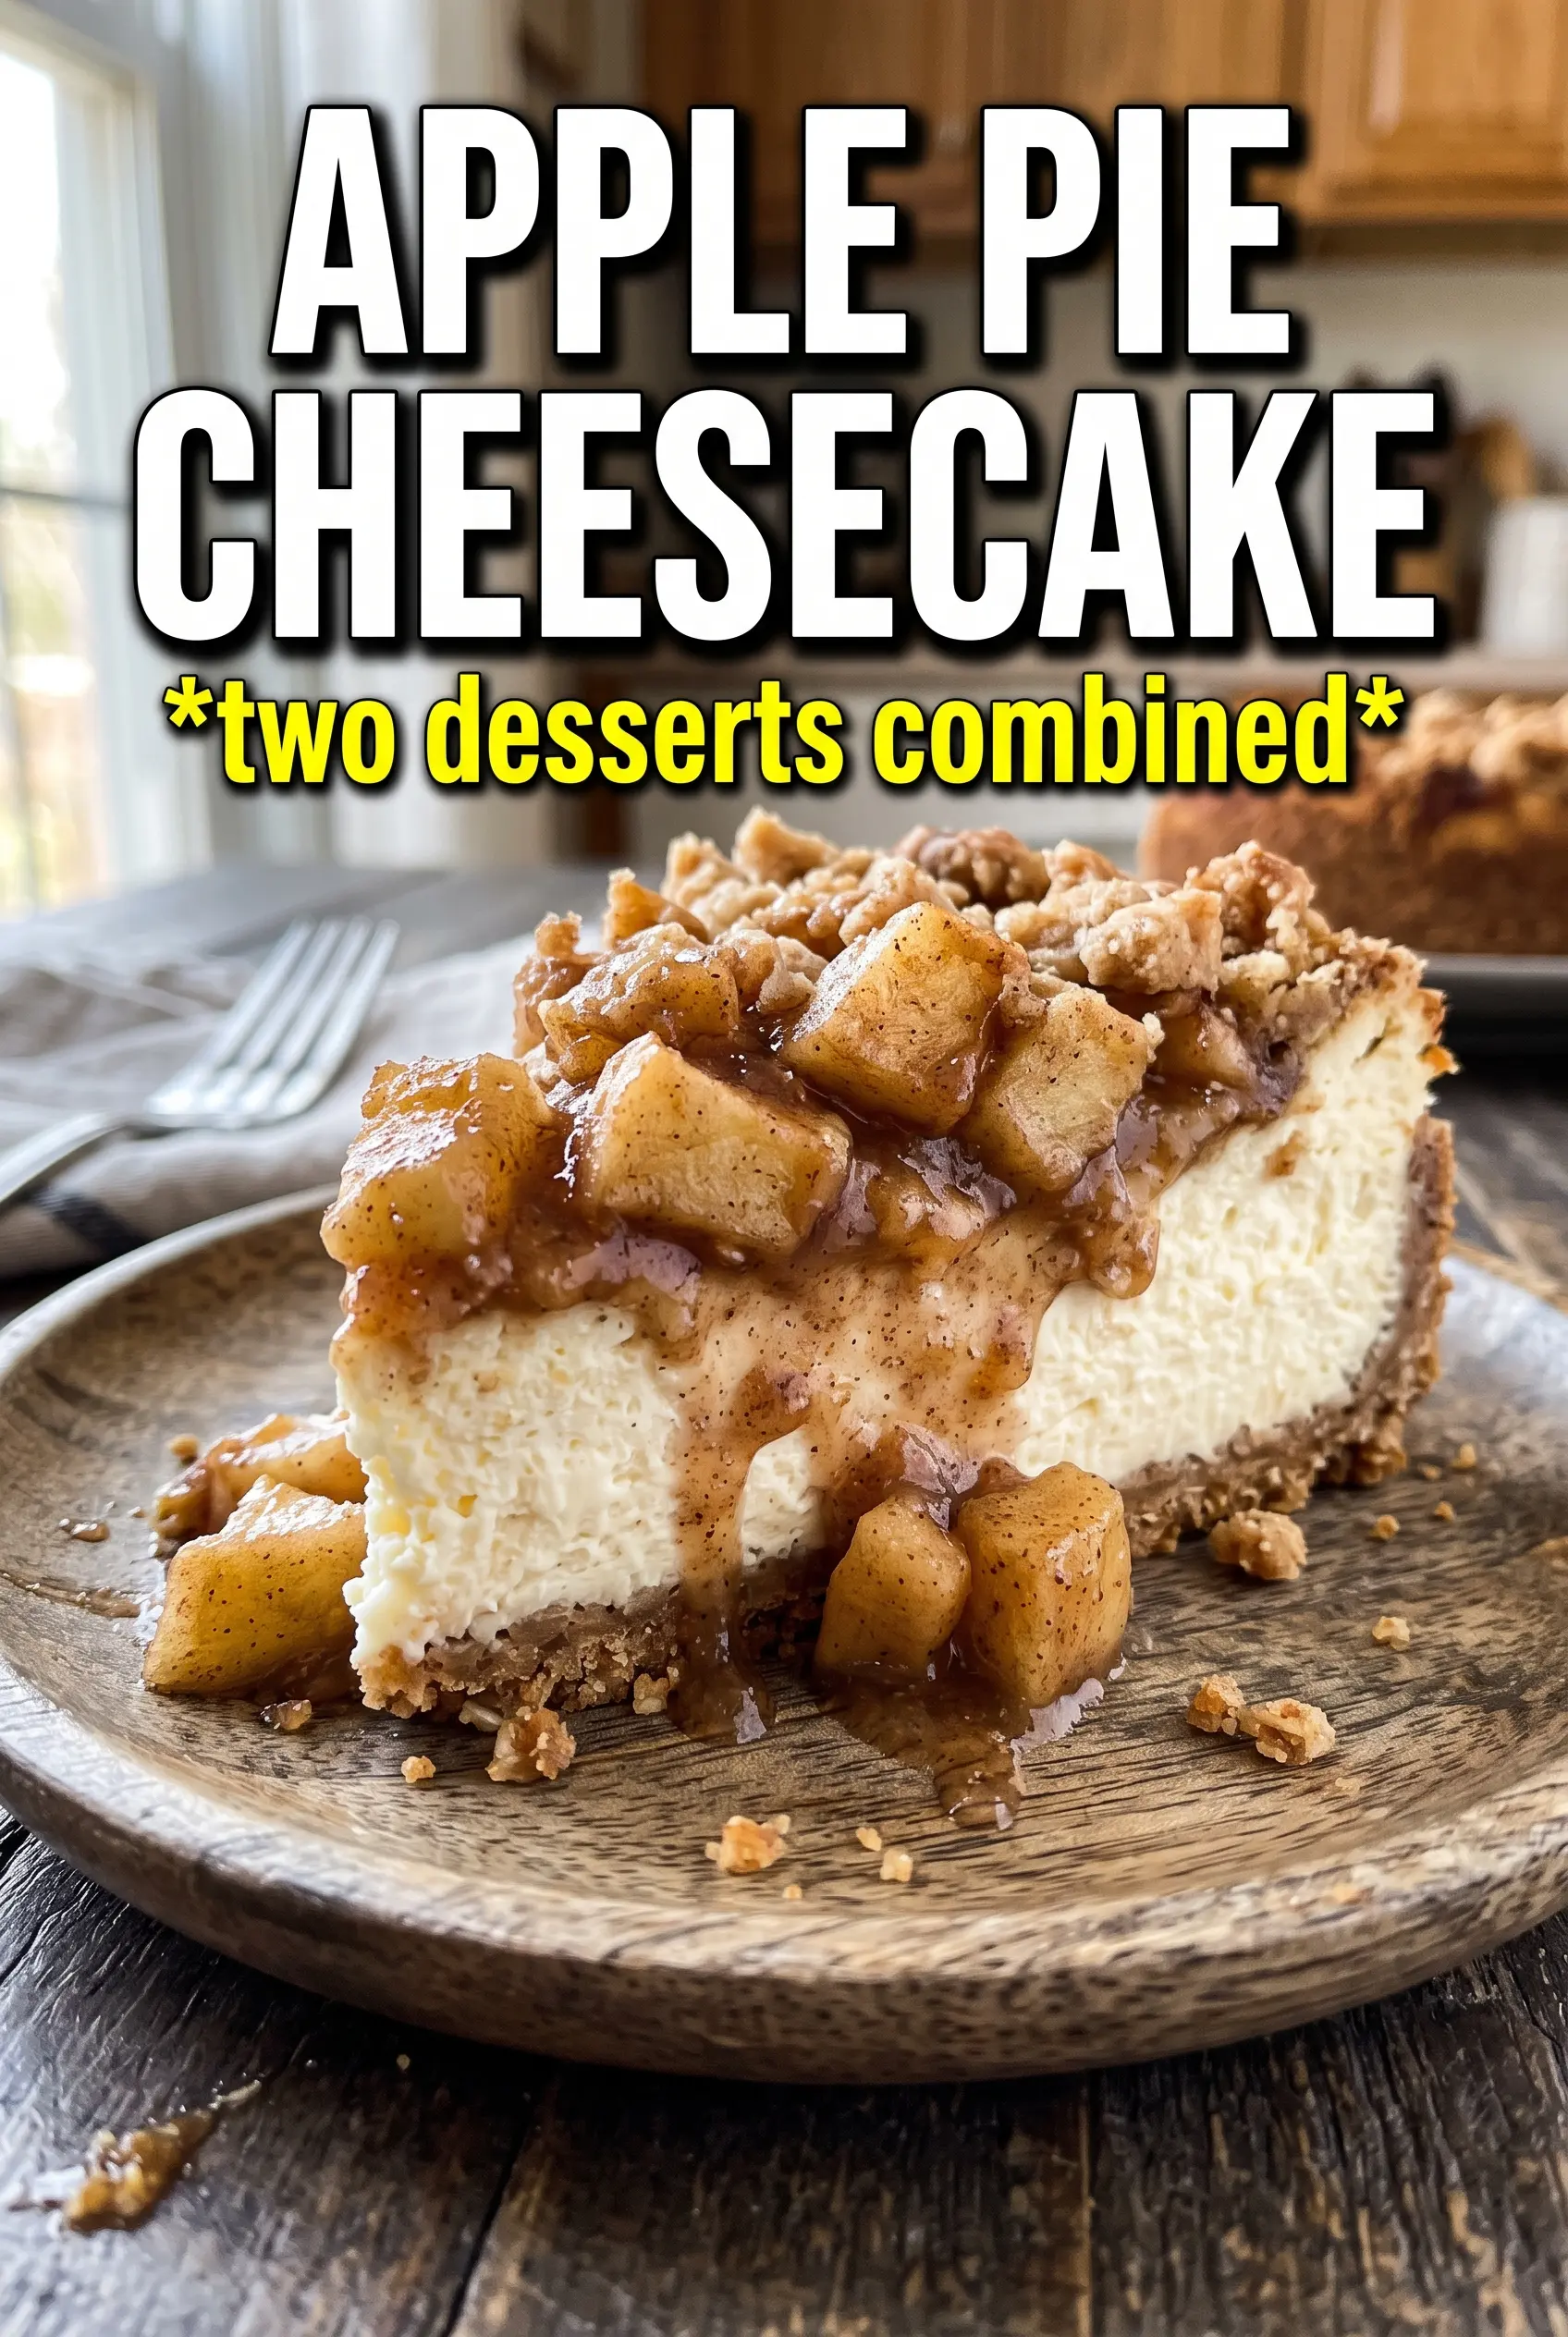
Apple Pie Cheesecake
Ingredients
Equipment
Method
- Preheat oven to 325F. Press cinnamon graham crumb mixture into a 9-inch springform pan and bake for 10 minutes.
- Cook the diced apples with brown sugar, cinnamon, nutmeg, cornstarch, and 1 tablespoon butter until thickened. Cool completely before assembling.
- Beat cream cheese with sugar, eggs, sour cream, vanilla, and 1 teaspoon cinnamon until smooth. Pour the cheesecake batter over the baked crust.
- Spread the cooled apple pie layer over the cheesecake. Scatter the streusel evenly over the top.
- Bake in a water bath at 325F for 65-70 minutes, until the cheesecake is just set. Cool to room temperature.
- Refrigerate for 6 hours to chill fully. Drizzle with caramel sauce before serving.