Hickory Bridge Farm Apple Crisp bakes up with a thick, buttery oat crust and a spiced apple filling that stays juicy instead of turning watery. The topping turns deeply golden and craggy in the oven, with just enough crunch to contrast the soft apples underneath. It’s the kind of dessert that lands in the middle of the table and disappears fast, especially with a spoonful of vanilla ice cream melting into the warm edges.
What makes this version work is the balance between the fruit and the topping. The apples get tossed with cornstarch before baking, which helps thicken the juices as they release, and the lemon juice keeps the flavor bright so the filling doesn’t taste flat. The crumble is built with cold butter worked in by hand, and that matters — those butter-streaked clumps are what give you pockets of crisp texture instead of a dry sandy layer.
Below, I’ve included the one thing that keeps the filling from running thin, plus the small crumb-topping detail that makes this crisp taste like it came straight from a farmhouse kitchen.
The filling set up beautifully and the topping stayed crisp even after sitting on the counter for a bit. I loved that the apples kept their shape instead of turning mushy.
Pin this Hickory Bridge Farm Apple Crisp for a deeply golden oat crumble and spiced apple filling that holds together beautifully.
The Trick to a Crisp That Stays Thick, Not Soupy
Apple crisp only disappoints when the fruit releases more juice than the topping can handle. This recipe avoids that by using cornstarch right in the filling, before the apples ever go into the pan. As the crisp bakes, that starch thickens the bubbling juices so they cling to the apples instead of pooling at the bottom of the dish.
The other thing that matters is the bake time. You want the filling to bubble around the edges and through the center of the topping, not just look browned on top. If the surface is golden but the filling isn’t bubbling, the apples may still taste firm and the juices won’t have thickened enough.
- Slice the apples evenly — thin enough to soften in 55 minutes, thick enough to keep some shape.
- Use both white and brown sugar in the filling — the white sugar sweetens cleanly, while the brown sugar adds a deeper caramel note.
- Don’t skip the rest time — the filling finishes setting as it sits, and that 15-minute pause keeps the first scoop from sliding apart.
What the Apples and Crumble Are Each Doing Here
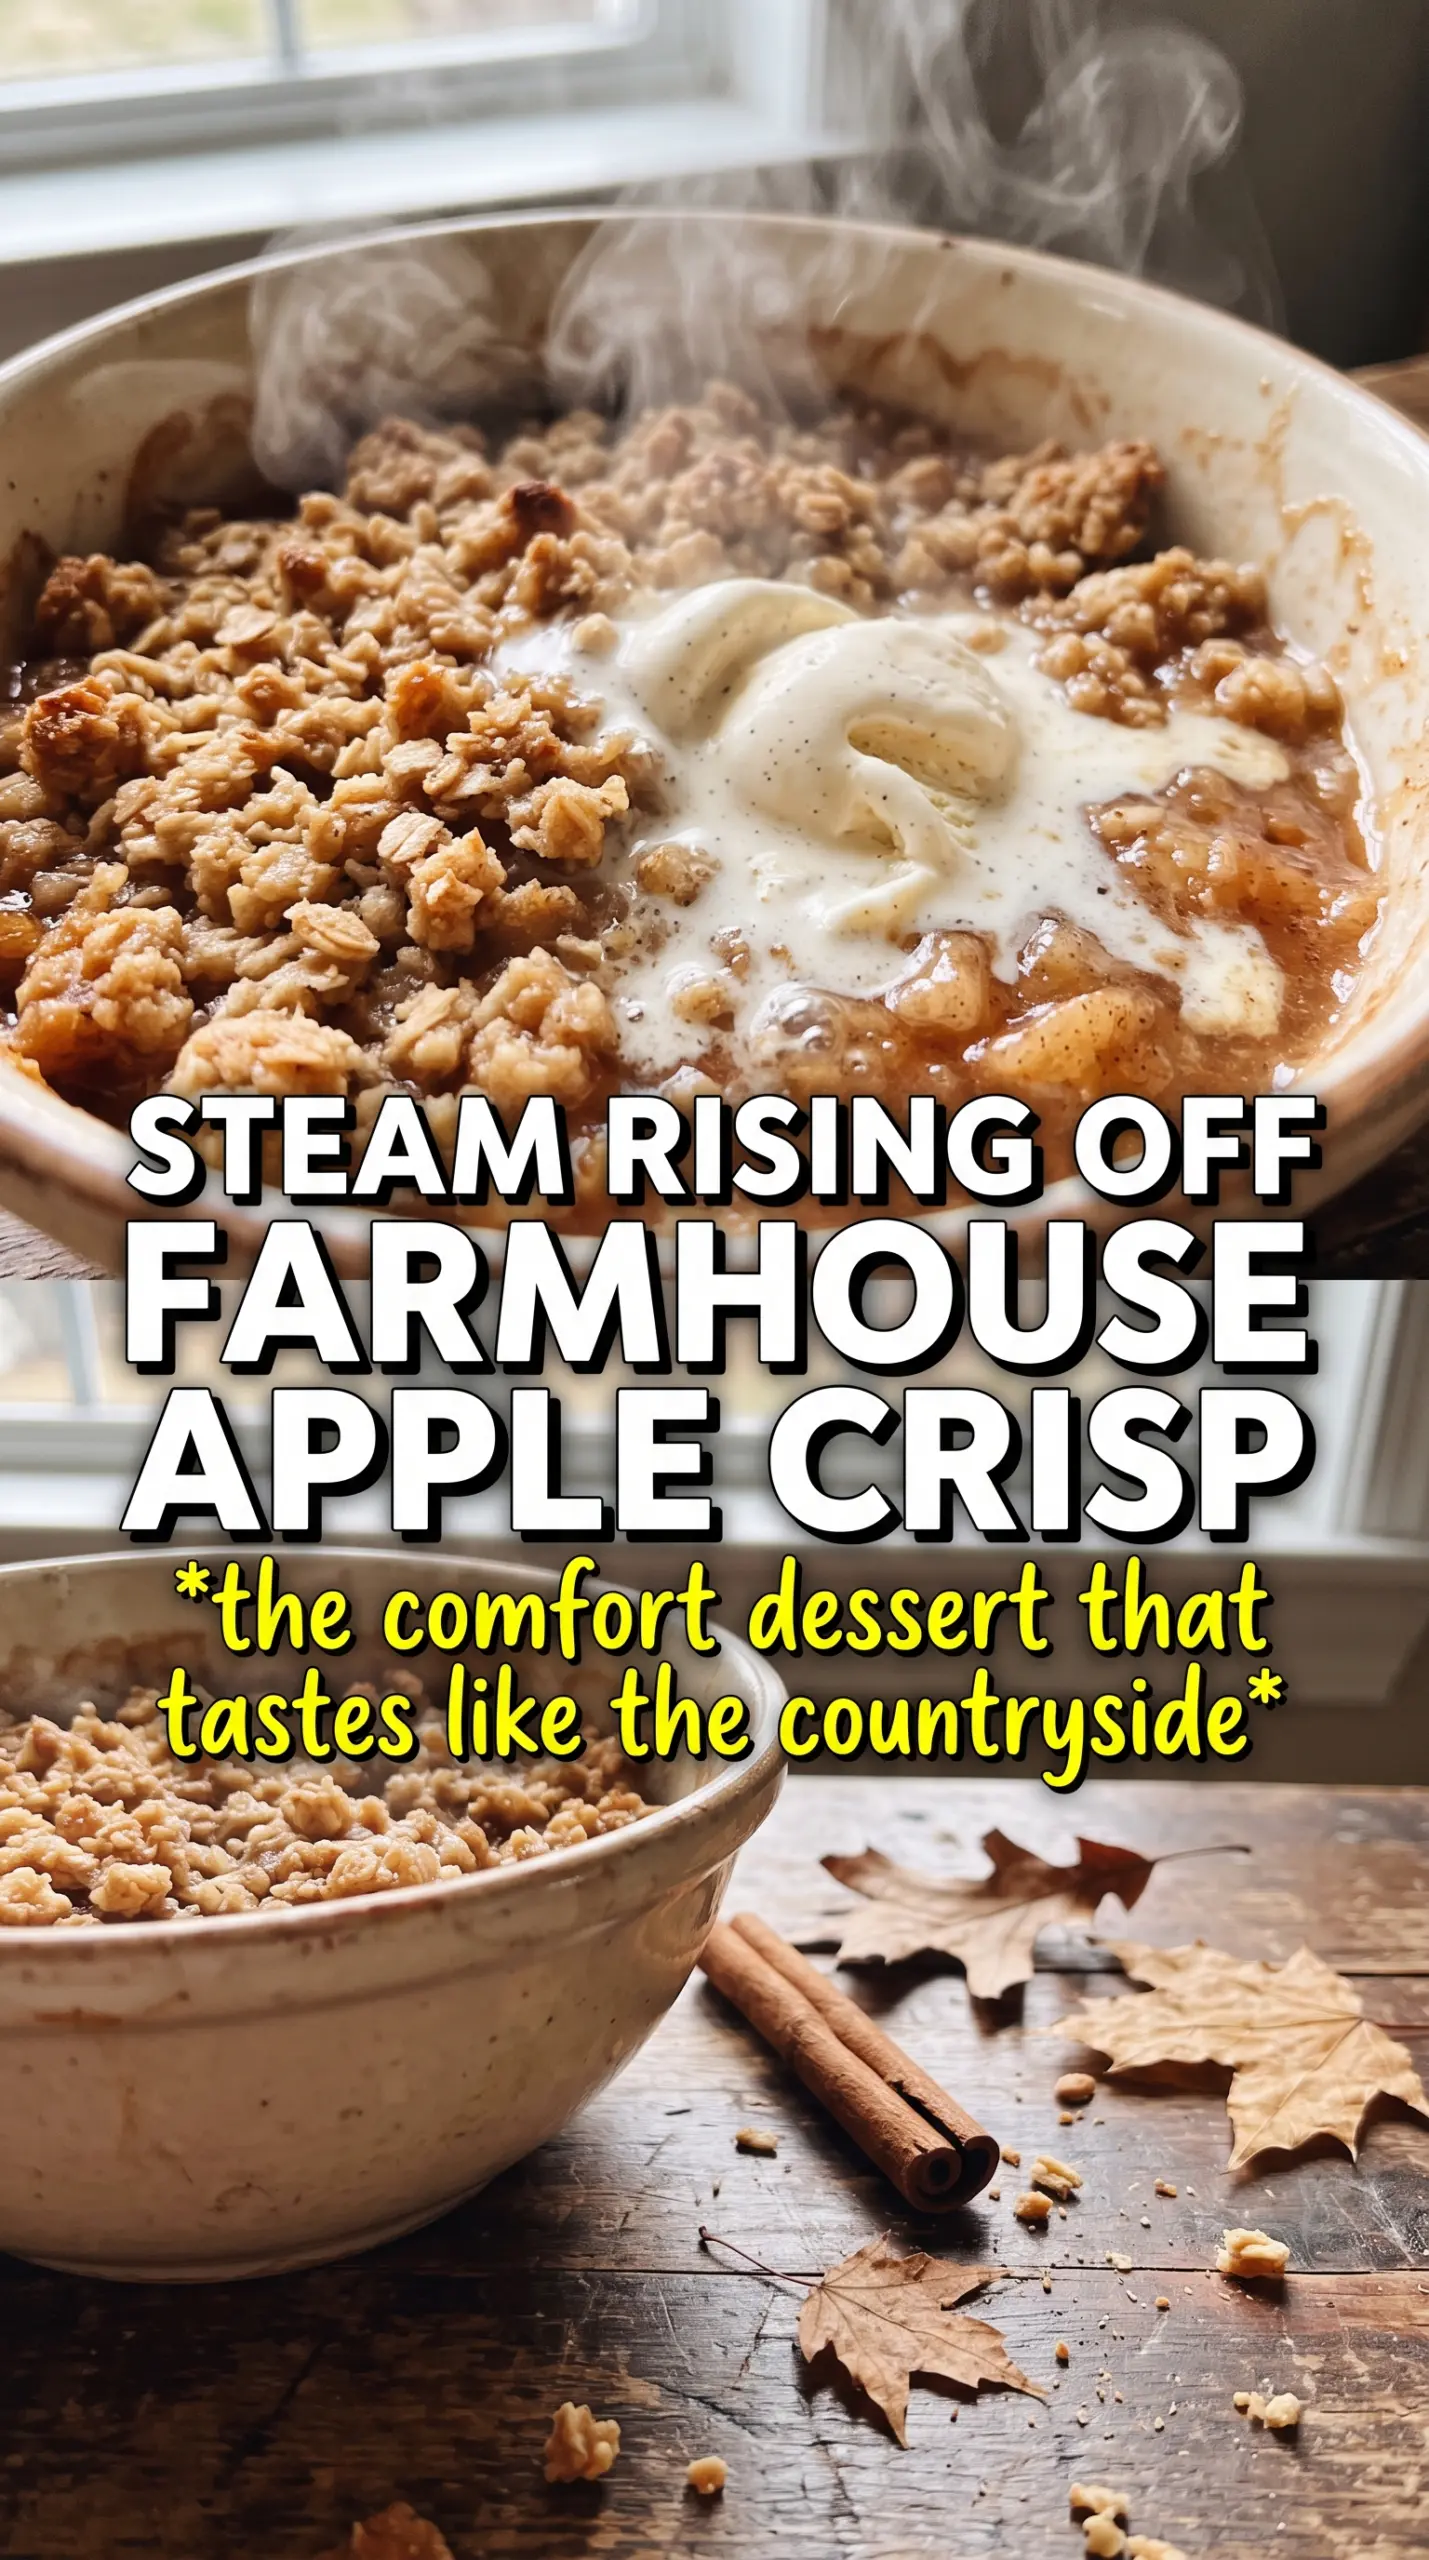
- Apples — Choose a firm baking apple that holds its shape. If you use a soft variety, the filling can turn to applesauce before the topping has finished browning.
- Cornstarch — This is what turns the fruit juices into a glossy, spoonable filling. Flour won’t thicken as cleanly here, and you’ll miss that clear, clean set.
- Cold butter — Cold butter is what creates the chunky crumb texture. Warm butter melts into a paste and gives you a denser, sandier topping.
- Rolled oats — They bring chew and structure. Quick oats can work in a pinch, but the topping will be less textured and a little softer.
- Lemon juice — It keeps the apples bright and prevents the filling from tasting flat. Fresh lemon is best, but bottled will work if that’s what you have.
Building the Filling and Topping So They Bake Together
Tossing the Apples First
Combine the sliced apples with both sugars, spices, cornstarch, and lemon juice until every piece looks lightly coated. The sugar will start drawing out moisture almost immediately, which is exactly what you want, because that liquid will mingle with the cornstarch and thicken in the oven. Spread the mixture into a greased 9×13 dish in an even layer so the fruit cooks at the same rate. If you mound it too high in the center, the apples underneath can stay underdone while the top gets too soft.
Working the Crumble Into Clumps
Mix the oats, flour, brown sugar, cinnamon, and salt first, then add the cubed butter and work it in with your hands until the mixture forms big, uneven clumps. You’re looking for butter streaks, not a uniform paste. Those pockets of butter melt during baking and leave you with a craggy top that browns well. If the mixture feels dry and dusty, squeeze it together a little more; if it turns greasy, the butter warmed up too much.
Knowing When It’s Done
Bake until the topping is a deep golden brown and the filling is actively bubbling around the edges of the dish. That bubbling is the real doneness cue. It tells you the cornstarch has activated and thickened the juices. If the top looks done before the filling bubbles, give it more time and cover loosely with foil only if the surface is browning too quickly.
Mix-Up-Free Apple Crisp Variations
Swap in a mix of tart and sweet apples if you want a more layered flavor. Tart apples keep the filling lively, while sweeter apples soften the edges.
Gluten-Free Crisp
Use a 1:1 gluten-free flour blend in place of the all-purpose flour. The topping will still brown and clump nicely, though it may bake up a touch more delicate.
Dairy-Free Version
Swap the butter for a solid plant-based butter that’s meant for baking. You’ll keep the crumb structure, though the topping may taste a little less rich and buttery than the original.
Storage and Reheating
- Refrigerator: Store covered for up to 4 days. The topping softens a bit, but the flavor holds up well.
- Freezer: It freezes well after baking. Cool completely, wrap tightly, and freeze for up to 2 months. Thaw overnight in the fridge before reheating.
- Reheating: Warm in a 325F oven until heated through and the topping crisps back up. The microwave works for a quick bowl, but it softens the crumble fast.
Questions I Get Asked About This Recipe
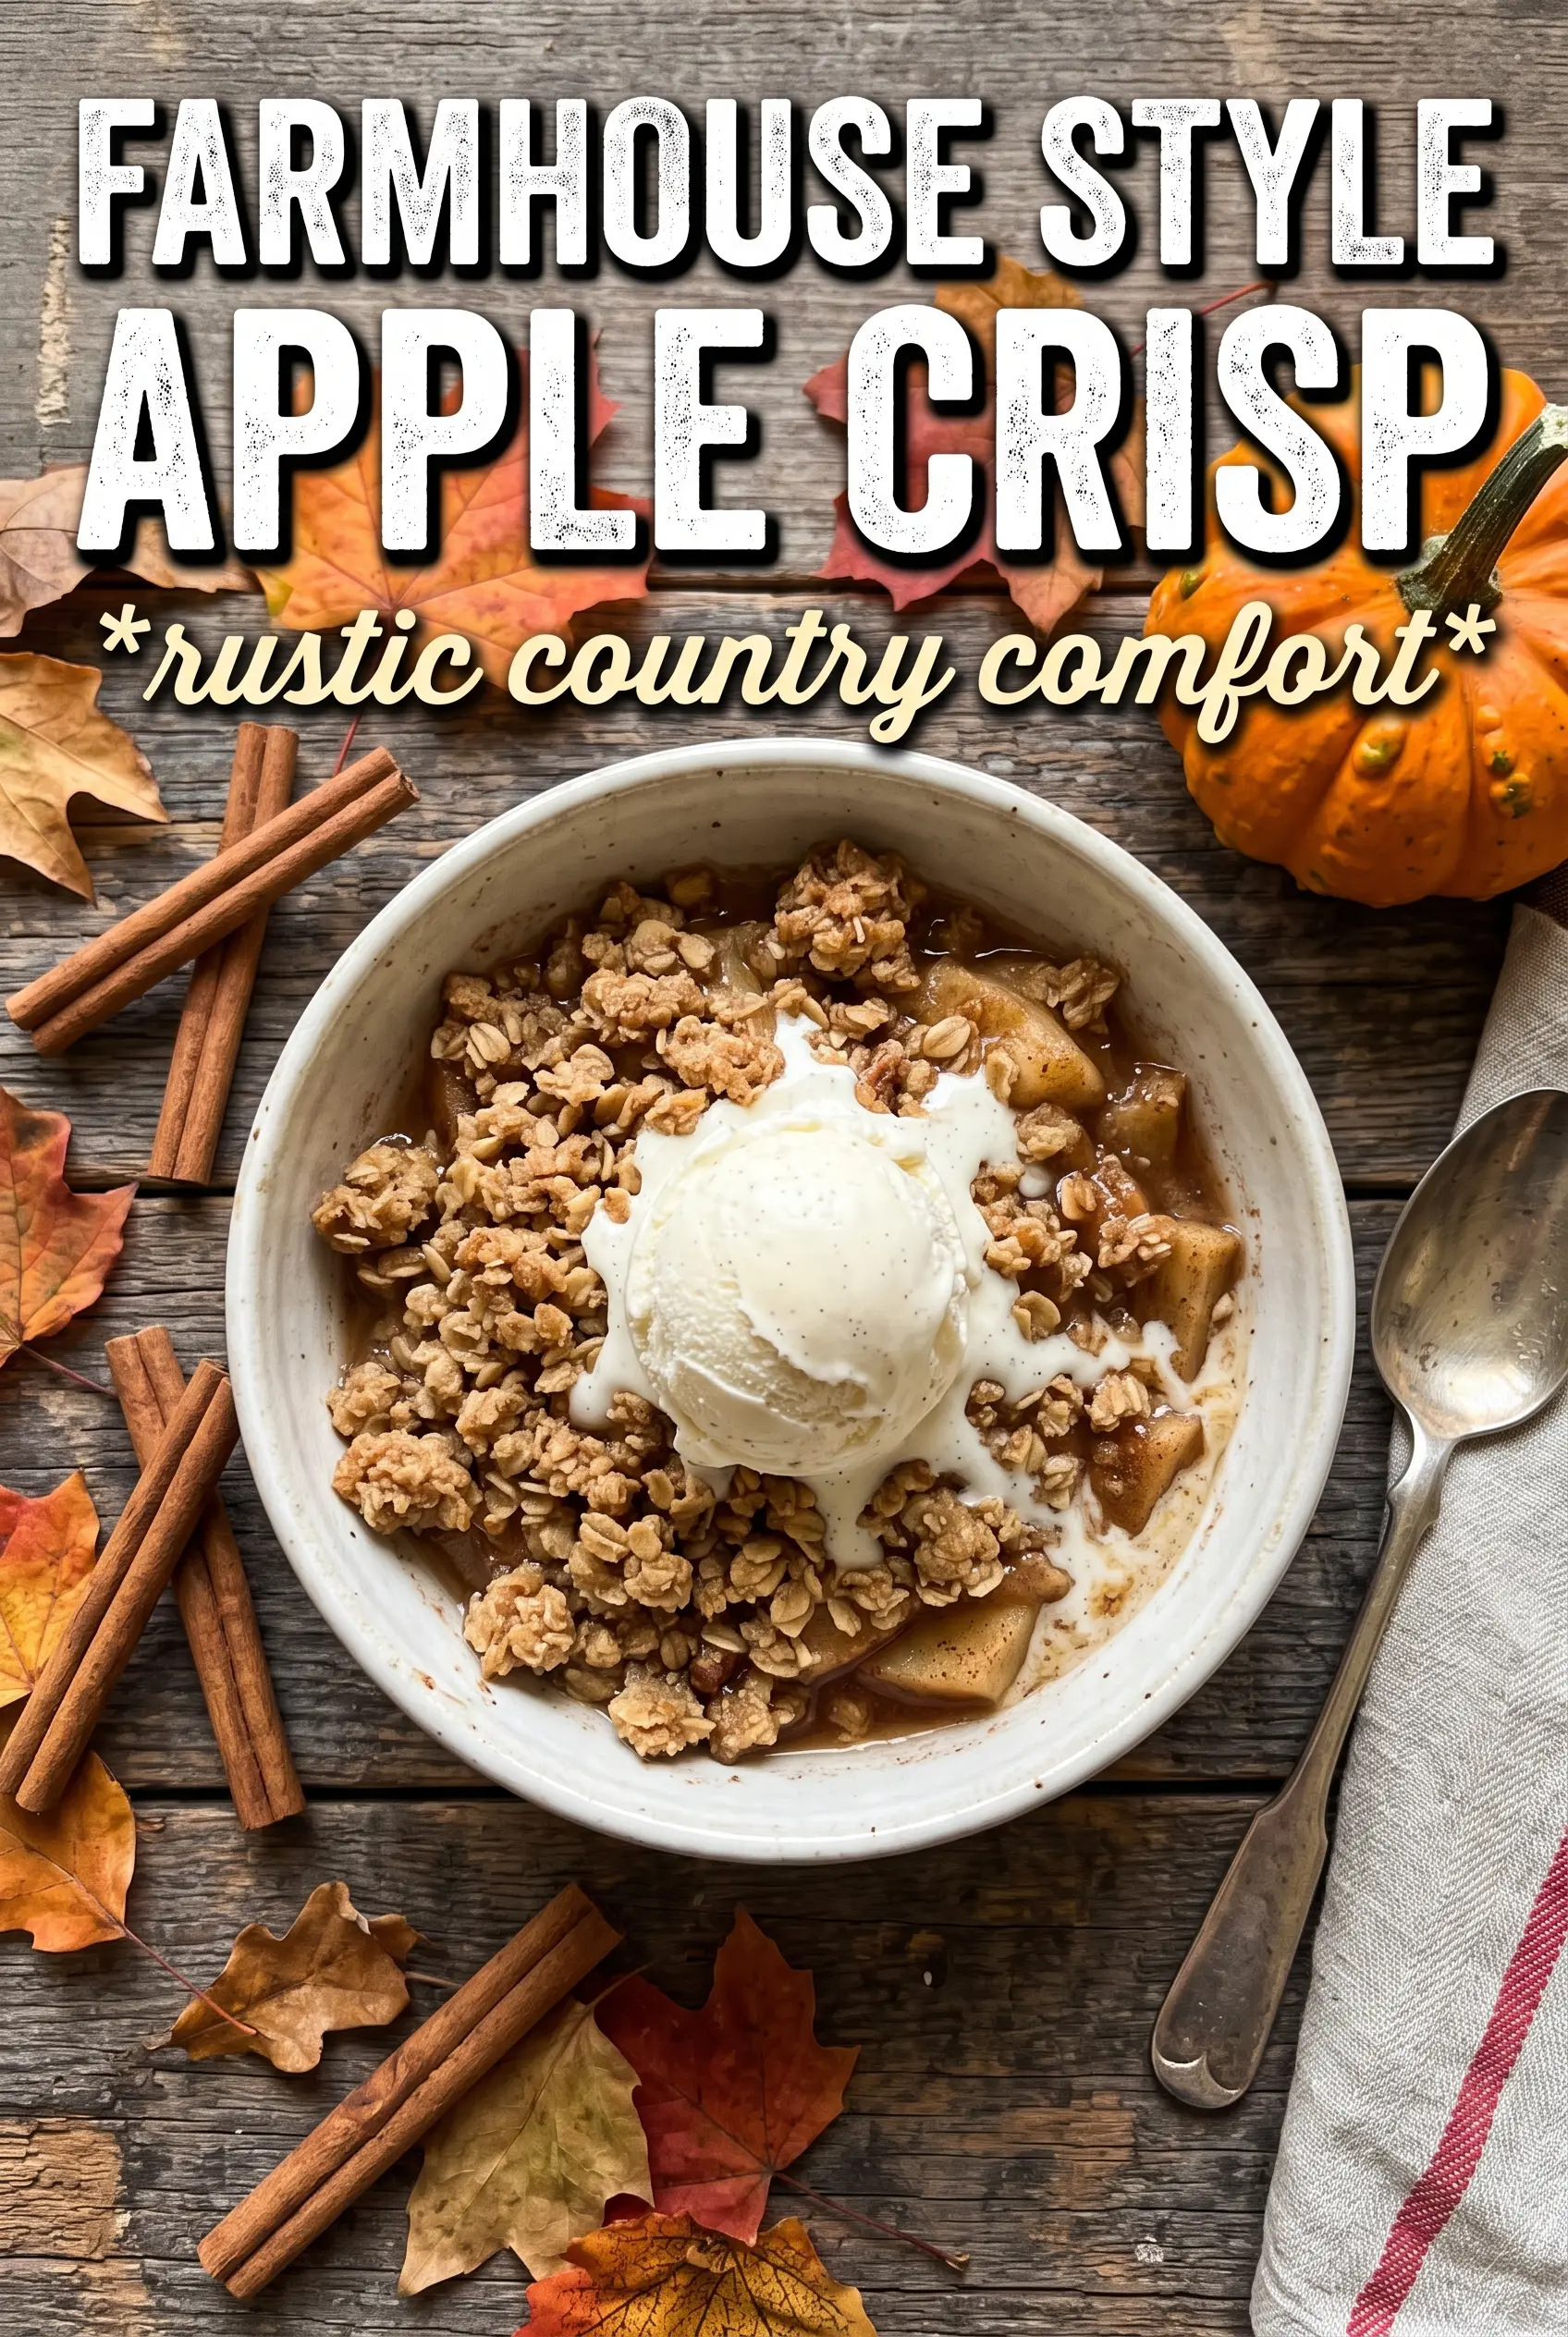
Hickory Bridge Farm Apple Crisp
Ingredients
Equipment
Method
- Preheat the oven to 350F and generously grease a 9x13 baking dish.
- Peel and slice the apples, then set aside while you mix the spiced filling.
- Toss the apple slices with granulated sugar, brown sugar, cinnamon, nutmeg, allspice, cornstarch, and lemon juice until evenly coated.
- Spread the coated apples in the prepared dish in a thick, even layer.
- Combine rolled oats, all-purpose flour, brown sugar, cinnamon, and salt in a bowl.
- Work the cold cubed butter into the dry mix with your hands until you get large, butter-streaked clumps.
- Pour and spread the crumble topping generously over the apples, piling it thick so the whole surface is covered.
- Bake for 50-55 minutes until the topping is deeply golden and the apple filling bubbles all around.
- Rest the crisp for 15 minutes before scooping, then serve with vanilla ice cream or whipped cream.