Blackberry apple crumble lands with the kind of contrast that keeps people going back for a second spoonful: tender fruit underneath, a bronzed oat topping on top, and a filling that turns jammy at the edges without going watery. The blackberries bring sharp, floral juice while the apples hold enough shape to keep every bite from collapsing into sauce. It’s the sort of dessert that feels comforting without being heavy, and it tastes even better than it looks when the cream starts melting into the cracks.
The trick is balancing moisture and structure. Apples release liquid as they bake, and blackberries do the same fast, so the cornstarch and sugar have to be in the bowl from the start or the filling ends up loose. Cold butter is just as important in the topping. If it warms before baking, the crumble turns sandy instead of nubby and crisp, and you lose that good contrast against the soft fruit. The oats help the topping stay rustic and crunchy, while a short rest after baking gives the juices time to settle.
Below, I’ve included the small details that keep the topping crisp and the fruit thick enough to spoon cleanly. If your last crumble came out soupy, this version will show you exactly where that went wrong.
The filling thickened up beautifully and the topping stayed crisp even after sitting on the table for a bit. I used frozen blackberries and it still baked up with that gorgeous purple edge and no runny bottom.
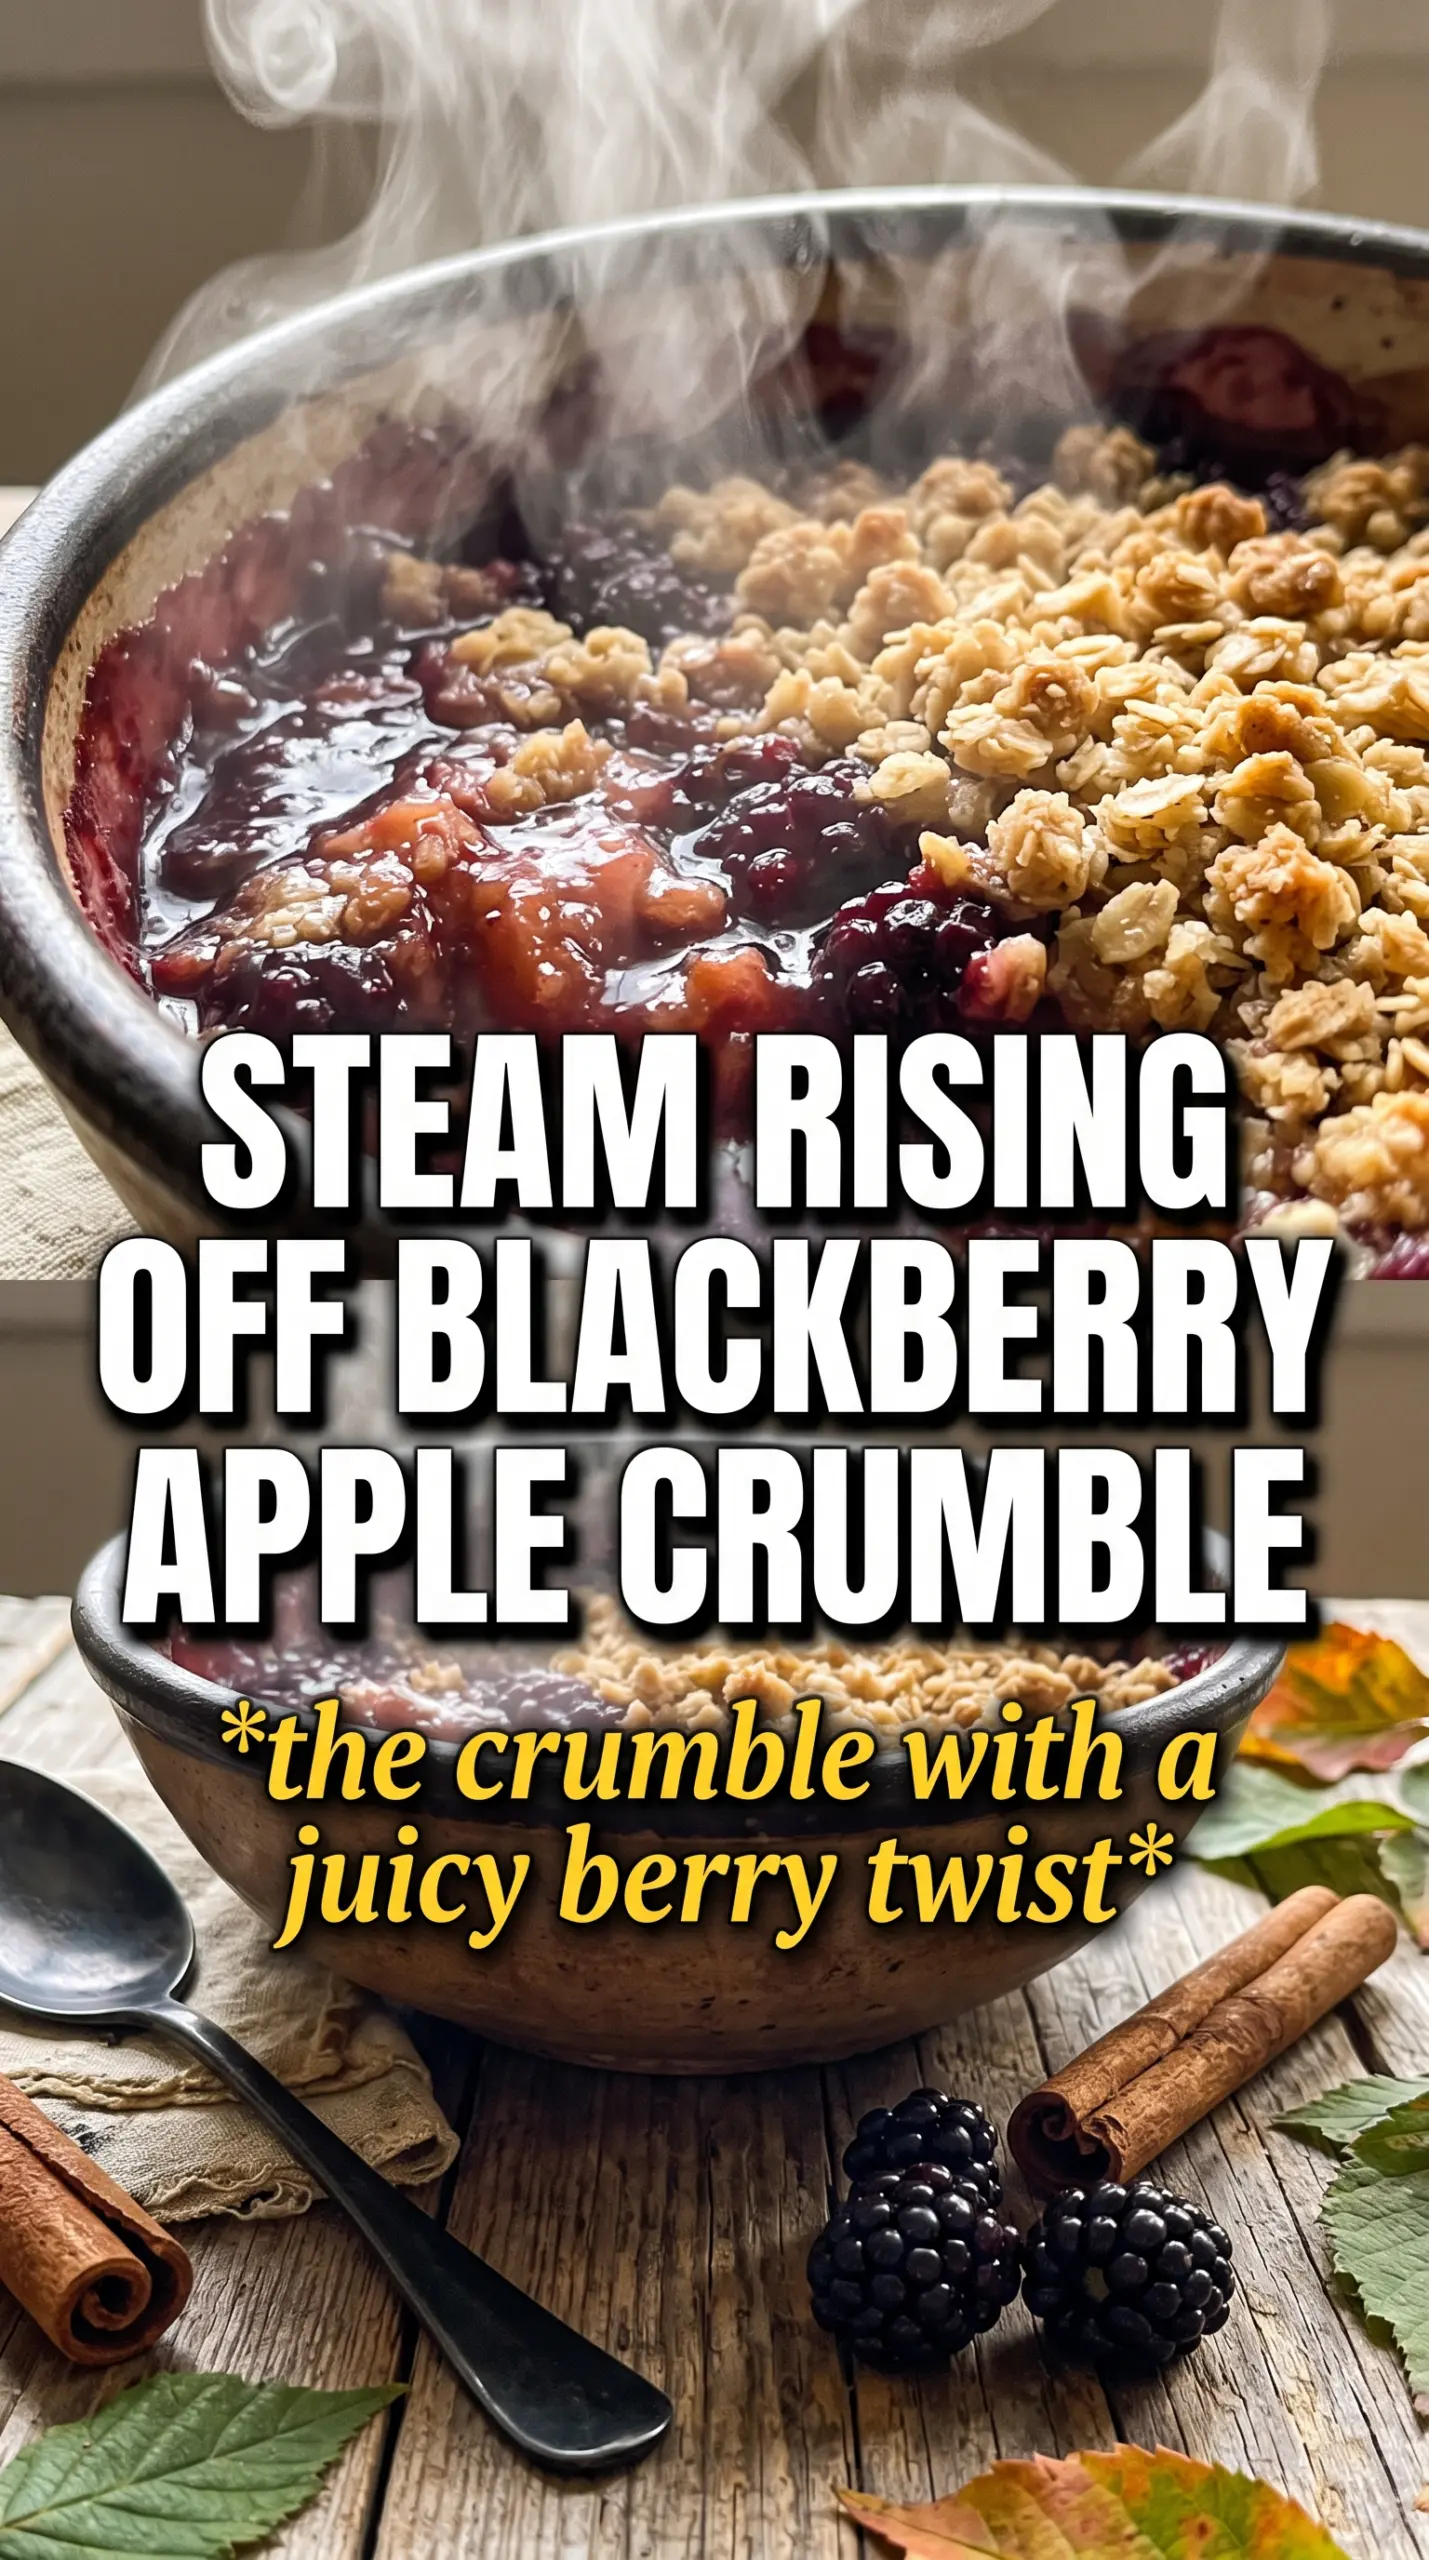
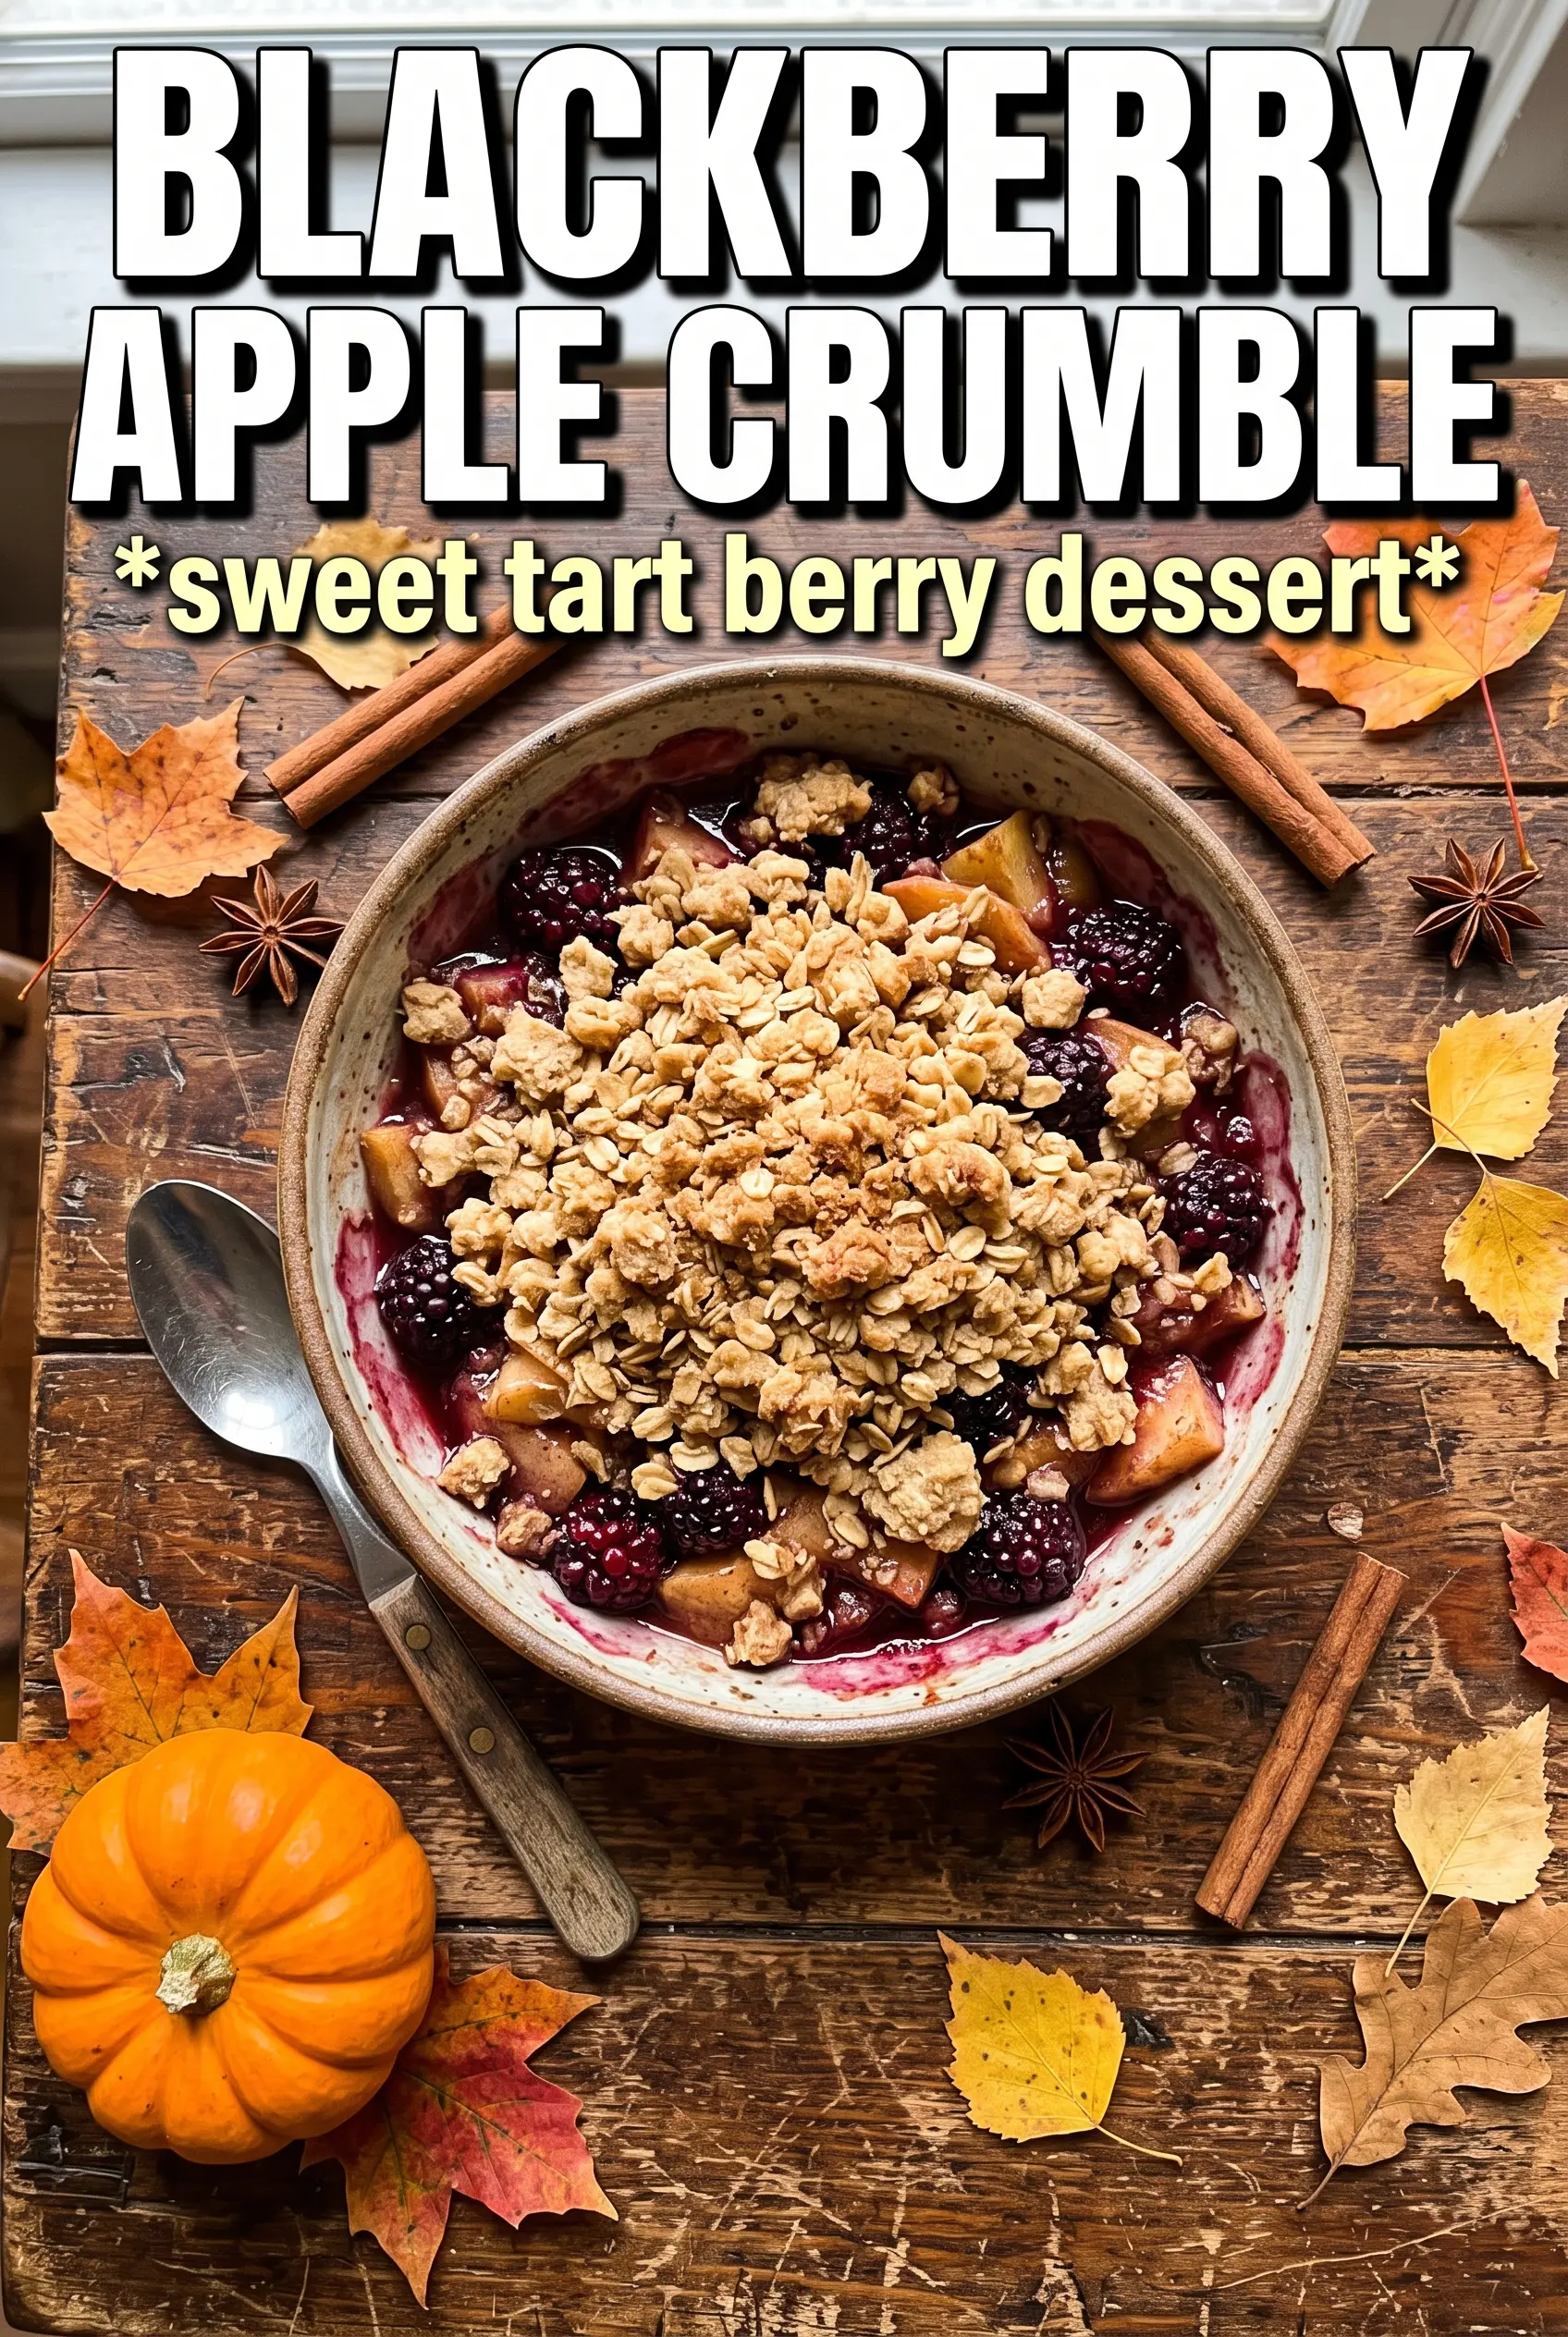
Blackberry apple crumble with a crisp oat topping and bubbling jammy fruit
The Reason This Crumble Stays Crisp Under Juicy Fruit
Most fruit crumbles fail in one of two ways: the fruit turns thin and soupy, or the topping goes soft before the pan even reaches the table. This version avoids both by leaning on a thickener in the filling and keeping the topping dry and cold until the oven takes over. Cornstarch does its job only after the fruit bubbles hard enough to activate it, so don’t pull the crumble early just because the top looks done.
The other key move is giving the dish those full 35 to 40 minutes. The topping should be deeply golden and the fruit should be actively bubbling around the edges and in a few spots through the center. That bubbling is the sign the filling has thickened. If the fruit looks calm and glossy instead of simmering, it needs more time, no matter how brown the top already is.
What Each Ingredient Is Actually Doing in the Baking Dish
- Apples — Use a firm baking apple if you can. You want slices that soften without disappearing; very soft apples turn the filling to mush before the topping is ready. If you only have sweeter apples, keep the lemon juice in the mix so the filling doesn’t taste flat.
- Blackberries — Fresh or frozen both work. Frozen berries don’t need thawing, and that’s actually helpful here because they hold their shape long enough to bake into pockets of juice instead of bleeding everywhere at once. If your berries are very sweet, drop the sugar slightly.
- Cornstarch — This is the difference between a spoonable filling and a puddle. Flour won’t give you the same clean set here, especially with berry juice in the mix. Stir it in thoroughly so it’s evenly distributed before baking.
- Rolled oats — They give the topping its rugged, crisp texture. Quick oats will work in a pinch, but the crumble will be finer and less nubby. Old-fashioned oats hold up best and give you those crunchy ridges that stay interesting after baking.
- Cold butter — This is nonnegotiable. Cold butter cut into the flour and oats creates little pockets that melt in the oven and leave you with a crumbly, crisp top instead of a paste. If the kitchen is warm, cube the butter and chill it again for 10 minutes before mixing.
- Brown sugar — It adds deeper caramel notes than white sugar and helps the topping brown evenly. Packed brown sugar also brings a touch of moisture, which keeps the crumble from tasting dry or dusty.
Building the Fruit Filling and Topping So They Bake at the Same Pace
Tossing the Filling First
Start by combining the sliced apples, blackberries, granulated sugar, cornstarch, lemon juice, and cinnamon until every piece looks lightly coated. The fruit should look glossy, not wet. If you see clumps of cornstarch, keep tossing; those white streaks can bake into chalky bits. Spread the filling in an even layer in the baking dish so the center cooks at the same rate as the edges.
Cutting the Butter into the Crumble
Mix the flour, oats, brown sugar, cinnamon, and salt, then work in the cold butter until the mixture looks like rough pebbles and damp sand mixed together. You should still see plenty of distinct crumbs. If it turns into a smooth dough, the butter got too warm or you overworked it. That kind of topping bakes up dense instead of crisp, so stop as soon as the mixture clumps when you squeeze it.
Baking Until the Fruit Bubbles Through
Scatter the crumble over the fruit without pressing it down. You want uneven mounds and gaps so steam can escape and the topping can brown in ridges. Bake until the top is golden and you can see the filling bubbling around the edges. If the top is browning too fast before the fruit is active, lay a loose piece of foil over the dish for the last 10 minutes and let the filling catch up.
Letting It Rest Before Serving
Give the crumble at least 10 minutes after it comes out of the oven. That short rest lets the fruit thicken enough to hold together when you spoon it, and the juices stop racing around the dish. If you cut in too early, the filling will seem looser than it really is. Serve it warm with double cream or vanilla ice cream so the topping stays crisp against the cold.
How to Adapt This Crumble for the Fruit You Have and the Diet You Need
Make It Dairy-Free
Swap the butter for a solid plant-based butter stick with a similar fat content. The topping won’t taste quite as rich, but it will still bake into proper crumbs if the substitute stays cold. Avoid soft tub margarine, which melts too fast and leaves the topping greasy.
Use Only Frozen Blackberries
Frozen berries go straight in from the freezer. Thawing them first dumps extra juice into the bowl and makes the filling harder to control. If the berries are very icy, add 5 minutes to the bake time so the center has time to bubble properly.
Swap in Pears for Half the Apples
Pears bring a softer, floral sweetness and a more delicate texture. Use them with apples rather than replacing every apple, since pears can collapse faster and make the filling softer overall. A firm pear works best if you want noticeable slices in the finished crumble.
Storage and Reheating
- Refrigerator: Store covered for up to 4 days. The topping softens a little in the fridge, but the flavor stays good.
- Freezer: Freeze baked crumble for up to 2 months. Cool it completely, wrap it well, and thaw overnight in the fridge before reheating.
- Reheating: Warm in a 325F oven until heated through and the topping crisps back up, usually 15 to 20 minutes. The microwave makes the crumble soft, so use it only if you don’t mind losing the texture.
Answers to the Questions Worth Asking
Blackberry Apple Crumble
Ingredients
Equipment
Method
- Preheat oven to 375F and grease a 9x13 baking dish so the crumble releases easily.
- Toss apple slices and blackberries with granulated sugar, cornstarch, lemon juice, and cinnamon, then spread the mixture in the prepared dish.
- Combine flour, rolled oats, brown sugar, cinnamon, and salt, then cut in the cold cubed butter until the mixture looks clumpy with no dry flour pockets.
- Scatter the crumble topping evenly over the fruit so it covers the surface and bakes into a golden crust.
- Bake for 35-40 minutes at 375F until the topping is golden and the fruit is bubbling around the edges.
- Rest the crumble for 10 minutes so the filling thickens slightly before serving.
- Serve warm with double cream or vanilla ice cream and spoon into bowls.