Ina Garten apple crisp comes out with the kind of topping that cracks under your spoon and stays crisp at the edges, while the apples underneath soften into a syrupy, cinnamon-scented layer. It’s the kind of dessert that disappears fast because it feels familiar but still tastes polished, with enough citrus to keep the filling from going flat.
What makes this version stand out is the balance. Macintosh or Braeburn apples give you the right mix of softness and structure, and the orange and lemon zest wake up the fruit without turning the filling sour. The topping leans generous on oats, brown sugar, and cold butter, which means you get those big, craggy clumps instead of a sandy layer that bakes up dry.
Below, I’ll walk you through the little choices that matter here: how thick to slice the apples, why cold butter is nonnegotiable, and how to tell when the crisp is done even if the fruit is bubbling around the edges.
The topping baked up with those big buttery clumps I was hoping for, and the apples were tender without turning mushy. The orange zest made it taste brighter than the usual version.
Save this Ina Garten apple crisp for the nights when you want tender spiced apples and a thick, buttery oat crumble.
The Reason the Crumble Stays Crisp Instead of Turning Dense
The biggest mistake with apple crisp is packing the topping down or melting the butter first. That gives you a paste-like layer that bakes into something heavy and sandy instead of a real crumble. Cold butter cut into the dry ingredients by hand leaves uneven pockets, and those pockets become the craggy, golden bits everyone fights over at the table.
The fruit matters just as much. Macintosh apples soften beautifully, while Braeburns hold a little more shape, so the filling ends up tender without collapsing into applesauce. The citrus zest is not decoration here; it lifts the whole pan and keeps the sweetness from feeling one-note.
- Cold butter — Dice it first and keep it cold until the second you mix it in. If it starts to smear, the topping will bake up flat.
- Old-fashioned oats — These give the topping its chew and structure. Quick oats break down too fast and lose that rustic texture.
- Apple choice — Macintosh gives you a softer, more spoonable filling; Braeburn adds a little bite. Both work because they break down in a controlled way.
- Orange and lemon zest — The zest perfumes the fruit and sharpens the flavor. Juice alone won’t do the same job.
What Each Ingredient Is Doing in the Pan
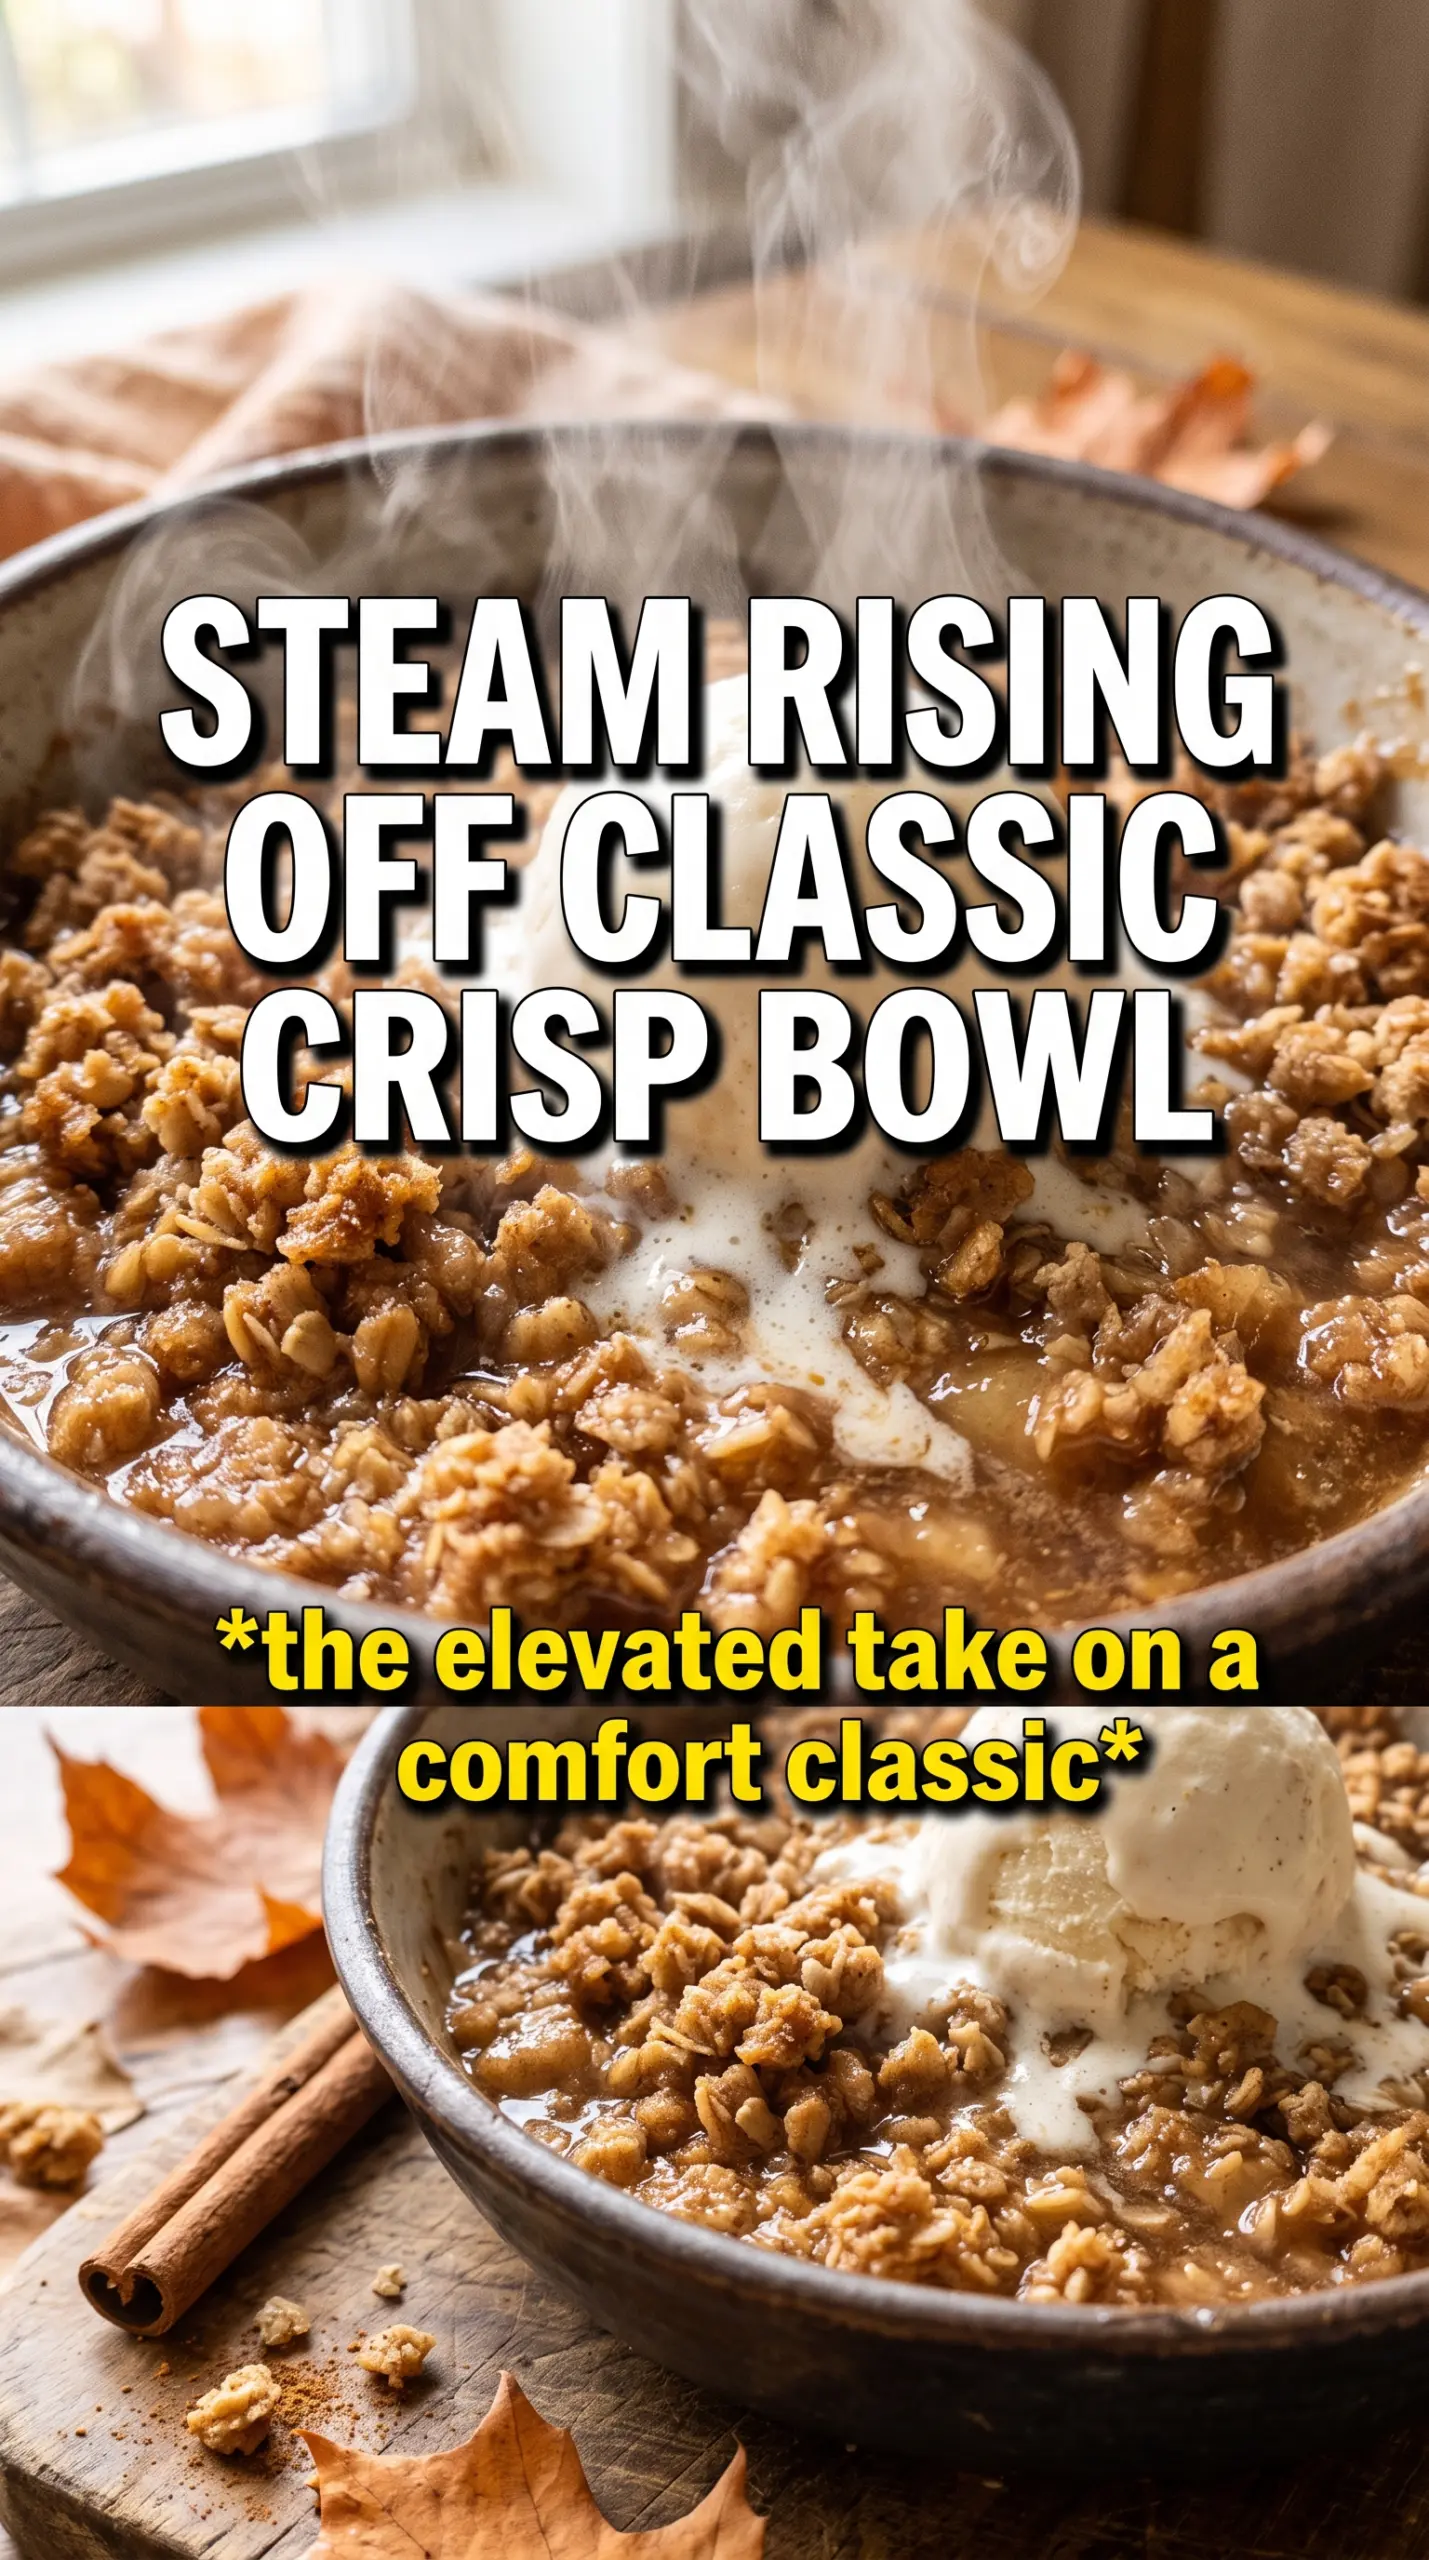
- Apples — Peel and slice them thickly so they keep some body after baking. Thin slices collapse too quickly and turn the filling mushy.
- Granulated sugar in the filling — This draws out the apple juices and turns them into a light syrup. Cutting it much more than that makes the filling taste flat.
- Cinnamon and nutmeg — They bring warmth, but the amount here is restrained. That keeps the apples in charge instead of burying them under spice.
- Flour, sugars, oats, and butter — The flour and sugar help the topping clump, the oats add texture, and the butter carries everything into crisp, golden pockets as it bakes.
Building the Crisp So the Topping Bakes Golden and the Apples Go Tender
Coating the Apples Evenly
Toss the sliced apples with the zests, juices, sugar, cinnamon, and nutmeg until every piece looks lightly glossy. That coating should cling, not pool at the bottom of the bowl. If you skip the toss and just dump the mixture into the dish, some bites will be bland while others taste sharp and sugary.
Making the Crumble by Hand
Combine the dry topping ingredients first, then work in the cold butter with your fingers until the mixture forms pea-sized clumps. Those uneven pieces are what bake into a crisp top. If the mixture looks like wet dough, the butter got too warm; chill it for a few minutes and start breaking it up again.
Baking Until Bubbling at the Edges
Spread the topping over the apples in a thick, even layer and bake until the top is deep golden and the filling is bubbling around the sides, 55 to 60 minutes. The bubbling matters more than the clock because it tells you the apples have softened and the juices have thickened. If the top browns too quickly before the fruit is tender, lay a loose piece of foil over the dish for the last stretch.
Serving at the Right Temperature
Let the crisp sit for at least 15 minutes before serving. That rest gives the juices a chance to settle so you get spoonfuls instead of runny syrup. Warm is the sweet spot here, especially with vanilla ice cream or a little whipped cream melting into the crumble.
How to Adjust This Crisp Without Losing What Makes It Good
Make it dairy-free
Use a high-quality plant-based butter stick in place of the unsalted butter. The topping won’t taste exactly the same, but you’ll still get good clumps and a crisp finish if the substitute stays cold.
Swap the apple mix
If you can’t find Macintosh or Braeburn, use a mix of Granny Smith and Honeycrisp. The tart apples keep the filling bright while the sweeter ones soften into a balanced texture.
Make it nut-free by keeping the original topping
This version is already nut-free, which is one reason it’s such a dependable dessert for a crowd. If you want extra crunch, add chopped pecans only after checking that nobody at the table needs a plain oat crumble.
Storage and Reheating
- Refrigerator: Store covered for up to 4 days. The topping softens a little, but the flavor stays good.
- Freezer: Freeze baked crisp in portions or tightly wrapped in the dish for up to 2 months. Thaw overnight in the refrigerator before reheating.
- Reheating: Warm in a 350F oven until the filling is hot and the topping re-crisps, about 15 to 20 minutes for a portion or longer for the whole dish. The microwave will soften the crumble, so it’s the wrong tool if you want that crisp top back.
Answers to the Questions Worth Asking
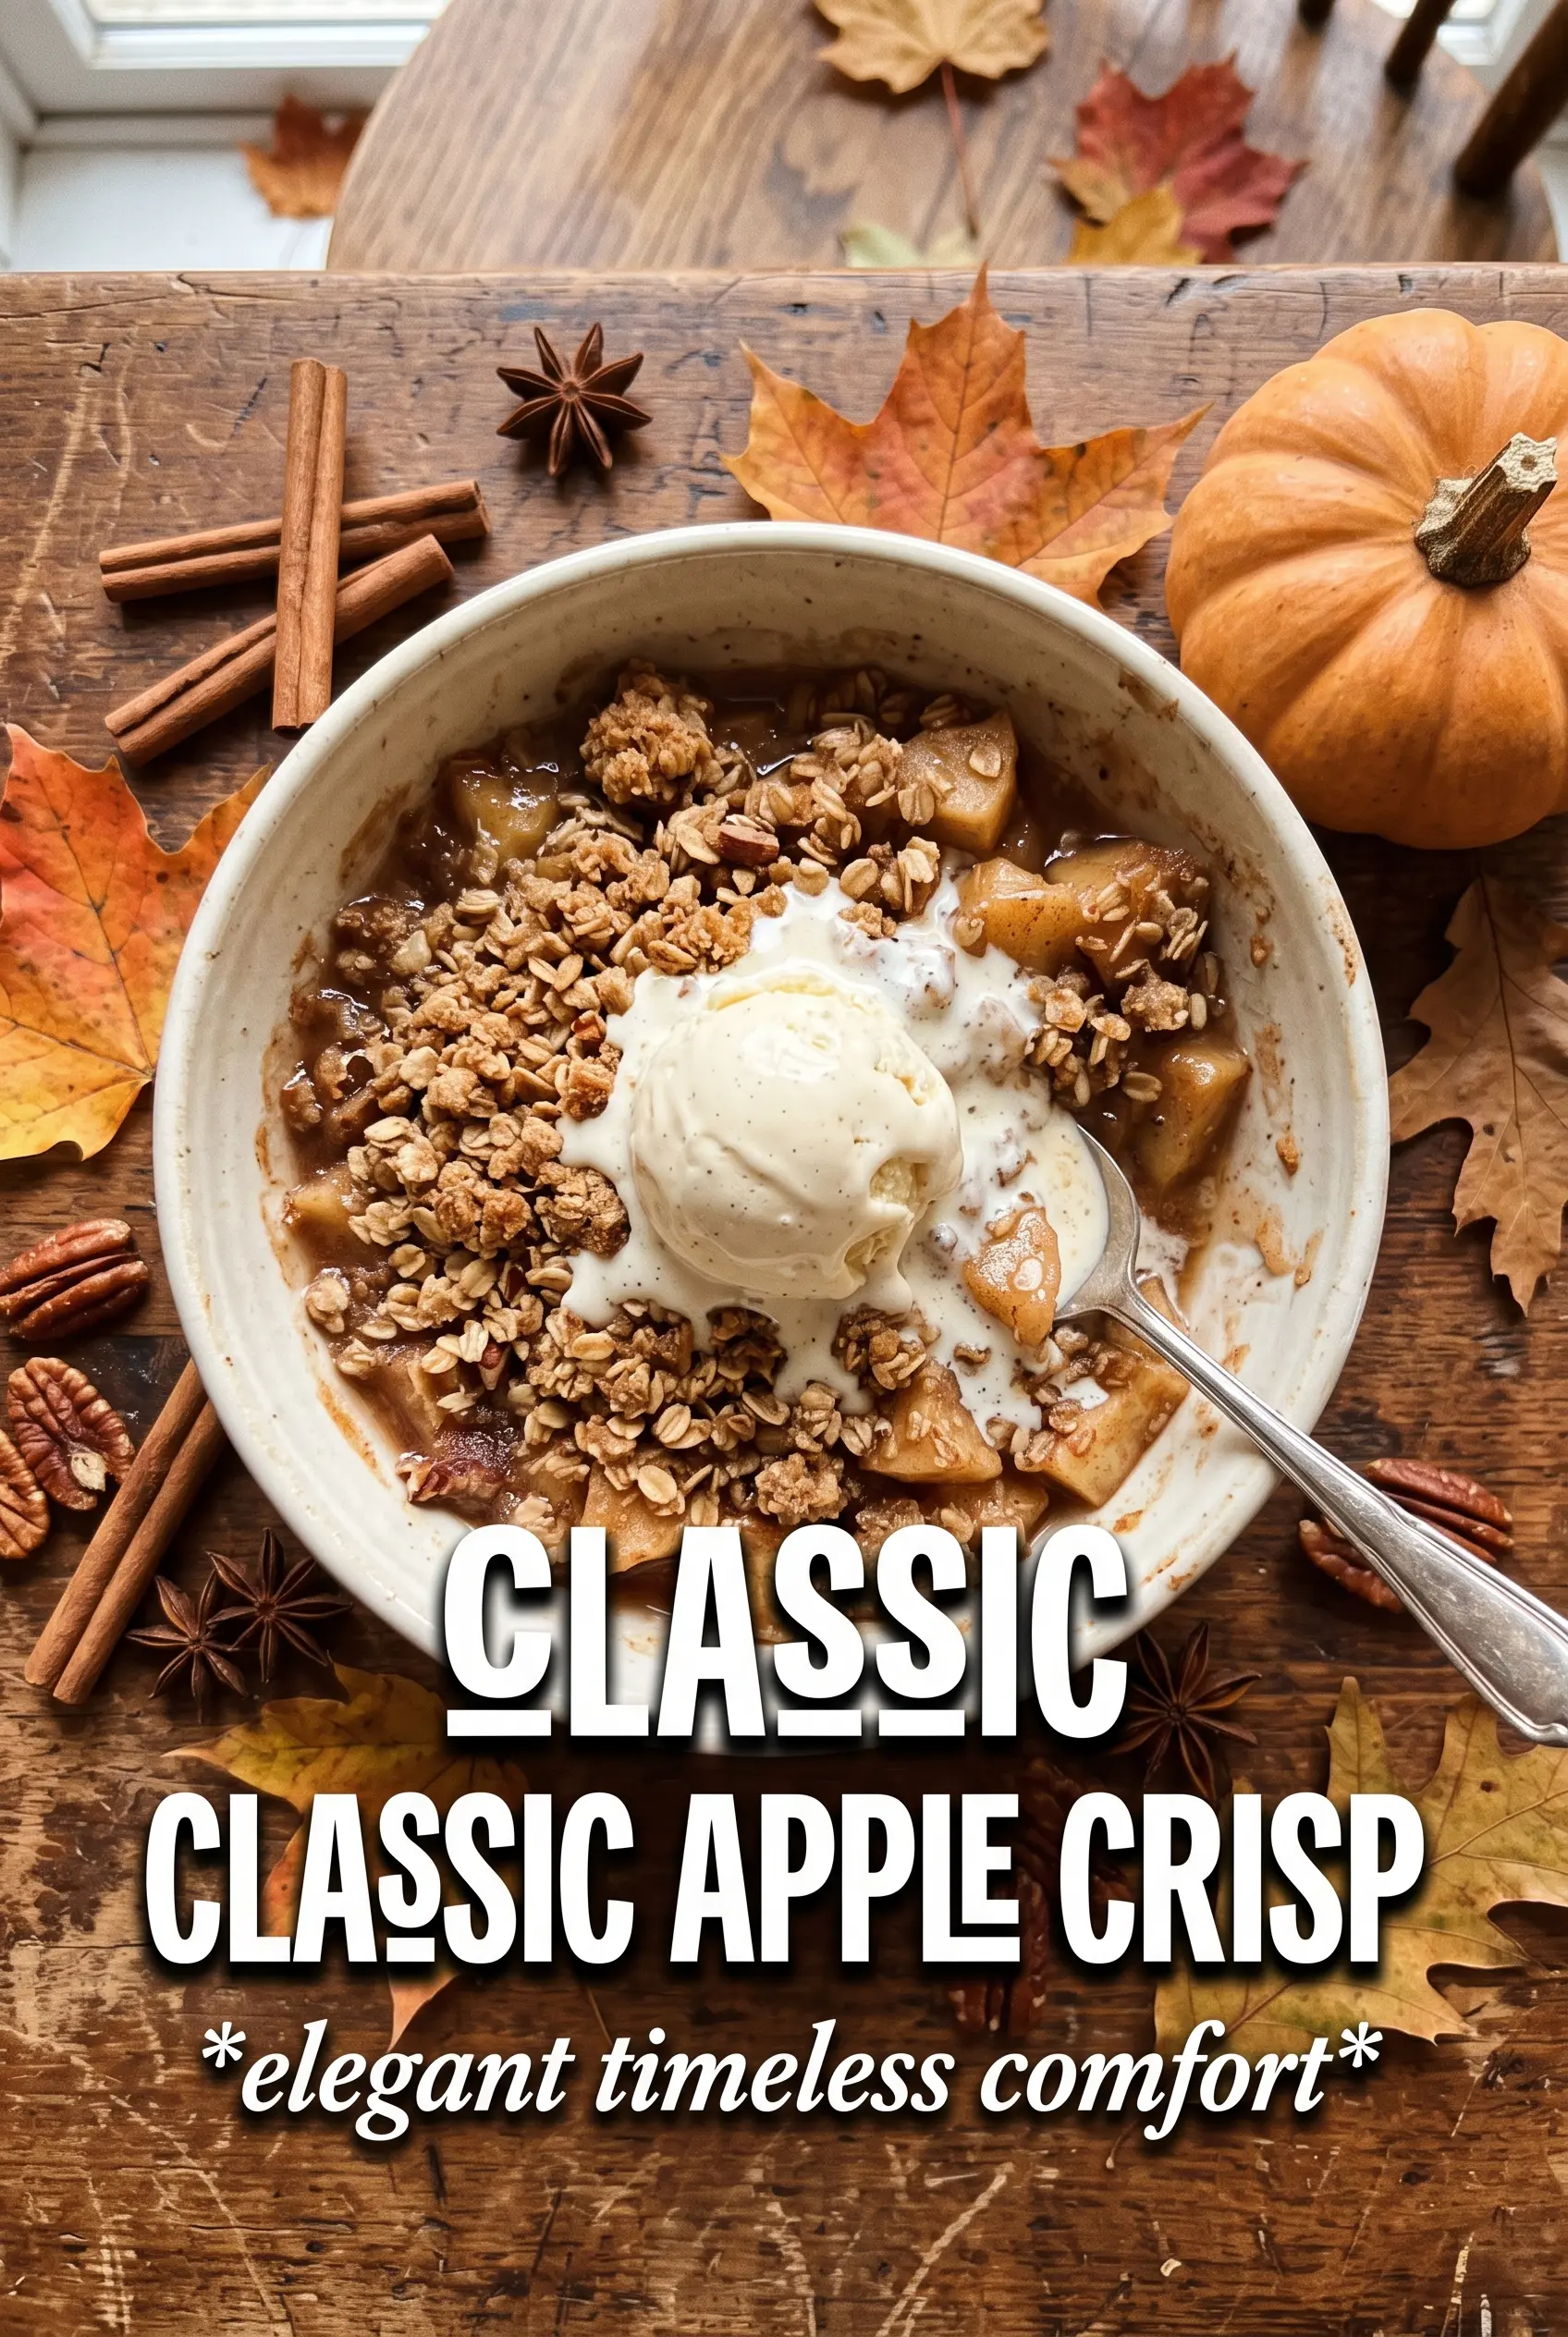
Ina Garten Apple Crisp
Ingredients
Equipment
Method
- Preheat your oven to 350F and set out a 14x9x2 inch baking dish. Aim for steady heat before the apples go in.
- Toss the apples with orange zest, lemon zest, orange juice, lemon juice, granulated sugar, cinnamon, and nutmeg, then spread them evenly in the baking dish. Spread so the surface is level with no big gaps.
- Combine all-purpose flour, granulated sugar, light brown sugar, kosher salt, and old-fashioned oats in a mixing area. Mix until the dry ingredients look evenly streaked.
- Add the cold diced unsalted butter and work it in with your fingers until the mixture forms pea-sized clumps. Stop when you see small lumps rather than a smooth dough.
- Scatter the crumble topping over the apples, covering every inch generously. Use your hands to nudge dry spots so the apples are fully insulated.
- Bake at 350F for 55-60 minutes, until the top is golden brown and the apples are tender and bubbling. Look for active bubbling at the edges and a visibly crisp top.
- Let the crisp rest briefly after baking, then serve warm with vanilla ice cream or whipped cream. Serve while the topping is still crisp and the filling is hot.