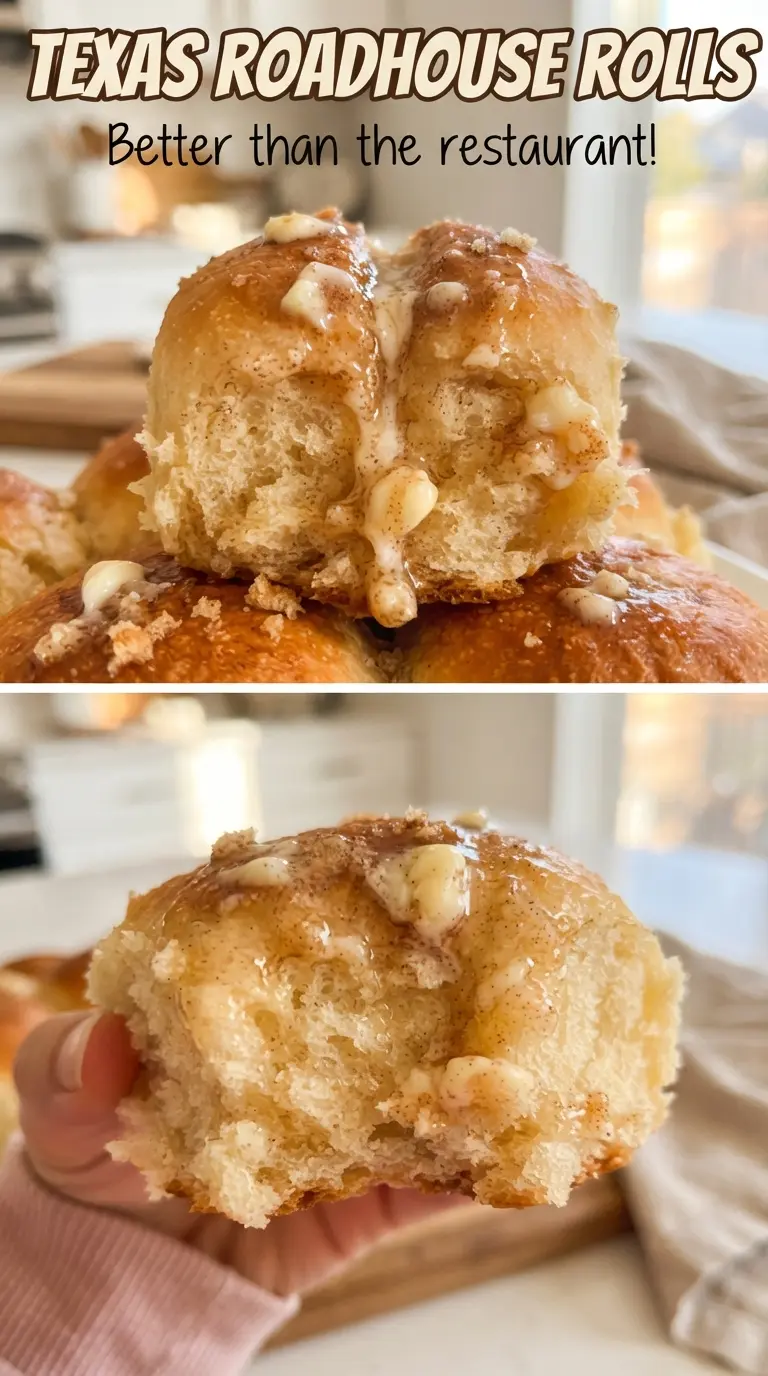
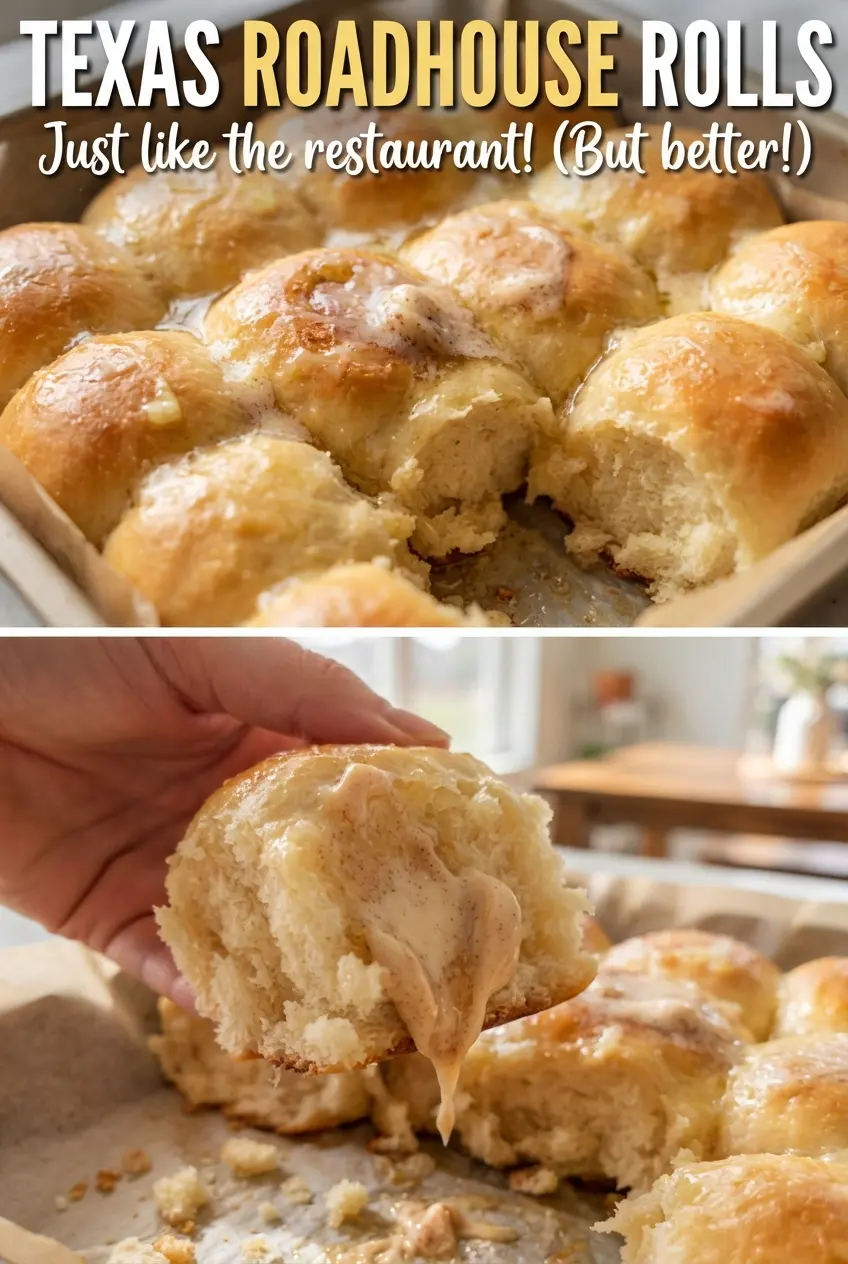
Texas Roadhouse rolls come out cloud-soft, lightly sweet, and just sturdy enough to split open without tearing apart in your hands. The tops bake to a pale golden finish, but the real payoff is inside: a fine, tender crumb that pulls apart in warm layers and practically begs for cinnamon honey butter. They’re the kind of rolls that disappear faster than the rest of dinner, which is exactly why making them at home is worth it.
What makes this version work is the balance of a rich dough and a gentle bake. Warm milk helps the yeast move quickly, while the melted butter keeps the crumb soft instead of bready. Folding the dough before cutting the squares gives the rolls that classic Texas Roadhouse look and helps create a little height without overworking the dough. The final brush of butter matters too; it softens the crust and gives the rolls that bakery-style finish.
Below, you’ll find the small details that make these rolls turn out light instead of dense, plus the easiest way to serve them with that whipped cinnamon honey butter at the right texture.
The rolls rose beautifully and baked up so soft in the middle. I loved the way the cinnamon honey butter melted into the warm squares — my husband ate three before dinner was even on the table.
Save these soft Texas Roadhouse rolls for the nights when you want fluffy squares and whipped cinnamon honey butter on the table.
The Quiet Trick That Keeps These Rolls Soft Instead of Dense
The biggest mistake with dinner rolls is adding too much flour too early. This dough should feel soft and a little tacky after kneading, not stiff and dry. If you keep working flour into it until it feels like bread dough for sandwich loaves, the rolls will bake up heavier and lose that pillowy texture everyone expects from Texas Roadhouse rolls.
The other thing people miss is the shaping. Rolling the dough to a half-inch thickness, folding it over, then cutting squares gives the rolls their signature layered look without complicated shaping. That fold also helps trap a little structure so the rolls puff upward instead of spreading flat. Let the second rise happen until the squares look noticeably puffy; under-proofed rolls bake up tight and crack on top instead of pulling apart softly.
What Each Ingredient Is Doing in the Dough and the Butter
- Whole milk — Gives the dough a richer flavor and a softer crumb than water alone. Warming it to about 110°F wakes up the yeast without killing it; too hot and the dough won’t rise.
- Active dry yeast — This is what gives the rolls their lift. If it doesn’t foam in the first five minutes, the yeast may be old or the liquid may have been the wrong temperature.
- Butter in the dough — Melted butter keeps the crumb tender and adds that bakery-style richness. You need it in the dough itself, not just brushed on top, if you want the rolls to stay soft the next day.
- Powdered sugar, honey, and cinnamon — These build the whipped butter that makes the rolls taste like the restaurant version. Powdered sugar blends in smoothly, while honey gives the spread a glossy sweetness that granulated sugar can’t match.
From Foamy Yeast to Golden Squares on the Pan
Getting the Yeast Started Right
Stir the warm milk, water, yeast, and just one tablespoon of the sugar together, then leave it alone for five minutes. You’re looking for a foamy surface and a faint yeasty smell. If the mixture stays flat, the yeast didn’t activate, and no amount of kneading later will fix the rise. The temperature matters here more than people think; milk that’s too hot will shut the yeast down before the dough ever gets a chance.
Kneading for a Soft, Smooth Dough
Add the remaining sugar, egg, melted butter, salt, and flour, then knead until the dough feels elastic and smooth, about eight minutes. It should cling slightly to the bowl at first, then gather into a soft ball that springs back when pressed. If it looks dry and shaggy, stop adding flour for a minute and keep kneading; many doughs only need patience, not more flour. You want supple, not firm.
Shaping, Rising, and Baking
Let the first rise finish until the dough has doubled, then roll it to a half-inch rectangle and fold it in half before cutting squares. That fold creates the look and gives the dough enough thickness to rise tall. After the second rise, the rolls should look puffed and almost marshmallow-like. Bake just until the tops turn light golden, then brush them with melted butter while they’re hot so the crust stays tender instead of setting dry.
Whipping the Cinnamon Honey Butter
Beat the softened butter, powdered sugar, honey, and cinnamon until the mixture looks pale and fluffy. If the butter is cold, you’ll end up with gritty streaks instead of a smooth spread, so let it soften fully first. The finished butter should hold soft peaks and melt quickly into the warm rolls. Serve it immediately; that contrast between warm bread and cool, whipped butter is half the point.
How to Adapt These Rolls Without Losing the Soft, Sweet Crumb
Make Them a Little Less Sweet
Cut the sugar in the dough down by a couple of tablespoons if you want a more neutral dinner roll. The texture stays soft, but the rolls lean less toward dessert and more toward a classic bread basket. Keep the honey butter as written if you still want the signature finish.
Dairy-Free Version
Use a creamy unsweetened plant milk and a good dairy-free butter. The rolls will still rise and bake up soft, though the flavor will be a little less rich than the original. Choose a butter substitute that behaves like real butter at room temperature so the whipped topping can still hold its shape.
Make-Ahead Shaping
Shape the rolls, place them on the pan, and cover them tightly in the refrigerator overnight. The next day, let them come back to room temperature and finish rising before baking. This works well for holidays or dinner parties, but don’t bake them cold from the fridge or the centers will lag behind the edges.
Storage and Reheating
- Refrigerator: Store in an airtight container for up to 3 days. They’ll lose a little of their bakery-fresh softness, but a quick reheat brings them back.
- Freezer: Freeze baked rolls for up to 2 months. Wrap them tightly and thaw at room temperature before reheating.
- Reheating: Warm in a 300°F oven for about 8 minutes, covered loosely with foil if they’re already browned. The biggest mistake is microwaving too long; that makes the crumb rubbery instead of soft.
Answers to the Questions Worth Asking
Texas Roadhouse Rolls
Ingredients
Equipment
Method
- Combine whole milk, warm water, active dry yeast, and 1 tablespoon sugar in a bowl; let stand 5 minutes until foamy. You should see bubbles and a frothy top indicating the yeast is active.
- Add the remaining sugar, large egg, melted butter, salt, and all-purpose flour, then knead for 8 minutes until soft and smooth. The dough should look elastic and hold together without being sticky.
- Cover and let the dough rise for 1 hour until doubled in size. It should feel puffy and visibly increased in volume.
- Roll the dough into a 1/2-inch thick rectangle, fold it in half, and cut into 2-inch squares. Aim for even thickness so the rolls bake uniformly.
- Place the squares on a parchment-lined sheet, cover, and rise for 1 hour until puffy. They should look swollen and light, filling out the space on the tray.
- Preheat the oven to 350F, then bake for 12 to 15 minutes until golden. Look for a deep golden color on the tops and edges.
- Brush the warm baked rolls with the remaining melted butter for a soft finish. The tops should look glossy and slightly buttery.
- Whip softened butter, powdered sugar, honey, and ground cinnamon until fluffy. The mixture should turn pale and spreadable, ready to melt into the warm rolls.
- Serve the whipped cinnamon honey butter with the warm rolls. As it touches the hot centers, it should soften and partially melt.