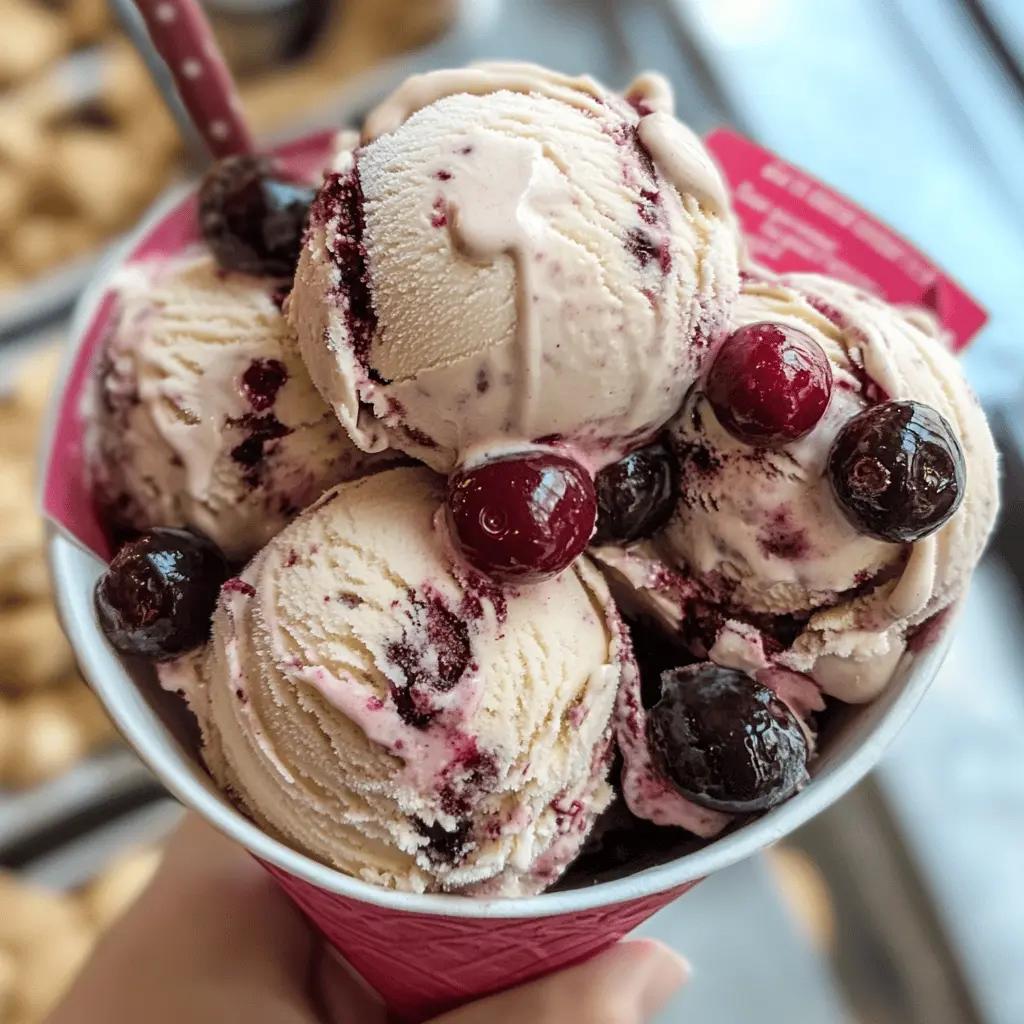
This easy homemade Cherry Garcia ice cream is a refreshing treat filled with delicious cherries and chocolate chunks. It’s creamy, sweet, and perfect for hot days!
Making it is a blast! Just mix the ingredients, freeze, and enjoy a scoop (or ten). 🍦 I love serving it on sunny afternoons with friends—it always puts a smile on their faces!
Key Ingredients & Substitutions
Heavy Cream: This adds a luscious texture to your ice cream. If you want a lighter option, use half-and-half or whole milk, but the ice cream may be less creamy.
Whole Milk: Helps balance the fat content. You can substitute it with 2% milk, but know it may change the creamy texture. For a dairy-free option, try coconut milk!
Granulated Sugar: The sweetener that makes the ice cream delightful. You can swap it with coconut sugar or a sugar substitute for a low-calorie version. Just adjust the amount based on the sweetness of the alternative.
Cherries: Fresh cherries bring a lovely tartness, while frozen ones work too. If cherries aren’t available, raspberries or strawberries can be great substitutes.
Dark Chocolate Chunks: These give the ice cream its signature chocolate flavor. If you prefer, use semi-sweet chocolate or even white chocolate if you like a different taste.
How Do I Get Smooth and Creamy Ice Cream?
Achieving a smooth and creamy texture in homemade ice cream relies on a few key steps. The main technique is churning your mixture well, so air gets incorporated while freezing.
- Ensure your ice cream maker bowl is thoroughly chilled. Freeze it overnight for best results.
- Mix the base until the sugar is completely dissolved to avoid graininess in the final product.
- Churn according to your machine’s instructions until it’s soft-serve consistency, usually taking 20-25 minutes.
- Incorporate cherries and chocolate in the last 5 minutes to keep them from sinking to the bottom.
- Freeze in an airtight container for at least 4 hours so it firms up nicely for scooping.
With these tips, your homemade Cherry Garcia ice cream will turn out perfectly creamy and delicious each time!
Easy Homemade Cherry Garcia Ice Cream
Ingredients:
- 2 cups heavy cream
- 1 cup whole milk
- 3/4 cup granulated sugar
- 1 teaspoon pure vanilla extract
- 1 cup fresh or frozen cherries, pitted and chopped
- 1 1/4 cups dark chocolate chunks or chips
- 1 tablespoon lemon juice (optional, to brighten cherry flavor)
- Pinch of salt
How Much Time Will You Need?
This delicious Cherry Garcia ice cream requires about 15 minutes of prep time and then 20-25 minutes to churn. After that, you’ll need to freeze it for at least 4 hours, so plan ahead if you’re craving this sweet treat!
Step-by-Step Instructions:
1. Prepare the Base:
In a mixing bowl, combine the heavy cream, whole milk, granulated sugar, and a pinch of salt. Whisk the mixture until the sugar is fully dissolved, ensuring a smooth ice cream base. This step is important for achieving a creamy texture!
2. Add Flavor:
Next, stir in the pure vanilla extract and, if you like, the lemon juice. The lemon juice will add a nice zing to the cherry flavor, enhancing the overall taste.
3. Churn Your Ice Cream:
Now, pour the mixture into your ice cream maker. Follow the manufacturer’s instructions and churn until the ice cream reaches a soft-serve consistency, which typically takes about 20-25 minutes.
4. Mix In Cherries and Chocolate:
During the last 5 minutes of churning, add the chopped cherries and dark chocolate chunks. This ensures that they are evenly distributed throughout the ice cream without sinking.
5. Freeze and Firm Up:
Once churning is complete, transfer the churned ice cream into an airtight container. Place it in the freezer and let it freeze for at least 4 hours, or until it’s firm and ready to scoop!
6. Serve and Enjoy:
When you’re ready to indulge, scoop the ice cream into bowls. Feel free to add more cherries or chocolate chunks on top if you like. Enjoy your rich, creamy, homemade Cherry Garcia ice cream filled with delightful bursts of cherries and chocolate!

Frequently Asked Questions (FAQ)
Can I Use Other Types of Cherries?
Absolutely! You can use fresh, frozen, or even jarred cherries. If using jarred cherries, make sure to drain them well to avoid excess liquid in your ice cream.
Is It Possible to Make This Ice Cream Without an Ice Cream Maker?
Yes! If you don’t have an ice cream maker, pour the mixture into a shallow dish and freeze it. Every 30 minutes, stir the mixture with a fork for about 2-3 hours to break up any ice crystals until it’s creamy.
How Can I Store Leftover Ice Cream?
Store any leftover Cherry Garcia ice cream in an airtight container in the freezer. It should stay fresh for up to two weeks, although it’s best when eaten sooner! Let it sit at room temperature for a few minutes before scooping if it becomes too hard.
Can I Make This Dairy-Free?
Yes! You can substitute the heavy cream and whole milk with coconut milk, almond milk, or any dairy-free cream alternatives. Keep in mind that the texture may vary slightly, but it will still be delicious!