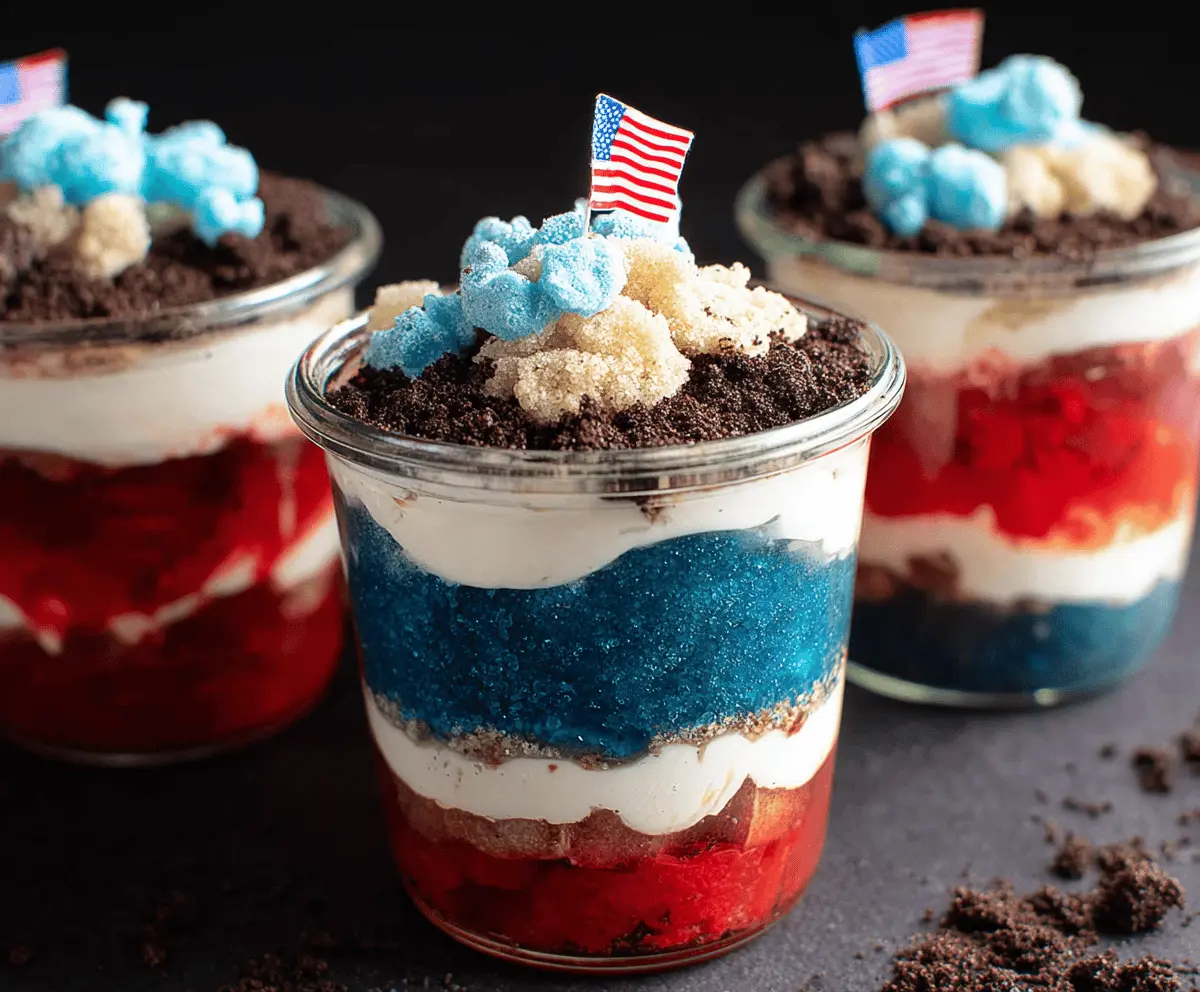
These Easy Red White and Blue Dirt Cups are a fun and festive treat! Made with layers of crushed cookies, pudding, and fresh berries, they look great and taste delicious.
They’re perfect for celebrations! I love how simple they are to put together. Just layer everything in a cup, and you’ve got a cool dessert that everyone will smile at. USA, here we come! 🎉
Key Ingredients & Substitutions
Instant Vanilla Pudding Mix: This gives your cups their creamy texture. If you want a different flavor, you can try using chocolate pudding. Just know the colors will change a bit!
Blue and Red Food Coloring: Food coloring brings the fun to these dirt cups! If you want a natural option, consider using blueberry juice for blue and beet juice for red, though results may vary.
Oreo Cookies: Crushed for that rich chocolate layer, Oreos are classic. If gluten-free is a must, use gluten-free chocolate cookies instead!
Gummy Candies: These add a cute touch on top. If you want a healthier option, try using fresh strawberries or raspberries to keep the red theme without added sugar!
How Do You Layer the Dirt Cups for the Best Look?
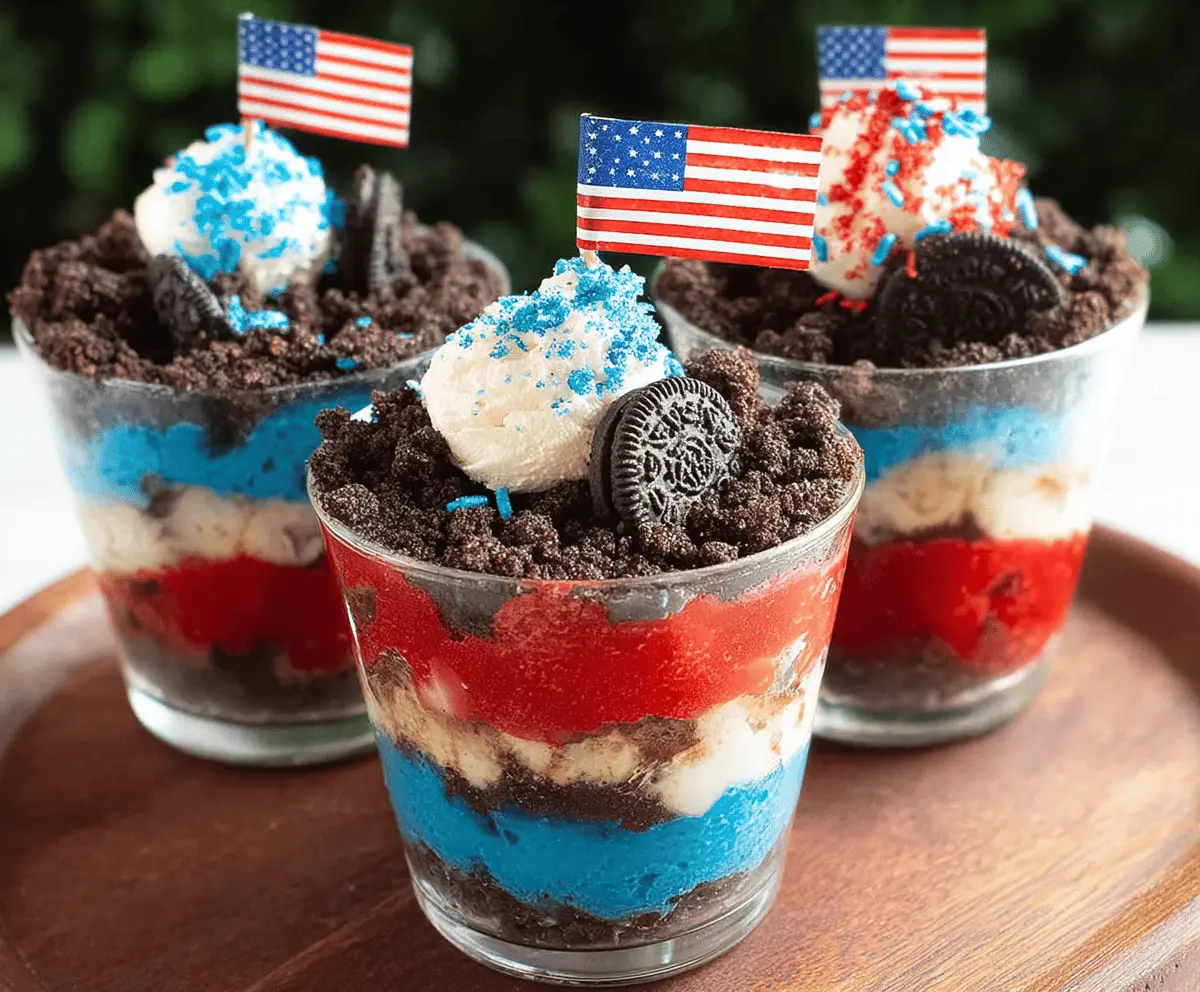
Layering is simple but important for a beautiful presentation. Here’s how you do it:
- Start with a layer of crushed Oreos at the bottom; this creates the “dirt” layer.
- Smooth the blue pudding layer next, ensuring it’s even.
- Follow with another Oreo layer and then the white pudding layer, giving it a nice contrast.
- Repeat the Oreo layer before topping off with red pudding for that vibrant finish.
- Finally, a last crumb layer on the top will make it neat and pretty.
Make sure to let them chill in the fridge for at least an hour. This helps the layers set and look fantastic when served!
Easy Red White and Blue Dirt Cups
Ingredients You’ll Need:
- 1 package (3.9 oz) instant vanilla pudding mix
- 2 cups cold milk
- Blue food coloring
- Red food coloring
- 12 Oreo cookies, crushed finely (or other chocolate sandwich cookies)
- Red gummy candies or red sour candy sticks (optional, for garnish)
How Much Time Will You Need?
This delightful recipe takes about 10 minutes to prepare and then you’ll want to chill it in the fridge for at least 1 hour to let the layers set nicely. So total time is around 1 hour and 10 minutes before serving!
Step-by-Step Instructions:
1. Prepare the Pudding:
In a medium bowl, whisk together the instant vanilla pudding mix and cold milk until the mixture thickens—this should take about 2 minutes. Once thickened, divide the pudding into three separate bowls to create your layers.
2. Color the Pudding:
In the first bowl, add a few drops of blue food coloring. Mix it well until you achieve a bright blue color. For the second bowl, leave the pudding plain (this will be your white layer). In the third bowl, add a few drops of red food coloring and mix until fully incorporated.
3. Start Layering the Cups:
Take a clear cup or small glass and spoon a layer of crushed Oreos into the bottom for that classic ‘dirt’ layer. Next, add the blue pudding layer, smoothing it out evenly on top of the Oreos. Following that, sprinkle another layer of crushed Oreos over the blue pudding to create contrast.
4. Continue Layering:
Next, spread the white pudding layer over the Oreos, smoothing it evenly. Top this with another layer of crushed Oreos for extra crunch, and then finish with the red pudding on top, making sure to smooth the surface nicely.
5. Finish and Chill:
Top off your layers with one last sprinkle of crushed Oreos to create a garden-like appearance. For a festive touch, garnish each cup with red gummy candies or sour candy sticks. Finally, cover and chill the cups in the refrigerator for at least 1 hour to allow the layers to set properly.
Enjoy these fun and festive red, white, and blue dirt cups at your next gathering—perfect for the 4th of July, Memorial Day, or any summer celebration!
Short FAQ for Easy Red White and Blue Dirt Cups
Can I Use Homemade Pudding Instead of Instant?
Absolutely! If you prefer homemade pudding, just make a vanilla pudding recipe ahead of time, cool it, and then divide it into three bowls for coloring and layering. This will add a delicious homemade touch!
How Should I Store Leftovers?
Store any leftovers in an airtight container in the refrigerator. They should stay fresh for up to 2 days. Just remember to re-chill the cups before serving, as the layers may lose their definition after sitting for a while.
Can I Make These Dirt Cups in Advance?
Yes, you can assemble these dirt cups up to a day in advance! Just layer everything as instructed, then cover them and store in the refrigerator. This makes them perfect for parties—you can prepare ahead and just serve when the time comes!
What Other Fruits or Toppings Can I Use?
Feel free to customize your decorations! Consider using fresh strawberries, blueberries, or whipped cream on top instead of gummies. This not only enhances the flavor but can also add a healthier twist to the dessert!