Sizzling campfire fajitas earn their place fast because they hit that sweet spot between smoky, colorful, and low-fuss. The meat stays juicy, the peppers keep a little bite, and the onions pick up enough char to taste like they came straight off the grate instead of a home stove. Pile everything into warm tortillas with a squeeze of lime and you’ve got the kind of dinner people circle back to before the skillet is even empty.
What makes this version work is timing. The meat cooks first so it can brown hard and come off the heat before the vegetables go in, which keeps the skillet hot enough to char the peppers instead of steaming them. A good fajita seasoning does most of the flavor work, but the real payoff comes from building the whole thing in cast iron over live fire, where the heat is uneven in the best possible way and gives you those dark edges you can’t fake indoors.
Below you’ll find the small details that keep the skillet from cooling down too quickly, plus a few easy swaps for different proteins and dietary needs. If you’ve ever had fajitas go soggy or bland, the fix is in the order and the heat.
The peppers stayed crisp-tender and the steak picked up such a good smoky crust over the fire. I was worried the skillet would cool down too much, but everything finished hot and juicy right when the tortillas were ready.
Love the smoky skillet edges and juicy campfire fajitas? Save this one for the next night you want a fire-cooked dinner with barely any cleanup.
The One Mistake That Turns Fajitas Watery Over the Fire
The biggest problem with campfire fajitas isn’t the seasoning. It’s crowding the pan. If the meat and vegetables go in all at once, the skillet drops in temperature and everything starts releasing liquid instead of browning. You end up with gray strips, soft peppers, and a puddle at the bottom that tastes flat.
Cast iron helps because it holds heat, but it still needs space to do its job. Cook the meat first, pull it out, then give the peppers and onions their own turn in the hot fat left behind. That sequence keeps the skillet hot enough to caramelize the edges and brings out the sweetness in the vegetables without overcooking the chicken or steak.
- Hot skillet first — Wait until the oil shimmers and moves quickly across the pan before adding the meat. If the pan isn’t properly hot, the fajitas will steam before they sear.
- Separate the stages — Meat first, vegetables second, everything together at the end. That’s what keeps the texture clean and the flavors bold.
- Don’t chase perfect color too soon — The live fire can be uneven. Let one side develop before you stir, or you’ll keep knocking off the browning before it has a chance to form.
What the Seasoning, Oil, and Tortillas Are Each Doing Here
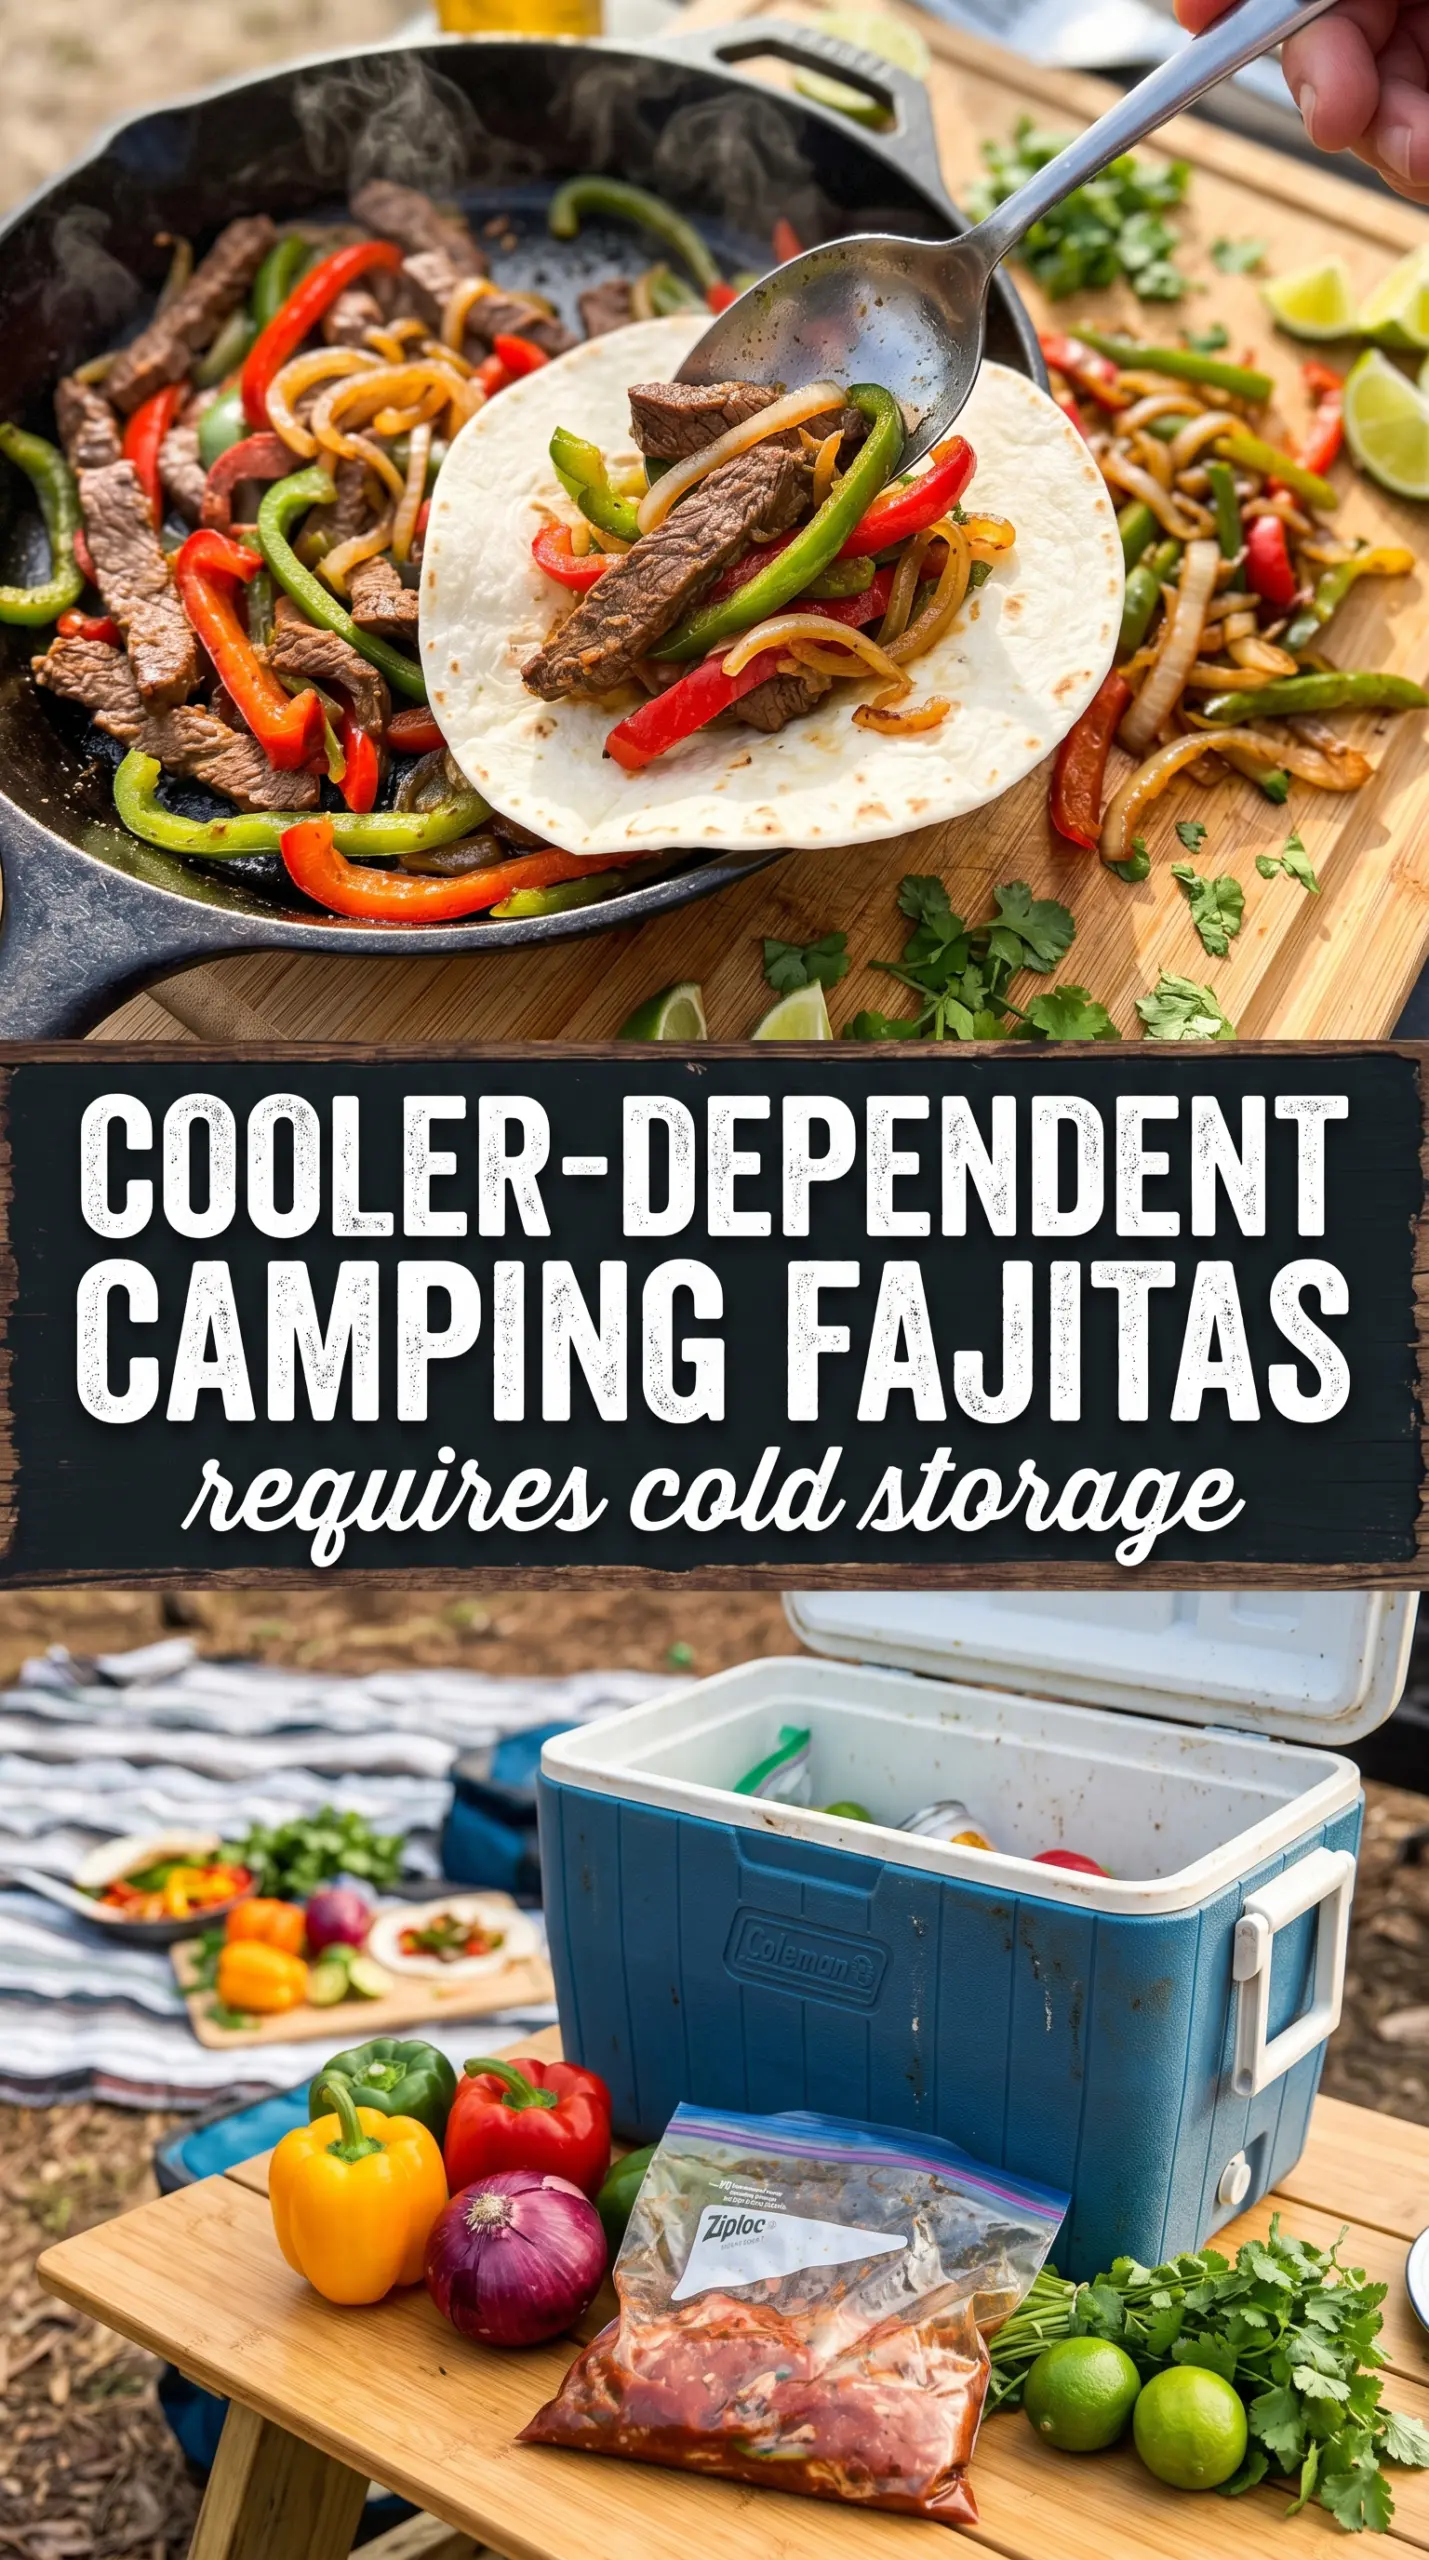
- Chicken breast or steak — Both work, but they behave differently. Chicken breast stays lean and quick, while steak gives you more beefy flavor and a little more forgiveness if the fire runs hot. Slice either one thin so it cooks fast and stays tender.
- Fajita seasoning — This is where the cumin, chili, garlic, and pepper live. Store-bought seasoning is fine here if it’s one you already like, but watch the salt level because campfire cooking can make seasoning taste sharper once the smoke comes in.
- Bell peppers and onions — Use a mix of colors for sweetness and a little visual punch. The onions should soften and pick up browned edges, not collapse into mush. Slice them evenly so they finish at the same time.
- Flour tortillas — Flour tortillas hold up best to the juicy filling and are easy to warm over a grate or right on the edge of the skillet. Corn tortillas can work for a gluten-free version, but they’re less forgiving if the filling is extra saucy.
- Lime wedges and toppings — Lime wakes everything up at the end. Sour cream, guacamole, salsa, cheese, and cilantro each add something different, but the lime is what keeps the fajitas from tasting heavy after a smoky cook.
Building the Skillet So the Fire Does the Work, Not the Chaos
Getting the Meat Browned Before the Vegetables Go In
Set the cast iron skillet over steady heat and let the oil get hot before the meat hits the pan. The fajita pieces should sizzle the second they touch the skillet; if they just sit there, wait another minute. Cook until browned and cooked through, then move the meat out right away so it doesn’t keep tightening while the vegetables finish.
Letting the Peppers and Onions Char, Not Collapse
Add the peppers and onions to the same skillet so they pick up the meat drippings and seasoning left behind. Stir only enough to keep the edges from burning, because a little char is what gives the dish that campfire flavor. If they start to look wet and glossy instead of browned, the heat has dropped too low and you need to give the pan a minute to recover.
Bringing Everything Back Together at the End
Return the meat to the skillet only after the vegetables are tender and lightly charred. Toss just until the filling is hot again and coated in the pan juices, then pull it off the fire. Overcooking this final step is the easiest way to turn tender slices into dry ones, especially with chicken breast.
Warming the Tortillas Without Drying Them Out
Heat the tortillas quickly over the fire or on a dry part of the skillet until they’re pliable and lightly marked. Don’t let them crisp fully unless you want something more like a tostada shell. Warm tortillas should bend without cracking, which makes stuffing and folding much easier at the table.
How to Adapt These Campfire Fajitas Without Losing the Smoky Finish
Dairy-Free Fajita Night
Skip the sour cream and cheese, then lean on guacamole, salsa, and extra lime instead. You won’t miss the dairy because the smoky meat and charred vegetables already carry plenty of richness.
Gluten-Free Campfire Fajitas
Swap the flour tortillas for corn tortillas and warm them gently so they don’t crack. Corn tortillas bring a firmer texture and a more distinct corn flavor, which works well with the smoky filling.
Make It With Steak Instead of Chicken
Steak gives you deeper flavor and a more traditional fajita bite. Slice it thin against the grain and pull it from the skillet as soon as it’s browned, because overcooked steak gets chewy faster than chicken.
Storage and Reheating
- Refrigerator: Store the fajita filling in an airtight container for up to 4 days. The peppers will soften a little, but the flavor holds up well.
- Freezer: The cooked meat freezes better than the peppers and onions. If you plan ahead, freeze the seasoned cooked meat separately and cook fresh vegetables later for the best texture.
- Reheating: Reheat the filling in a hot skillet over medium heat until steaming. The common mistake is microwaving it too long, which turns the meat dry and the vegetables limp before the center is warm.
Answers to the Questions Worth Asking
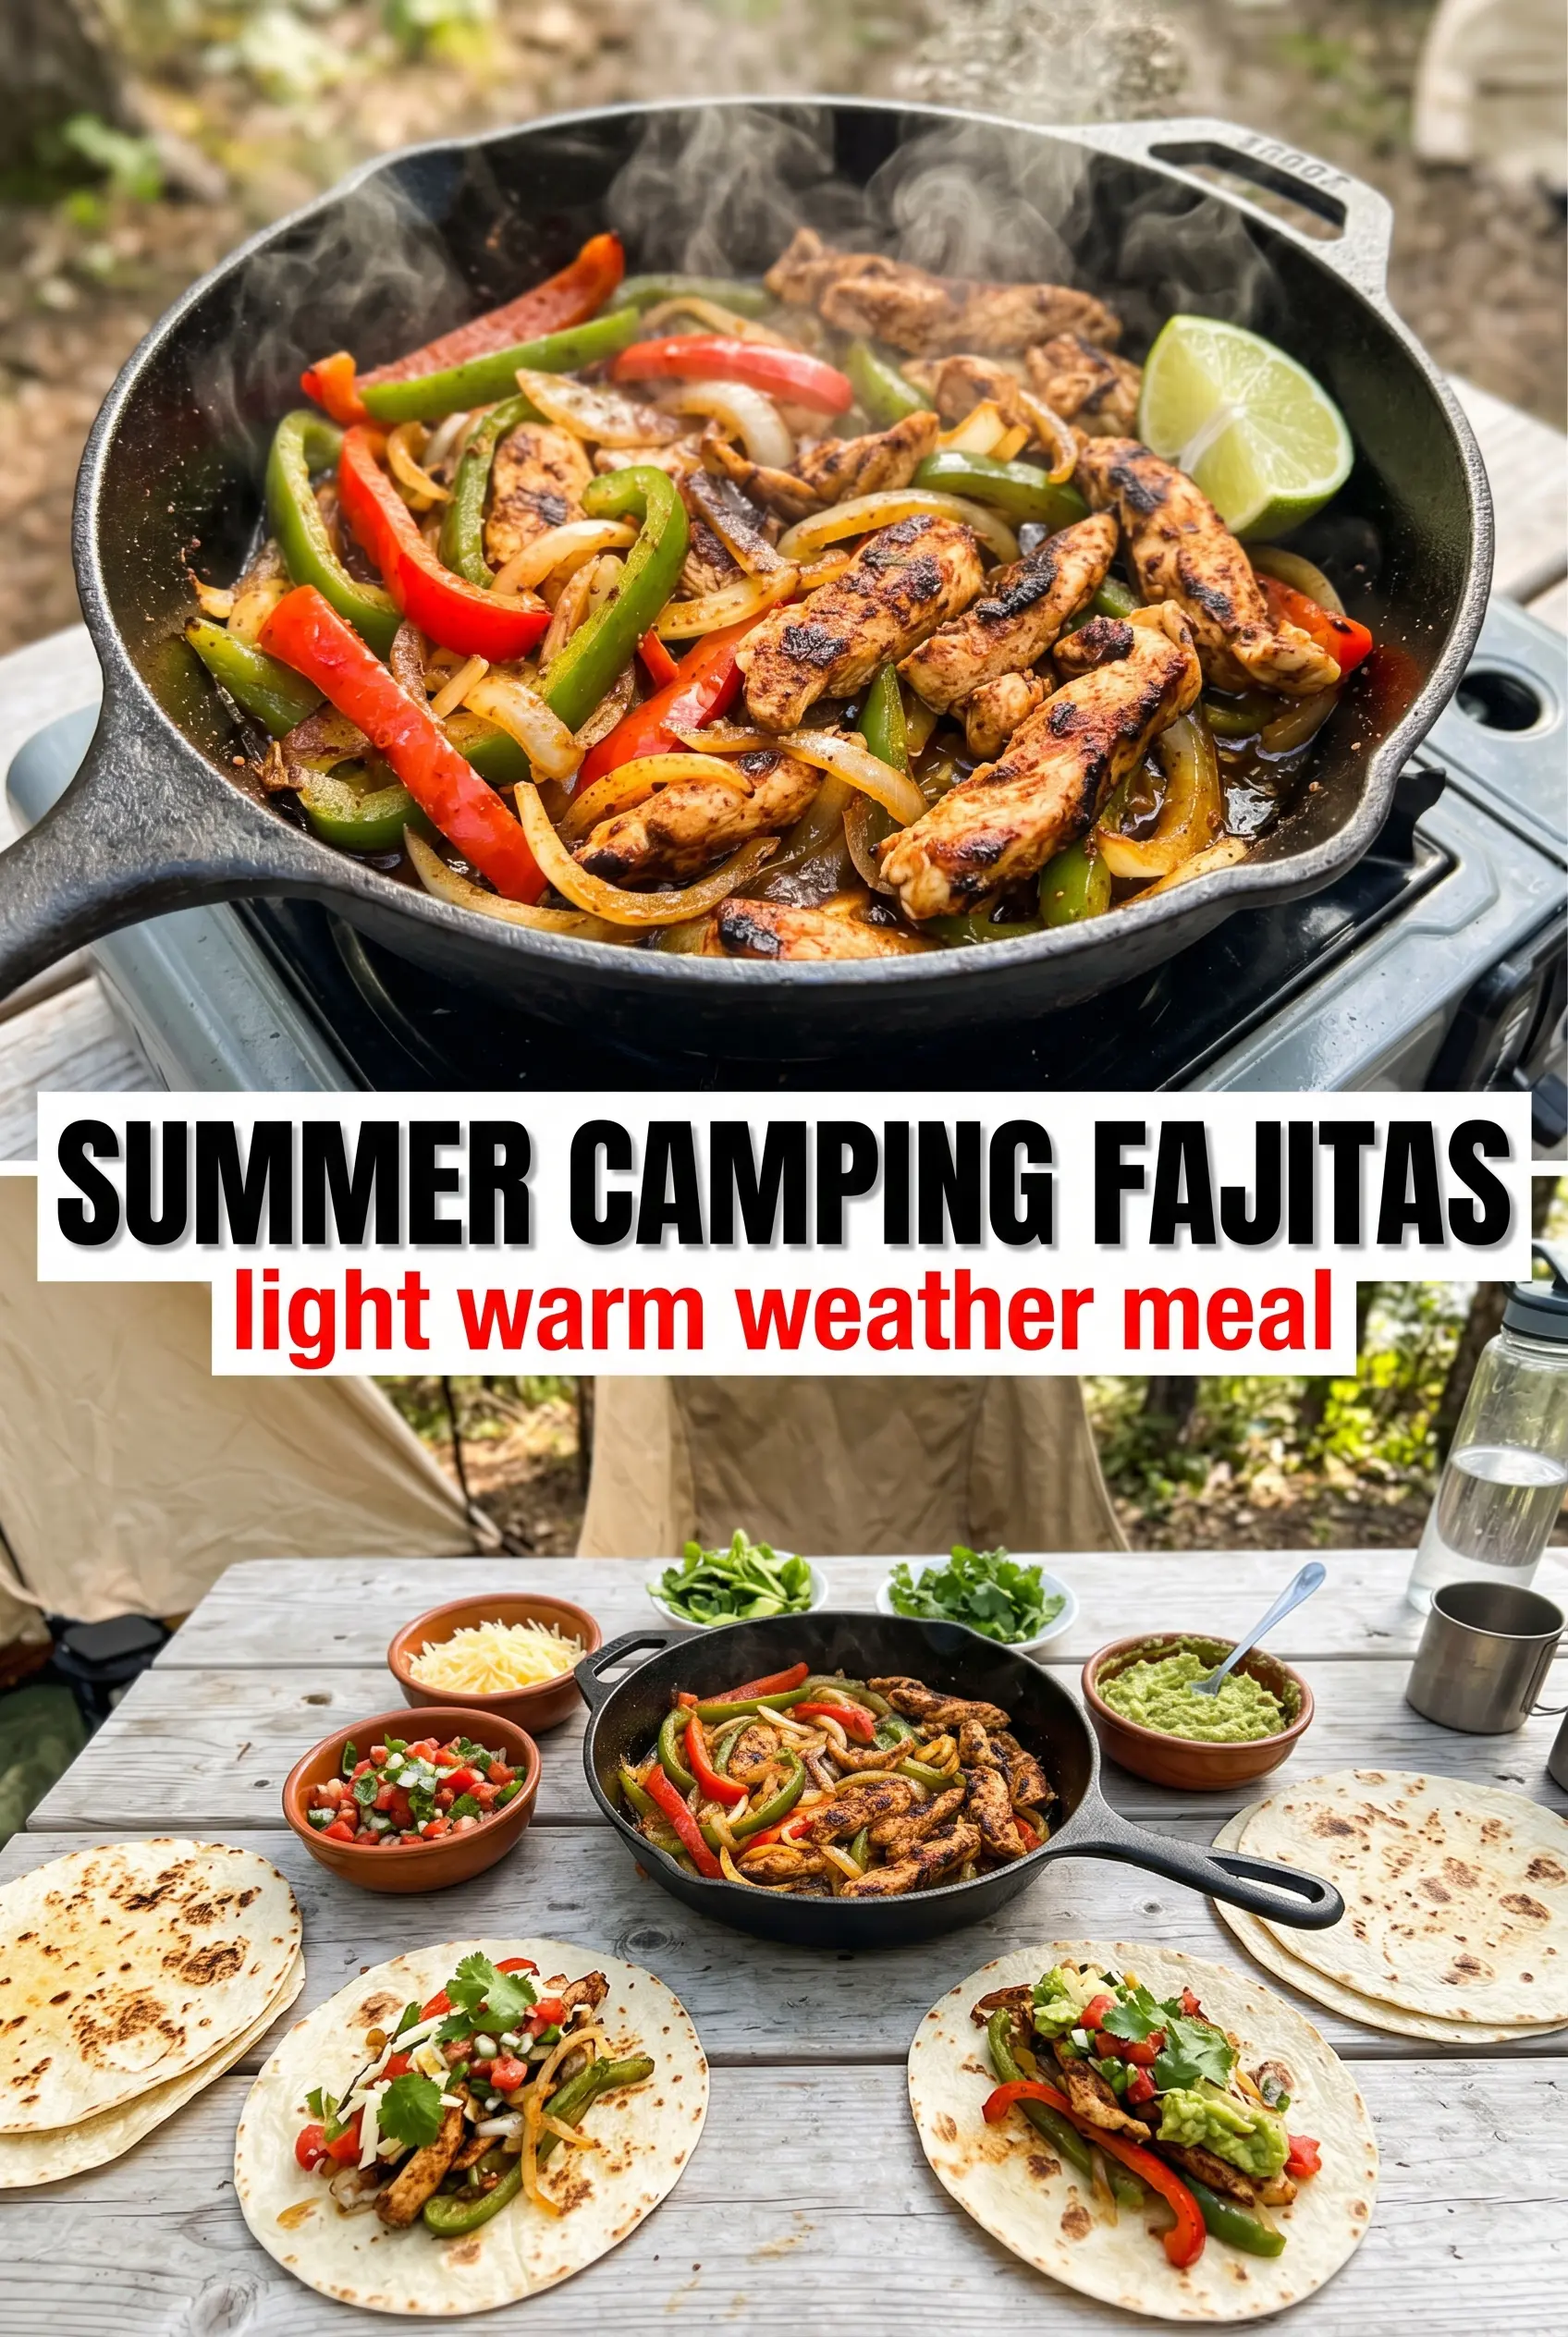
Campfire Fajitas
Ingredients
Equipment
Method
- Heat the oil in a large cast iron skillet over the campfire until shimmering and hot.
- Keep the skillet over direct heat so the next additions sizzle immediately after contact.
- Season the sliced meat with fajita seasoning, then add it to the hot skillet.
- Cook for 8-10 minutes, stirring as needed, until browned and cooked through, then remove the meat and set it aside.
- Add the sliced bell peppers and onions to the skillet and spread them into an even layer.
- Cook for 8-10 minutes until tender and slightly charred, with browned edges visible.
- Return the browned meat to the skillet and toss until everything is evenly combined and hot.
- Warm the flour tortillas over the fire until pliable and lightly toasted.
- Serve the fajita mixture with warm tortillas and top with sour cream, guacamole, salsa, cheese, cilantro, and lime wedges as desired.