Grilled campfire quesadillas hit that sweet spot between crisp and gooey that makes people hover around the fire waiting for the first wedge. The tortillas pick up smoky char and grill marks while the cheese melts into the chicken and peppers, turning a handful of simple ingredients into a dinner that feels earned after a day outside.
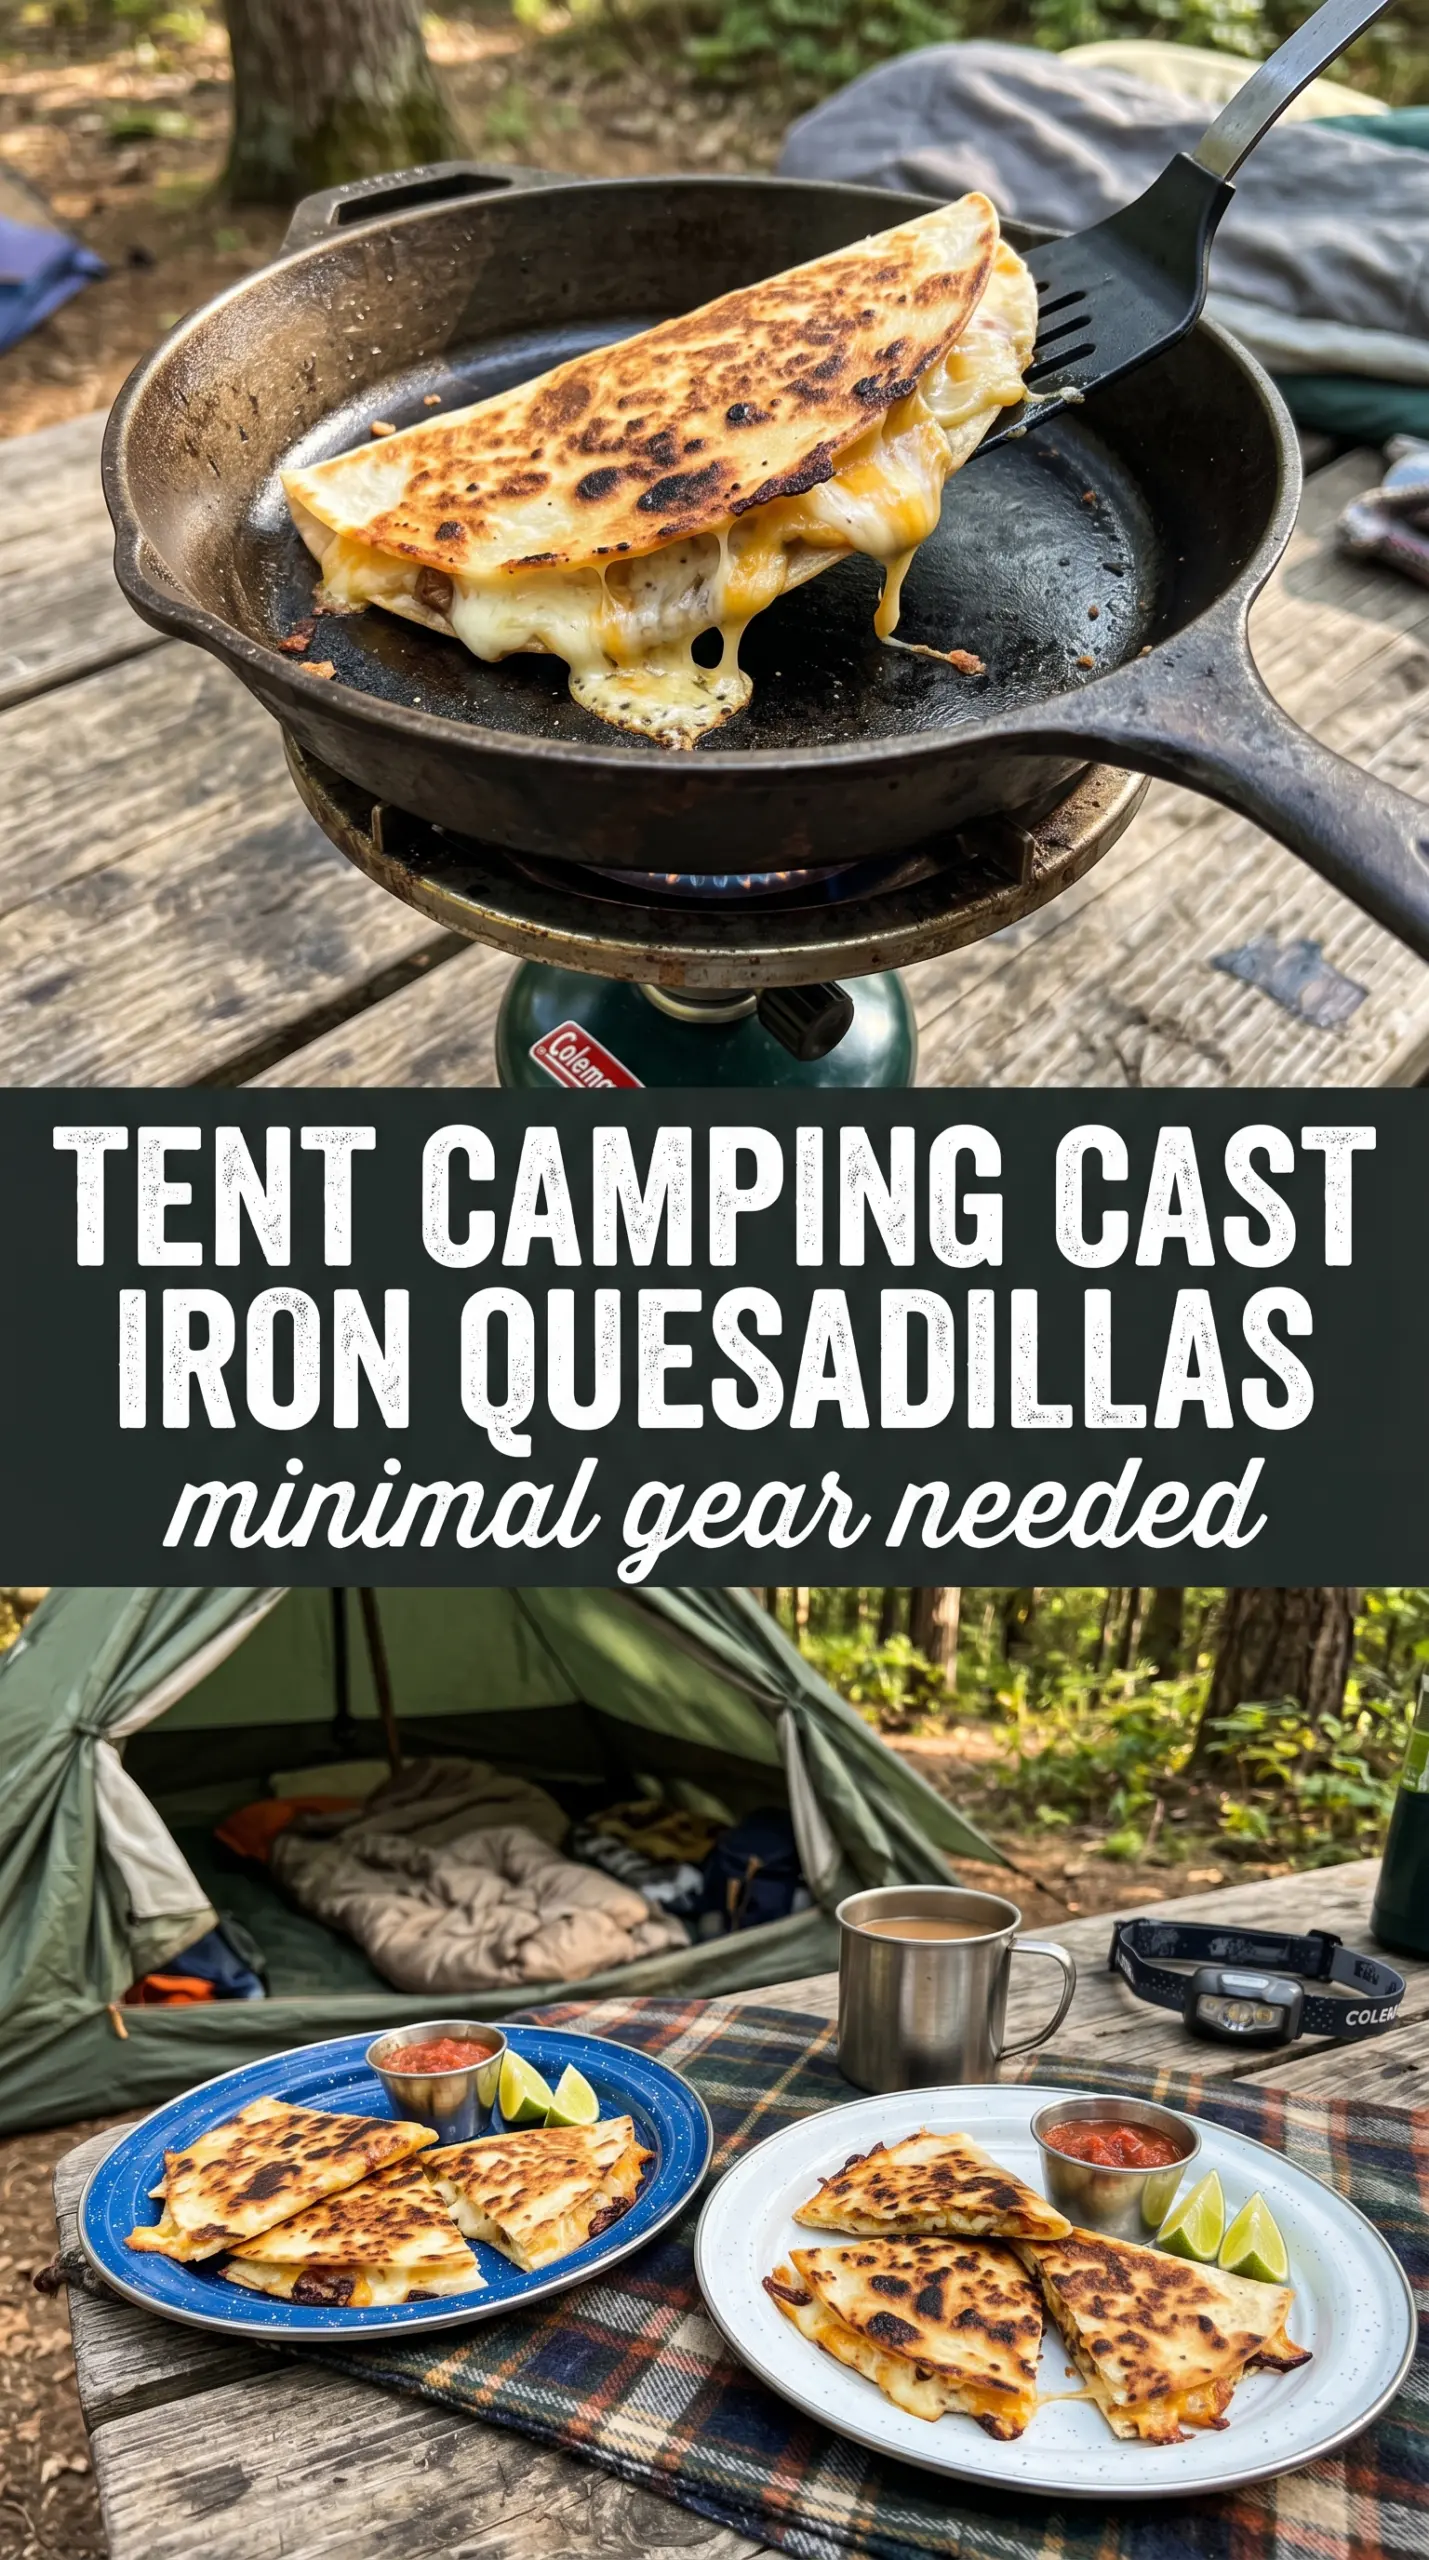
The trick is moving quickly once the tortilla hits the heat. Cheese goes down first so it melts into a seal, then the fillings follow in a thin, even layer that won’t make the quesadilla slide apart when you flip it. A cast iron skillet gives you control over the heat, but a grill grate over the coals works too if the fire has settled enough that the tortillas won’t scorch before the cheese has time to melt.
Below you’ll find the small details that matter most here: how to keep the filling from spilling out, how to get even browning over a campfire, and the easiest swaps if you’re cooking with what you packed instead of what you planned.
The tortillas got crisp on the outside and the cheese stayed melted all the way through without everything falling out when I cut them. I used a little less filling than I thought I needed and that was the perfect call.
Save these grilled campfire quesadillas for the nights when you want smoky edges, melted cheese, and a filling dinner cooked right over the fire.
The Secret to Keeping Campfire Quesadillas from Spilling Out
The biggest failure with grilled quesadillas isn’t the fire. It’s overstuffing. Once the cheese starts melting, a thick pile of filling turns slippery, and the first flip sends onion and chicken falling into the coals. The cleanest version uses less filling than you’d expect and relies on the cheese to glue everything together.
Heat control matters just as much. If the fire is roaring, the tortillas blister before the cheese softens, which leaves you with dark spots and a cold center. You want steady heat from a grill grate or a cast iron skillet set over coals that have started to settle, with the tortilla turning golden before it turns brittle.
What Each Ingredient Is Actually Doing in These Quesadillas
- Flour tortillas — Large flour tortillas hold up better over fire than corn tortillas and give you the flexible, crisp-edged shell you want. Thin tortillas brown fast, so watch them closely; thick ones can stay pale and chewy in the middle.
- Mexican cheese blend — This is the glue. A blend melts smoothly and stretches well, which matters more here than using a single fancy cheese. If you swap in cheddar alone, the quesadilla will taste sharper but won’t melt as silkily.
- Cooked shredded chicken — Pre-cooked chicken keeps the cook time short so the tortillas don’t burn before the filling heats through. Rotisserie chicken works fine, and it’s one of the best shortcuts for camp cooking because it adds flavor without extra prep.
- Bell pepper, onion, and jalapeño — These add crunch, sweetness, and heat, but they need to be diced or sliced small so they soften in time. If you leave the pieces too big, the quesadilla gets bulky and hard to flip cleanly.
- Butter or oil — A light coating on the outside of the tortillas helps them brown evenly and prevents sticking on the grate or skillet. Butter gives a richer crust; oil is a little easier to manage over an open flame because it handles higher heat without browning too fast.
Building the Layer So It Melts Before It Burns
Start with the Bottom Tortilla
Set one tortilla directly on the cooking surface and work quickly so the heat doesn’t dry it out. The first layer of cheese should go down right away because it starts melting from the bottom and helps hold the filling in place. If you’re using a grate over coals, keep the tortilla centered where the heat is even instead of drifting to the hottest edge of the fire.
Stack the Fillings in a Thin, Even Layer
Add the chicken, peppers, onions, and jalapeños in a light layer, then finish with a little more cheese on top before closing it with the second tortilla. The goal is a flat quesadilla that presses together cleanly, not a stuffed pocket that bursts open. If the center looks mounded, pull some filling off now; too much filling is the fastest way to lose half of it during the flip.
Cook Until the Tortillas Crisp and the Cheese Slumps
Cook for 3 to 4 minutes per side, but watch the visual cues more than the clock. The tortilla should turn deep golden with a few charred spots, and the edges should feel set when you lift with a spatula. If the outside is browning before the cheese melts, the fire is too hot; move the pan or grate farther from the coals and let the middle catch up.
Cut While the Cheese Is Still Hot
Pull the quesadilla from the heat and let it rest for a minute before slicing into wedges. That short pause keeps the filling from rushing out the second the knife goes in. Serve with salsa, sour cream, and guacamole while the cheese is still soft and stretchy.
How to Adapt These Grilled Quesadillas for the Ingredients You Packed
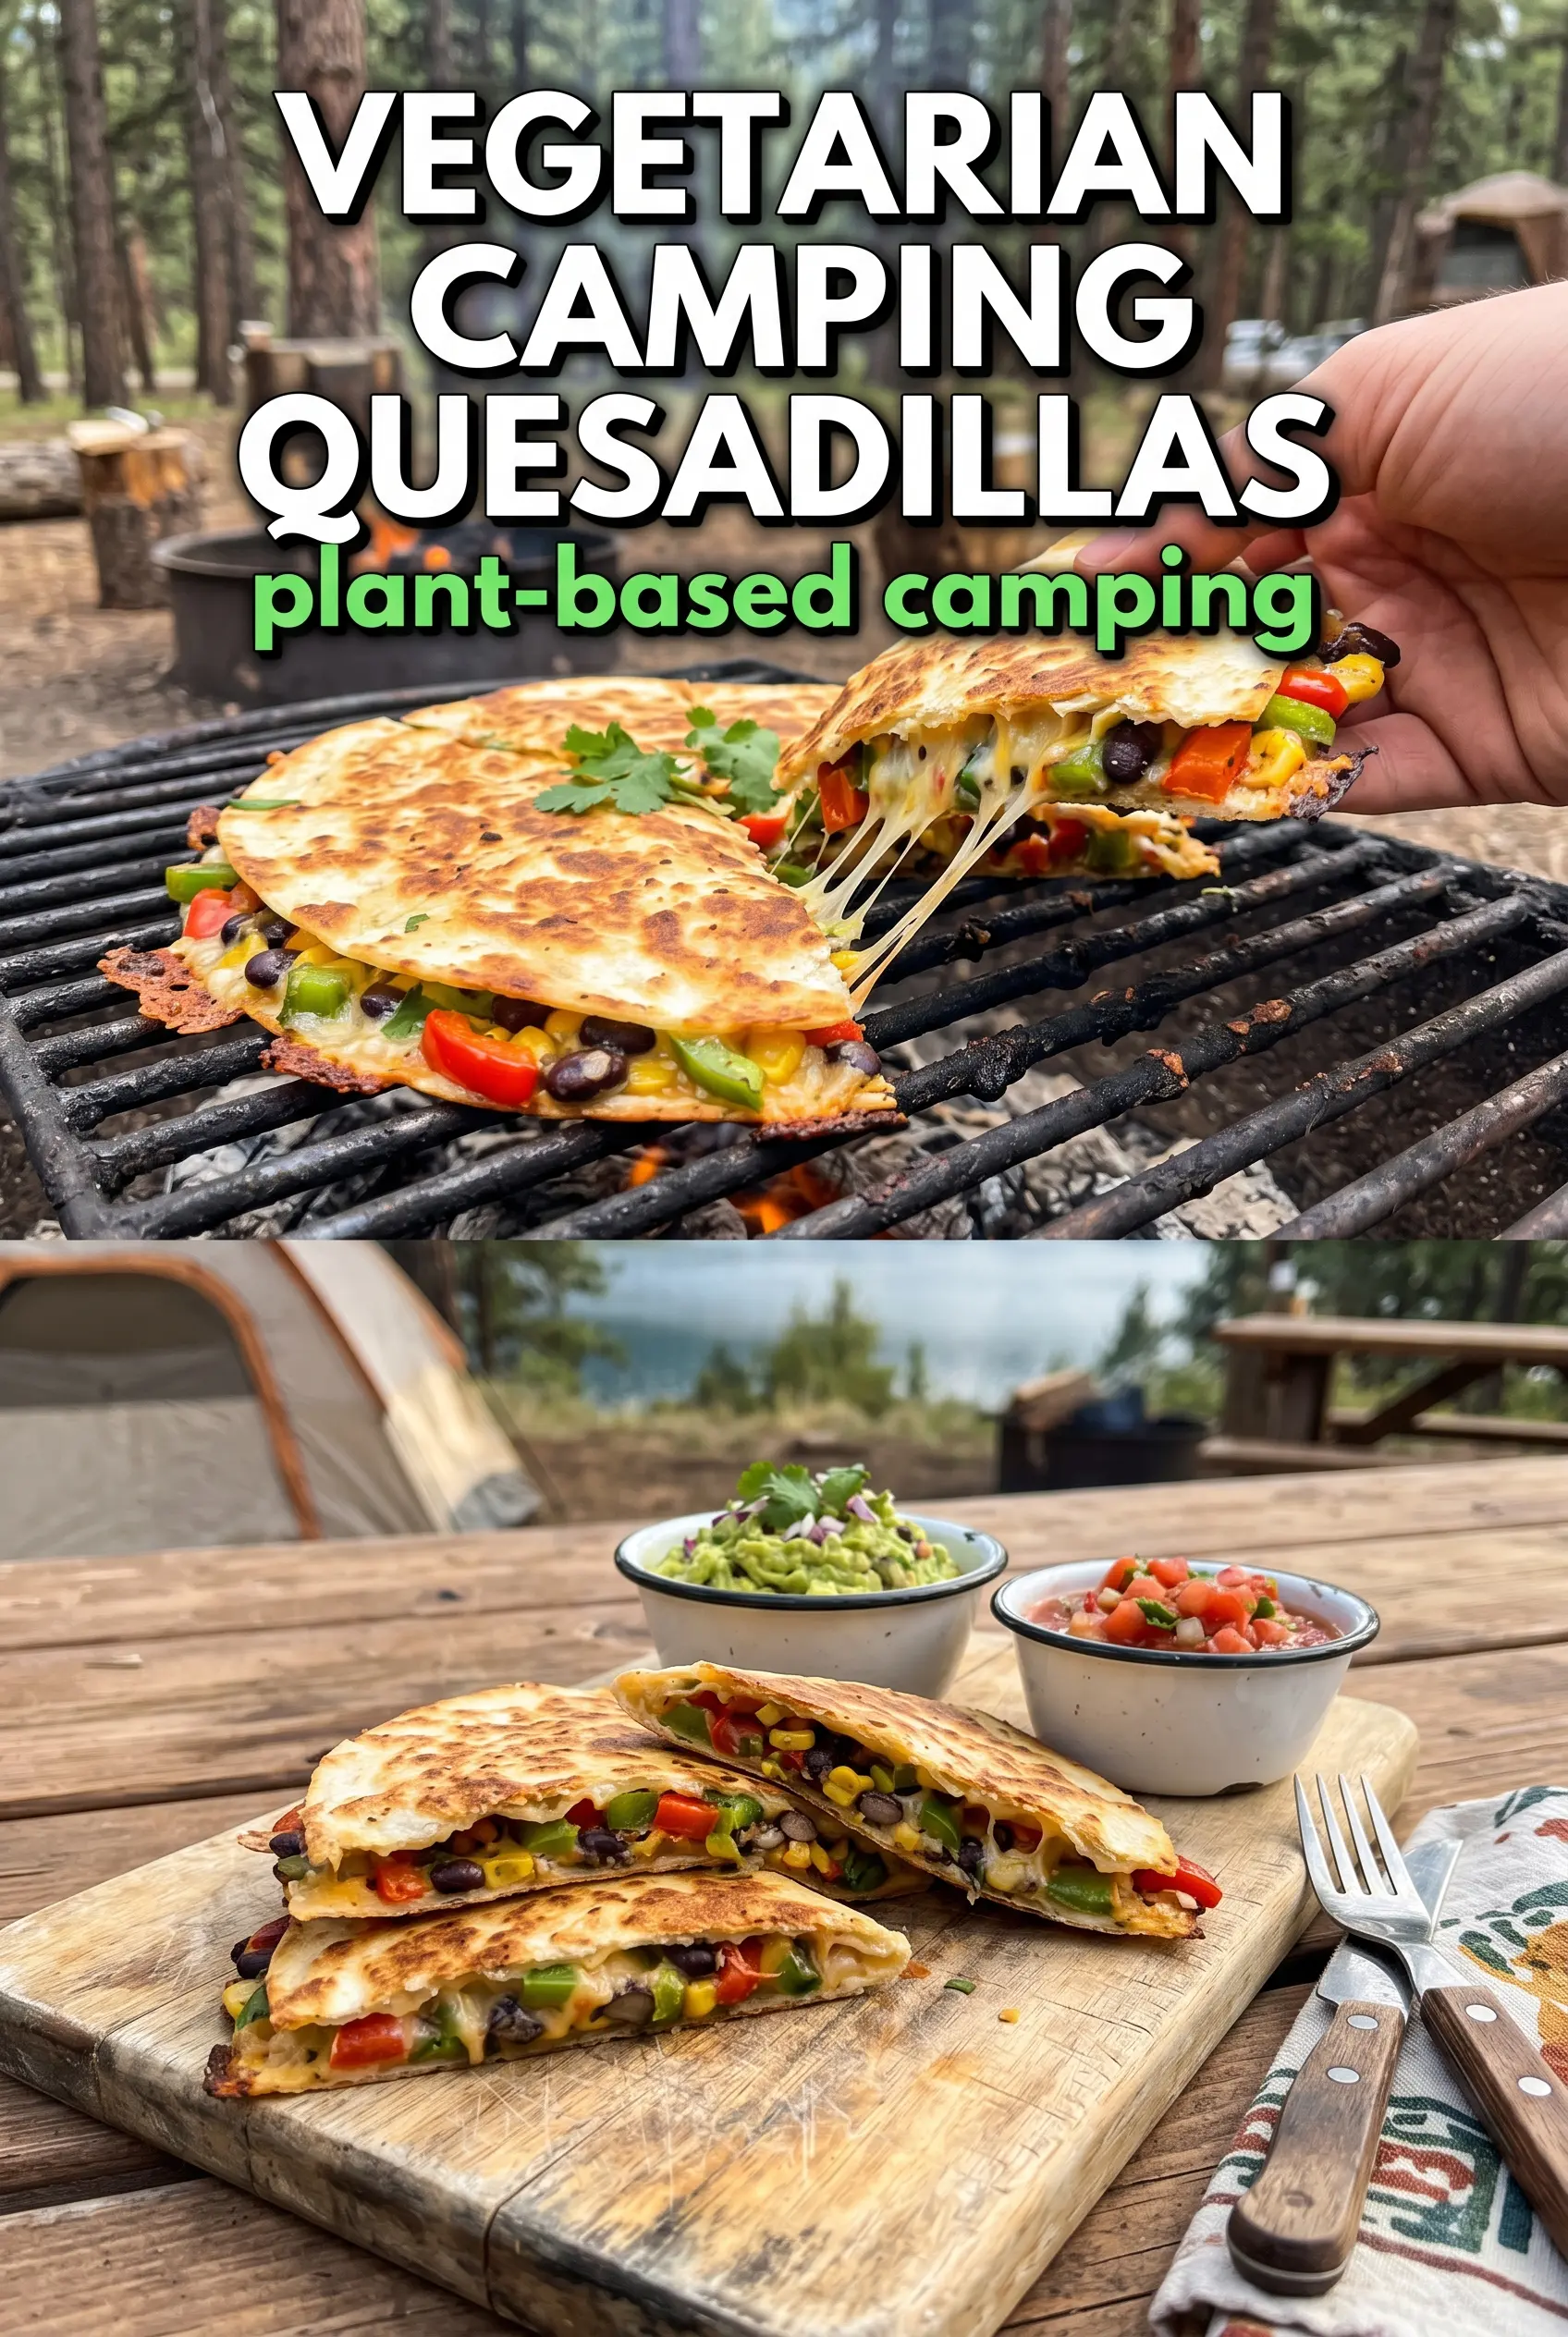
Make Them Vegetarian
Skip the chicken and add sautéed mushrooms, extra peppers, or black beans. Mushrooms bring a hearty bite, while beans make the quesadilla more filling; just keep the total amount of filling modest so the tortillas still seal and flip cleanly.
Make Them Dairy-Free
Use a dairy-free shreddable cheese that melts well and brush the outside with oil instead of butter. The flavor will be a little less rich, but the crisp texture still works if you give the cheese enough time to soften over gentler heat.
Use What You’ve Got in the Cooler
Swap the chicken for leftover steak, cooked sausage, or even chopped bacon. Each one shifts the flavor in a different direction, but all of them work because the meat is already cooked and only needs to warm through before the tortillas finish browning.
Storage and Reheating
- Refrigerator: Store cooled quesadilla wedges in an airtight container for up to 3 days. The tortillas soften a little, but the flavor stays good.
- Freezer: Freeze wrapped wedges for up to 2 months. Reheat from frozen in a skillet or oven instead of the microwave so the tortilla crisps back up.
- Reheating: Warm in a dry skillet over medium-low heat until the filling is hot and the outside crisps again. The common mistake is blasting them on high heat, which burns the tortilla before the cheese loosens.
Questions I Get Asked About This Recipe
Grilled Campfire Quesadillas
Ingredients
Equipment
Method
- Heat a cast iron skillet or place a grill grate over the campfire until hot and ready to sizzle at contact, with a steady flame. Keep the heat consistent so the tortillas turn golden before the cheese sets.
- Place one tortilla on the hot cooking surface and quickly add Mexican cheese blend, then chicken, bell pepper, onion, and jalapeño in an even layer. Leave a small border so it seals when the second tortilla goes on.
- Top with the second tortilla and press down gently to help everything adhere. Aim for even pressure so the filling melts uniformly.
- Cook for 3-4 minutes per side until golden with cheese fully melted, flipping carefully once the first side sets. Watch for grill marks and active cheese ooze at the edges.
- Remove from heat, cut into wedges, and serve immediately with salsa, sour cream, and guacamole. Serve while the cheese is molten so the wedges pull apart cleanly.