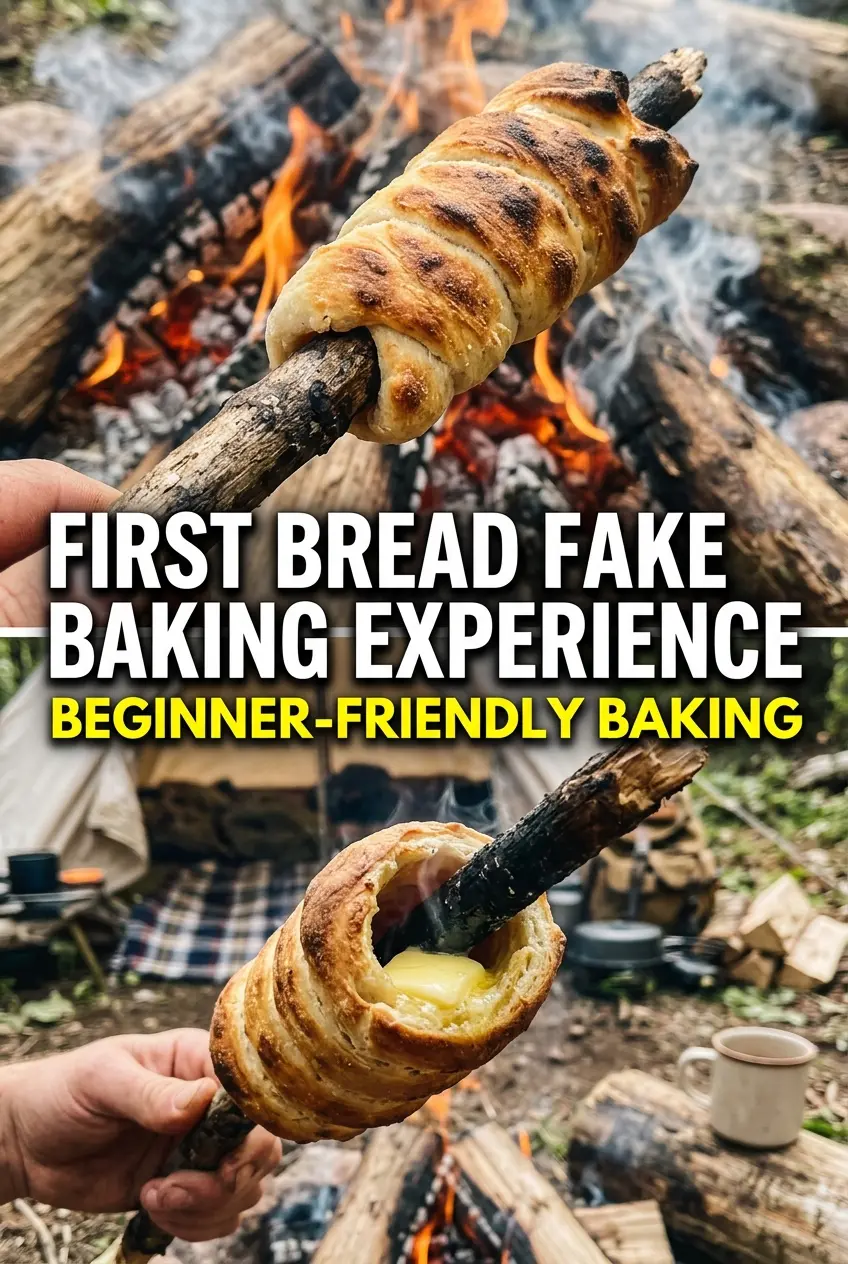
Campfire bread turns a handful of pantry ingredients into hot, golden spirals with a soft center and a lightly crisp shell. It’s the kind of thing that disappears fast because it tastes like the fire itself: a little smoky, a little toasty, and best eaten warm with butter melting into every ridge.
The dough stays simple on purpose. Baking powder does the lifting, powdered milk adds a little richness without bringing actual milk along for the trip, and a modest amount of sugar helps the crust brown instead of drying out. The key is keeping the dough just sticky enough to cling to the stick, then holding it over coals, not flames, so the outside cooks at the same pace as the center.
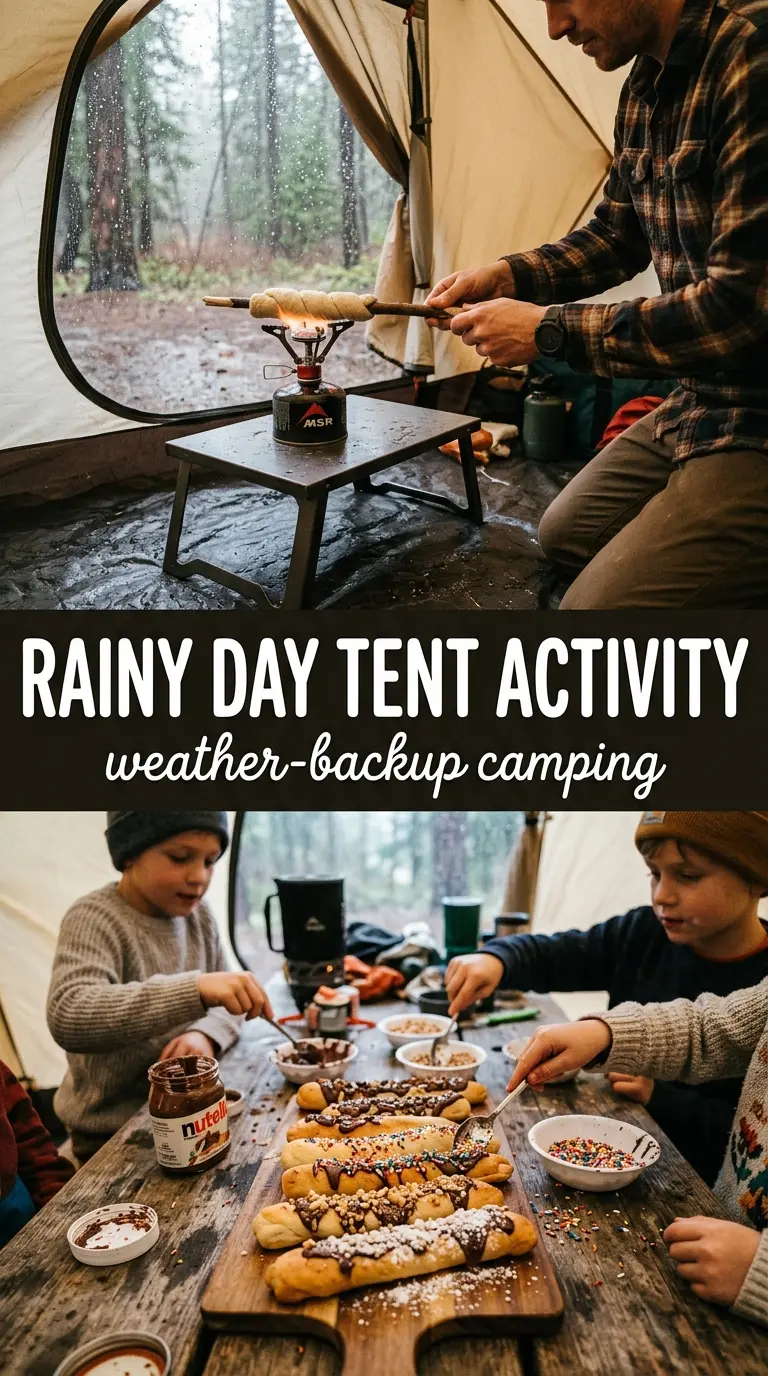
Below, I’m walking through the little details that keep the bread from scorching before it cooks through, plus a few ways to adapt it when you’re cooking outdoors with what you’ve got.
The dough was easy to wrap around the sticks, and rotating it over the coals gave us that even golden crust without any burnt spots. My kids ate theirs plain before I even got the butter out.
Like this campfire bread? Save it for your next cookout so you can make those golden, fluffy spirals over the coals without guessing.
The mistake that turns campfire bread into a scorched shell
Most campfire bread gets ruined by heat that’s too aggressive. Flames are the problem, not the coals. A stick of dough held over open fire will brown on the outside before the center has any chance to cook, which leaves you with a dark crust and raw dough trapped underneath. Coals give you steady heat, and steady heat is what lets the spiral set all the way through.
Rotation matters just as much. Keep the stick moving so one side never sits in the hottest spot for too long, and watch for the dough to go from glossy and soft to matte, then evenly golden. If the bread starts to blister or blacken in patches, the fire is too hot or too close. Pull back and let the coals do the work.
What the flour, powder, and sugar are each doing here
- All-purpose flour — This gives you enough structure to wrap around the stick without tearing. Bread flour makes a tougher chew, and cake flour won’t hold the spiral as well, so all-purpose is the sweet spot.
- Baking powder — This is the lift. There’s no yeast here, so baking powder has to do the job of opening the crumb and keeping the bread from baking up dense. If your can is old, the bread will come out flat and heavy.
- Powdered milk — This adds a little dairy richness and helps the dough brown a touch better over the fire. If you don’t have it, you can leave it out, but the bread will taste a little plainer and color a bit less deeply.
- Water — Add it gradually and stop as soon as the dough comes together. The dough should be slightly sticky so it grabs the stick; if it’s dry, it will crack when you coil it around the wood.
- Roasting sticks — Use clean, food-safe sticks or purpose-made roasting forks. If you use wooden sticks, trim and smooth the end first so the dough spirals on cleanly and doesn’t tear.
How to shape and roast the dough so it cooks through
Mixing the dough
Combine the dry ingredients first so the baking powder and salt are evenly distributed. Add the water and stir just until the dough forms a shaggy ball, then stop. Overmixing makes the bread tighter and harder to wrap, and a stiff dough tends to split when you start coiling it around the stick.
Rolling the ropes
Divide the dough into equal portions and roll each one into a rope about 1 inch thick. Keep the ropes even in thickness so they cook at the same rate all the way around the stick. If the rope keeps shrinking back, let it rest for a minute; that relaxes the dough and makes shaping easier.
Wrapping and roasting over coals
Wind the rope around the end of the stick in a spiral with the edges touching but not overlapping heavily. Press lightly so it stays in place, then hold it over hot coals and turn it constantly. You’re looking for a deep golden color and a dry, set surface; if the outside browns too fast, move farther from the heat before the center is done.
Finishing and serving
Slide the bread off the stick once it feels firm all the way around and sounds slightly hollow when tapped. Serve it warm while the crust still has a little bite and the inside is soft. Butter is the classic finish, but jam works too, especially if you want the sweetness to play against the toasted edges.
How to adapt campfire bread when you’re cooking with what you brought
Dairy-free version
Skip the powdered milk and use plain water only. The bread still works, but it will bake up a little less rich and a shade paler, so lean on a generous brush of butter or a dairy-free spread after roasting if you want more depth.
Slightly sweeter breakfast-style bread
Increase the sugar by another tablespoon and serve it with jam or honey instead of just butter. The extra sugar helps browning, but too much will make the surface color faster, so stay close to the coals and keep rotating.
Savory herb version
Add dried rosemary, garlic powder, or a pinch of onion powder to the dry mix. The bread shifts from campfire-snack sweet to something that works alongside chili or grilled meat, and the herbs are strongest when they’re mixed into the flour instead of sprinkled on after baking.
Storage and Reheating
- Refrigerator: Store leftovers in an airtight container for up to 2 days. The crust softens as it sits, and that’s normal.
- Freezer: It freezes okay, but the texture gets a little drier after thawing. Wrap tightly and freeze for up to 1 month, then thaw before reheating.
- Reheating: Warm it in a low oven or over gentle heat until just heated through. High heat will toughen the outside before the center softens, so don’t blast it in the oven trying to bring the crust back fast.
Answers to the questions worth asking
Campfire Bread
Ingredients
Method
- Mix all-purpose flour, baking powder, salt, sugar, and powdered milk in a large bowl or zip-top bag until evenly combined, using a dry mix for about 30 seconds.
- Add water and mix until dough forms (dough will be slightly sticky), then stop mixing once no dry flour remains.
- Divide the dough into 10 portions, aiming for even sizes for consistent cooking.
- Roll each portion into a long rope about 1 inch thick.
- Wrap dough rope around the end of a roasting stick in a spiral pattern with tight, even turns to prevent gaps.
- Hold the wrapped sticks over campfire coals (not flames) and rotate constantly for 12-15 minutes, until golden brown and cooked through.
- Slide the bread off the stick and serve warm with butter or jam.