Grilled campfire pizza gives you the best parts of a wood-fired pie without needing a backyard oven: a blistered, smoky crust, melted cheese, and toppings that cook just enough to stay lively. The dough hits the grate first, so the underside crisps up fast while the top gets its flavor from the smoke and heat. What you end up with is a pizza that tastes built for the outdoors, not like a backup plan for not having an oven.
The trick is keeping the dough thin enough to cook before it dries out, then moving fast once you flip it. Oil on the first side helps the crust release cleanly and builds those deep grill marks that make this style worth making. Sauce, cheese, and toppings go on after the first side is set, which keeps the pizza from becoming soggy or impossible to move.
Below you’ll find the timing cues that matter most, plus a few smart swaps for different toppings and grill setups. If you’ve ever had grilled pizza tear, stick, or turn floppy in the middle, the fix is usually in the first two minutes over the grate.
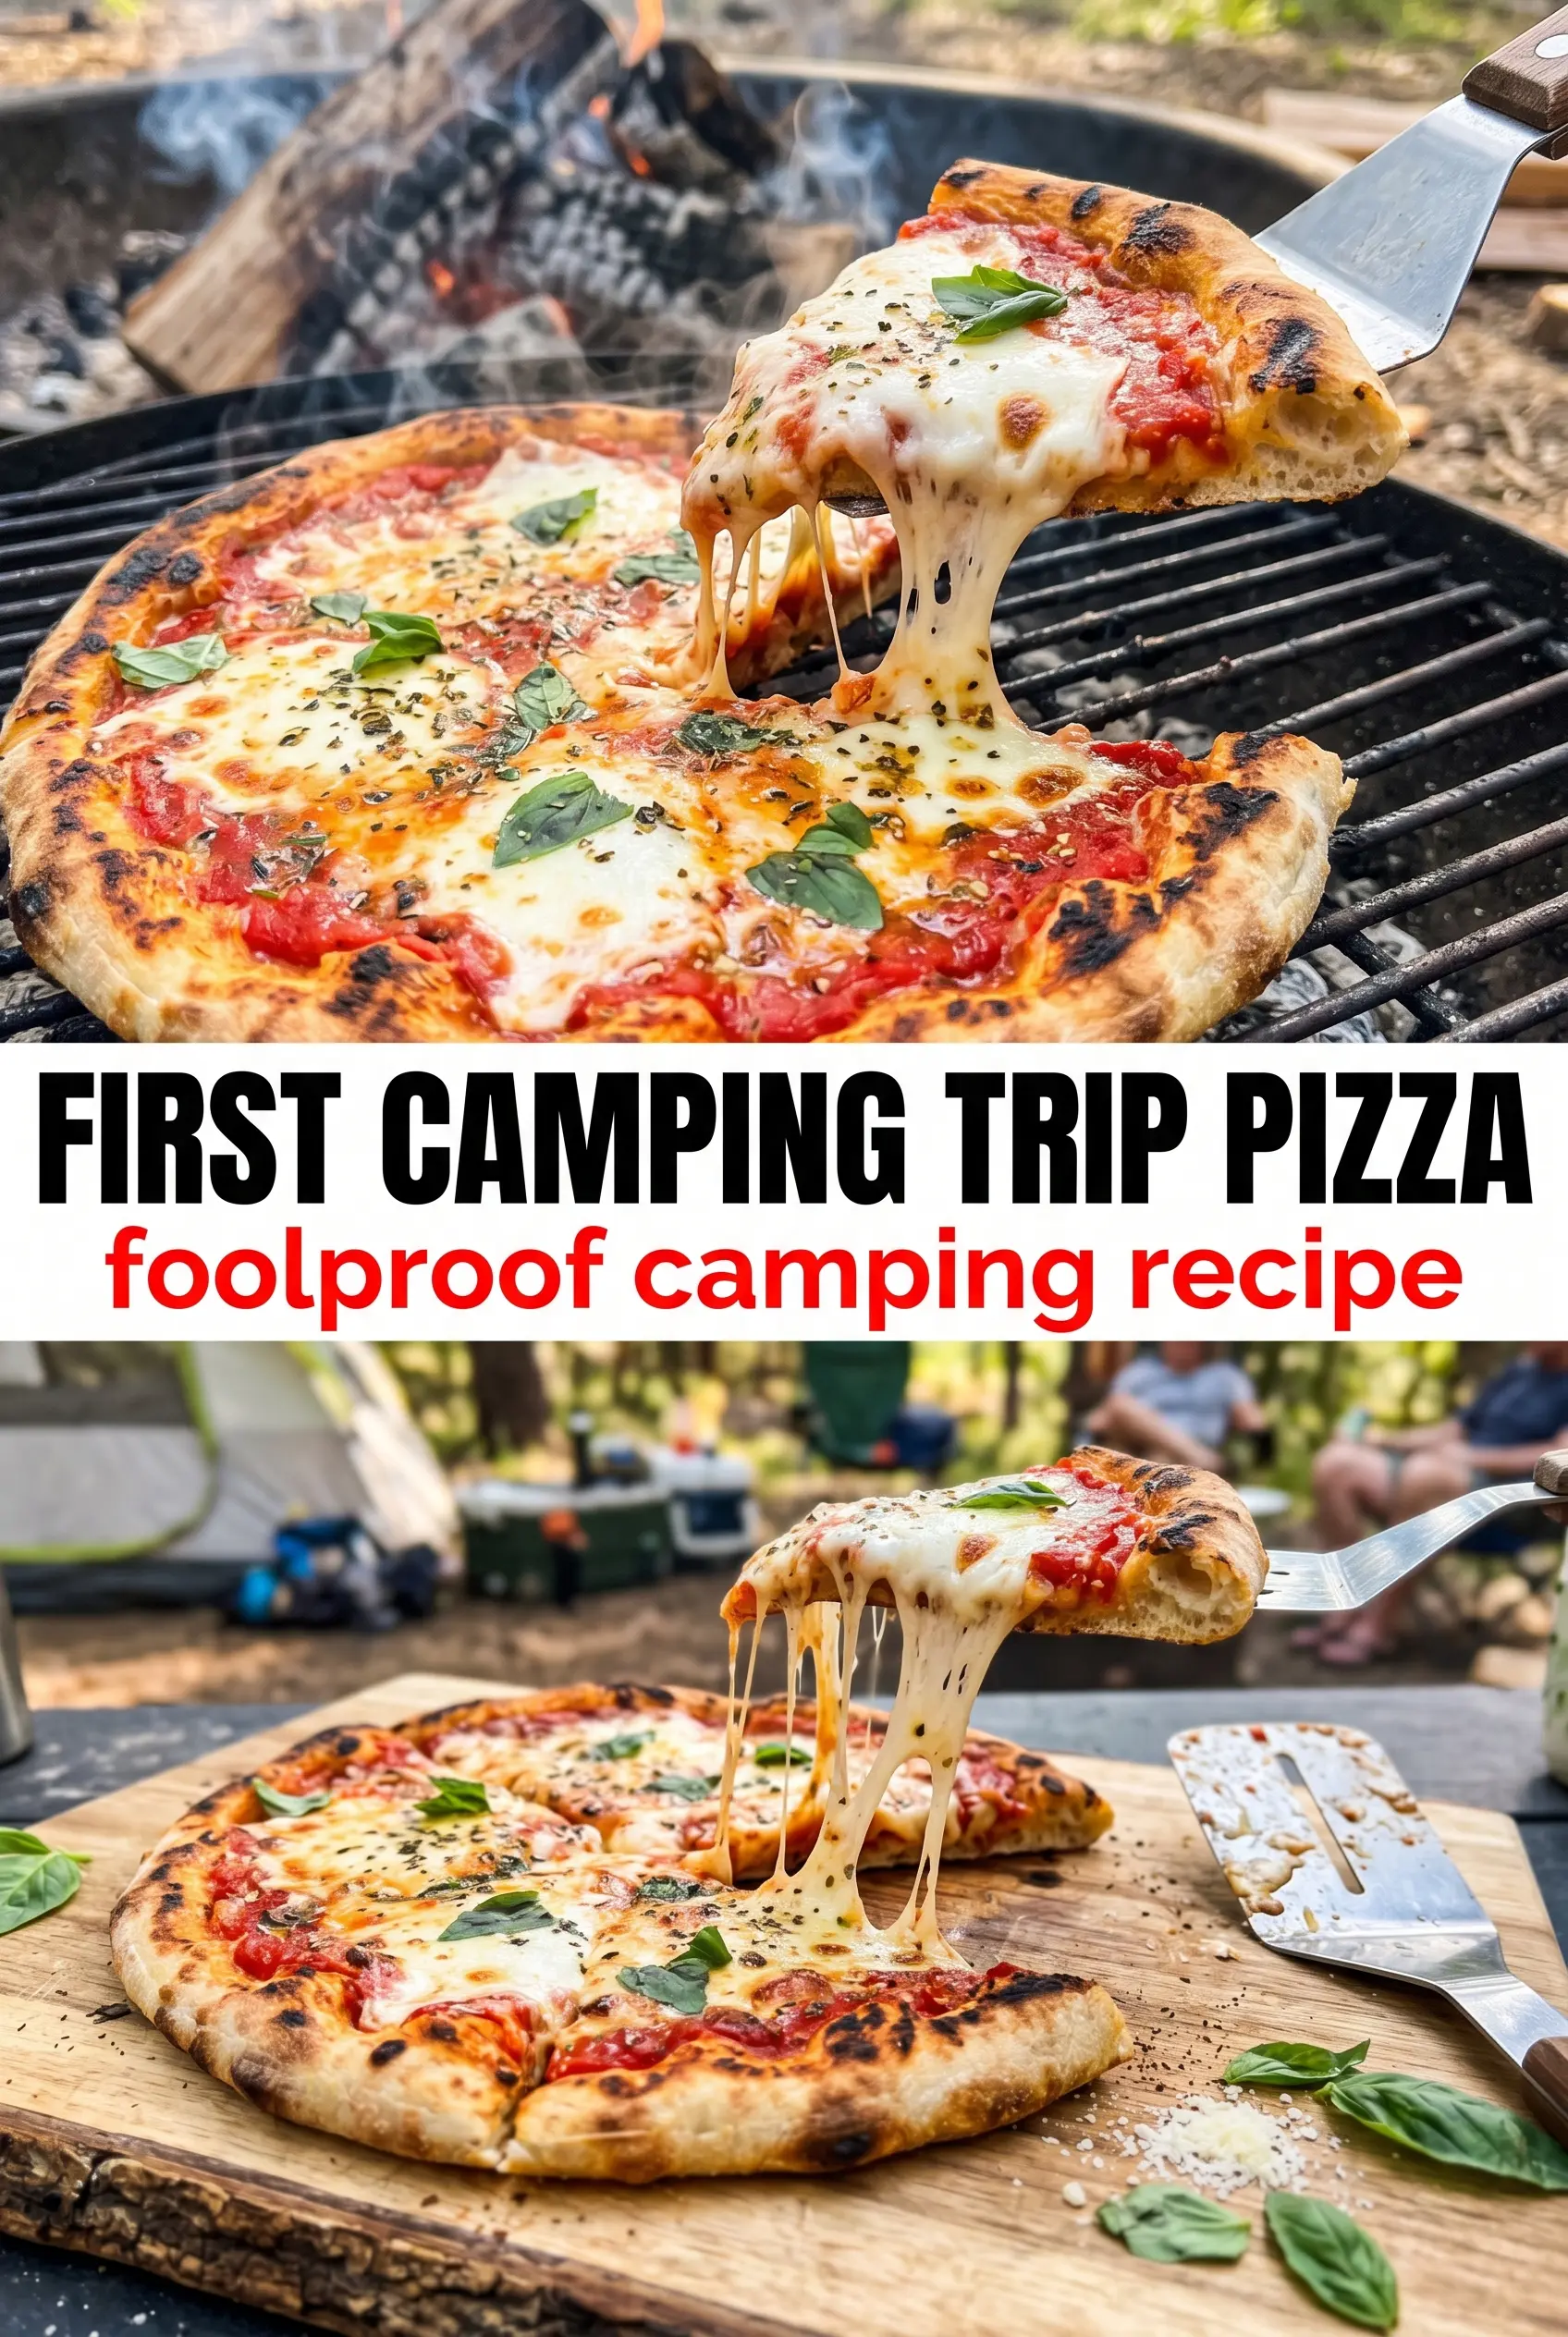
The crust got those crisp charred spots without burning, and covering it with foil after adding the toppings melted the cheese all the way through in just a few minutes. My husband said it tasted like a pizza oven in the woods.
Love the charred crust and stretchy cheese on this grilled campfire pizza? Save it to Pinterest for your next outdoor pizza night.
The Part That Keeps Grilled Pizza Crisp Instead of Soggy
Grilled pizza fails when the toppings go on before the first side has enough structure. Dough needs that initial direct heat so it can set, release, and pick up a little char before it gets loaded down with sauce and cheese. If you flip too soon, it sticks. If you wait too long, it dries out and turns brittle.
The other mistake is crowding the dough with toppings. Campfire heat is less predictable than an indoor oven, so the pizza needs a thin layer of sauce and a moderate hand with cheese. You want the crust to finish cooking at the same pace the cheese melts, which is why a lid or foil makes such a difference here.
- Oil first. The oiled side is what goes down on the grate, and that thin film helps prevent sticking while encouraging browning.
- Keep the dough thin. A thin round cooks through before the fire has time to scorch the outside and leave the center raw.
- Use a quick hand after the flip. The second side starts cooking immediately, so have sauce, cheese, and toppings ready before the dough turns over.
- Cover at the end. Trapping heat melts the cheese fast without forcing you to leave the pizza over open flame long enough to burn the crust.
What the Dough, Sauce, and Cheese Are Doing Here

- Pizza dough — Store-bought dough works well here because it stretches predictably and bakes up with a chewy center and crisp edge. If you use homemade dough, let it relax enough to stretch without springing back; cold dough tears more easily over a grill.
- Olive oil — This is not just for flavor. It creates the release you need on the grate and helps the first side blister instead of sticking.
- Pizza sauce — Use a sauce that isn’t watery. A loose sauce will steam the crust and slide around once the pizza is on the heat. If your sauce is thin, simmer it down for a few minutes before assembling.
- Mozzarella — Low-moisture shredded mozzarella melts evenly and gives you that stretch without flooding the top with liquid. Fresh mozzarella can work, but it releases more moisture and needs to be used sparingly.
- Toppings — Anything you add should already be cooked or thin enough to heat through quickly. Raw sausage or thick-cut vegetables need extra time and can throw off the grill timing.
- Parmesan and basil — Add these at the end. Parmesan brings salt and sharpness, while basil stays bright if it goes on after the pizza comes off the heat.
Building the Pizza on a Hot Grate
Stretch and Oil the Dough
Divide the dough into four portions and stretch each one into a thin round with even thickness from center to edge. Uneven dough leaves you with burned spots and undercooked patches, so aim for the same thinness all the way across. Brush one side with olive oil right before it goes onto the grate; if it sits too long, the dough can soften and become harder to move.
Set the First Side Over Medium Heat
Place the dough oil-side down on the campfire grate over medium heat. You should hear a steady sizzle and see the edges start to tighten within a minute or two. Watch the underside for deep grill marks and a touch of char; if the fire is too hot, the surface will blacken before the dough has time to firm up.
Flip Fast and Top Immediately
When the first side is crisp, flip the dough and work quickly on the cooked surface. Spread on the sauce, add mozzarella, and scatter toppings while the crust is still hot enough to start melting the cheese from below. Don’t overload it, or the center will sink and the crust will struggle to stay crisp.
Cover Until the Cheese Melts
Set a lid or foil over the pizza and cook for 3 to 5 minutes more. The cover traps enough heat to melt the cheese and finish the toppings without exposing the crust to harsh direct flame. Pull the pizza the moment the cheese is melted and the bottom feels firm when lifted; if you wait for the top to look perfect, the bottom usually goes too far.
How to Adapt This for Different Grills and Toppings
Gluten-Free Dough
Use a gluten-free pizza dough that specifically says it can be stretched or rolled thin. These doughs are usually more delicate, so work on parchment first if your dough tends to tear, then slide it onto the grate once it’s brushed with oil. The result is still crisp, but it won’t have the same chew as a wheat dough.
Dairy-Free Pizza
Swap in a melting dairy-free mozzarella-style cheese and keep the layer a little lighter than you would with regular mozzarella. Some dairy-free cheeses soften instead of stretching, so covering the pizza is even more important to help the top melt before the crust overcooks.
Meat Lover’s Version
Pepperoni, cooked sausage, and a little Parmesan give you the most classic campfire pizza result. Pre-cook any sausage first so it finishes safely without forcing the crust to stay on the grill too long. The pizza gets richer and saltier, which works well with the smoky char.
Vegetable Toppings That Work Best
Use quick-cooking vegetables like thin bell pepper strips, mushrooms, onions, or spinach. Thick raw vegetables dump moisture and cool the surface, which makes the crust soften before the cheese melts. If you want heartier vegetables, sauté them first and let them drain before topping the pizza.
Storage and Reheating
- Refrigerator: Store leftovers in an airtight container for up to 3 days. The crust softens a bit in the fridge, but it still reheats well.
- Freezer: This freezes best after baking. Wrap slices tightly and freeze for up to 2 months; reheat from frozen in a hot oven or toaster oven for the best texture.
- Reheating: Use a skillet over medium heat, cover loosely, and warm until the cheese melts and the bottom crisps back up. The common mistake is using the microwave, which makes the crust chewy and damp.
Answers to the Questions Worth Asking
Grilled Campfire Pizza
Ingredients
Equipment
Method
- Divide the pizza dough into 4 portions and stretch each into a thin round. Keep the rounds even so they char quickly without burning through.
- Brush one side of each dough round with olive oil. This helps the grilled side develop crisp char marks and prevents sticking.
- Place dough oil-side down on the campfire grate over medium heat. Cook for 2-3 minutes until the bottom is charred and crispy, with visible dark blistering.
- Flip the dough and quickly add pizza sauce, mozzarella cheese, and toppings to the grilled side. Work fast so the crust stays crisp and toppings don’t burn before melting.
- Cover with a lid or foil and cook for 3-5 minutes. Cook until the cheese melts and the bottom is crispy, watching for bubbling cheese at the edges.
- Remove the pizza from the grill and top with grated Parmesan cheese and fresh basil. Slice immediately so the cheese stretches while it’s hot.