Camping hot dogs hit the table fast, but the good ones still have a little snap, a smoky edge, and a bun that’s warm enough to hold its own. When they’re roasted over an open fire and turned often, the skin blisters just enough to pick up char without splitting wide open, and that’s what makes them taste like an actual camp meal instead of something rushed.
The trick is keeping the hot dogs close enough to the heat to brown, but not so close that the outside burns before the center is hot. Coals give you more control than licking flames, and rotating the sticks keeps one side from blackening while the other stays pale. A quick toast on the buns goes a long way here, too, because a soft room-temperature bun tends to go limp the second the hot dog goes in.
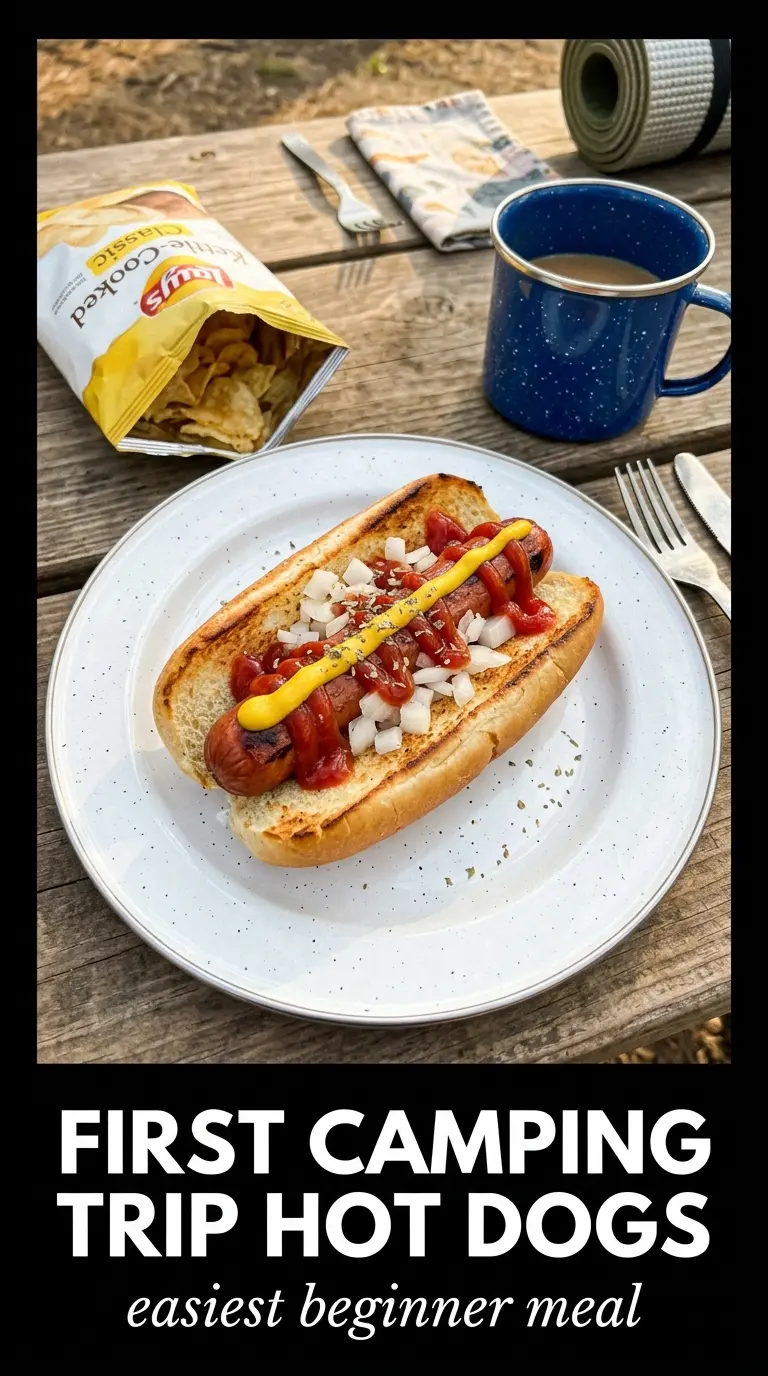
Below, I’ve included the small details that make this work smoothly at camp, plus a few topping combinations that turn a simple hot dog into dinner with almost no cleanup.
I always thought campfire hot dogs would be uneven, but turning them over the coals every minute gave me crisp little char spots all around and the buns toasted up perfectly. My kids ate two each before the chili even made it to the table.
Like this campfire classic? Save these roasted hot dogs for your next night around the fire when you want dinner that’s fast, smoky, and easy to build by hand.
The Part Most People Get Wrong: Roasting Over Flames Instead of Coals
The problem with campfire hot dogs is usually heat control, not the hot dogs themselves. Direct flames can char the outside before the center heats through, and once the casing splits, you lose the snap that makes the first bite worth it. The better move is to hold them over hot coals or the edge of steady flames and keep them turning so every side gets a little color without turning leathery.
That rotation matters. A hot dog left in one spot will blister on one side and stay pale on the other, and a slow, even turn gives you that classic roasted look with a little texture in every bite. If your fire is raging, wait a minute. A calmer fire makes better hot dogs.
Why These Simple Ingredients Still Matter at the Fire Pit
- Hot dogs — Use the kind you actually like eating plain, because the fire will deepen whatever flavor is already there. All-beef hot dogs hold up well and tend to brown nicely, but standard franks work fine too. If they’re very thick, give them the full 10 minutes so the center heats through.
- Buns — Soft buns are fine, but fresh buns toast better and won’t collapse when the hot dog goes in. If your buns are a day old, a brief pass near the fire brings them back to life. Don’t let them sit too close or they’ll dry out and crack.
- Condiments — Ketchup, mustard, and relish cover the classic route, and there’s no special trick here beyond having them ready before the hot dogs come off the fire. Hot dogs cool fast once they leave the heat, so the toppings should be lined up and waiting.
- Chili, cheese, onions, sauerkraut, jalapeños — These turn the same base into different meals without extra cooking. Chili and cheese give you a heavier, more filling version; sauerkraut and onions add sharpness; jalapeños bring heat. Pick one direction and keep the topping pile manageable so the hot dog doesn’t turn into a messy collapse.
Building Campfire Hot Dogs Without Splitting the Casings
Skewer and Position Them Securely
Run each hot dog lengthwise on a roasting stick or long fork so it stays steady over the heat. If the hot dog wobbles, it will spin unevenly and cook in patches, which makes the casing split in one spot while the other side stays pale. Aim for a firm hold but don’t crush it, because squeezing out the fat is what makes them dry.
Turn Them Often Over Steady Heat
Hold the hot dogs over the campfire flames or, better yet, over glowing coals, then rotate them every 20 to 30 seconds. You’re looking for deepening color, a little blistering, and a light sizzle, not a hard black crust. If flames flare up, lift the hot dogs higher for a moment; that keeps the outside from burning before the inside has a chance to heat.
Warm the Buns at the End
Toast the buns briefly after the hot dogs are done, just until they’re lightly crisped or warmed through. If you put them over the fire too early, they’ll dry out before the hot dogs are ready. A warm bun should still bend easily, but feel a little sturdier than it did out of the bag.
Dress and Serve Right Away
Slide each hot dog into its bun and add condiments and toppings while everything is still hot. The heat helps the cheese soften and the chili settle into the bun instead of sitting on top in a cold heap. These are best eaten immediately, while the casing is still snappy and the bun hasn’t had time to go soft from steam.
How to Dress Them for Different Camp Nights
Classic ketchup-mustard-relish
Stick with the basics when you want the hot dog flavor to stay front and center. This is the cleanest, least messy option, and it works especially well with well-charred dogs and lightly toasted buns.
Chili cheese campfire dogs
Spoon on warm chili, then top with shredded cheese so it melts from the residual heat. This turns the recipe into a heartier meal, but it also makes the bun wetter, so toast it a little longer first if you’re using this version.
Gluten-free campfire hot dogs
Use gluten-free buns and check the hot dogs and condiments for hidden gluten if that matters in your kitchen. The roasting method stays the same, and gluten-free buns usually benefit from a very brief toast so they hold together better.
Loaded onion-and-jalapeño dogs
Pile on diced onions and jalapeños for a sharper, hotter bite that cuts through the smoke from the fire. This version is best if you want more crunch and less sweetness, and it pairs well with mustard instead of ketchup.
Storage and Reheating
- Refrigerator: Leftover cooked hot dogs keep for up to 4 days, though the bun will soften and the casing won’t have the same snap.
- Freezer: Cooked hot dogs can be frozen, but the texture turns a little rubbery after thawing, so I don’t bother unless I have extras from a bigger cookout. Freeze them wrapped tightly, then thaw in the fridge before reheating.
- Reheating: Warm the hot dogs over low heat, in a skillet, or briefly in the microwave until heated through. Don’t blast them on high heat, or the skins can split and dry out before the center warms.
Answers to the Questions Worth Asking

Camping Hot Dogs
Ingredients
Method
- Skewer each hot dog lengthwise on a roasting stick or long fork. Keep them spaced so they roast evenly over the flames.
- Hold the hot dogs over campfire flames or coals, rotating frequently, for 8-10 minutes until heated through and slightly charred. Look for blistered, browned spots on the hot dog surface.
- Toast the hot dog buns briefly over the fire if desired. Stop when they turn warm and lightly marked.
- Place hot dogs in buns and add desired condiments and optional toppings. Serve immediately while hot.