Layers of tender noodles, rich meat sauce, and a browned blanket of melted cheese make Dutch oven lasagna one of those meals that gets people circling back for seconds before the pan even hits the table. The edges turn saucy and bubbling, the center stays creamy, and the top takes on just enough color to taste like you worked on it all day even though the prep is plain and straightforward.
What makes this version work is the balance between moisture and heat. Uncooked noodles soften in the sauce as the lasagna cooks, which saves you a separate pot and keeps the texture hearty instead of mushy. The ricotta mixture gets a little structure from the egg and Parmesan, so it settles into clean layers instead of disappearing into the meat sauce. In a Dutch oven, the covered heat does the gentle cooking while the coals on top finish the cheese without drying out the bottom.
Below, I’ve included the little details that matter most for camp cooking, plus the swaps that still keep the lasagna sturdy and sliceable. If you’ve ever had outdoor pasta turn watery or burnt on the edges, the notes here will help you avoid that.
The noodles came out perfectly tender and the top got that bubbly, browned cheese layer without sticking to the lid. I was worried it would be watery over the coals, but it held together great after the rest time.
Save this Dutch oven lasagna for your next camp meal or backyard cookout when you want a bubbling pasta dinner with minimal fuss.
The Coals Matter More Than the Clock
A Dutch oven lasagna fails in two predictable ways: the bottom scorches before the noodles soften, or the top never browns because the heat stays trapped underneath. The fix is steady, balanced heat. You want enough coals under the pot to keep the sauce simmering gently, plus coals on the lid so the cheese melts and the noodles cook from both directions. That top heat is what turns this from a heavy casserole into actual lasagna.
Another thing that trips people up is rushing the rest. When it comes off the heat, the sauce is still loose and the layers are still moving. Ten minutes gives the cheese and sauce enough time to settle, which means neat scoops instead of a slippery pile on the plate. If the lasagna looks a little soft at first, that rest usually fixes it.
What Each Ingredient Is Doing in the Pan
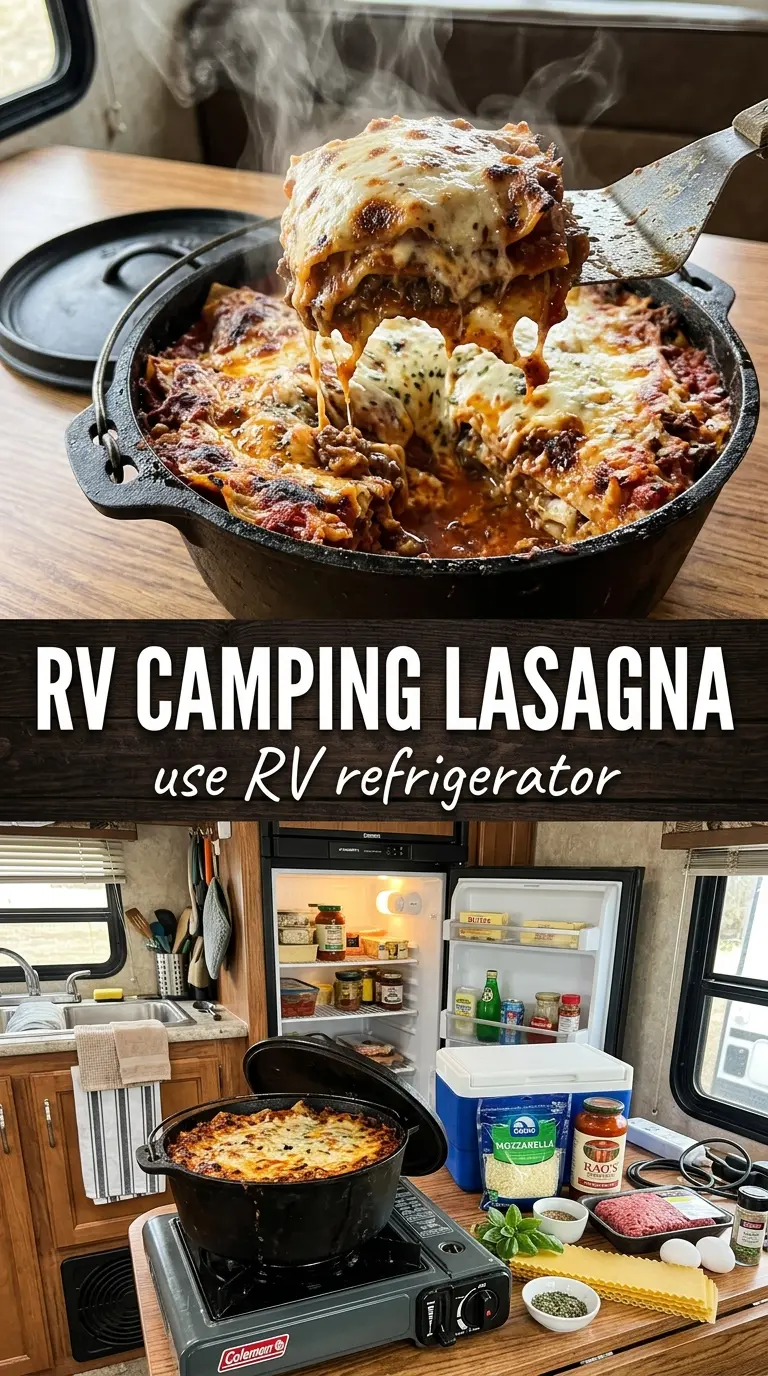
- Ground beef — This gives the lasagna its backbone and keeps the dish filling enough for a crowd. Use lean beef if you can, but don’t go too lean that it dries out over the coals; a little fat helps carry the sauce.
- Spaghetti sauce — A jarred sauce keeps the dish practical for camp cooking and already brings seasoning, garlic, and tomato depth. If you use a very thick sauce, loosen it with a small splash of water so the noodles can hydrate while they cook.
- Ricotta cheese — This creates the creamy middle layer that makes lasagna feel like lasagna. Whole-milk ricotta gives the best texture, but part-skim works if that’s what you have; just don’t skip the egg, or the layer gets loose and grainy.
- Mozzarella and Parmesan — Mozzarella gives the melt and stretch, while Parmesan sharpens the flavor and keeps the cheese layer from tasting flat. Pre-shredded mozzarella works in a pinch, but block cheese melts more smoothly if you have time to grate it.
- Uncooked lasagna noodles — These save a whole step and absorb flavor directly from the sauce. Break them only as much as needed to fit the Dutch oven, and keep the layers even so the center cooks at the same rate as the edges.
Building the Layers So the Center Cooks Through
Start With Sauce, Not Noodles
A thin layer of meat sauce on the bottom keeps the noodles from sticking and gives them a head start on softening. If you put noodles straight against the Dutch oven, the bottom can seize up and stay chewy. Spread the sauce all the way to the edges so the outer pasta has moisture too.
Break the Noodles to Fit the Curve
Lasagna noodles rarely line up perfectly in a round Dutch oven, and that’s fine. Break them so they overlap a little without large gaps, because exposed noodle edges dry out fast in camp heat. The goal is coverage, not perfection; small seams disappear once the sauce and cheese settle in.
Keep the Ricotta Layer Even
Spread half the ricotta mixture in a thin, even layer instead of dropping it in thick spoonfuls. Thick pockets take longer to warm and can make the center feel uneven. An offset spatula or the back of a spoon works well here, and it’s worth taking an extra minute to level it out before the next noodle layer goes on.
Finish With Enough Sauce to Protect the Top Noodles
The last noodle layer needs to be covered well with sauce before you add the mozzarella. Dry pasta on top will turn hard before the cheese fully melts. When the lasagna is ready for the lid, you should see sauce peeking through in a few places but no big dry patches.
Three Ways to Make This Dutch Oven Lasagna Fit Your Table
Make It Meatless Without Losing Body
Swap the ground beef for sautéed mushrooms, zucchini, or a plant-based crumble. Mushrooms give you the best savory depth, and they hold up well in a covered cook like this. If you use vegetables, cook off as much moisture as possible first or the lasagna will turn watery.
Use a Dairy-Free Cheese Set
Use dairy-free ricotta and mozzarella-style shreds, then add a little extra seasoning because many plant-based cheeses taste milder than the real thing. The texture will be a little less creamy and more melt-forward, but it still layers well in a Dutch oven if you keep the sauce generous.
Swap in No-Boil Noodles Only If the Sauce Is Loose Enough
Uncooked standard lasagna noodles are already doing the heavy lifting here, but no-boil noodles can work too. Use them only if your sauce is a little thinner than usual, because they need extra moisture to soften all the way through. If the sauce is thick, the noodles may stay firm in the center.
Storage and Reheating
- Refrigerator: Store leftovers covered for up to 4 days. The noodles will absorb more sauce as they sit, so the slices get a little firmer the next day.
- Freezer: It freezes well in portions. Cool completely, wrap tightly, and freeze for up to 2 months. Thaw overnight in the refrigerator before reheating so the center warms evenly.
- Reheating: Reheat covered in a 325°F oven until hot in the middle, or microwave single portions with a splash of water. The common mistake is blasting it uncovered, which dries out the cheese and toughens the noodles before the center heats through.
Answers to the Questions Worth Asking
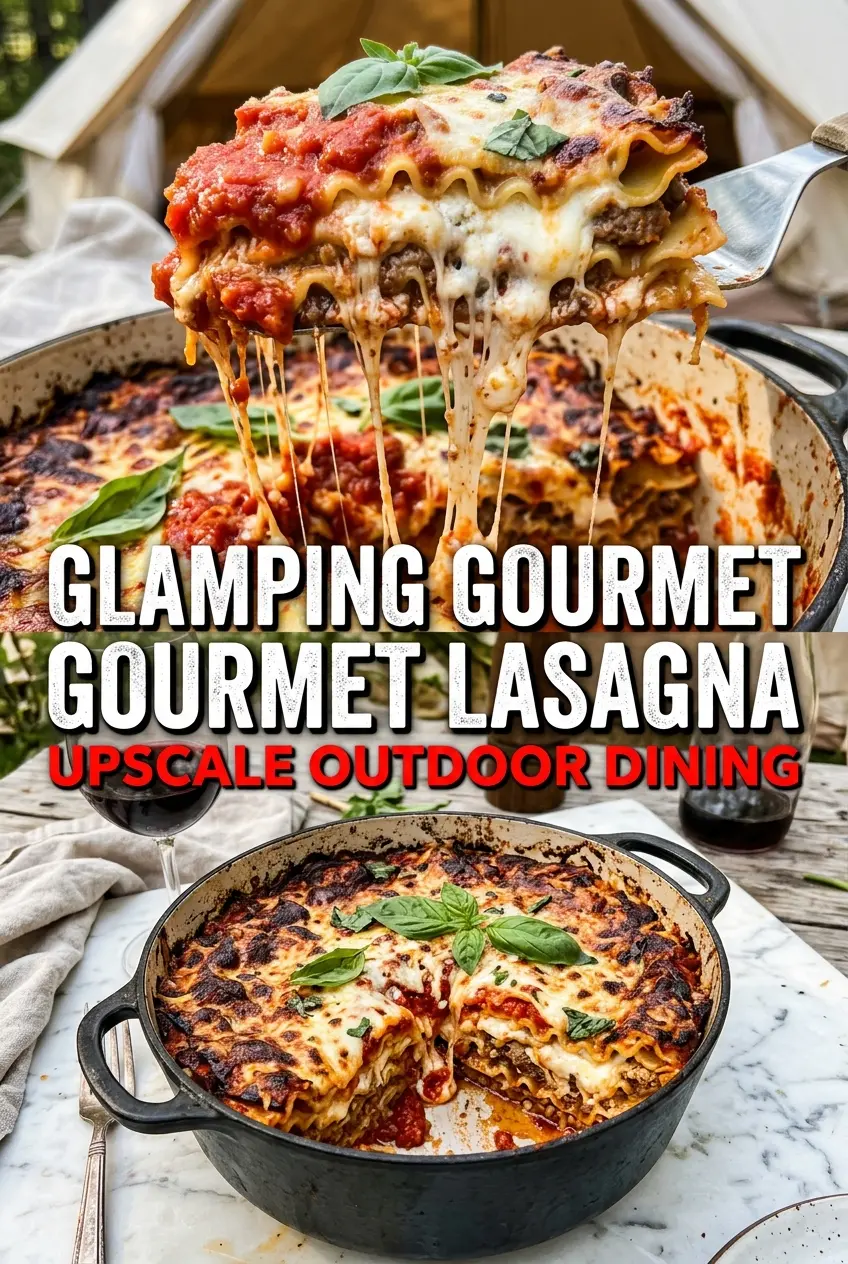
Dutch Oven Lasagna
Ingredients
Equipment
Method
- Brown ground beef in a skillet over medium-high heat until no longer pink, then mix it with spaghetti sauce.
- In a bowl, mix ricotta cheese, 1 cup mozzarella, Parmesan, egg, and Italian seasoning until smooth and evenly combined.
- Spray the Dutch oven with cooking spray and spread a thin layer of meat sauce on the bottom.
- Layer 3 lasagna noodles (broken to fit), then spread half the ricotta mixture and half the remaining meat sauce over the noodles.
- Repeat the layers with 3 more noodles, the rest of the ricotta mixture, and the rest of the meat sauce.
- Top with the final 3 lasagna noodles and sprinkle the remaining mozzarella over the top.
- Cover the Dutch oven and place it over campfire coals with additional coals on the lid, cooking for 45-50 minutes until the cheese is melted and the top is golden and bubbly.
- Let the lasagna rest for 10 minutes before serving so the layers set and slice cleanly.