Cheesy baked spaghetti turns into a real campsite crowd-pleaser when it goes into a Dutch oven and comes out with a browned, bubbling top and a saucy center that actually holds together on the spoon. The pasta soaks up the meat sauce just enough to taste rich and unified, but it still keeps enough structure that you don’t end up with a soft, greasy tangle.
The trick is building the filling with cooked spaghetti that’s still got a little bite and mixing in only part of the cheese before it bakes. That gives you melted cheese throughout instead of a solid top crust over dry noodles. The Dutch oven does the heavy lifting here, trapping heat from the coals and turning a simple skillet dinner into something that feels like a proper camp meal.
Below you’ll find the details that matter most: how to keep the pasta from overcooking, why the lid heat matters, and a few ways to adapt the bake when you’re cooking for a bigger group or working with what you’ve packed.
The cheese on top went golden and bubbly, and the spaghetti held together instead of turning mushy. I was worried it would dry out over the coals, but it stayed saucy all the way through.
Like this cheesy Dutch oven pasta? Save Campfire Spaghetti Bake to Pinterest for your next coals-and-lid dinner.
The Fix for Soggy Spaghetti in a Dutch Oven
The biggest mistake with campfire pasta is starting with noodles that are already too soft. Once they go into the Dutch oven, they keep absorbing sauce and steam, and that extra heat can push them straight past tender into heavy and bloated. Cook the spaghetti just shy of done, then mix and bake it right away so the pasta finishes in the sauce instead of collapsing in it.
Even heat is the other piece people miss. Coals under the pot give you the base heat, but the coals on the lid are what melt the cheese evenly and prevent a wet top with a dry bottom. If the fire is running hot, rotate the Dutch oven partway through so one side doesn’t take all the heat and scorch before the center is ready.
What the Sauce, Cheese, and Pasta Each Need to Do Here
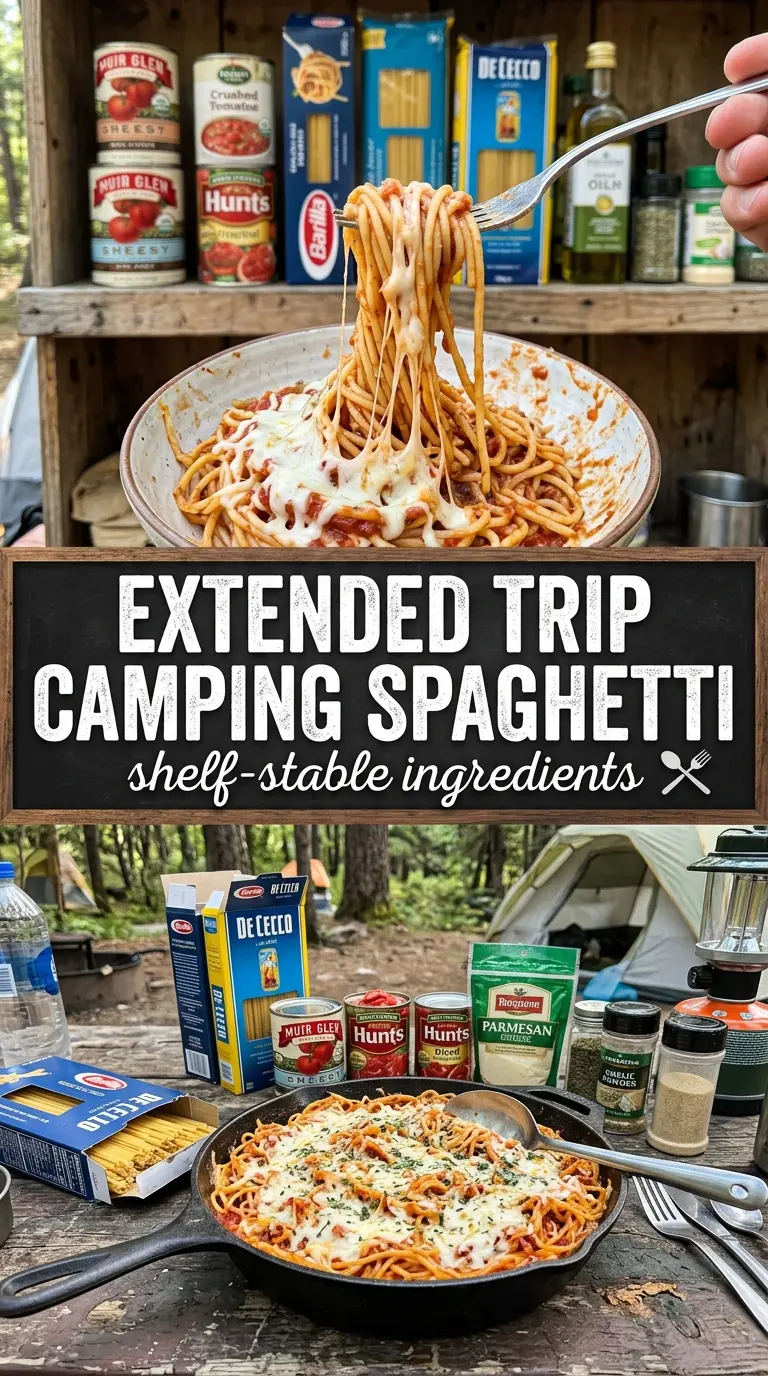
- Ground beef — This gives the bake its savory backbone. Brown it well before mixing it in; pale, steamed beef tastes flat, while properly browned meat brings the deeper campfire-style flavor that carries through the whole dish.
- Spaghetti sauce — A jarred sauce works fine here because it saves time and already has the body needed for baking. If your sauce is thin, simmer it for a few minutes before combining so the final dish doesn’t turn loose in the Dutch oven.
- Spaghetti — Cook it just to al dente, then drain it well. Wet noodles water down the sauce, and overcooked noodles break apart when you stir in the meat and cheese.
- Mozzarella and Parmesan — Mozzarella gives you the stretch and melt, while Parmesan adds a saltier, sharper finish on top. Keep half the mozzarella in the filling so the whole pan tastes cheesy, not just the crust.
- Italian seasoning and garlic powder — These are the quick seasoning layer that makes the sauce taste finished without hauling a full spice kit to camp. If you only have dried oregano and basil, use a mix of those and keep the garlic powder in place.
- Cooking spray — This matters more than it looks. A light coating keeps the cheese and sauce from baking onto the Dutch oven, which makes serving much easier and saves you from scrubbing stuck-on pasta over the fire.
Building the Bake So the Cheese Melts Before the Edges Dry Out
Brown the Beef First
Cook the ground beef in a skillet over the fire until there’s no pink left and the bits on the bottom are browned, not gray. Drain off the excess fat so the finished bake doesn’t turn greasy. If you skip this step or leave too much fat in the pan, the sauce can separate and the pasta will feel slick instead of coated.
Mix the Pasta While It’s Still Warm
Combine the cooked spaghetti with the beef, sauce, half the mozzarella, Italian seasoning, and garlic powder while the pasta is still warm enough to absorb flavor. Stir until every strand is coated, but don’t overwork it or the noodles will start to break. The filling should look saucy and cohesive, not soupy.
Bake Under the Coals, Not Just Beside the Fire
After spraying the Dutch oven, spread the mixture in an even layer and cover it with the remaining cheese and Parmesan. Set the pot on hot coals and place coals on the lid too so heat comes from both directions. Bake until the cheese is melted and bubbly, about 30 to 35 minutes, and watch for the edges to gently bubble rather than boil hard.
Let It Rest Before Serving
Give the bake five minutes off the heat before scooping. That short rest lets the sauce settle so the servings hold together better in bowls or on plates. If you cut in too soon, the whole thing runs loose and the cheese slides off before anyone gets a good scoop.
How to Adapt Campfire Spaghetti Bake for Different Camp Setups
Make It with Sausage Instead of Beef
Use bulk Italian sausage in place of the ground beef for a richer, spicier bake. You may not need as much Italian seasoning because the sausage already carries herbs and salt, and the final dish will taste a little deeper and more savory.
Gluten-Free Version
Swap in your favorite gluten-free spaghetti and cook it just to al dente, since GF pasta softens fast once it hits the sauce and heat. Check the sauce label too, because some jarred sauces use thickeners that aren’t gluten-free.
Dairy-Free Adaptation
Use a dairy-free mozzarella-style shreds and skip the Parmesan, or replace it with a dairy-free hard topping if you have one that melts well. The top won’t brown exactly the same way, but the bake still works as long as you keep the sauce thick and the pasta properly cooked.
Storage and Reheating
- Refrigerator: Store leftovers in an airtight container for up to 4 days. The pasta will absorb more sauce as it sits, so expect a firmer texture the next day.
- Freezer: This freezes well for up to 2 months if you portion it first and cool it completely. Wrap tightly or use freezer containers, and thaw overnight before reheating so the center warms evenly.
- Reheating: Reheat covered in the oven at 350°F with a splash of water or extra sauce to loosen it. The common mistake is blasting it dry and uncovered, which makes the pasta tough and the cheese greasy.
Questions I Get Asked About This Recipe
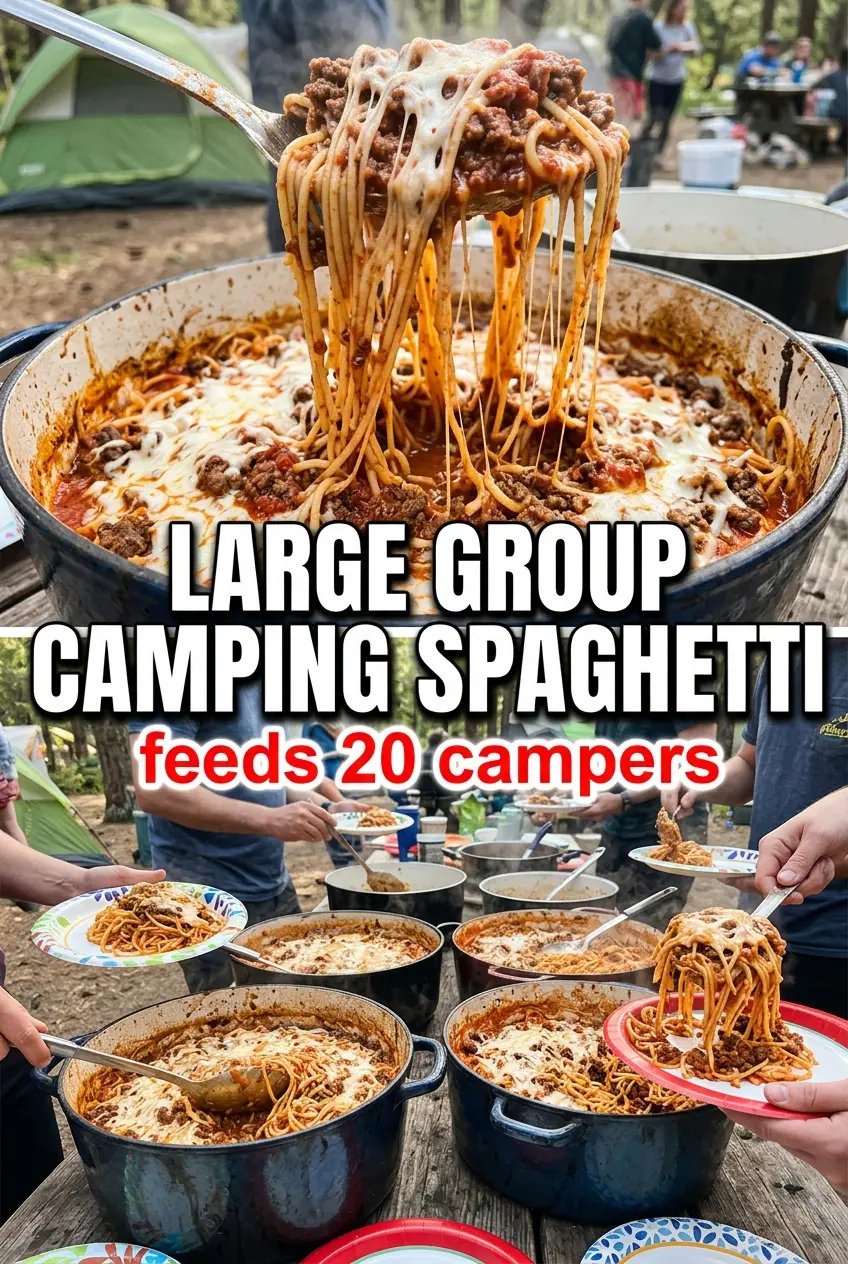
Campfire Spaghetti Bake
Ingredients
Equipment
Method
- Brown ground beef in a skillet over campfire, using a steady sizzle, then drain excess fat so it doesn’t thin the sauce.
- Mix cooked spaghetti, beef, spaghetti sauce, half the mozzarella, Italian seasoning, and garlic powder until evenly combined.
- Spray Dutch oven with cooking spray and add spaghetti mixture.
- Top with remaining mozzarella and Parmesan to create a cheesy baked layer.
- Cover Dutch oven and place it on campfire coals with coals on top of the lid for even heat transfer.
- Cook for 30-35 minutes until cheese is melted and bubbly, watching for a golden, bubbling top when you lift the lid.
- Let cool for 5 minutes before serving so the cheese sets slightly and slices/serves cleanly.