Grilled breakfast burritos hit that sweet spot between hearty and handheld. The tortilla gets crisp and toasted on the outside while the inside stays soft, steamy, and packed with eggs, sausage, melty cheese, and hash browns. That contrast is what makes them worth firing up the grill for instead of rolling them up and calling it done.
The trick is keeping the filling warm and not overloading the tortillas. If the burrito is stuffed too full, it won’t seal tightly and the cheese won’t have a chance to melt into everything before the outside is already browning. A light brush of butter or oil gives the tortilla its golden crust and helps the seams stay put on the grate.
Below you’ll find the small details that make these breakfast burritos work, from how to keep them from bursting to the best way to adapt them when you want to swap the sausage or make them ahead.
The burritos crisped up beautifully on the grill and the cheese melted into the eggs instead of leaking out. I loved that the tortillas held together even after cutting them in half.
Love these grilled breakfast burritos with crispy tortillas and melty filling? Save them to Pinterest for camping mornings or make-ahead breakfasts.
The Burrito Shell Needs Heat Before It Needs Time
The biggest mistake with grilled breakfast burritos is treating them like a quesadilla and pushing them around until the tortilla burns. What you want is steady medium heat so the wrap has time to dry out, toast, and seal while the filling warms through. If the grill is too hot, the outside will brown before the cheese inside softens, and the burrito can split when you flip it.
Warm filling matters here. Eggs, sausage, and hash browns should already be cooked before they go into the tortilla, because the grill is for crisping and finishing, not fully cooking the center from raw. That’s what keeps the tortilla from overbrowning while you wait for the middle to catch up.
- Medium heat — This gives you a crisp tortilla with a little flexibility left in the seam. High heat is how you end up with a dark shell and a cool center.
- A tight roll — A burrito that’s wrapped firmly and tucked well on the ends is much less likely to leak cheese or salsa onto the grate.
- Dryer fillings work better — If your eggs are wet or your salsa is too loose, the tortilla softens fast and can tear. Keep the salsa light inside and serve extra on the side.
What Each Filling Is Doing Inside the Wrap
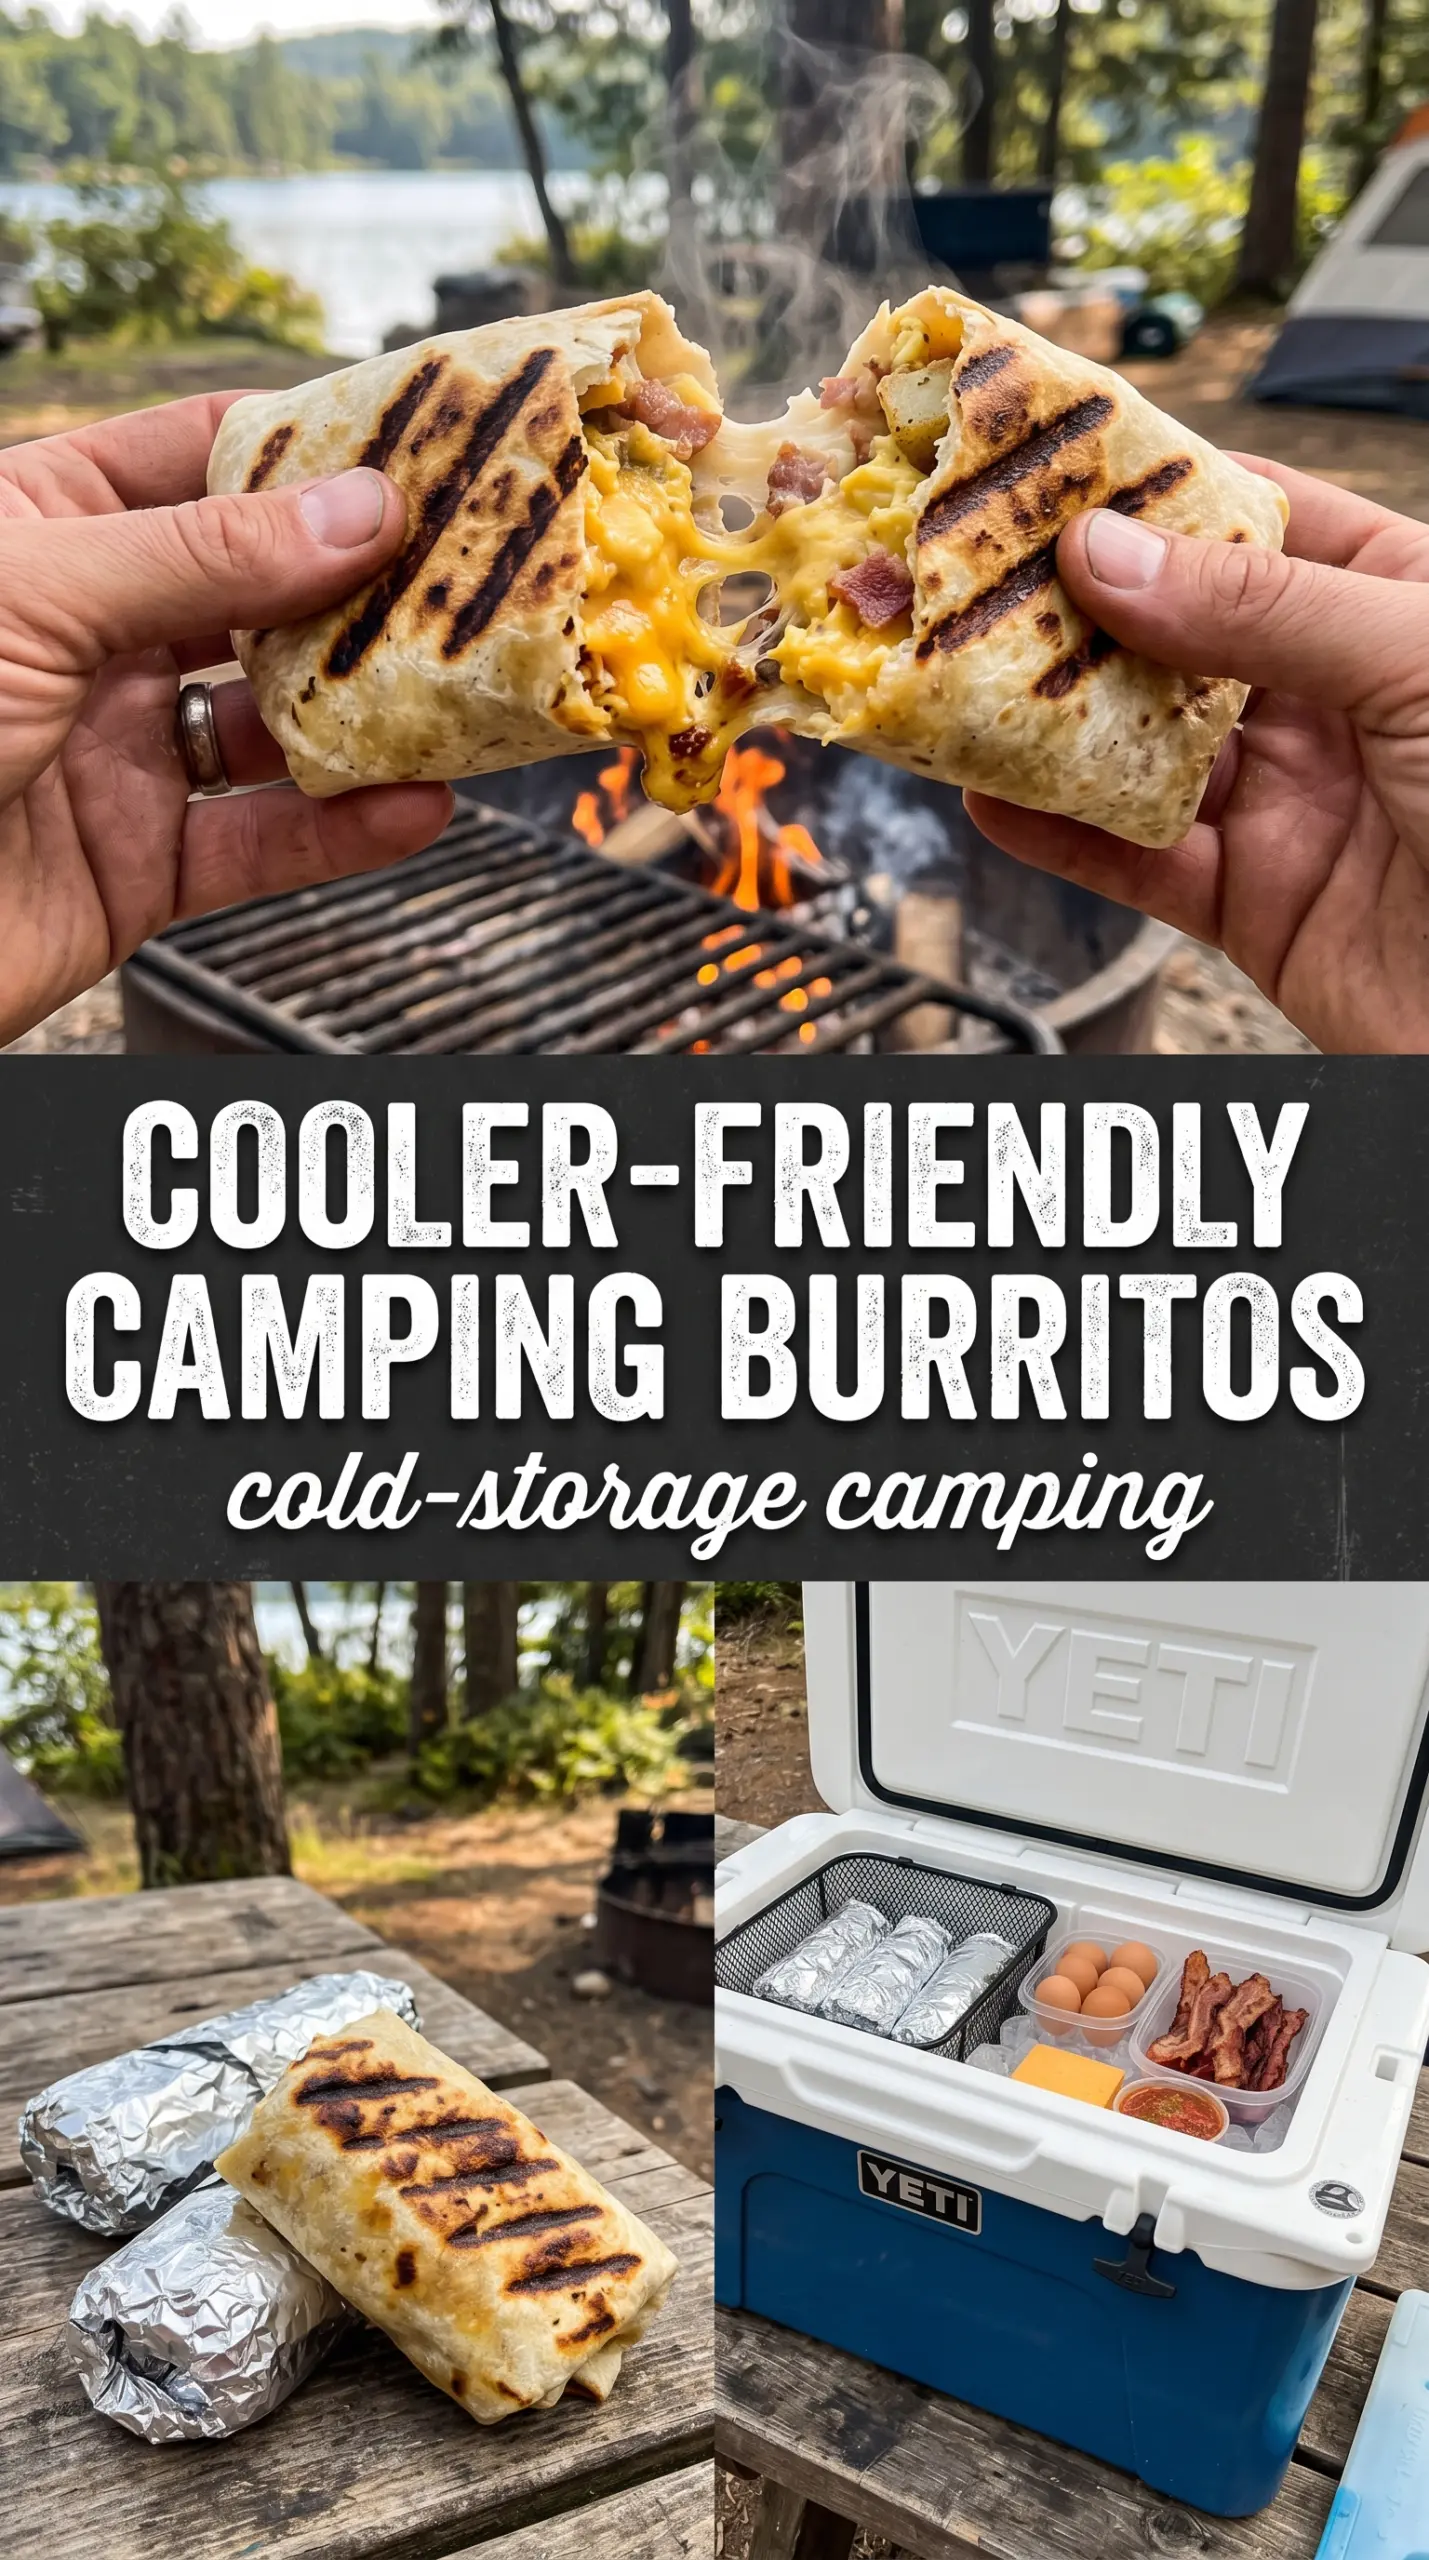
- Flour tortillas — Large flour tortillas are the only real choice here because they’re flexible enough to roll tightly and sturdy enough to handle the grill. Smaller tortillas just don’t give you enough surface area for a full breakfast burrito.
- Eggs — Scrambled eggs provide the soft base that holds everything together. Cook them just until set, since they’ll finish warming when the burritos hit the grill.
- Breakfast sausage — This gives the burrito its salty, savory backbone. Any sausage works, but a well-browned, well-drained crumble keeps the filling from turning greasy.
- Cheddar cheese — Cheddar melts into the eggs and sausage instead of disappearing. Shred it yourself if you can; pre-shredded cheese works, but it melts a little less smoothly.
- Hash browns — They add body and a little crisp texture inside the wrap. Let them cool slightly before filling so they don’t create steam that softens the tortilla.
- Butter or oil — This is what gives the tortilla its grilled finish. Butter tastes richer, while oil gives you a cleaner, more even browning.
Rolling, Grilling, and Cutting Without Losing the Filling
Build the Burrito While the Filling Is Still Warm
Spoon the eggs, sausage, cheese, hash browns, and a small amount of salsa into the center of each tortilla. Don’t spread the filling all the way to the edges; you need a clean border to fold in the sides and keep the burrito sealed. If the filling is cold, the cheese won’t bind the mixture as well and the center can feel dry after grilling.
Roll Tight and Keep the Seam Down
Fold in the sides first, then roll from the bottom into a firm cylinder. The tighter the roll, the better it holds on the grill, but don’t squeeze so hard that the tortilla tears. Let the seam rest against the work surface for a moment before brushing on butter or oil so it holds its shape.
Grill Until the Tortilla Is Crisp, Not Charred
Set the burritos on a medium-hot grill or campfire grate and cook for 3 to 4 minutes per side. You’re looking for golden-brown spots, light char marks, and a tortilla that feels crisp when pressed with tongs. If the outside darkens too quickly, move the burritos to a cooler part of the grate; the goal is toasted, not burnt.
Slice After a Short Rest
Let the burritos sit for a minute before cutting so the cheese settles instead of spilling out. Use a sharp knife and cut straight through the center for that clean cross-section with the eggs, sausage, and cheese visible. Serve right away with hot sauce while the tortilla still has its crunch.
How to Adapt These Burritos for Different Mornings
Make Them Vegetarian
Skip the sausage and add sautéed peppers, onions, or black beans instead. You’ll lose some of the smoky, salty depth, so season the vegetables well and add a little extra cheese to keep the burrito filling and balanced.
Make Them Gluten-Free
Use certified gluten-free flour tortillas if you can find them, but warm them gently first because they can be a little less forgiving on the grill. They brown faster and crack more easily, so keep the heat moderate and turn them with a light hand.
Make Them Ahead for the Week
Assemble the burritos, grill them, then cool completely before wrapping and refrigerating. The tortilla softens a little in the fridge, but reheating in a skillet brings the crisp edge back better than the microwave ever will.
Storage and Reheating
- Refrigerator: Store wrapped burritos for up to 4 days. The tortilla softens a bit, but the filling stays sturdy.
- Freezer: These freeze well. Wrap each burrito tightly in foil, then place in a freezer bag for up to 2 months.
- Reheating: Warm refrigerated burritos in a skillet over medium-low heat until the center is hot and the tortilla crisps again. For frozen burritos, thaw overnight first or heat slowly in a covered skillet so the middle doesn’t stay cold while the outside burns.
Questions I Get Asked About This Recipe
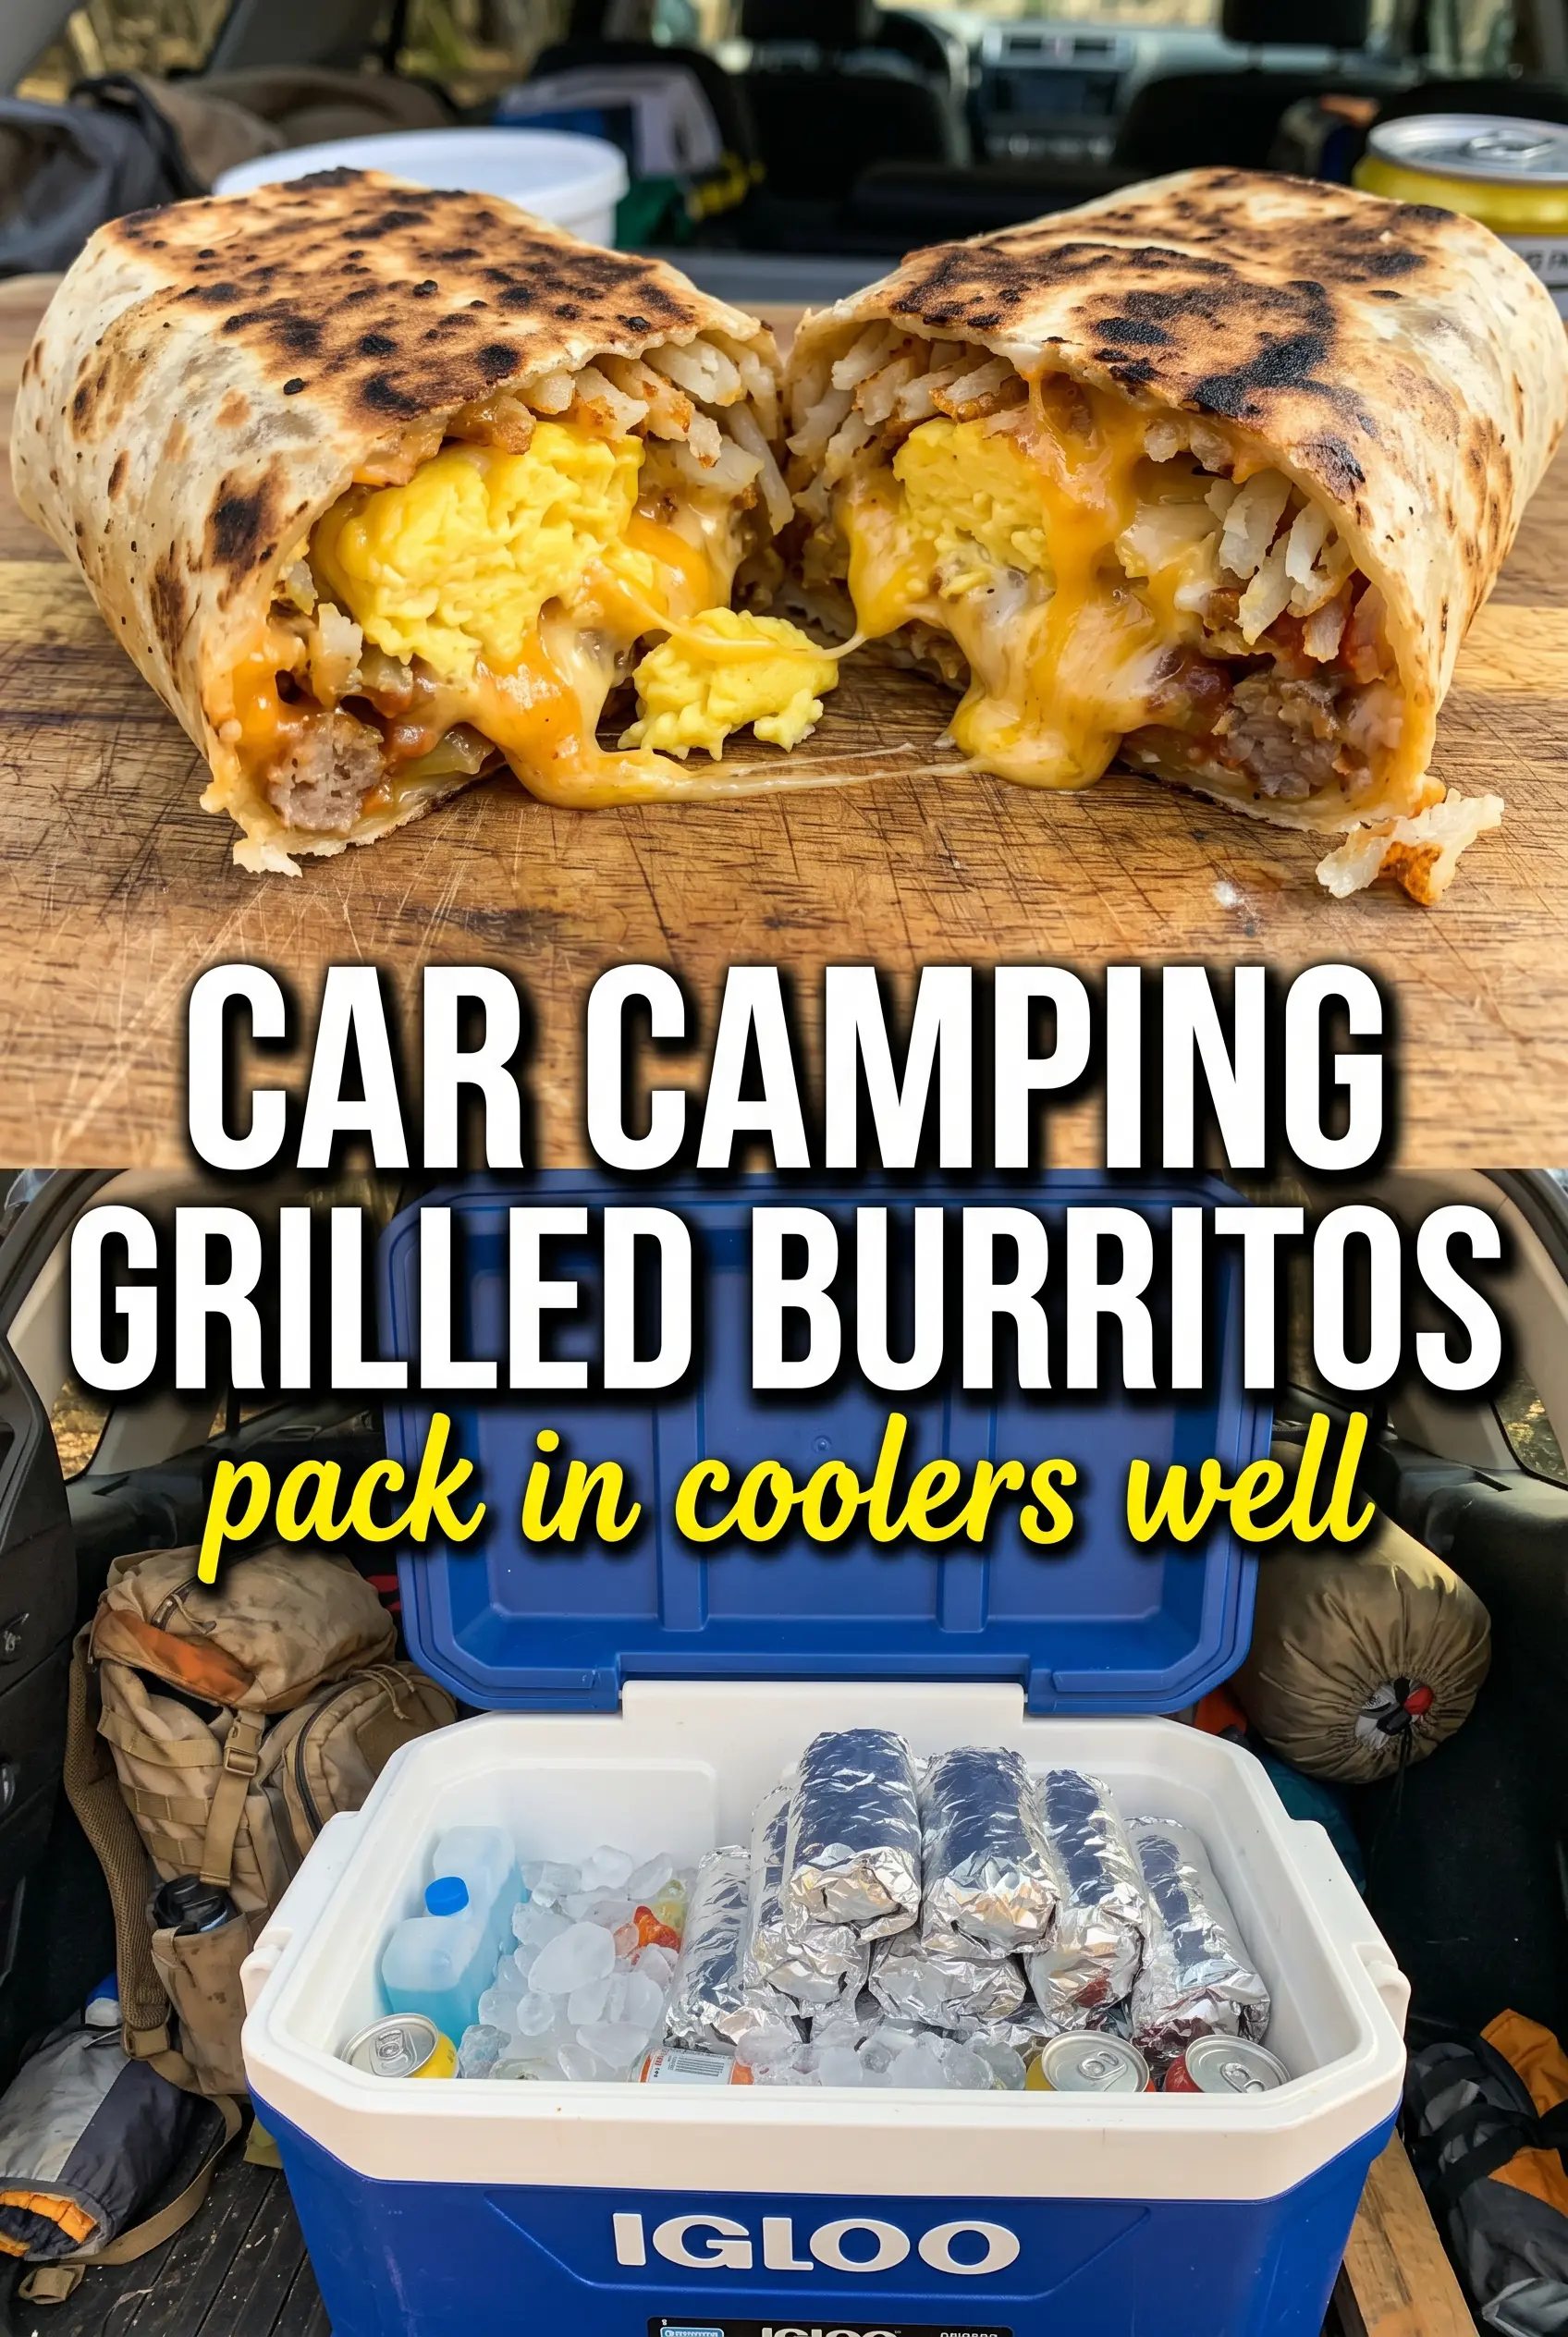
Grilled Breakfast Burritos
Ingredients
Equipment
Method
- Scramble the eggs until just set, then let them cool slightly so they won’t tear the tortillas when rolling.
- Fill each tortilla with scrambled eggs, cooked crumbled sausage, shredded cheddar cheese, cooked hash browns, and salsa.
- Fold in the sides and roll tightly into burritos so the filling stays contained while grilling.
- Brush the outside of each burrito with butter or oil to promote browning and char marks.
- Place burritos on a campfire grate over medium heat and grill for 3-4 minutes per side until golden and crispy, with visible grill marks.
- Remove from heat, cut each burrito in half to reveal the filling, and serve immediately with hot sauce.