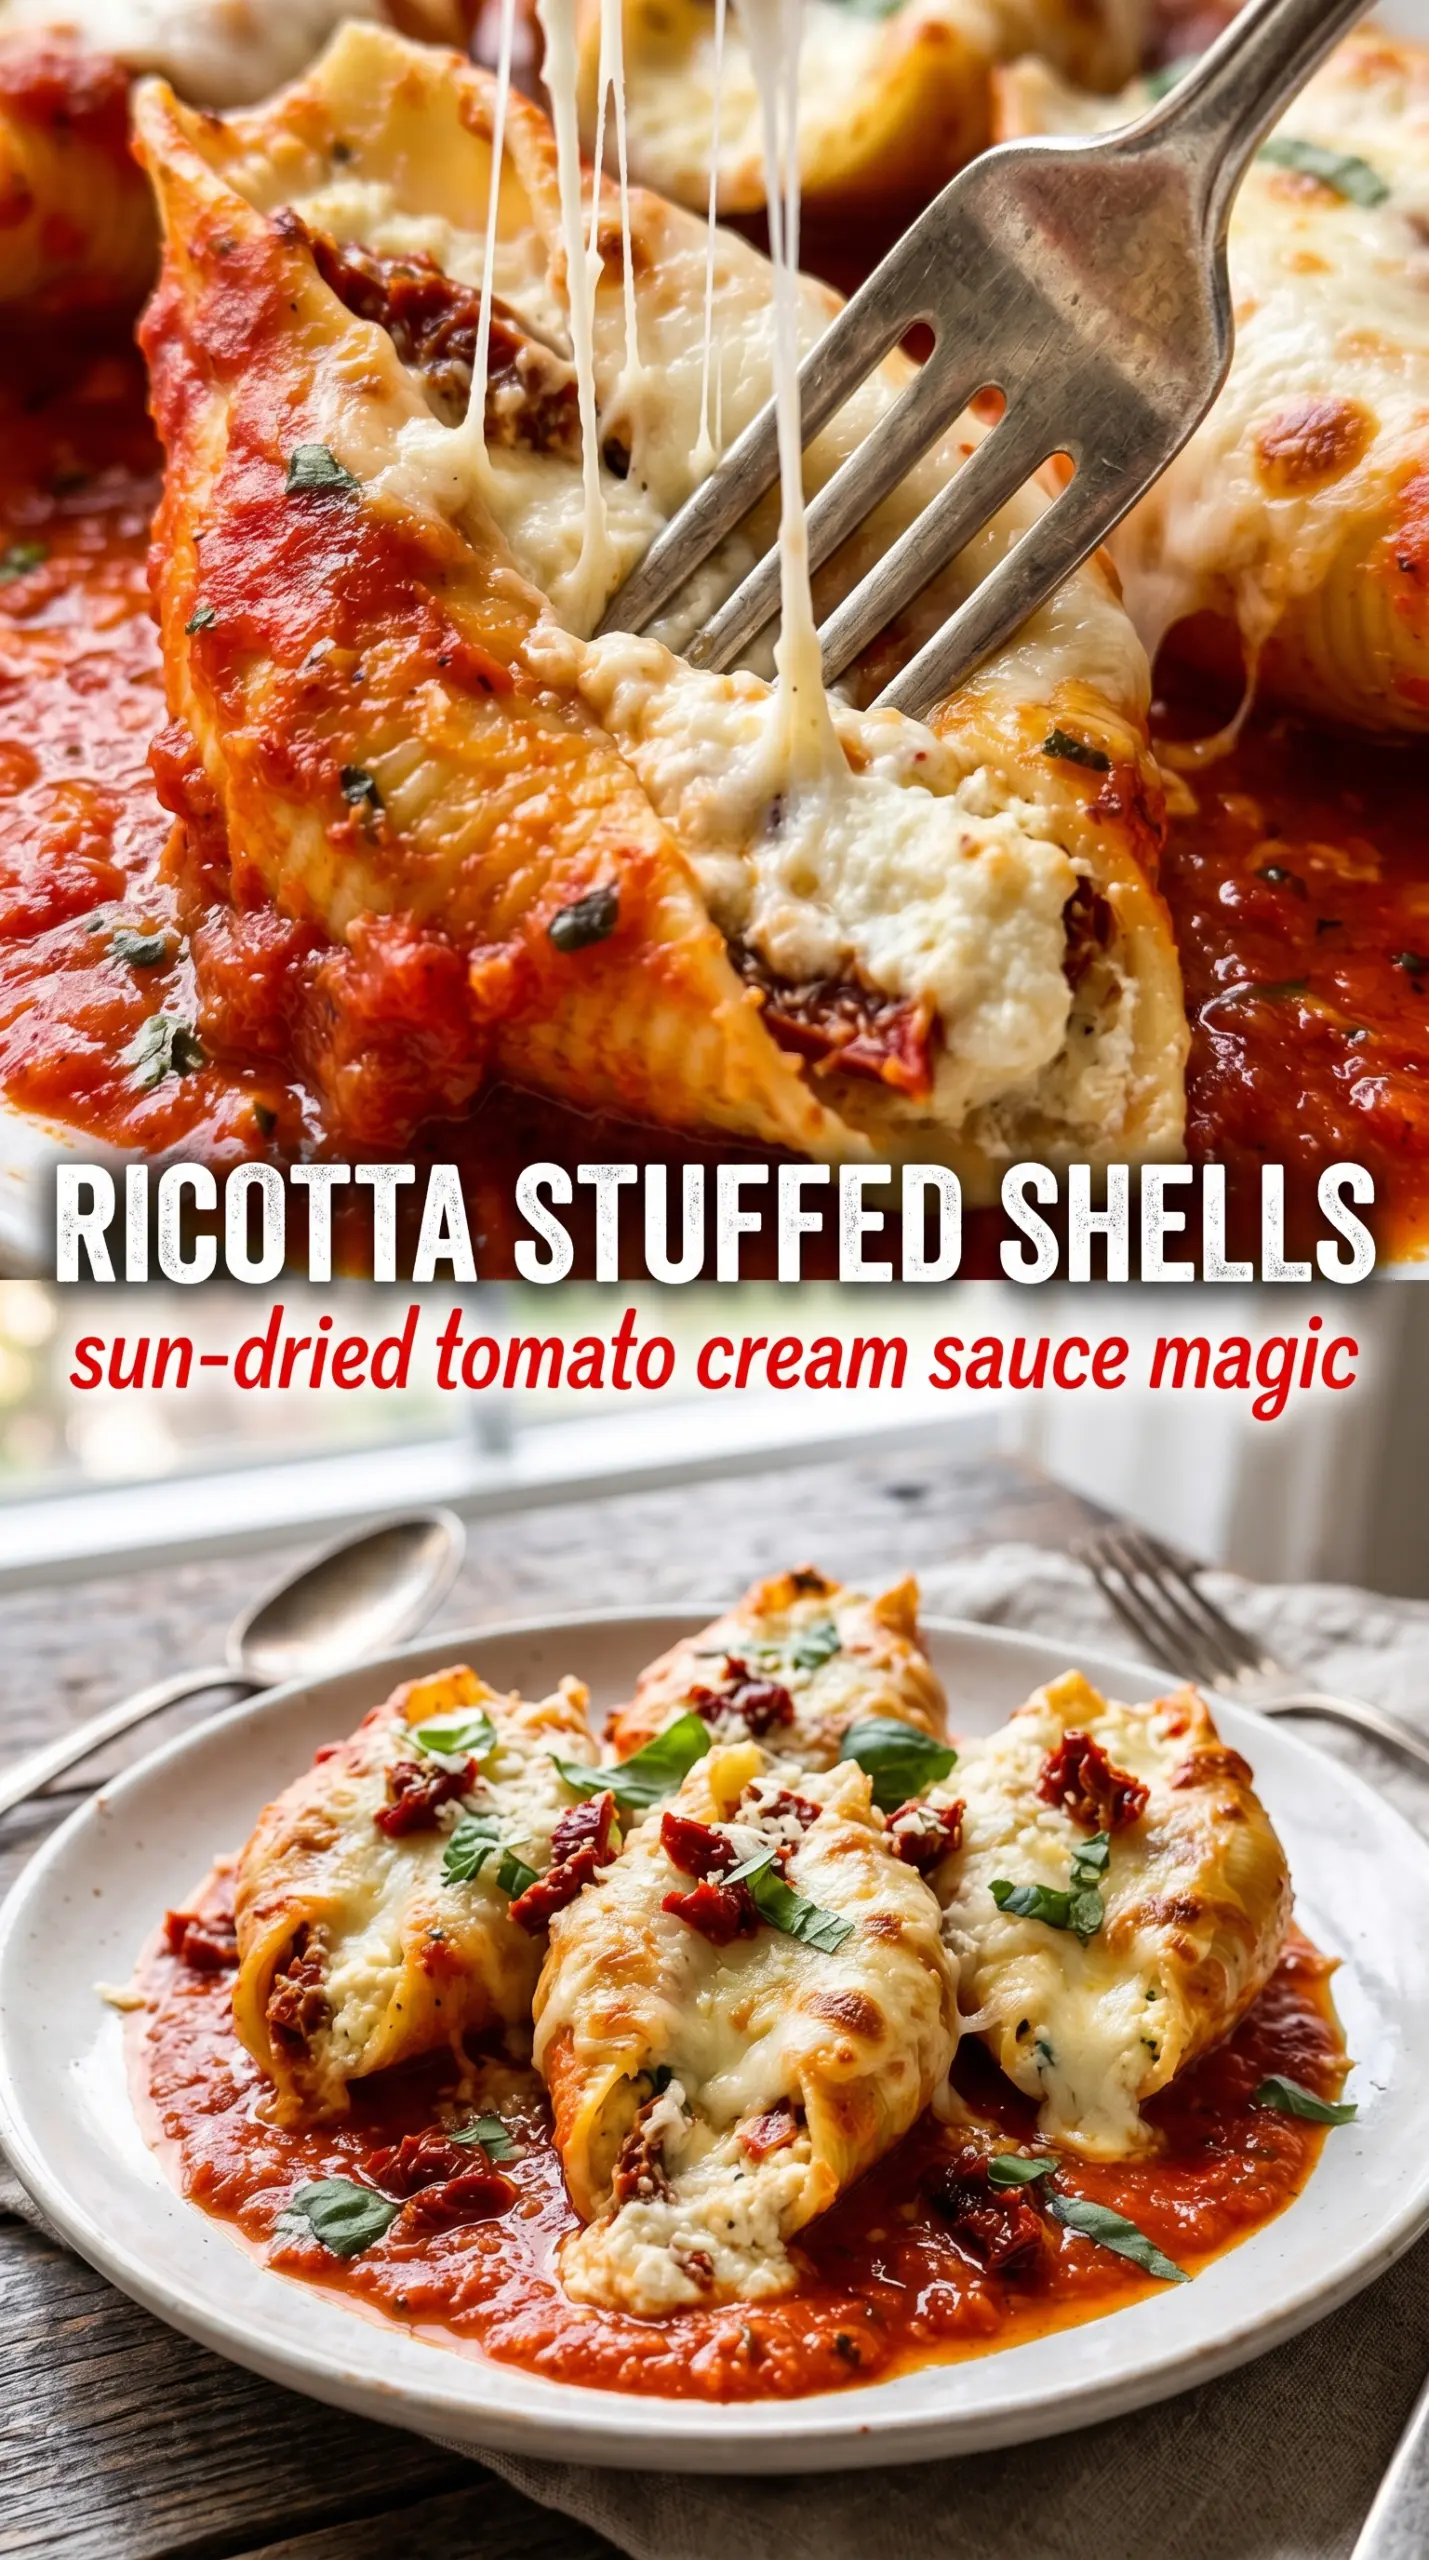
Big pasta shells filled with a creamy ricotta mixture and baked under marinara hit the table with all the comfort people want from a pasta bake, but this version has a little more character than the usual. The sun-dried tomatoes bring a deep, savory sweetness that cuts through the richness of the cheese, and the basil keeps the filling tasting bright instead of heavy. Once the mozzarella on top melts into a bubbling lid, every shell feels like its own little portion of dinner.
What makes these shells work is the balance. Ricotta gives the filling that soft, spoonable texture, but Parmesan and mozzarella add enough structure that it stays put once baked. The egg helps the filling set, which matters because stuffed shells can turn messy fast if the center stays too loose. Using marinara under and over the shells also keeps the pasta from drying out and gives you those saucy edges that people always go back for.
Below, I’ll walk through the parts that matter most: how to keep the shells intact, how to fill them without fighting the shape, and how to bake them so the cheese melts evenly instead of turning greasy. There’s also a storage note that makes these practical for a make-ahead dinner, which is exactly when stuffed shells earn their place in the rotation.
The filling stayed creamy after baking and the sun-dried tomatoes gave it such a good savory bite. I used every shell in the box and the sauce kept the edges from drying out, which never happens when I make stuffed pasta.
Save these creamy sun-dried tomato ricotta stuffed shells for a baked pasta night that turns simple ingredients into a bubbling, golden casserole.
The Secret to Stuffed Shells That Stay Creamy Instead of Watery
The biggest mistake with stuffed shells is packing the filling with too much moisture. Ricotta that’s already loose, wet sun-dried tomatoes, or overcooked pasta will all work against you and leave the dish puddling instead of slicing cleanly. The filling here stays rich because the cheese mixture is sturdy enough to hold its shape, while the marinara underneath and on top keeps everything saucy without thinning the center.
Cook the shells to al dente and stop there. They finish in the oven, and if they get too soft on the stove they’re harder to fill and even easier to tear. A slightly firm shell also gives you a better bite after baking, which matters when the whole dish is layered with soft cheese.
What Each Ingredient Is Actually Doing in This Dish
- Ricotta cheese — This is the base of the filling, and its texture is what makes the shells creamy instead of dense. If your ricotta seems watery, drain it in a fine-mesh strainer for a few minutes before mixing. That small step keeps the filling from turning loose in the oven.
- Sun-dried tomatoes in oil — These bring concentrated tomato flavor and a chewy bite that fresh tomatoes can’t replicate here. Drain them well so the oil doesn’t make the filling greasy, then chop them fine enough that they spread through every bite.
- Mozzarella and Parmesan — Parmesan sharpens the filling, while mozzarella gives you that stretch and the browned top. Pre-shredded mozzarella works, but a block shredded by hand melts a little more cleanly if you want the smoothest finish.
- Egg — The egg helps the filling set in the oven so it doesn’t slump out of the shells when you serve it. Don’t skip it unless you’re intentionally making a softer, looser filling.
- Marinara sauce — This is more than a topping. The layer under the shells prevents sticking, and the sauce over the top keeps the pasta from drying out while the cheese melts. Use a jarred sauce you’d happily eat on its own.
Building the Filling and Baking It Until the Cheese Bubbles
Mix the Filling Until It Holds Together
Stir the ricotta, sun-dried tomatoes, cheeses, egg, garlic, basil, and seasoning until everything is evenly distributed and the mixture looks thick, not runny. If it looks wet before it even goes into the shells, the baked filling will spread instead of mound. The mixture should cling to a spoon and hold its shape when scooped.
Fill the Shells Without Tearing Them
Spoon the filling into each shell generously, but don’t force it. The shells should be cooked to al dente so they open easily without splitting at the seam. Arrange them seam-side up in the sauce so the filling stays nestled in place and doesn’t slide out during baking.
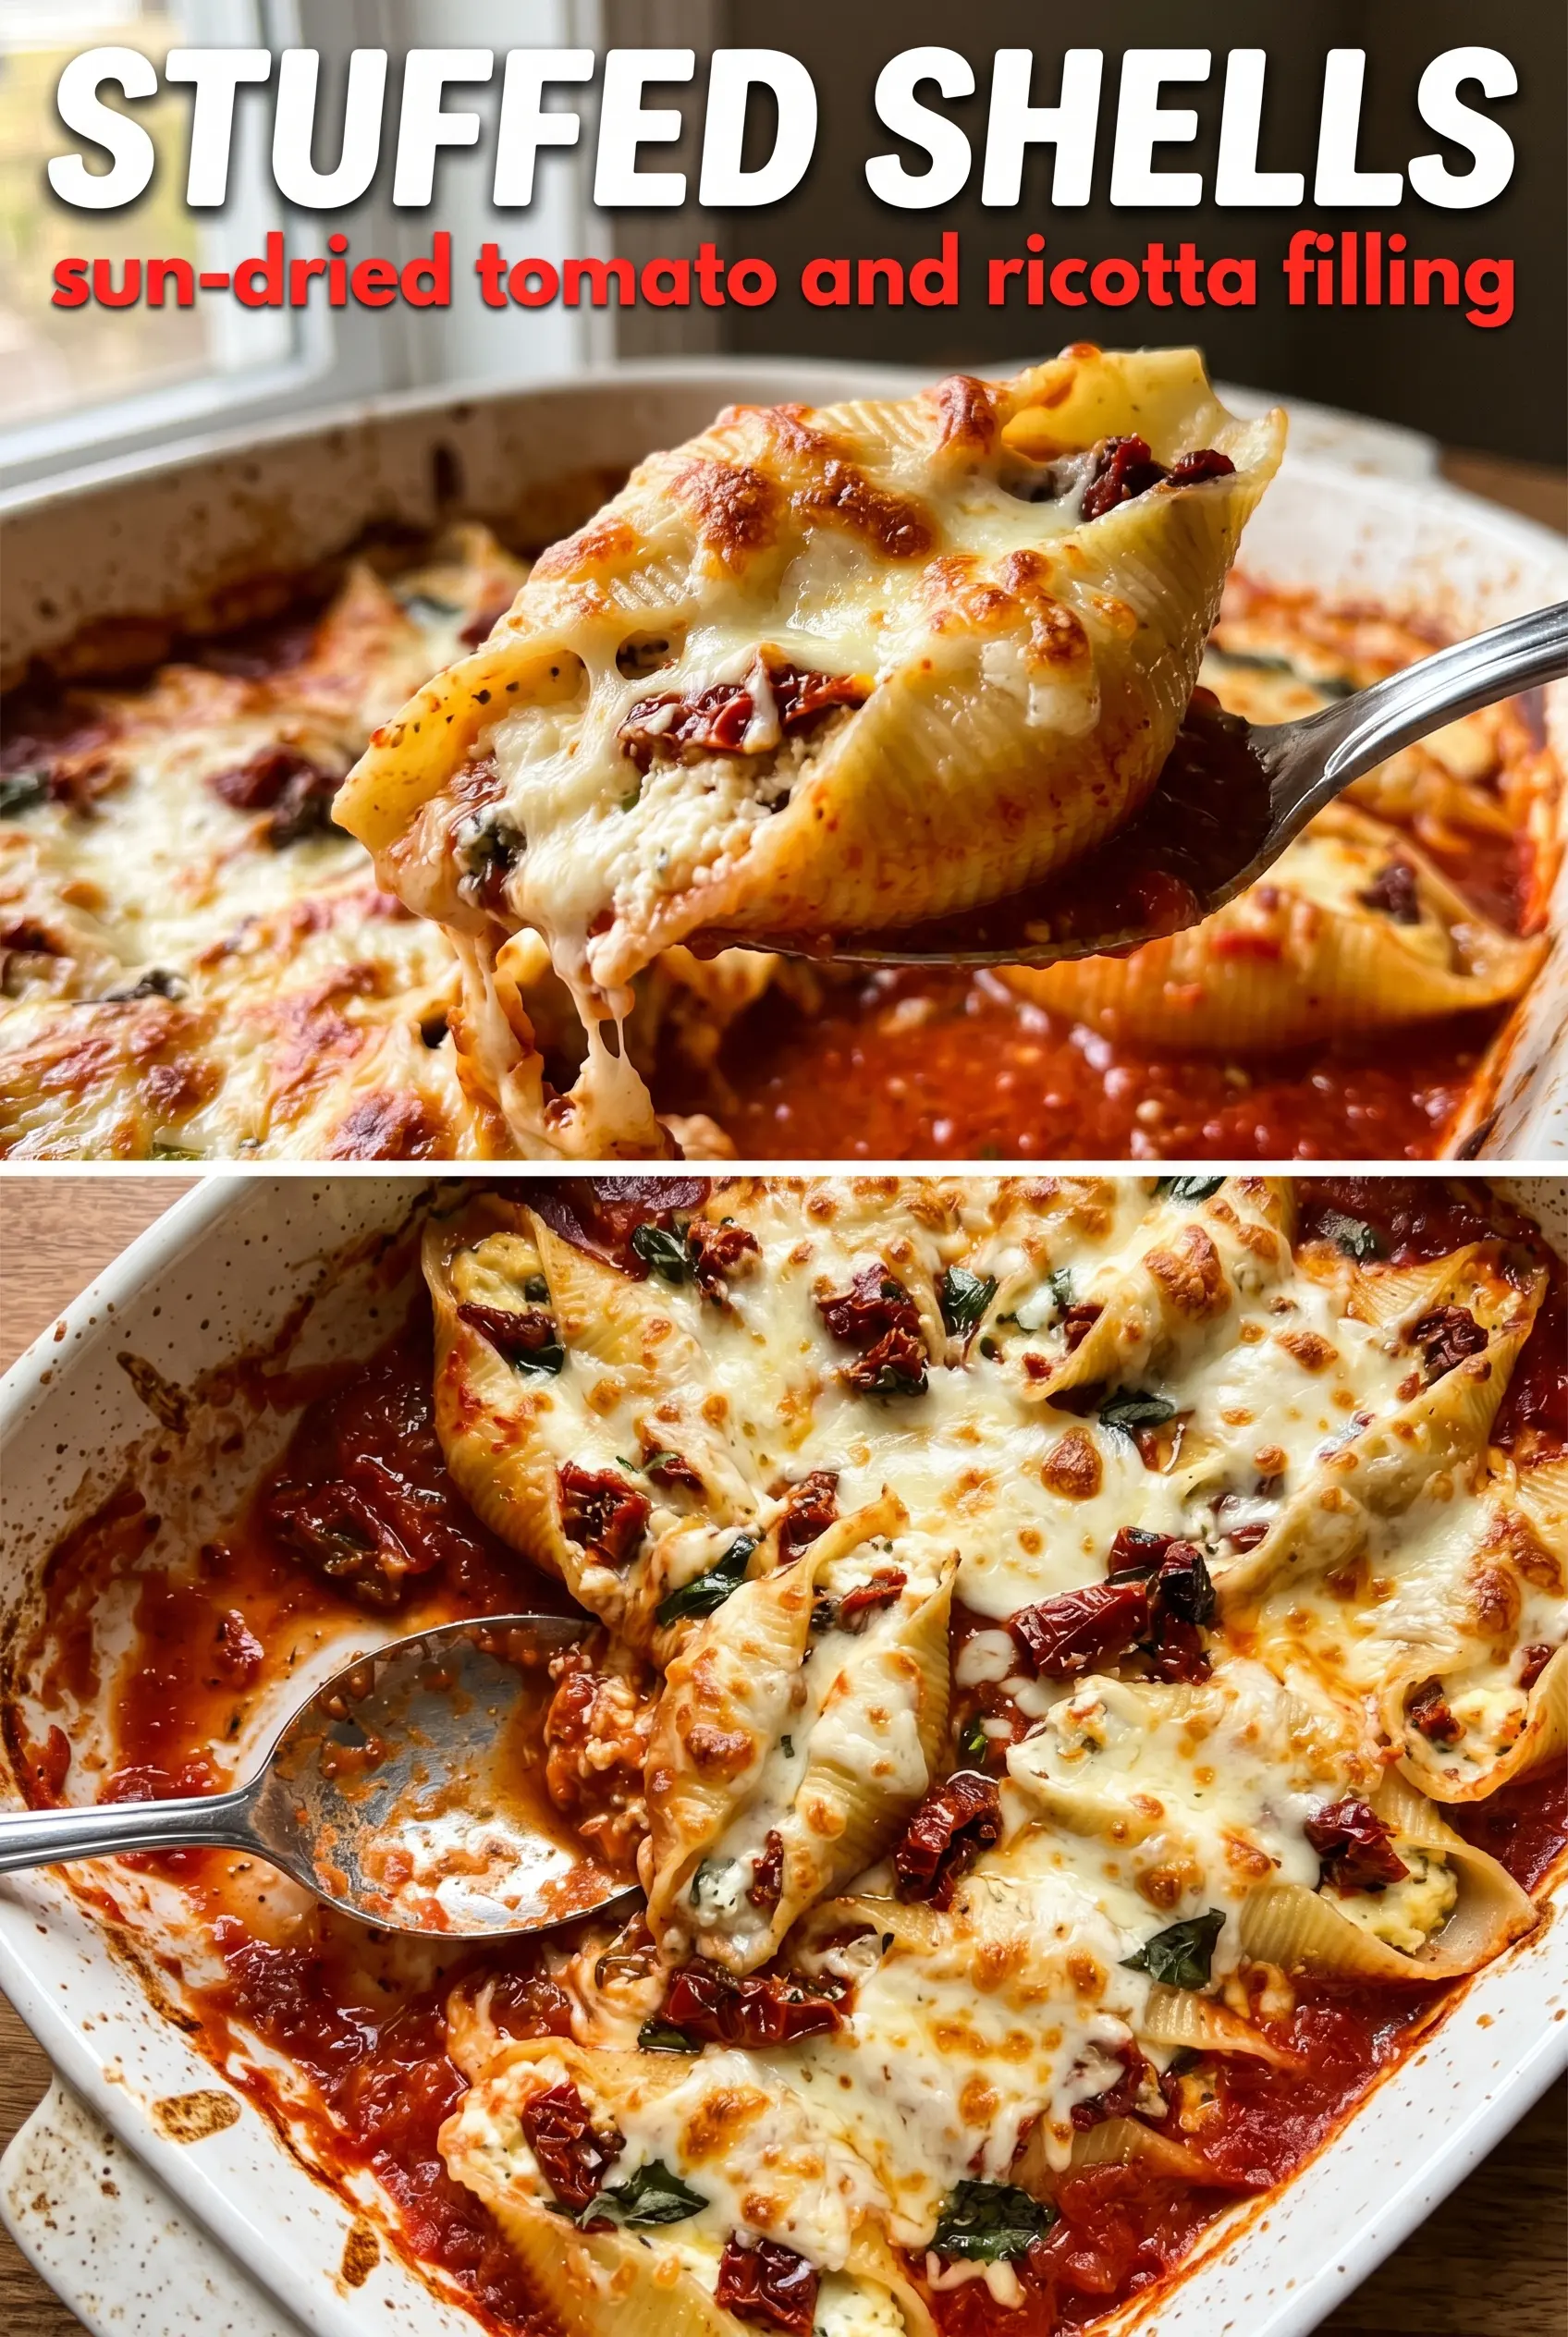
Bake Covered, Then Finish Uncovered
Covering the dish for the first part of baking traps enough steam to heat the filling through and soften the pasta without drying the top. Once the shells are hot and the sauce is bubbling around the edges, remove the foil so the mozzarella can brown. If the top is browning too fast before the center is hot, the foil went off too early or the oven ran hot.
How to Adapt These Stuffed Shells for Different Dinners
Make-Ahead Dinner for a Busy Night
Assemble the shells in the baking dish, cover tightly, and refrigerate before baking. The pasta softens a little as it sits, which actually helps the shells settle into the sauce, but add a few extra minutes of covered bake time straight from the fridge. This is the easiest way to get dinner on the table without doing all the work at the last minute.
Dairy-Free Version
Use a dairy-free ricotta-style cheese, plant-based mozzarella, and a good dairy-free Parmesan substitute. The texture will be a touch softer, so chill the filling for 10 to 15 minutes before stuffing if it seems loose. You’ll still get the same baked pasta comfort, just with a lighter finish.
Spinach and Sun-Dried Tomato Version
Stir in chopped, well-squeezed spinach with the ricotta mixture for a little more color and a more vegetable-forward filling. The key is squeezing the spinach dry first; otherwise, it waters down the cheese and makes the shells slip apart. The flavor stays classic, just a little fuller.
Storage and Reheating
- Refrigerator: Keep leftovers covered for up to 4 days. The shells hold up well, though the pasta softens a little as it sits in the sauce.
- Freezer: These freeze well after baking. Cool completely, wrap tightly, and freeze for up to 2 months. Thaw overnight in the fridge before reheating for the most even result.
- Reheating: Reheat covered in a 350°F oven until hot in the center, or microwave individual portions with a spoonful of extra marinara so the pasta doesn’t dry out. The common mistake is blasting it uncovered, which dries the cheese and makes the edges tough.
Answers to the Questions Worth Asking
Creamy Sun-Dried Tomato and Ricotta Stuffed Shells
Ingredients
Equipment
Method
- Preheat the oven to 375°F and spread 1 cup marinara on the bottom of a 9x13 baking dish.
- Combine ricotta, sun-dried tomatoes, 1 cup mozzarella, Parmesan, egg, garlic, basil, Italian seasoning, salt, and pepper until well mixed.
- Fill each cooked shell generously with the ricotta mixture and arrange them in the baking dish.
- Pour the remaining marinara over the stuffed shells and top with the remaining 1/2 cup mozzarella.
- Cover tightly with foil and bake at 375°F for 30 minutes.
- Remove the foil and bake at 375°F for 10 minutes, until the cheese is golden and the sauce is bubbling.
- Garnish with fresh basil and serve.