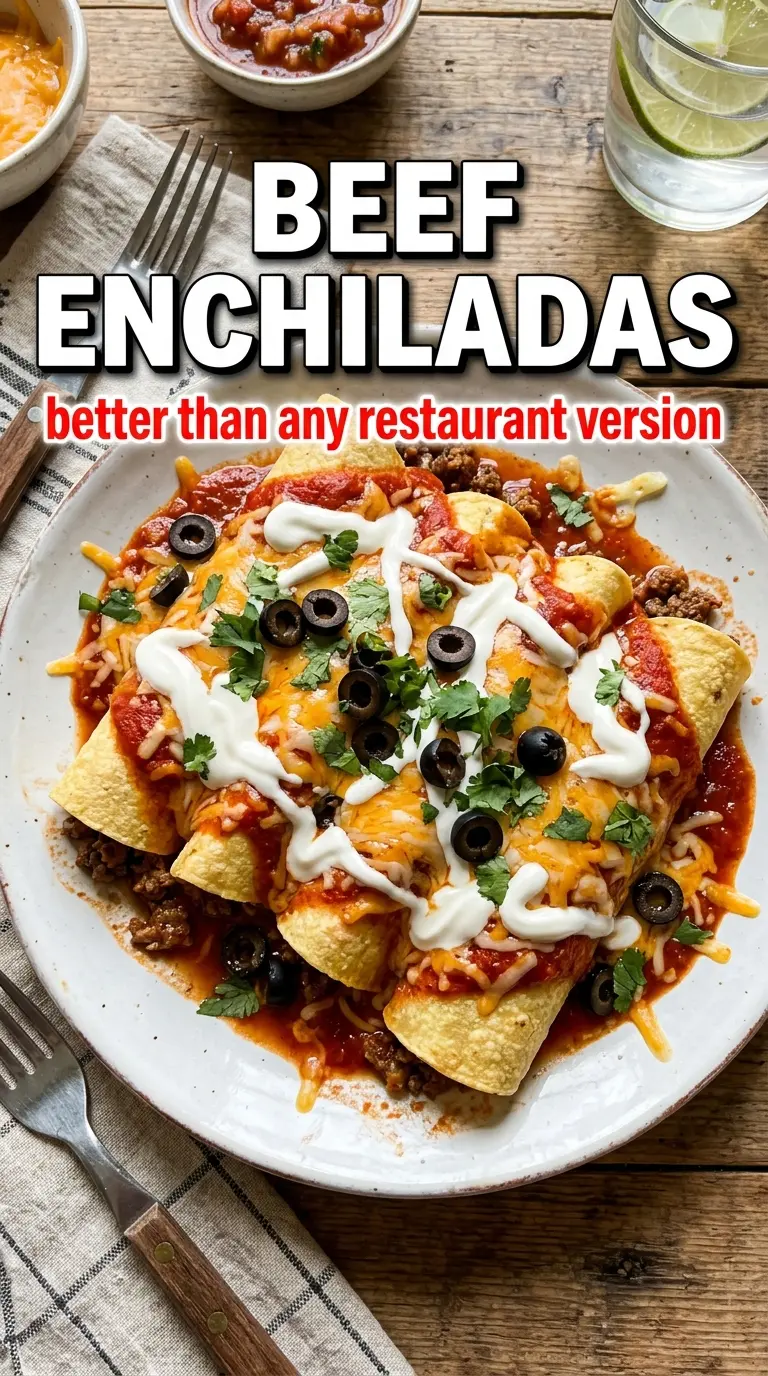
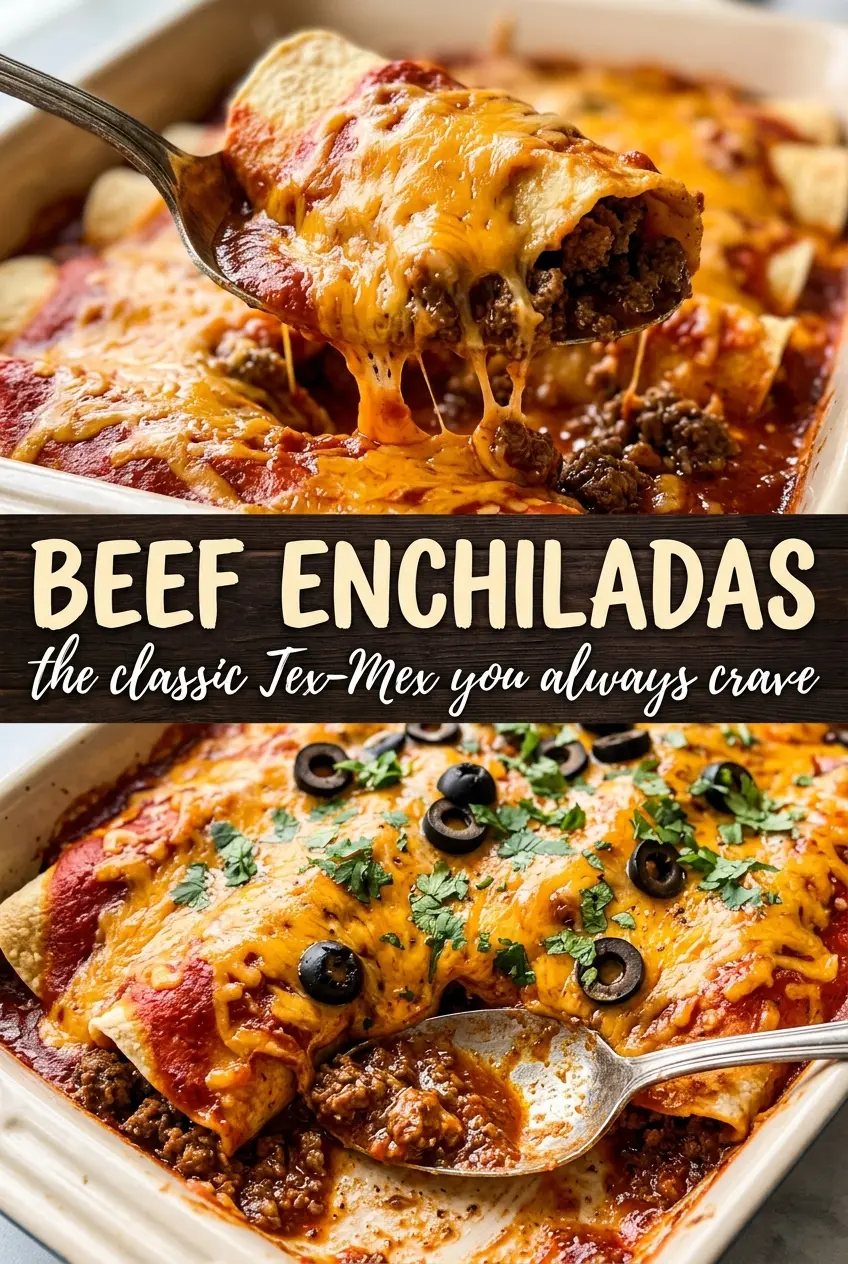
Tightly rolled tortillas under a layer of red sauce and bubbling cheese are what make beef enchiladas worth putting on repeat. The filling stays savory and juicy, the tortillas soften just enough in the oven, and the top bakes into that melty, lightly browned finish that disappears fast at the table. This version leans on a simple beef-and-onion base, which gives the enchiladas enough flavor to stand up to the sauce without turning heavy.
The small details matter here. Warming the corn tortillas before rolling keeps them from cracking, and draining the beef after browning keeps the filling from getting greasy under the sauce. I also like using enchilada sauce in two places: a thin layer on the bottom to keep the tortillas from sticking, then the rest over the top so every bite gets that red sauce edge. Below, I’ve included the timing cues that help you know when the enchiladas are done, plus a few smart swaps if you want to adjust the heat or make the dish fit what’s already in your kitchen.
The tortillas stayed soft without falling apart, and the sauce soaked in just enough while the cheese got that bubbly top I wanted. My husband kept going back for “just one more” piece.
Save these cheesy beef enchiladas for the nights when you want a red-sauce casserole with melty, bubbly edges.
The Part That Keeps the Tortillas from Turning to Mush
Enchiladas fail when the tortillas absorb too much sauce before they ever hit the oven. Corn tortillas need a little help to stay pliable, but they also need structure, or they split and turn soft in all the wrong places. The trick is to warm them just enough to roll cleanly, then bake them under sauce rather than soaking them in it.
The other thing that matters is balance in the pan. If the beef filling is too wet, the tortillas slip apart and the casserole turns sloppy. If it’s too dry, the enchiladas eat flat. The taco seasoning and a short simmer with water give the filling enough body to stay cohesive while still tasting seasoned all the way through.
- Ground beef — Use 85/15 or 90/10 if you can. Leaner beef works, but very lean meat can taste dry unless you’re careful not to overcook it while browning.
- Onion — Dice it small so it softens into the beef instead of staying crunchy. It adds sweetness and keeps the filling from tasting one-note.
- Taco seasoning — A packet keeps this fast and reliable. If you use homemade seasoning, include enough chili powder, cumin, garlic powder, and salt to give the filling the same punch.
- Corn tortillas — These matter. Flour tortillas get too soft and don’t give you the same enchilada texture. If your corn tortillas crack, warm them in a stack under a damp paper towel exactly as directed.
- Red enchilada sauce — This is where a good store-bought sauce earns its keep. Use one you like straight from the can, because it becomes the main flavor on top of the casserole.
- Mexican cheese blend — Pre-shredded is fine here for convenience, though freshly shredded melts a little cleaner. Save a handful for the top so you get those browned, stretchy bits after baking.
What Each Ingredient Is Actually Doing in This Beef or Enchilada Dish
- Beef (proper cut for the method) — Choose tender or tough cuts based on cooking. Pat dry for browning.
- Oil (the browning medium) — High-heat oil essential for proper searing. Creates deep flavor.
- Seasonings (salt, pepper, spices, cumin) — Layer boldly so they define the dish.
- Aromatics (garlic, onion, chiles, cilantro) — Cook with oil to bloom. Build depth gradually.
- Sauce or braising liquid (broth or enchilada sauce) — This tenderizes tough cuts and brings flavors together.
- Cheese (if using enchiladas) — Layer inside and top with more. Creates golden, bubbly finish.
- Acid (lime, vinegar, or tomato) — This brightens and prevents heavy beef flavor.
- Final garnish (cilantro, sour cream, or green onion) — These add fresh flavor and visual appeal. Add before serving.
How to Build the Filling and Roll Without Breaking the Tortillas
Brown the Beef Until the Moisture Cooks Off
Cook the beef with the onion over medium-high heat until the meat is no longer pink and the onion has softened. You want the pan to be active and sizzling, not crowded with liquid. If a puddle of grease collects, drain it off before adding the garlic and seasoning or the filling can turn heavy. Once the garlic and taco seasoning go in, the mixture should smell fragrant and look coated, not soupy.
Warm the Tortillas Just Enough to Bend
Wrap the corn tortillas in a damp paper towel and microwave them until they’re flexible, about a minute. They should feel warm and bend without tearing when you lift one from the stack. If they cool before you start rolling, the edges will crack again, so keep them covered while you work. This is the difference between neat rolled enchiladas and a pan full of broken tortillas.
Assemble in a Thin, Tight Layer
Spoon a little enchilada sauce into the bottom of the dish first, then fill each tortilla with a line of beef and a small sprinkle of cheese. Roll them snugly and set them seam-side down so they stay closed in the oven. Don’t overfill them; a packed tortilla looks generous, but it’s the fastest way to split the seam and spill filling into the sauce.
Bake Until the Sauce Bubbles at the Edges
Pour the remaining sauce evenly over the rolled enchiladas and finish with the rest of the cheese. Bake uncovered until the cheese is fully melted and the sauce is bubbling around the edges, which usually takes 20 to 25 minutes. If the top browns before the center is hot, cover it loosely with foil for the last few minutes. The casserole is ready when everything looks melded together and the sauce has darkened slightly at the corners.
How to Adapt These Beef Enchiladas for Different Kitchens
Make Them Spicier Without Changing the Method
Add diced jalapeños to the beef while it cooks, or use a hot red enchilada sauce instead of mild. You can also top the finished casserole with sliced fresh jalapeños for heat that stays bright instead of muddy. The filling stays the same, but the final dish has more bite and a little more contrast against the cheese.
Use Ground Turkey or Chicken
Ground turkey or chicken works when you want a lighter filling. The key is to season it well and not let it dry out during browning, since poultry has less fat than beef. A splash of extra sauce in the filling can help keep the texture juicy.
Make Them Gluten-Free Without Giving Up the Texture
These enchiladas are naturally gluten-free as long as your taco seasoning and enchilada sauce are certified gluten-free. Corn tortillas are the right choice here, and they bake up with the classic enchilada texture flour tortillas can’t match. The only thing to watch is cross-contamination in the seasoning packet and sauce labels.
Storage and Reheating
- Refrigerator: Store covered for up to 4 days. The tortillas soften a little more as they sit, but the flavor holds up well.
- Freezer: Freeze baked enchiladas in a tightly wrapped dish or airtight container for up to 2 months. Thaw in the refrigerator before reheating so the center warms evenly.
- Reheating: Reheat covered in a 350°F oven until hot in the middle, about 20 to 25 minutes for a smaller portion. Microwaving works for leftovers, but the oven keeps the tortillas from turning rubbery and helps the cheese melt back across the top.
Answers to the Questions Worth Asking
Beef Enchiladas
Ingredients
Equipment
Method
- Preheat the oven to 375°F and spread 1/2 cup red enchilada sauce in the bottom of a 9x13 baking dish, creating an even base layer.
- Brown the ground beef with diced onion over medium-high heat until the beef is no longer pink, then drain excess fat.
- Add the minced garlic, taco seasoning, and water, then simmer for 5 minutes until the mixture thickens slightly and is evenly seasoned.
- Wrap the corn tortillas in a damp paper towel and microwave for 1 minute to make them pliable without cracking.
- Fill each tortilla with the beef mixture and a sprinkle of Mexican cheese blend, then roll up tightly and place seam-side down in the baking dish.
- Pour the remaining red enchilada sauce evenly over the rolled enchiladas and top with the remaining cheese blend.
- Bake uncovered for 20–25 minutes at 375°F until the cheese is bubbly and lightly golden at the edges.
- Serve hot with sour cream, cilantro, and jalapeños on top.