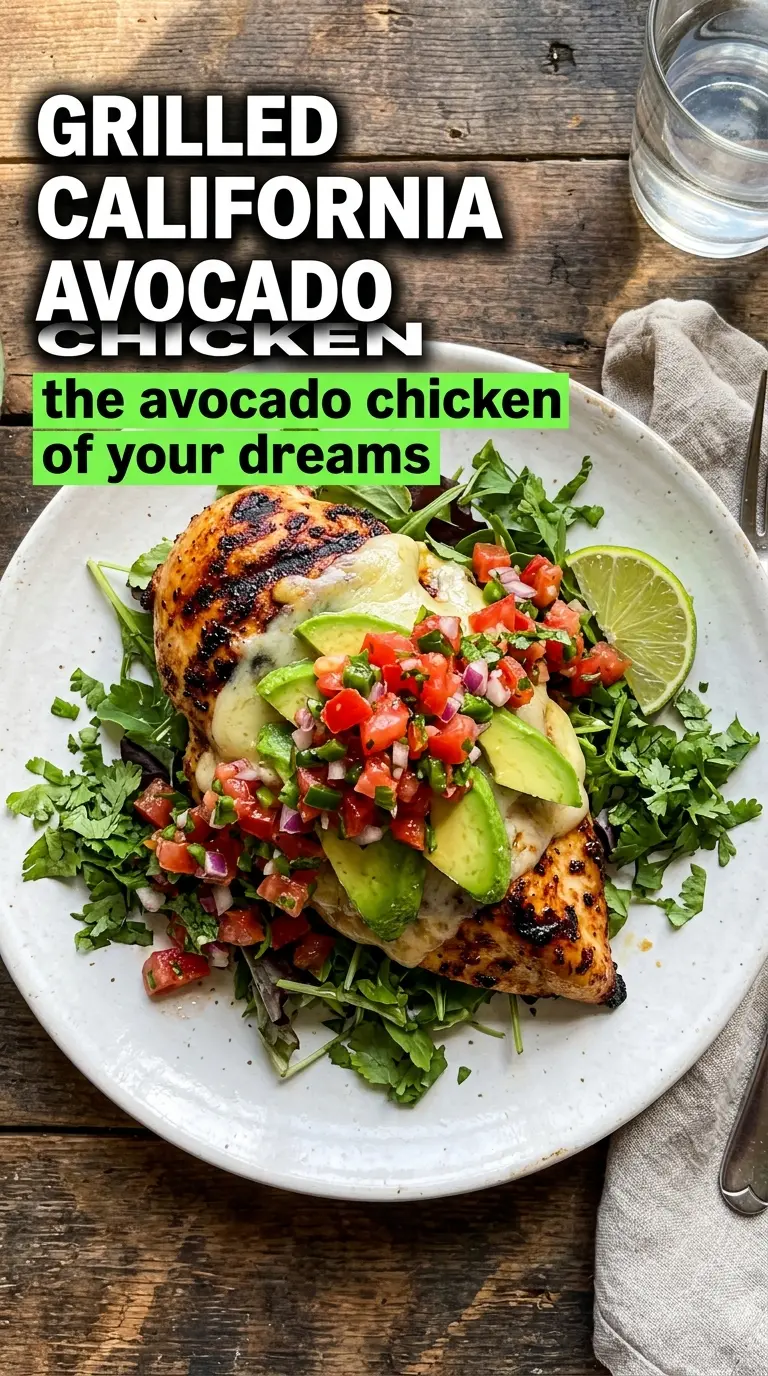
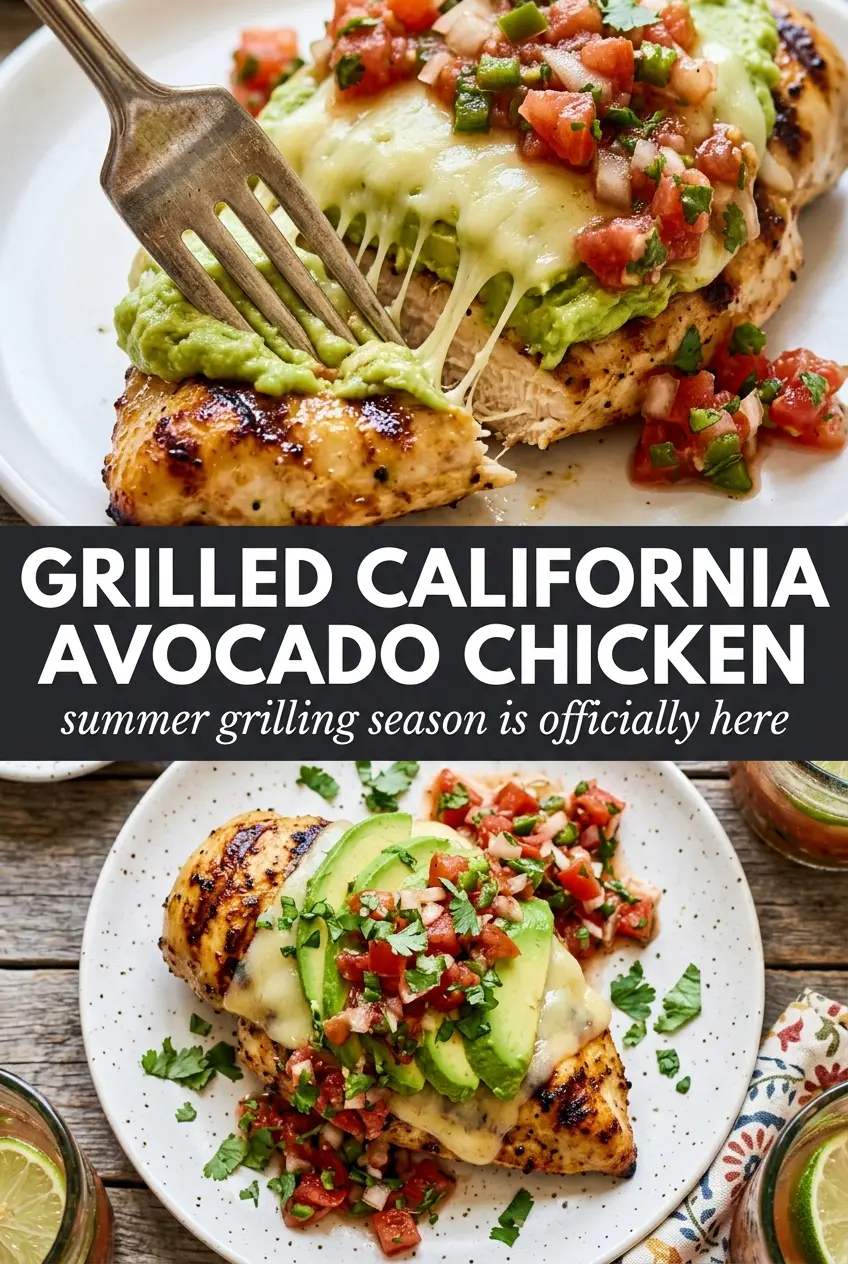
Grilled California avocado chicken hits that sweet spot between fast weeknight cooking and backyard food that actually feels worth firing up the grill for. The chicken stays juicy because it’s pounded to an even thickness, then gets those dark grill marks before the cheese melts over the top and the avocado goes on at the very end. You get smoky chicken, creamy avocado, salty bacon, and bright pico de gallo in one bite.
The part that matters most is timing. Monterey jack goes on only during the last couple of minutes so it melts without turning rubbery, and the avocado waits until the chicken is off the grill so it stays fresh and doesn’t slump into the heat. A quick brush of olive oil and a simple seasoning blend are enough here because the toppings carry the rest.
Below, I’ll walk through the small details that keep the chicken from drying out, plus a few practical swaps if you need to work with what’s in the fridge.
The chicken stayed juicy on the grill, and the avocado with the melted jack and crispy bacon made every bite taste like a loaded California burger without the bun.
Save this grilled California avocado chicken for the nights when smoky chicken, melted Monterey jack, and fresh avocado need to do the heavy lifting.
The Trick to Juicy Grilled Chicken Is Hitting the Same Thickness First
Chicken breast dries out when the thin end finishes early and the thick end is still chasing temperature. Pounding it to an even thickness changes the whole recipe. The grill can work evenly across the surface, which means you get a better sear without overcooking one side just to save the other.
The other thing that matters here is restraint once the chicken hits the grate. Don’t move it around constantly. Let it pick up defined grill marks, then turn it once. If your grill is clean and hot, the chicken will release when it’s ready; if it sticks, it needs another minute.
- Chicken breasts — Boneless, skinless breasts are the right choice because they cook fast enough to stay juicy. If one side is much thicker, pound it between two sheets of plastic or parchment until the breast is about the same thickness from end to end.
- Olive oil — This helps the seasoning cling and gives the surface a little protection against the heat. You don’t need an expensive bottle here; use a decent everyday olive oil.
- Garlic powder and smoked paprika — Garlic powder gives steady savory flavor without burning like fresh garlic would on the grill, and smoked paprika adds a little campfire depth. If you only have regular paprika, use it, but you’ll lose some of the smoky edge that makes this taste complete.
- Monterey jack — This is the melting layer that ties the toppings together. It melts cleanly and stays mild enough that it doesn’t fight the avocado and pico. Pepper jack works if you want more bite.
- Avocados — Use ripe avocados that give slightly when pressed. Hard avocados won’t taste the same, and overripe ones turn mushy the second they hit warm chicken.
- Pico de gallo — Fresh pico brings acidity and moisture, which keeps the dish from feeling heavy. Store-bought is fine if it’s chunky and not swimming in liquid; if it looks watery, drain it first or it will slide right off the chicken.
- Bacon — The crispy strips add salt and crunch, and that contrast matters. Cook it until properly crisp before the chicken ever goes on the grill, because limp bacon gets lost under the avocado.
What Each Ingredient Is Actually Doing in This Chicken Dish
- Chicken (pat dry for browning) — Room temperature cooks more evenly. Even thickness ensures uniform cooking.
- Oil or butter (the browning medium) — High-heat oil essential. Creates pan flavor through browning.
- Seasonings (salt, pepper, spices) — Apply generously. Chicken carries the entire flavor profile.
- Aromatics (garlic, ginger, or herbs) — Cook with fat to bloom flavors. Become the foundation.
- Sauce or braising liquid (if using) — This keeps chicken moist. Balance richness with acid.
- Vegetables (if using) — Layer by cooking time. Hard vegetables first, soft vegetables last.
- Acid (vinegar, wine, lime, or pineapple) — This brightens and prevents one-dimensional flavor.
- Proper doneness (165°F internal temperature) — Use thermometer for accuracy. Overcooked is dry and flavorless.
Building the Chicken So the Toppings Don’t Take It Over
Seasoning the Meat
Brush the chicken lightly with olive oil, then coat it with garlic powder, smoked paprika, salt, and black pepper. The oil helps the spices stick and keeps the surface from drying before it has time to brown. If you season too heavily, the bacon and pico lose their place; this dish works best when the chicken tastes clean and smoky, not overloaded.
Grilling to the Right Point
Lay the chicken on a preheated medium-high grill and leave it alone long enough to get visible grill marks. After about 6 to 7 minutes per side, check the thickest part for doneness; the juices should run clear and the center should be fully cooked, not springy and translucent. If the grill is too hot, the outside will char before the inside is done, so keep the heat steady instead of chasing a high flame.
Melting the Cheese at the End
Set a slice of Monterey jack on each breast during the last 2 minutes and close the lid. That short covered finish softens the cheese without turning it oily or stiff. If you add it too early, it can overcook and separate before the chicken is finished.
Finishing with Avocado, Bacon, and Pico
Take the chicken off the grill first, then top it with avocado slices, bacon, and a spoonful of pico de gallo. This order keeps the avocado bright and the pico fresh instead of steaming into a warm mash. Finish with cilantro and a squeeze of lime right before serving so the whole plate wakes up the second it hits the table.
How to Adapt This for What You’ve Got on Hand
Make it dairy-free
Skip the cheese and add a second layer of avocado or a spoonful of dairy-free cilantro sauce. You lose the mild melt of Monterey jack, but the chicken still has enough smoke, salt, and freshness to stand on its own.
Make it low-carb without losing the texture
This recipe already lands naturally in low-carb territory, so the main job is keeping the toppings balanced. Use a chunky pico de gallo rather than a watery salsa so the chicken stays crisp at the edges instead of turning soggy.
Swap the cheese or bacon with what you have
Pepper jack gives the same melt with a little heat, while cheddar adds a sharper finish. If you don’t have bacon, use prosciutto cooked crisp or skip it and add a pinch more salt to the avocado layer so the dish doesn’t feel flat.
Grill it indoors instead
A grill pan works well if you don’t have outdoor space. Preheat it until it’s hot enough that the chicken sizzles on contact, and leave room between the breasts so the meat sears instead of steaming.
Storage and Reheating
- Refrigerator: Store the chicken for up to 3 days, but the avocado is best added fresh. The toppings will soften a little as they sit.
- Freezer: Freeze the cooked chicken without avocado or pico for up to 2 months. The toppings don’t freeze well and should be added after reheating.
- Reheating: Warm the chicken gently in a covered skillet over low heat or in a 325°F oven until heated through. High heat dries out grilled chicken fast, and the avocado should always be added after reheating.
Questions I Get Asked About This Recipe
Grilled California Avocado Chicken
Ingredients
Equipment
Method
- Pound the chicken breasts to an even thickness, then brush both sides with olive oil.
- Season with garlic powder, smoked paprika, salt, and black pepper, coating evenly over the surface.
- Grill over medium-high heat for 6–7 minutes per side until cooked through and grill marks are visible.
- During the last 2 minutes, place a slice of Monterey jack on each chicken breast and close the grill lid to melt.
- Remove the chicken from the grill and top each breast with sliced avocado and two strips of bacon.
- Spoon pico de gallo over the top right away, then garnish with fresh cilantro and a squeeze of lime and serve immediately.