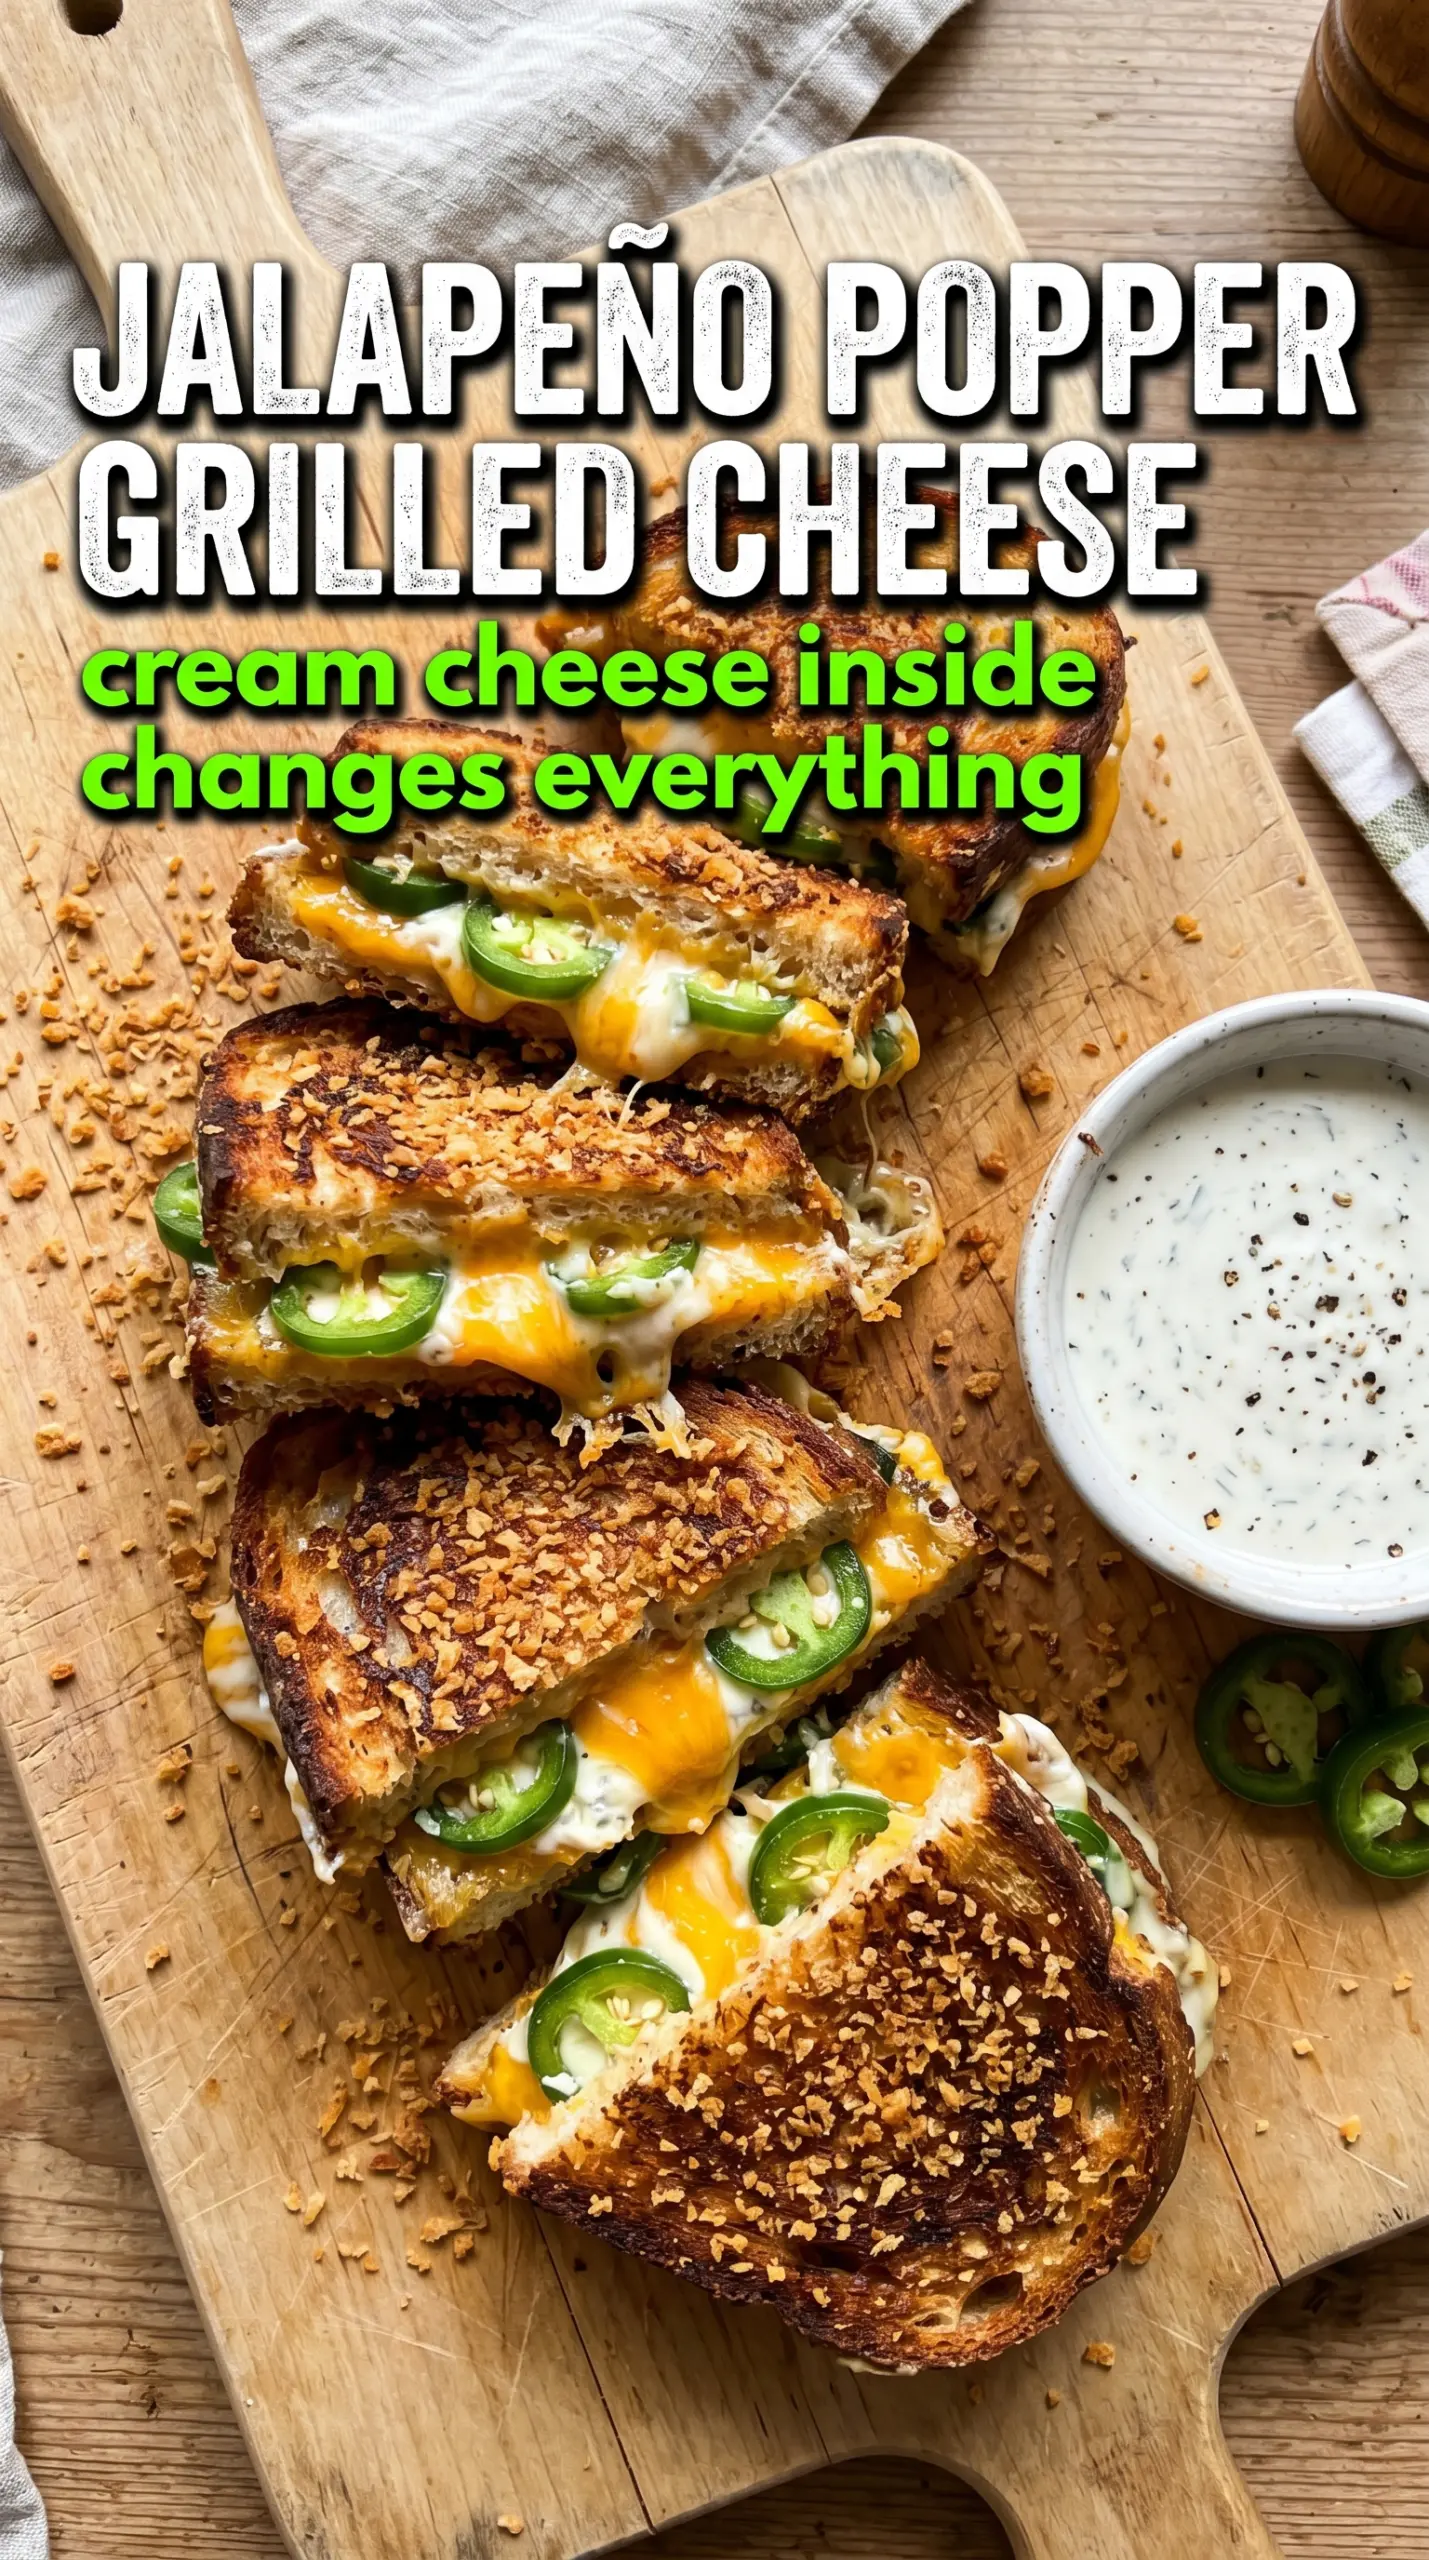
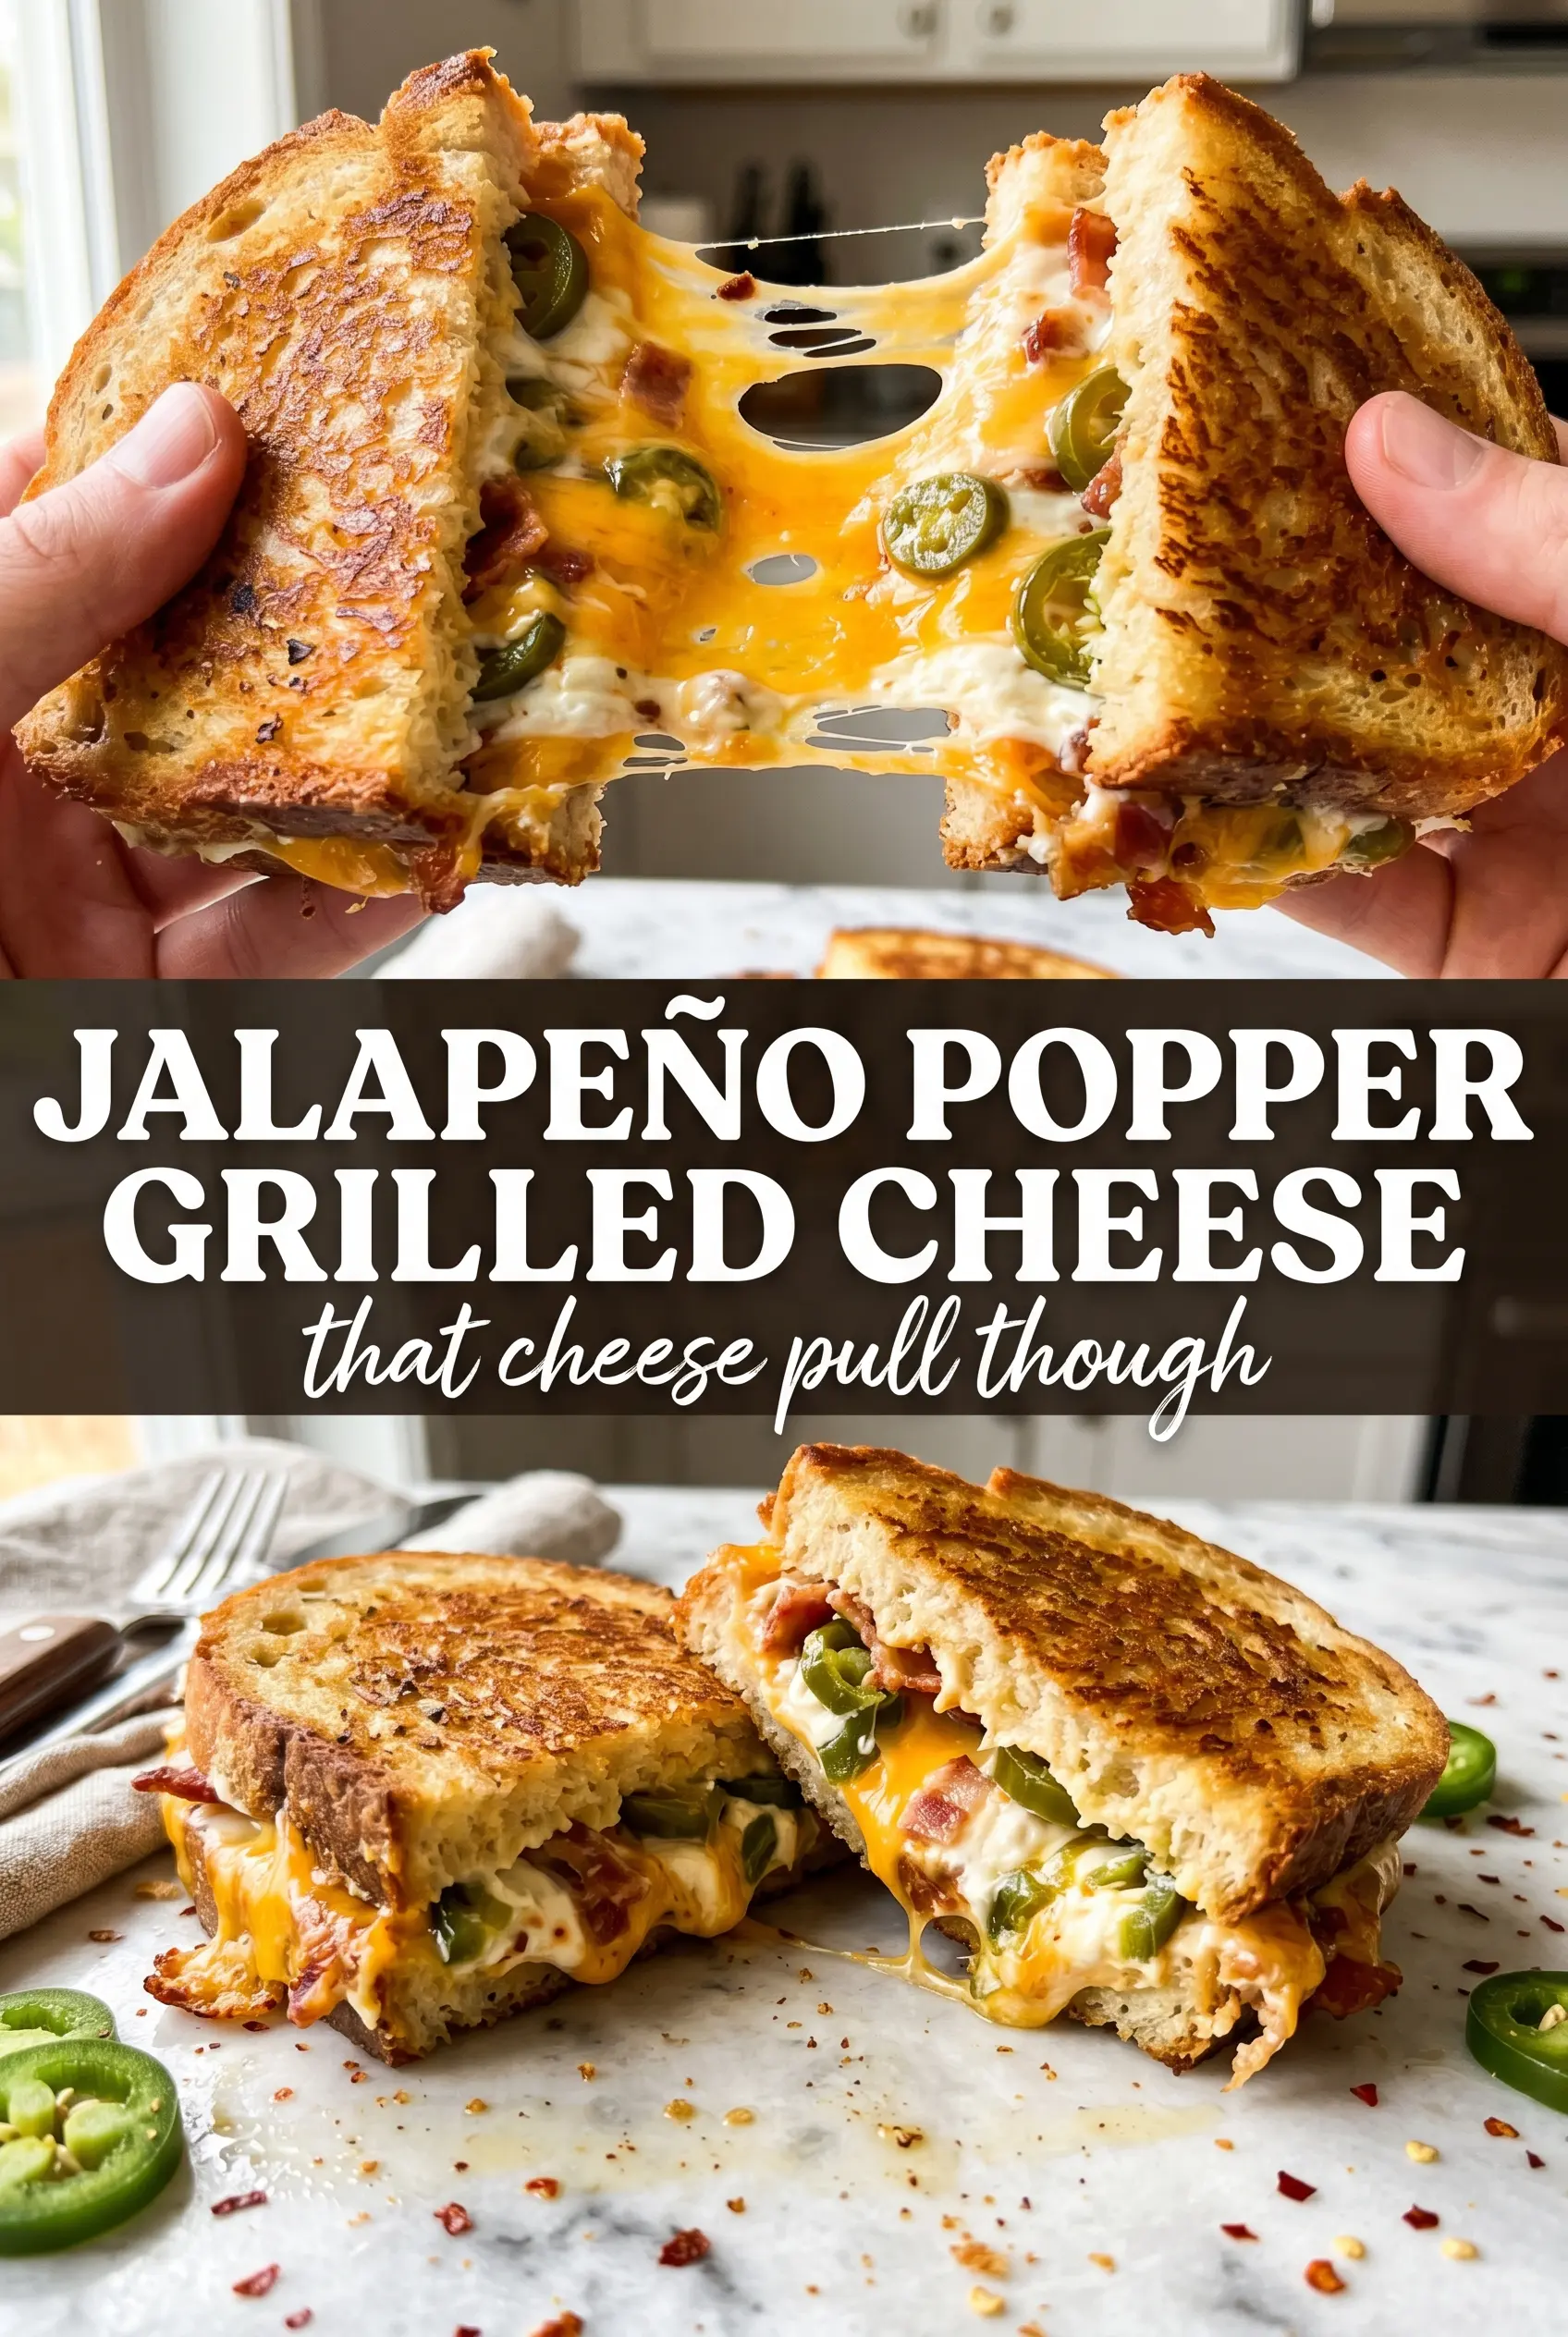
Jalapeño Popper Grilled Cheese lands in that sweet spot between a snack and a full meal: crisp, buttery bread on the outside, a molten filling inside, and enough heat to keep every bite interesting. The cream cheese keeps the center soft instead of stringy and dry, while the cheddar and pepper jack melt into a thick, stretchy layer that holds onto the bacon and jalapeños instead of slipping out the sides.
The trick here is mixing the filling before it ever hits the bread. That gives you an even spread and keeps the sandwich from collapsing into pockets of plain cream cheese and bare bread. A lower skillet temperature matters too. If the heat is too high, the bread darkens before the cheese fully melts, and you end up with a sandwich that looks done but eats cold in the middle.
Below, I’ll walk through the exact heat level that gives you a deep golden crust, the ingredient swaps that still keep the filling balanced, and the small timing details that turn this from a decent grilled cheese into one worth making again.
The filling stayed creamy, the jalapeños kept their bite, and the bread turned perfectly crisp without burning. I used sourdough and the cheese pull was unreal.
Save this jalapeño popper grilled cheese for the lunch days when you want a serious cheese pull and a little heat in every bite.
The Reason the Bread Turns Brown Before the Filling Melts
The failure point in a grilled cheese like this is heat. Crank the skillet too high and the bread picks up color fast while the center stays stubborn and cool, especially with a filling this thick. Medium-low heat gives the butter time to toast the bread slowly while the cream cheese and shredded cheese melt into one cohesive layer.
Thickness matters too. A thin smear of filling gets lost, but a heavy mound pushed all the way to the edges leaks before the bread has a chance to seal. The best move is a thick, even layer that stops just shy of the crust so the cheese can soften and settle without escaping into the pan.
- Softened cream cheese — This is the base that makes the filling spreadable and rich. Cold cream cheese stays lumpy and tears the bread when you try to assemble the sandwich.
- Sharp cheddar — It brings the punchy, salty flavor that gives the sandwich its jalapeño popper character. Pre-shredded works, but freshly shredded melts smoother and less grainy.
- Pepper jack — This adds extra melt and a little background heat. If you only have cheddar, use it, but the sandwich will lose some of the stretch and spice.
- Bacon — It adds salt and crunch against the soft filling. Cook it until crisp, then crumble it fine so it disperses through every bite instead of falling out of the sandwich.
- Jalapeños — Fresh slices give the sandwich its bite and keep the flavor bright. Remove the seeds for moderate heat, or leave a few in if you want more kick.
- Thick bread — Sourdough or sturdy white bread holds the filling without buckling. Thin sandwich bread tends to go limp before the cheese fully melts.
What Each Ingredient Is Actually Doing in This Recipe
- Primary ingredient (the star) — Quality matters most. Choose the best you can find.
- Cooking medium (oil, butter, or broth) — This carries flavors and prevents dryness.
- Seasonings (salt, pepper, spices, herbs) — Layer flavors so nothing overpowers. Build depth gradually.
- Aromatics (garlic, onion, herbs) — Cook with fat to bloom flavors. Become the foundation.
- Supporting ingredients — Complement the main ingredient without overpowering it.
- Sauce or liquid (if applicable) — Brings flavors together. Balance richness with acid.
- Acid (lemon, vinegar, wine, or other) — Brightens and prevents flat-tasting results.
- Final finish (garnish, glaze, or sauce) — Prevents one-dimensional taste and adds visual appeal.
Building the Filling Before It Hits the Skillet
Mix the filling first
Stir the softened cream cheese, cheddar, pepper jack, bacon, and sliced jalapeños together until the mixture looks evenly speckled. You want every spoonful to carry a little of everything, because that’s what keeps the sandwich balanced from edge to edge. If the cream cheese is still cold, stop and let it sit another 10 minutes; otherwise the mixture stays stiff and spreads unevenly.
Butter the outside, not the filling side
Spread softened butter on one side of each bread slice in a thin, even layer. That buttered side goes facing out in the skillet, and the plain side holds the filling. A heavy butter layer can brown too fast and leave streaky, greasy spots, so keep it even rather than thick.
Cook low and give it time
Set the sandwich in a skillet over medium-low heat and press it gently with a spatula. After 4 to 5 minutes, lift a corner and check for a deep golden crust before flipping. If the bread is already dark before the filling softens, lower the heat on the next sandwich and give it a little more time; rushing this stage is what leaves you with a scorched crust and a cold center.
Slice while the cheese is still moving
Once both sides are crisp and the filling feels soft when you press the center, pull the sandwich from the pan and let it rest for about a minute. That short rest keeps the cheese from flooding out the second you cut into it, but waiting too long lets the filling set up and lose the stretch. Slice on the diagonal for the best pull and serve it right away.
How to Adjust the Heat, the Crunch, and the Cheesiness
Make it milder without losing the jalapeño popper flavor
Remove all the seeds and white ribs from the jalapeños, then use only two peppers instead of three. You’ll keep the fresh green pepper flavor and the classic popper character, but the heat stays low enough for people who don’t want a burn in every bite.
Make it vegetarian without losing texture
Leave out the bacon and add a spoonful of finely chopped roasted red pepper or a little extra cheddar for body. You lose the salty crunch, so the sandwich tastes softer and a little richer, but the jalapeños and cheese still carry the whole thing.
Use gluten-free bread that can actually hold up
Choose a sturdy gluten-free sandwich bread with some structure, not a soft, airy slice that collapses under the filling. Toasting it slowly in butter helps it crisp, but the bread still needs enough body to survive the weight of the cheese mixture.
Storage and Reheating
- Refrigerator: Store leftovers wrapped tightly for up to 2 days. The crust softens in the fridge, but the filling still holds its flavor.
- Freezer: It freezes, but the texture changes enough that I only do it in a pinch. Wrap the cooled sandwich tightly, then reheat from thawed for the best result.
- Reheating: Warm it in a skillet over low heat until the bread crisps again and the center loosens. The microwave turns the bread rubbery and leaves the filling unevenly hot, so use it only if you’re not worried about texture.
Answers to the Questions Worth Asking
Jalapeño Popper Grilled Cheese
Ingredients
Equipment
Method
- Mix the softened cream cheese with shredded cheddar, pepper jack, crumbled bacon, and jalapeño slices until fully combined, leaving the jalapeño distributed throughout.
- Spread butter evenly on one side of each bread slice so the outside edges will brown evenly in the skillet.
- Divide the cream cheese mixture between two bread slices on the unbuttered side, spreading thickly to cover nearly to the edges.
- Top with the remaining bread slices, buttered-side out, to form two sandwiches.
- Cook the sandwiches in a skillet over medium-low heat for 4–5 minutes per side, pressing gently with a spatula, until the bread is golden brown and the cheese is fully melted.
- Slice each sandwich in half and serve immediately while the cheese is at its stretchiest.