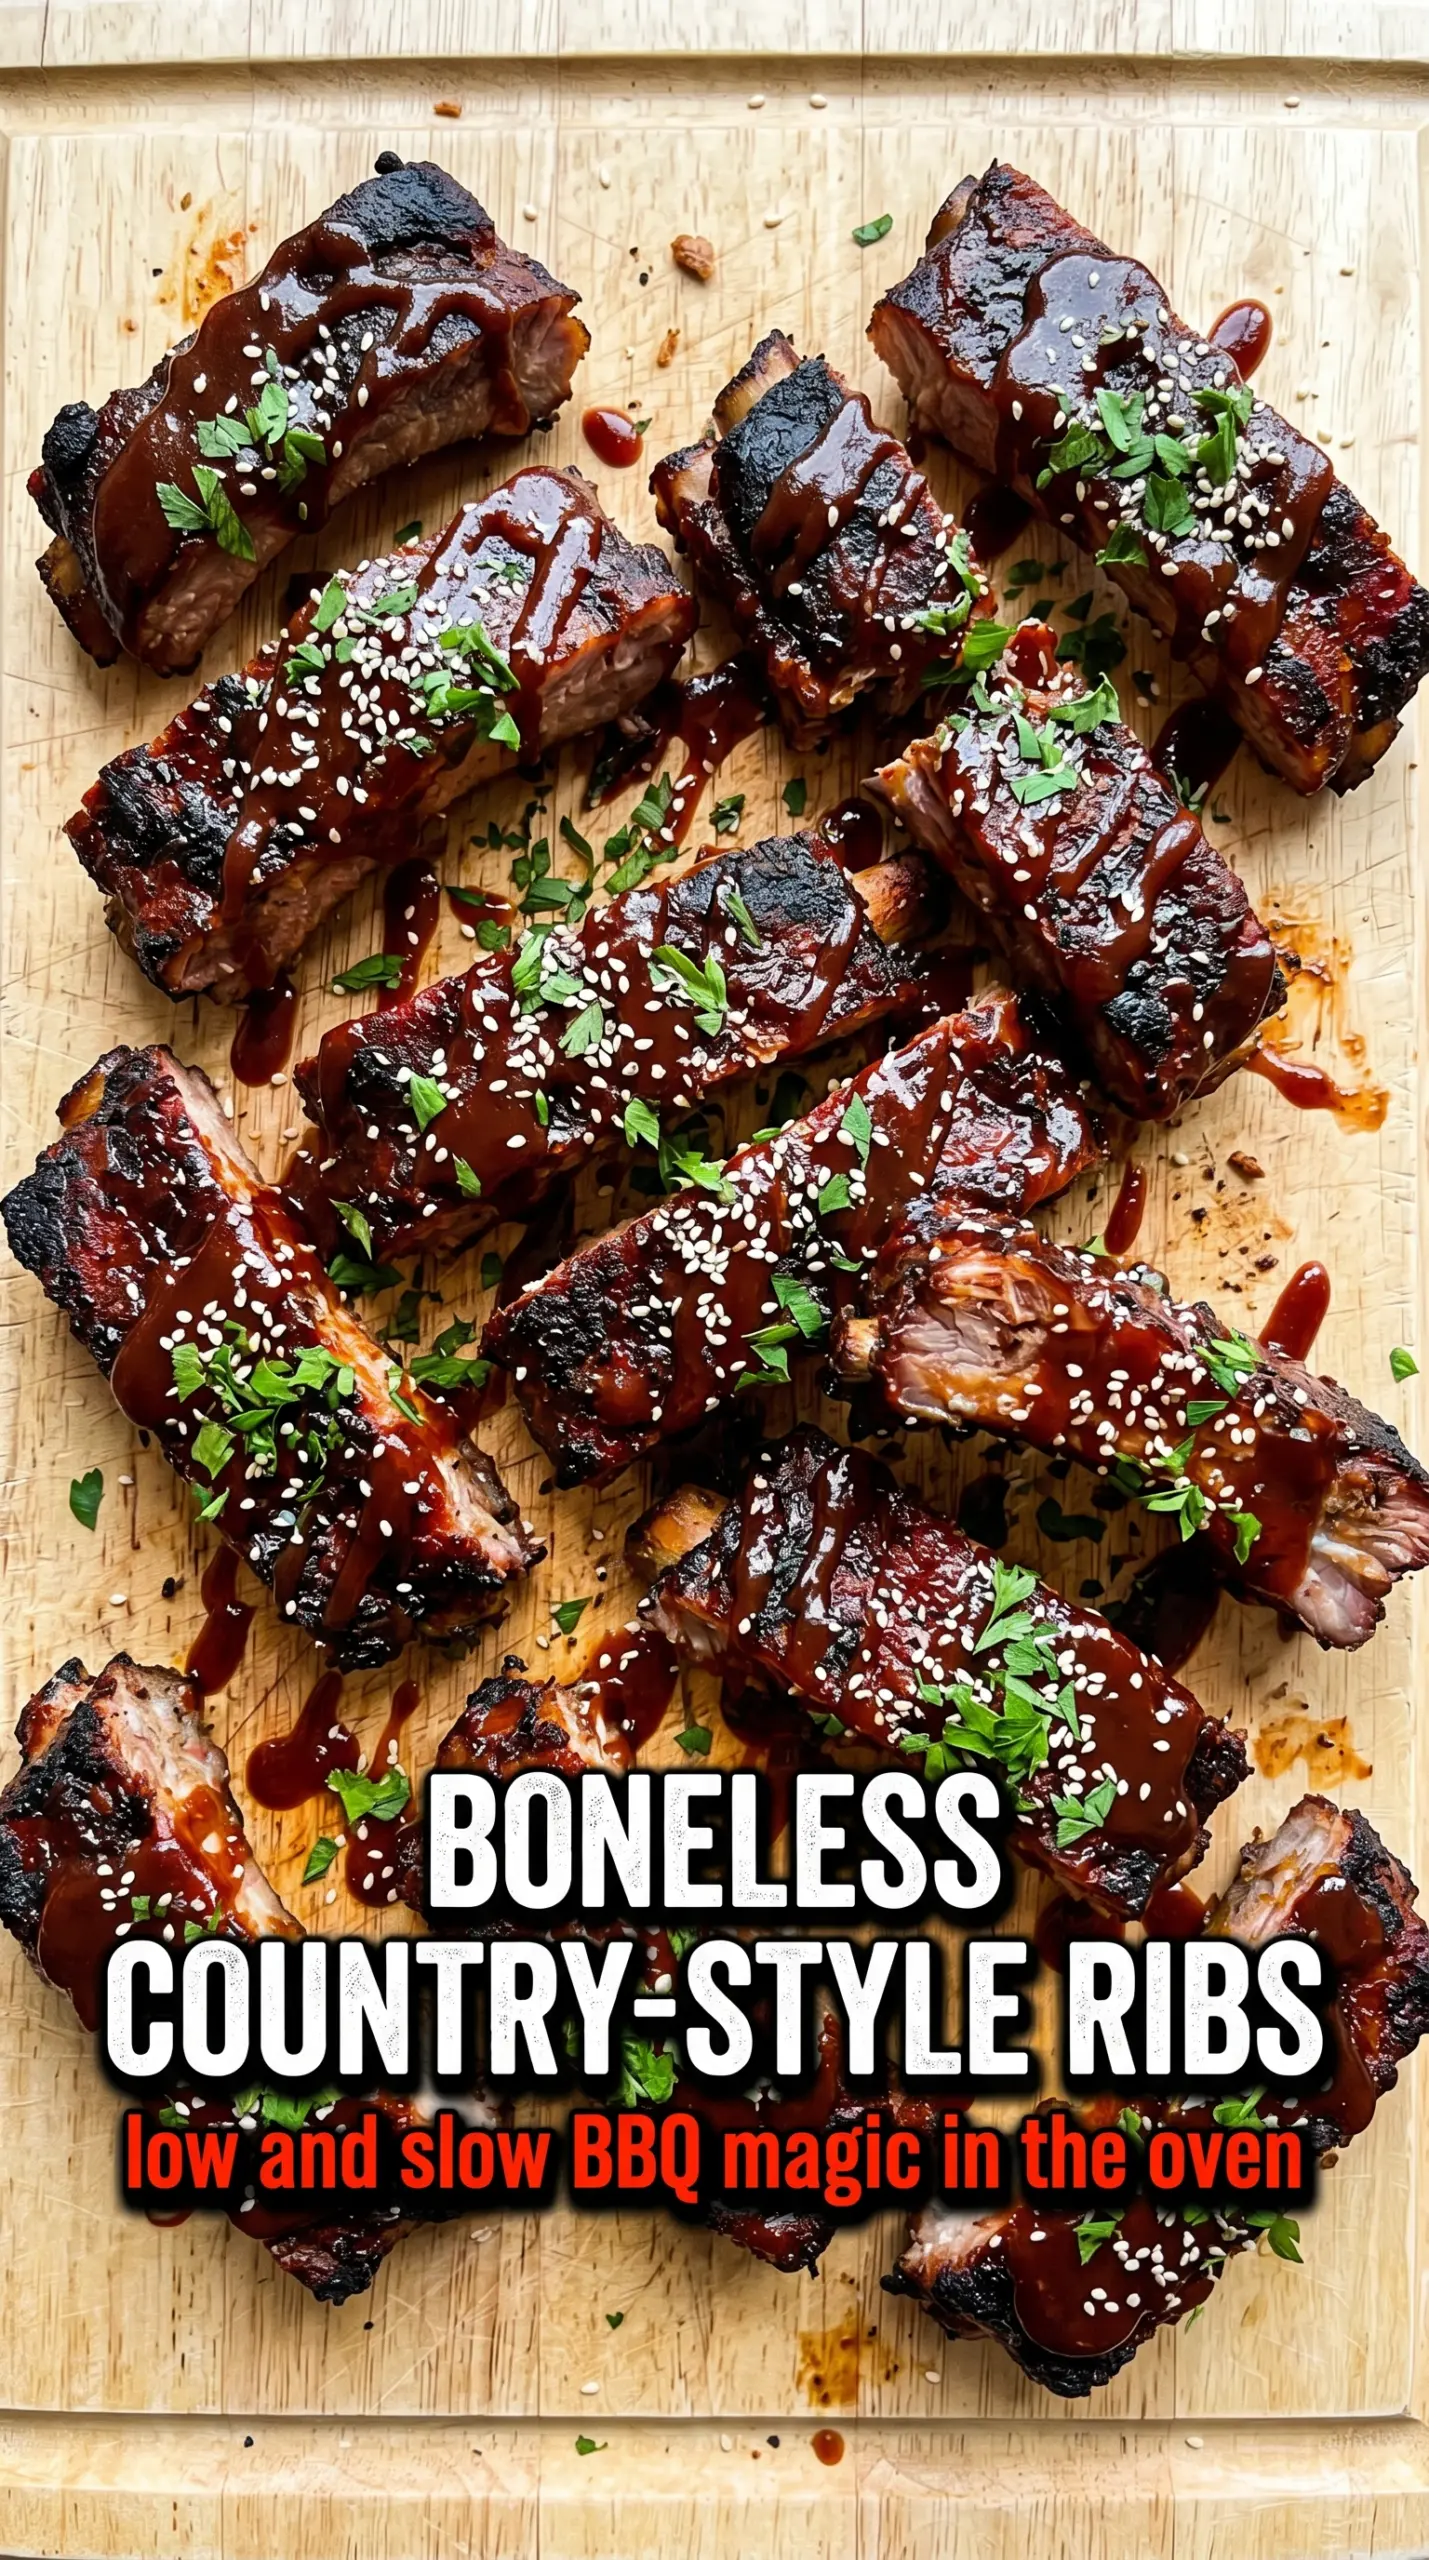
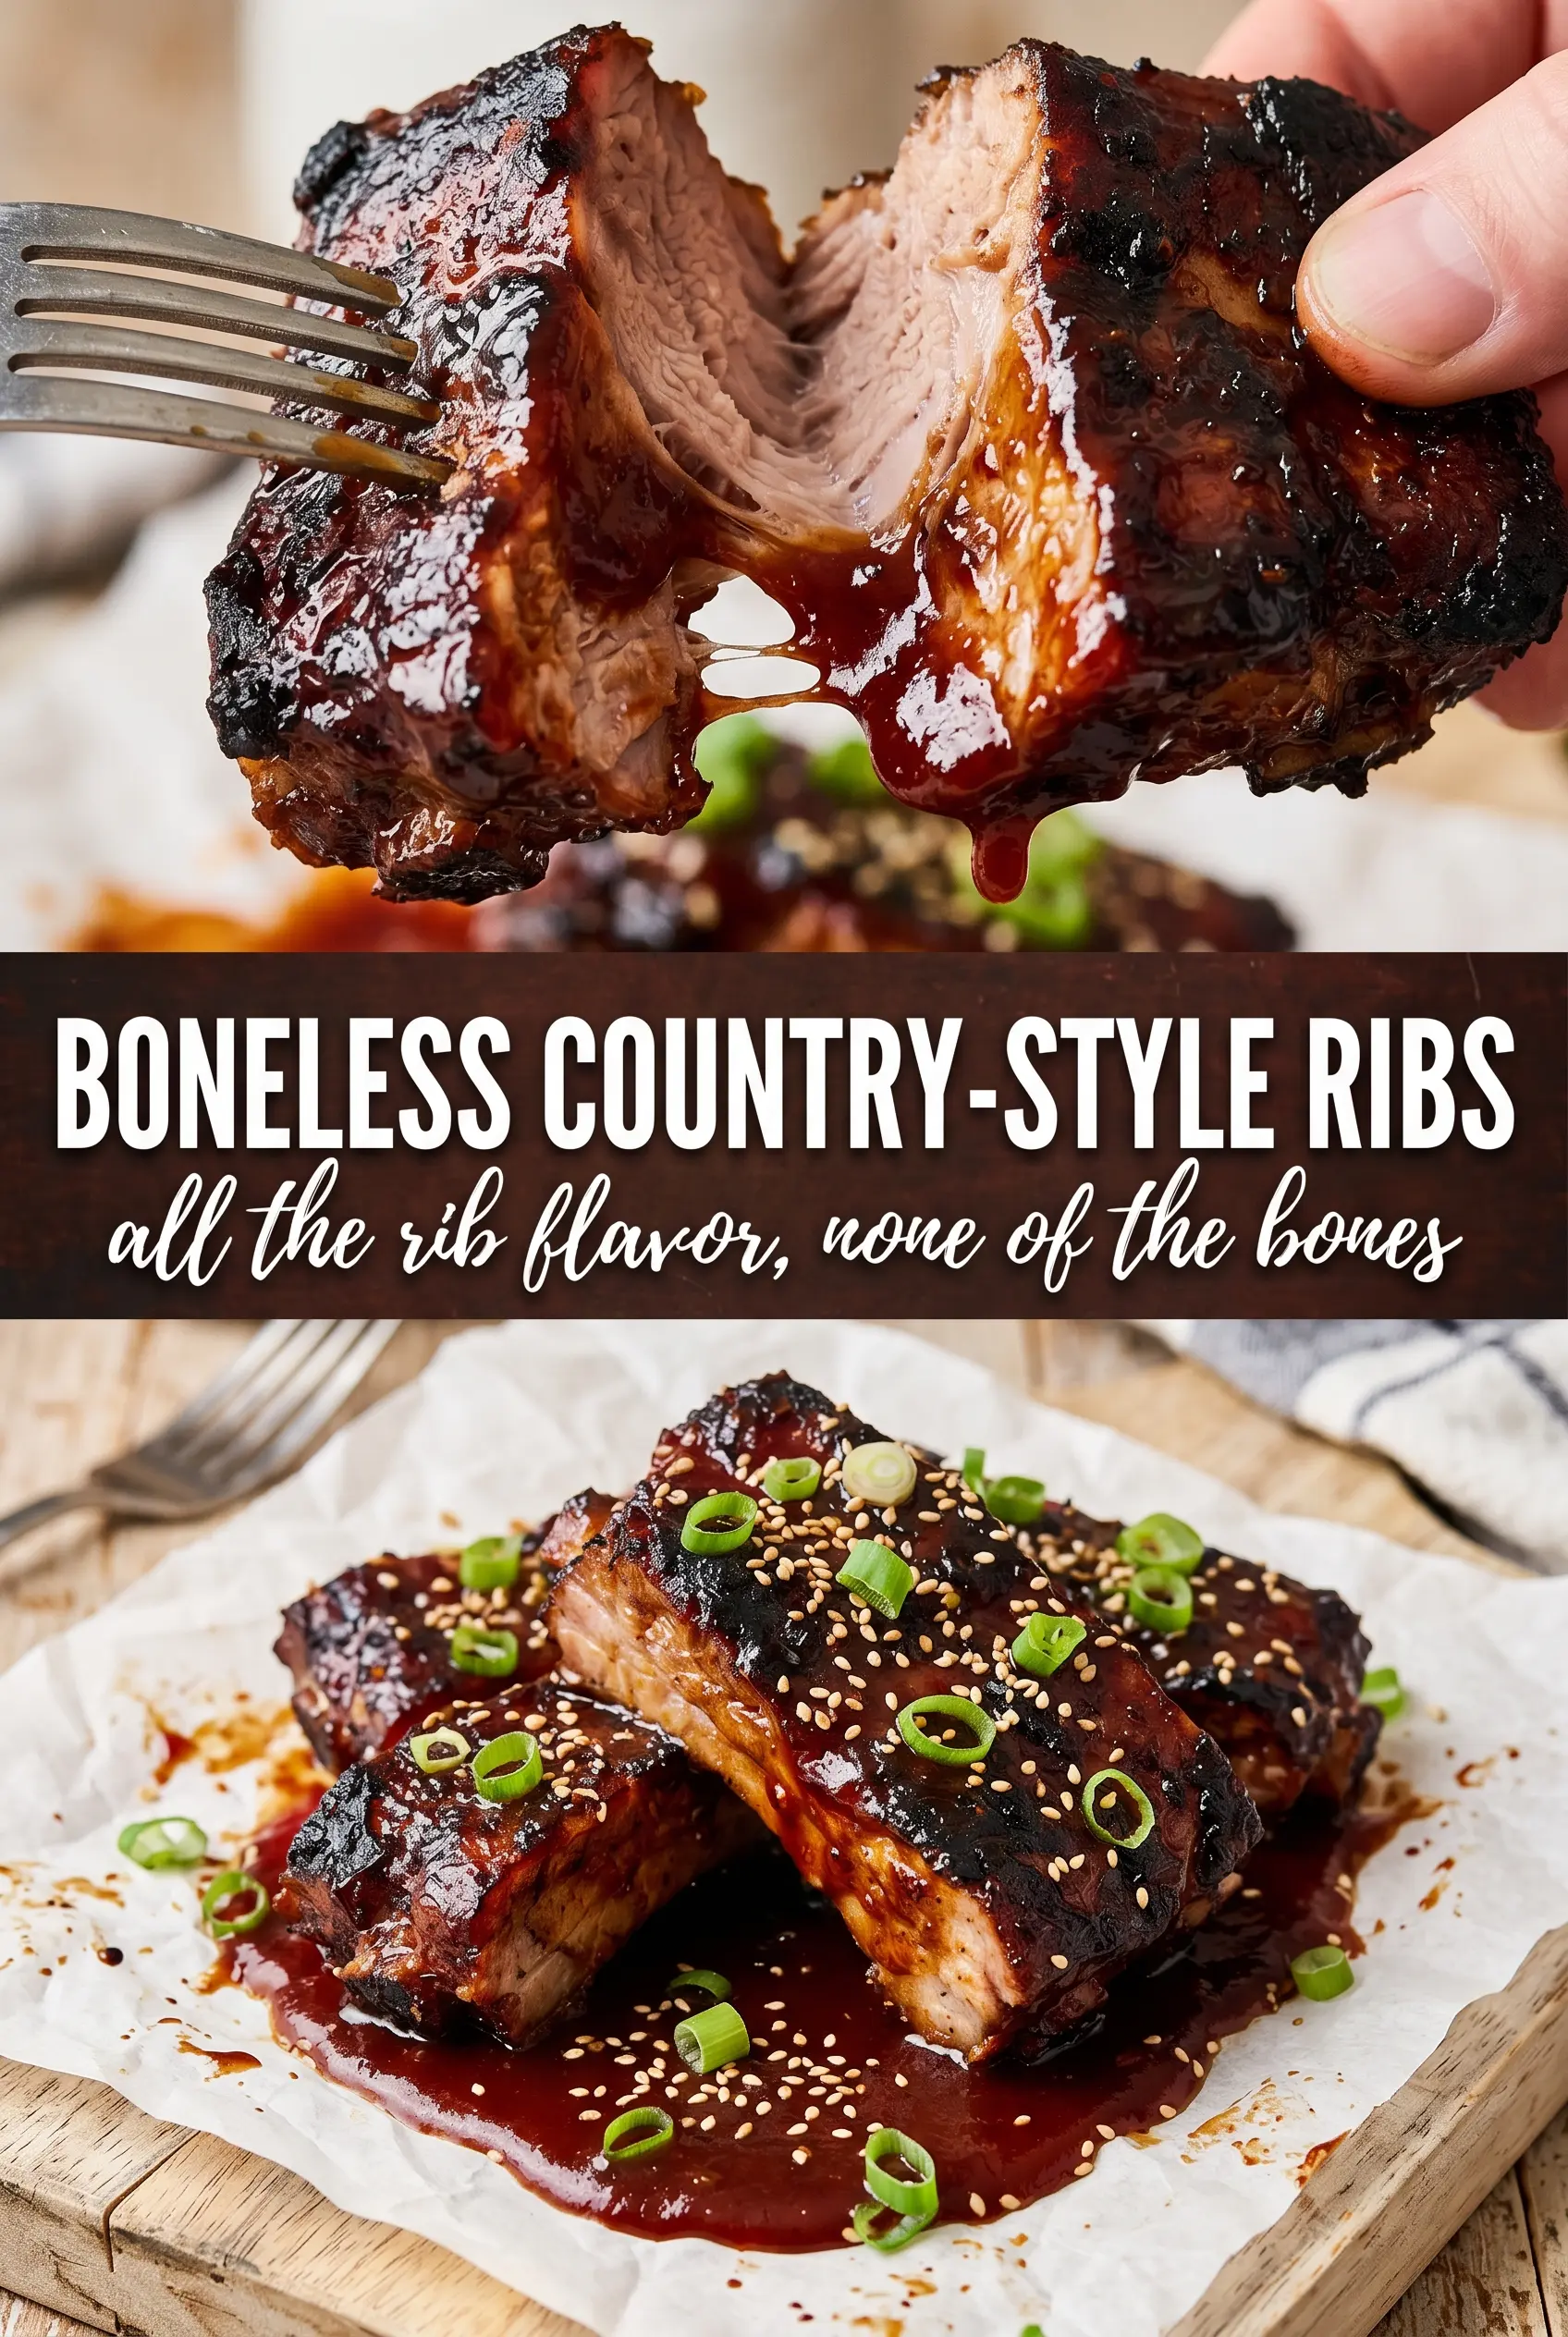
Boneless country-style ribs turn into the kind of dinner people go quiet over for a minute. The meat cooks down until it’s tender enough to pull apart with a fork, and the last blast of heat gives the BBQ sauce a sticky, darkened crust that clings to every edge. What you get isn’t a fussy barbecue project. It’s dependable oven-baked pork with the kind of texture that makes it feel like you worked harder than you did.
The trick is giving the ribs time under a tight cover before the sauce goes on. That first long bake softens the meat and keeps it juicy while the apple cider vinegar adds just enough steam and tang to keep everything from tasting flat. Then the temperature goes up at the end so the sauce can caramelize instead of just sitting there as a wet glaze. That final step is what turns these from tender pork into ribs worth making again.
Below, I’ll walk through the part that matters most: how to avoid drying out boneless country-style ribs, what to look for when they’re ready for sauce, and the simple swaps that still keep the texture right.
The ribs were fall-apart tender after the covered bake, and the sauce got sticky and caramelized instead of watery. My husband kept sneaking pieces from the pan.
Sticky oven-baked boneless country-style ribs with that caramelized BBQ crust are the kind of dinner you’ll want to pin for an easy weekend roast or busy-night comfort meal.
The Part Most People Get Wrong: Treating Country-Style Ribs Like Quick-Cooking Pork
Boneless country-style ribs need time, not just heat. They’re cut from the shoulder, which means they have enough connective tissue to stay tough if you rush them, but they become silky and tender when they’re baked low and covered long enough for that tissue to break down. If you pull them early because the outside looks done, the center will still eat firm and chewy.
The other mistake is saucing too soon. BBQ sauce has sugar in it, and sugar burns before the meat has had time to soften. This recipe solves that by baking the ribs plain under foil first, then brushing on the sauce only after the meat is already tender. The final high-heat finish is where you get the sticky crust instead of a scorched pan.
- Boneless country-style pork ribs — These need the long, covered bake to turn tender. If you swap in a leaner pork cut, the timing changes and the result won’t shred the same way.
- Brown sugar — It helps the rub caramelize and gives the crust a deeper, molasses-like edge. Light or dark brown sugar both work; dark will taste a little richer.
- Smoked paprika — This gives the ribs a barbecue flavor even before the sauce goes on. Regular paprika works in a pinch, but you’ll lose some of that smoky depth.
- Apple cider vinegar — This adds a little moisture and a sharp note that keeps the pork from tasting heavy. Don’t skip it unless you replace it with another acidic liquid like diluted apple juice or a splash of white vinegar.
- BBQ sauce — Use one you’d actually eat from the bottle, because the flavor concentrates as it bakes. A thicker sauce caramelizes better than a thin one that turns runny in the oven.
What Each Ingredient Is Actually Doing in This Pork Dish
- Pork (cut properly for method) — Pat dry so it browns instead of steams. Even thickness ensures uniform cooking.
- Oil or butter (the browning medium) — High-heat oil essential for proper searing. Creates pan flavor.
- Seasonings (salt, pepper, spices) — Build flavor boldly. Pork carries the entire profile.
- Aromatics (garlic, onion, herbs) — Cook with fat to bloom flavors. Become the foundation.
- Sauce or braising liquid (if using) — This keeps lean pork from drying. Balance richness with acid.
- Vegetables (if using) — Layer by cooking time. Hard vegetables first so everything finishes together.
- Acid (vinegar, wine, or citrus) — This brightens sauce and prevents heavy flavor. Add near end.
- Proper doneness (145°F with slight pink center) — Pork is safe here and stays juicy. Higher temps dry it out.
How to Bake Them Low, Then Finish High for That Sticky Crust
Seasoning the Meat Evenly
Mix the dry rub first, then coat the ribs on all sides so every piece gets the same head start. The brown sugar should cling to the surface and the spices should look evenly dusty, not patchy. If the ribs are wet from packaging, pat them dry first or the rub will slide right off and you’ll lose that first layer of flavor.
The Covered Bake That Tenderizes the Center
Arrange the ribs in a single layer in the baking dish and pour the vinegar into the bottom before sealing it tightly with foil. That trapped steam keeps the meat moist while the oven does the slow work of softening the shoulder cut. If the foil is loose, the liquid evaporates too fast and the ribs can dry out before they’re tender.
When the Meat Is Ready for Sauce
After about 2 hours, the ribs should feel very soft when pierced with a fork and the meat should start to look a little relaxed around the edges. They don’t need to be falling apart yet, but they should resist very little. If they’re still tight or springy, keep them covered and give them more time instead of rushing to the sauce step.
The Final Caramelization
Brush on a generous layer of BBQ sauce, then raise the oven temperature to 400°F so the sugars can darken and tighten on the surface. Watch for a glossy, sticky finish with darker edges, not a dry char. If the sauce starts to look black in spots before the ribs are hot through, the oven is too aggressive or the pan is too close to the top element.
What to Change When You Need a Different Version
Dairy-Free and Gluten-Free Without Losing the Crust
This recipe is already naturally dairy-free, and it can stay gluten-free as long as your BBQ sauce is certified gluten-free. The rub and vinegar do the heavy lifting here, so the texture stays the same. The only place people get tripped up is the sauce label — many bottled sauces use thickeners or soy sauce with gluten, so check before you start.
Using a Sweet Heat BBQ Sauce
If you like a little heat, use a sauce with chipotle, cayenne, or hot honey instead of adding extra spice to the rub. That keeps the seasoning balanced and avoids a bitter crust from too much chili powder in the oven. The ribs still caramelize the same way, but the finish tastes sharper and a little more layered.
Making a Bigger Batch for a Crowd
Double the ribs only if you use two pans or one very large dish with space between the pieces. Crowding traps too much steam on the surface and the sauce won’t caramelize cleanly. If you’re feeding more people, keep the first covered bake the same, then finish the pans separately so each batch gets a proper crust.
Storage and Reheating
- Refrigerator: Store in an airtight container for up to 4 days. The sauce will thicken and the edges will soften a bit, but the flavor gets deeper by day two.
- Freezer: These freeze well for up to 3 months. Wrap tightly with a little extra sauce in the container or bag so the pork doesn’t dry out during thawing.
- Reheating: Reheat covered in a 300°F oven with a spoonful of extra BBQ sauce until hot. The biggest mistake is microwaving them uncovered, which dries out the edges before the center warms through.
Answers to the Questions Worth Asking
Boneless Country-Style Ribs
Ingredients
Equipment
Method
- Preheat the oven to 300°F. This slow heat helps the pork tenderize without drying out.
- Mix the dry rub ingredients and coat the ribs on all sides. Arrange the coated ribs in a single layer in a baking dish for even baking.
- Pour the apple cider vinegar into the bottom of the dish and cover tightly with foil. The foil trap creates steam that keeps the meat juicy.
- Bake for 2 hours until very tender and easily pulls apart. Keep the foil on during this phase to avoid moisture loss.
- Uncover and brush the ribs generously with BBQ sauce. Make sure every surface gets a thick coat for a darker crust.
- Increase the oven to 400°F. This higher heat caramelizes the sauce and sets the sticky finish.
- Bake for 20–25 minutes until the sauce caramelizes. Look for bubbling, dark spots, and a glossy sticky glaze.
- Serve with extra BBQ sauce. Spoon additional sauce over the ribs just before eating for maximum shine.