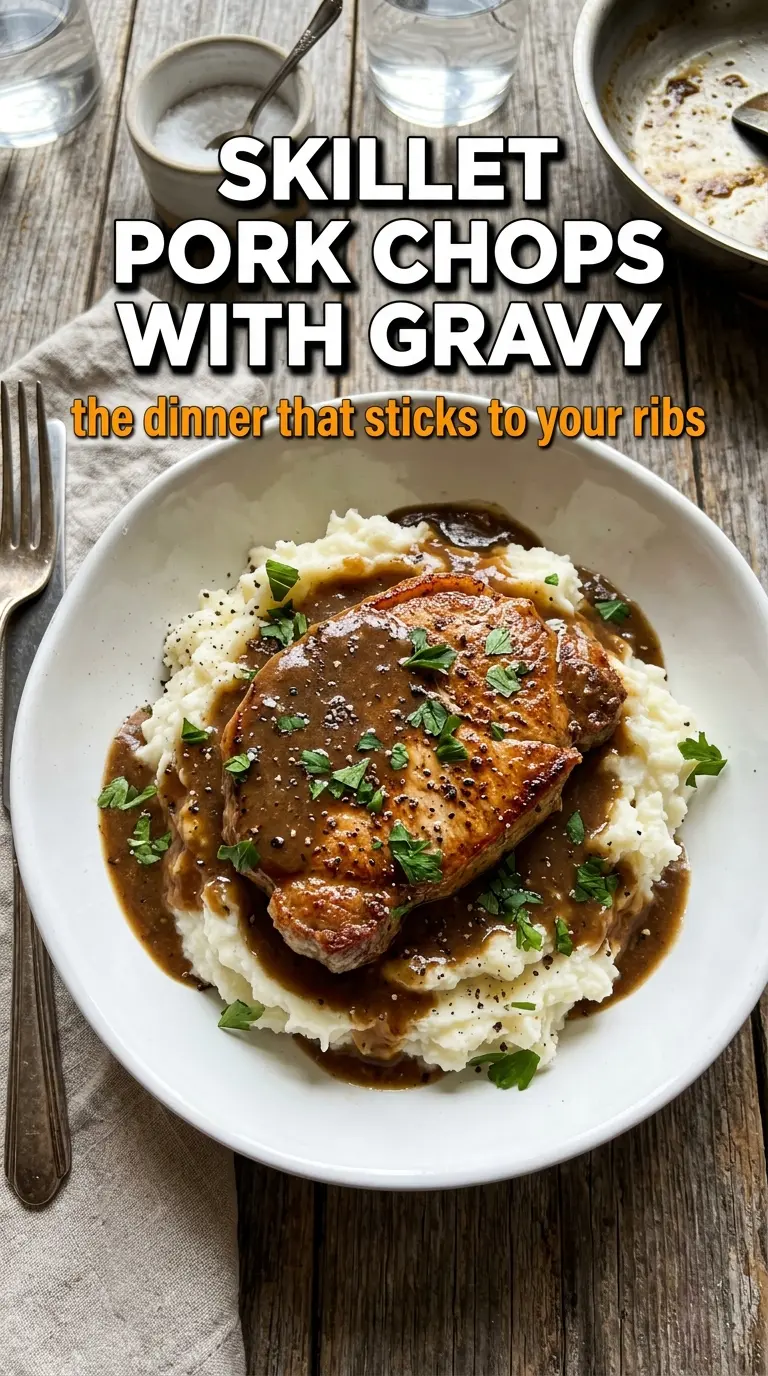
Golden pork chops tucked into a dark, savory pan gravy are the kind of dinner that feels plain in the best possible way: steady, comforting, and worth making again the next time you need something filling fast. The chops sear first, so they pick up a deep crust before they finish in the gravy. That gives you meat that tastes browned all the way through instead of boiled, and a sauce that tastes like it came from the pan, because it did.
The trick here is using the drippings without rushing the gravy. The flour cooks with the onions long enough to lose its raw edge, then the broth goes in gradually so the sauce stays smooth instead of turning paste-like. A splash of Worcestershire and a little thyme pull the whole skillet toward classic comfort-food territory without making it taste heavy.
Below you’ll find the exact timing that keeps the pork juicy, plus the little gravy habits that keep the sauce silky and spoonable instead of thin or gluey.
The gravy thickened up beautifully and the pork stayed tender even after simmering in it. I served it over mashed potatoes and my husband went back for seconds before I even sat down.
Save these skillet pork chops with gravy for the night you want a fast pan dinner with real gravy, not a shortcut sauce.
The Secret to Pork Chops That Stay Juicy While the Gravy Finishes
Most pork chop recipes go wrong in one of two places: the sear is too weak, or the simmer goes on too long. Bone-in chops help, because the bone slows down the heat and gives you a little more forgiveness, but they still need to come off the first sear while the center is just shy of done. If you wait until they’re fully cooked in the pan, the second simmer can push them from juicy to dry.
The gravy itself also needs a clean hand. Flour added straight into hot fat can clump if you dump in the liquid too quickly, so the onion and butter give you a smoother base to build from. Once the broth goes in, whisk until the pan looks even and glossy. If it ever seems thin, let it bubble a few more minutes before touching the seasoning.
- Bone-in pork chops — These hold onto moisture better than thin boneless chops and give the gravy a little extra flavor from the pan drippings. If you only have boneless chops, cut the simmer time back and watch them closely.
- Flour, used twice — The first light dredge helps the chops brown. The second portion thickens the gravy and turns the butter and onion into a proper roux. All-purpose flour works best here because it cooks evenly and gives the gravy that familiar, spoon-coating body.
- Chicken broth — This is the liquid base of the gravy, so use one that tastes good on its own. Low-sodium broth is the safest choice because the Worcestershire and pan drippings add salt on their own.
- Worcestershire sauce — This doesn’t make the gravy taste like Worcestershire. It deepens the browning notes and sharpens the savory edge. If you don’t have it, a small splash of soy sauce works in a pinch, but keep it light.
- Fresh parsley — Not required for flavor, but it cuts through the richness and keeps the finished plate from looking heavy. Add it at the end so it stays bright.
What Each Ingredient Is Actually Doing in This Pork Dish
- Pork (cut properly for method) — Pat dry so it browns instead of steams. Even thickness ensures uniform cooking.
- Oil or butter (the browning medium) — High-heat oil essential for proper searing. Creates pan flavor.
- Seasonings (salt, pepper, spices) — Build flavor boldly. Pork carries the entire profile.
- Aromatics (garlic, onion, herbs) — Cook with fat to bloom flavors. Become the foundation.
- Sauce or braising liquid (if using) — This keeps lean pork from drying. Balance richness with acid.
- Vegetables (if using) — Layer by cooking time. Hard vegetables first so everything finishes together.
- Acid (vinegar, wine, or citrus) — This brightens sauce and prevents heavy flavor. Add near end.
- Proper doneness (145°F with slight pink center) — Pork is safe here and stays juicy. Higher temps dry it out.
Building the Gravy in the Same Skillet Without Letting It Turn Lumpy
Keep the skillet on medium-high for the sear, then drop the heat once the pork comes out. That pan is carrying the flavor, but it is also hot enough to burn the butter and flour if you don’t change gears. When the onions go in, scrape the bottom as they soften so the browned bits dissolve into the fat instead of staying stuck to the pan.
Searing the Pork First
Lay the seasoned chops in the oil and leave them alone until the first side releases with a deep golden crust. If you move them too soon, they tear and lose that browned layer that turns into flavor later. Four to five minutes per side is the window here, but color matters more than the clock. Pull them once they look well browned on the outside and still a little underdone in the middle; the gravy finish will take them the rest of the way.
Softening the Onion and Garlic
Butter goes into the same skillet after the pork is removed, and the onion should sizzle gently, not race. Cook it until it turns translucent and starts picking up the fond from the pan bottom. Garlic only needs about 30 seconds; once you smell it strongly, you’re close to burning it. If the pan looks dry, the butter is enough to loosen the browned bits, and that is exactly what you want.
Whisking the Gravy Until It Looks Smooth
Sprinkle the flour over the onion and stir it through for a minute so the raw taste cooks out. Then whisk in the broth slowly, a little at a time at first, until the mixture turns smooth and glossy. If you dump all the liquid in at once, the flour can seize into soft lumps before it hydrates. Let the gravy simmer until it coats a spoon and leaves a clean line when you drag your finger through it.
Finishing the Pork in the Sauce
Slide the chops back into the skillet, nestling them into the gravy, and cover the pan so the heat stays trapped. This last simmer is gentler than the sear, which keeps the meat from tightening up. Check for doneness with the thickest part near the bone; it should feel firm but still give slightly when pressed. If the gravy thickens too much before the pork is done, add a splash of broth and stir it in.
Three Practical Ways to Adjust These Pork Chops with Gravy
Make It Gluten-Free with One Swap
Use a gluten-free all-purpose flour blend for both the dredge and the gravy. The texture stays close to the original, though some blends thicken a little faster, so add the broth gradually and stop once the gravy looks spoonable. Cornstarch can work for the gravy, but it gives you a glossier, less classic finish.
Swap in Boneless Chops When That’s What You Have
Boneless chops cook faster and dry out more easily, so shorten the first sear and check them early during the final simmer. They won’t add quite as much flavor to the gravy as bone-in chops, but the pan sauce still carries the dish. Thin boneless chops are better for this than thick ones, because they finish before the gravy gets too reduced.
Use Dairy-Free Fat Without Losing the Base
If butter is off the table, use more oil and a little extra care with the onions so they don’t scorch. The gravy will still thicken and taste rich from the drippings and broth, though it won’t have the same round finish butter gives. A neutral oil works best because strong-flavored oils can distract from the pan gravy.
Stretch It for More People
You can add another cup of broth and a touch more flour if you want extra gravy for mashed potatoes or rice. Keep the ratio even so the sauce still thickens properly; too much liquid without enough flour leaves you with a thin skillet jus instead of gravy. The pork amount can stay the same if you’re serving it with a hearty side.
Storage and Reheating
- Refrigerator: Store leftovers in an airtight container for up to 3 days. The gravy thickens as it chills, which is normal.
- Freezer: Freeze for up to 2 months, but expect the gravy to lose a little silkiness after thawing. If possible, freeze the pork and gravy together in a shallow container so it reheats more evenly.
- Reheating: Warm gently on the stove over low heat with a splash of broth or water. High heat can tighten the pork and make the gravy break or turn pasty, so give it time to loosen and steam through slowly.
Answers to the Questions Worth Asking

Skillet Pork Chops with Gravy
Ingredients
Equipment
Method
- Season the pork chops with salt, pepper, and garlic powder, then dredge them lightly in the 2 tbsp flour.
- Set the chops aside briefly so the flour hydrates a little on the surface while you heat the pan.
- Heat the oil in a skillet over medium-high heat, then sear the pork chops for 4–5 minutes per side until golden.
- Transfer the pork chops to a plate and remove excess oil from the pan if it looks pooled, leaving the browned drippings behind.
- Melt the butter in the same pan, then cook the diced onion for 3 minutes until softened.
- Add the minced garlic and cook for 30 seconds, stirring so it doesn’t brown.
- Sprinkle in the 2 tbsp flour for gravy and cook for 1 minute, stirring constantly to remove the raw flour taste.
- Whisk in the chicken broth, Worcestershire sauce, and dried thyme until smooth, then bring to a simmer.
- Simmer for 4–5 minutes until the gravy thickens enough to coat the back of a spoon.
- Return the pork chops to the gravy, cover the skillet, and simmer for 8–10 minutes until cooked through.
- Serve over mashed potatoes with the gravy spooned generously over the top and garnish with fresh parsley.