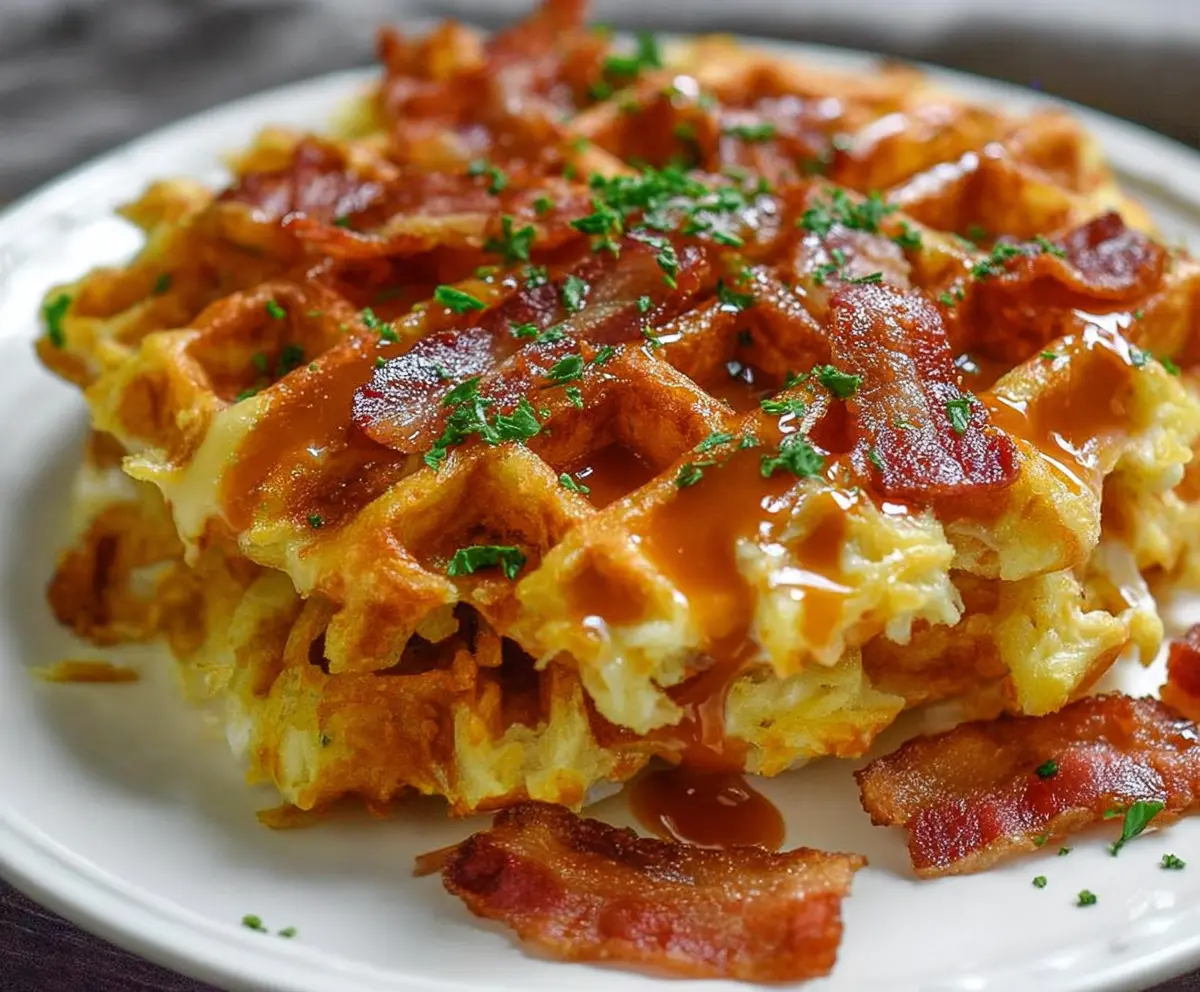
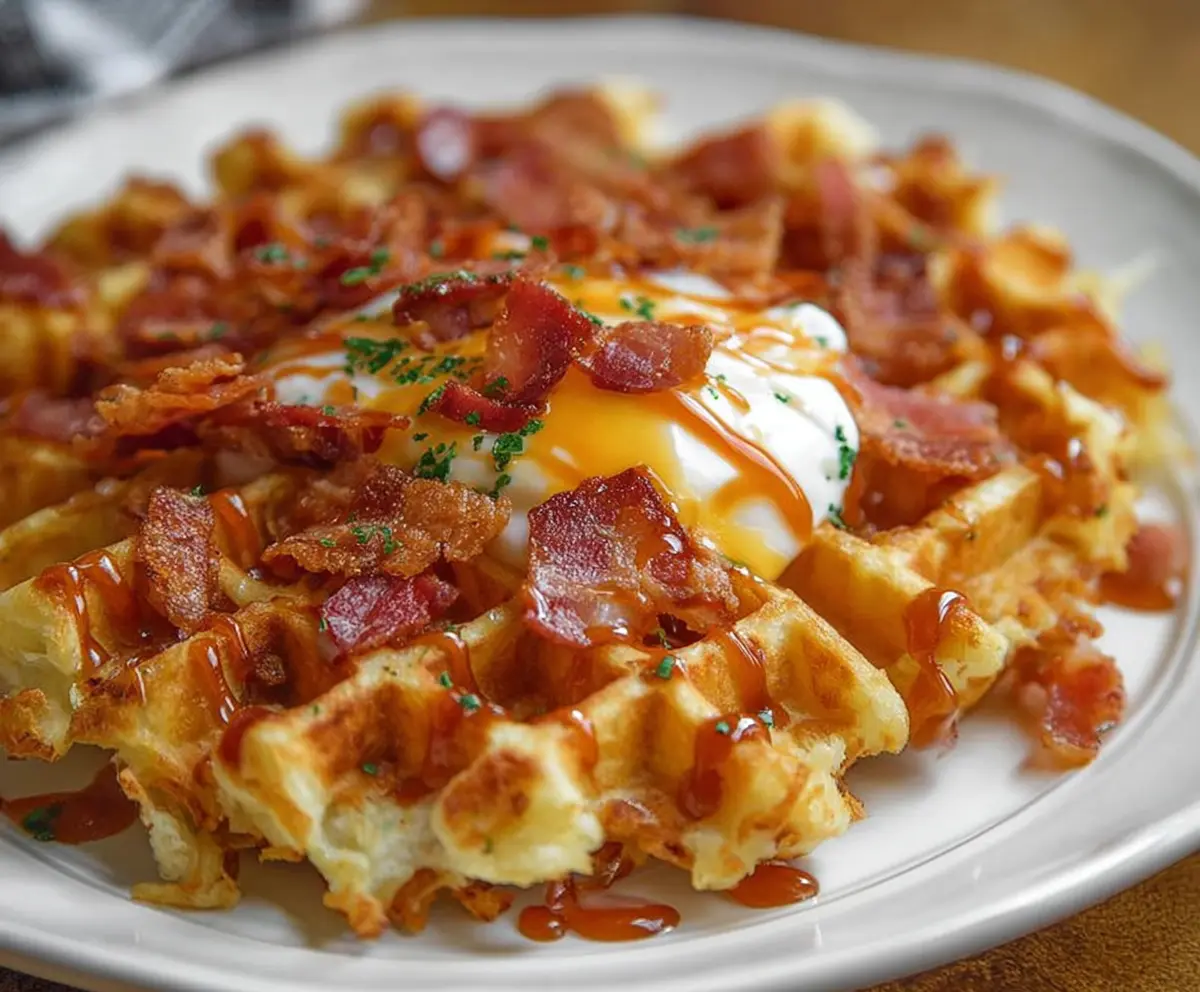
These bacon and cheese loaded hash brown waffles are a fun twist on breakfast! Crispy on the outside and cheesy inside, they’re packed with flavor in every bite.
Who could say no to bacon and cheese, right? I love serving these for brunch—everyone gathers ’round to dig in. Perfect with a little dollop of sour cream too!
Key Ingredients & Substitutions
Shredded Hash Browns: Frozen shredded hash browns are convenient and perfect for this recipe! If you want, you can use fresh grated potatoes. Just soak them in water and pat dry to remove excess moisture for the best texture.
Bacon: Bacon adds a delicious smokiness. Turkey bacon can be swapped for a healthier option, or even skip it entirely for a vegetarian version, adding veggies like sautéed spinach or mushrooms instead.
Cheddar Cheese: Sharp cheddar gives a great flavor. If it’s not available, try using Monterey Jack or a cheese blend. Vegan cheese can work too if you’re aiming for a dairy-free option.
Eggs: Eggs help bind the mixture together. For a vegan option, you can use flax eggs (1 tablespoon ground flaxseed mixed with 3 tablespoons water, let it sit for 5 mins).
How Do You Get the Waffles Extra Crispy?
To achieve that delightful crispy exterior, it’s crucial to manage heat and moisture. First, make sure the waffle iron is preheated well. Here’s how to get the best results:
- Grease the waffle iron generously to prevent sticking.
- Don’t overfill the waffle iron; about 3/4 cup of the mixture per waffle is perfect.
- Keep the waffles in the iron for the full cooking time for that golden brown finish.
- If you’re concerned about sogginess, pop the finished waffles in a warm oven (set to about 200°F) for a few minutes before serving. This helps them stay crispy.
How to Make Bacon And Cheese Loaded Hash Brown Waffles
Ingredients You’ll Need:
For the Waffles:
- 2 cups frozen shredded hash browns, thawed
- 4 slices bacon
- 1 cup shredded sharp cheddar cheese
- 2 large eggs
- 1/4 cup all-purpose flour
- 1/4 cup milk
- 1/2 tsp garlic powder
- 1/2 tsp onion powder
- Salt and pepper to taste
- Butter or non-stick spray for waffle iron
For Serving (Optional):
- Maple syrup or hot sauce for drizzling
- Fresh parsley, chopped (for garnish)
How Much Time Will You Need?
This delicious recipe will take about 10 minutes of prep time and around 15-20 minutes to cook, depending on your waffle iron and how many waffles you’re making. In no time, you’ll have tasty, crispy loaded hash brown waffles ready to enjoy!
Step-by-Step Instructions:
1. Preheat the Waffle Iron:
Start by preheating your waffle iron according to the manufacturer’s instructions. It’s important for the waffles to come out crispy! While it heats up, lightly grease the iron with butter or non-stick spray.
2. Cook the Bacon:
In a skillet over medium heat, cook the bacon slices until they are nice and crispy—this usually takes about 5-7 minutes. Once cooked, transfer the bacon to a plate lined with paper towels to drain excess grease. After it cools for a moment, chop the bacon into bite-sized pieces.
3. Mix the Wet Ingredients:
In a large mixing bowl, whisk together the eggs and milk until thoroughly combined. This mixture will help bind everything together!
4. Combine the Dry Ingredients:
Add the thawed shredded hash browns, flour, shredded cheddar cheese, garlic powder, onion powder, salt, and pepper to the bowl with the eggs and milk. Stir well until everything is evenly mixed. The mixture will be thick—that’s just fine!
5. Fold in the Bacon:
Gently fold in the chopped bacon pieces into the hash brown mix. Save a few pieces for topping your waffles later if you’d like!
6. Cook the Waffles:
Spoon the hash brown mixture onto the preheated waffle iron. The amount will depend on the size of your iron, but about 3/4 cup per waffle should work. Close the lid and let them cook according to your waffle iron’s instructions, usually around 5-7 minutes, until the waffles are golden brown and crispy.
7. Serve the Waffles:
Carefully remove the waffles and place them on a plate. Repeat the cooking process with the remaining mixture. Top each waffle with chopped bacon, and feel free to drizzle some maple syrup or hot sauce over them for that extra zing!
8. Enjoy:
Finally, garnish your waffles with a sprinkle of fresh parsley for a pop of color. Serve warm and enjoy this delightful dish that combines all the flavors of breakfast into one delicious meal!
Can I Use Fresh Hash Browns Instead of Frozen?
Absolutely! If using fresh hash browns, make sure to soak them in cold water for about 30 minutes to remove excess starch, then thoroughly dry them with a kitchen towel to help achieve the crispy texture you want in the waffle.
Can I Make This Recipe Gluten-Free?
Yes! Simply substitute the all-purpose flour with a gluten-free flour blend or cornstarch. This will keep the texture intact while making it safe for those with gluten sensitivities.
How Do I Store Leftover Waffles?
Store any leftover waffles in an airtight container in the fridge for up to 3 days. To reheat, pop them in a toaster or air fryer for a few minutes to get them crispy again.
Can I Freeze the Waffles?
Yes, you can freeze the cooked waffles! Allow them to cool completely, then place them in a single layer on a baking sheet to freeze for about an hour. Once frozen, transfer them to a freezer bag. They’ll keep for up to 2 months. To reheat, just toast them from frozen!