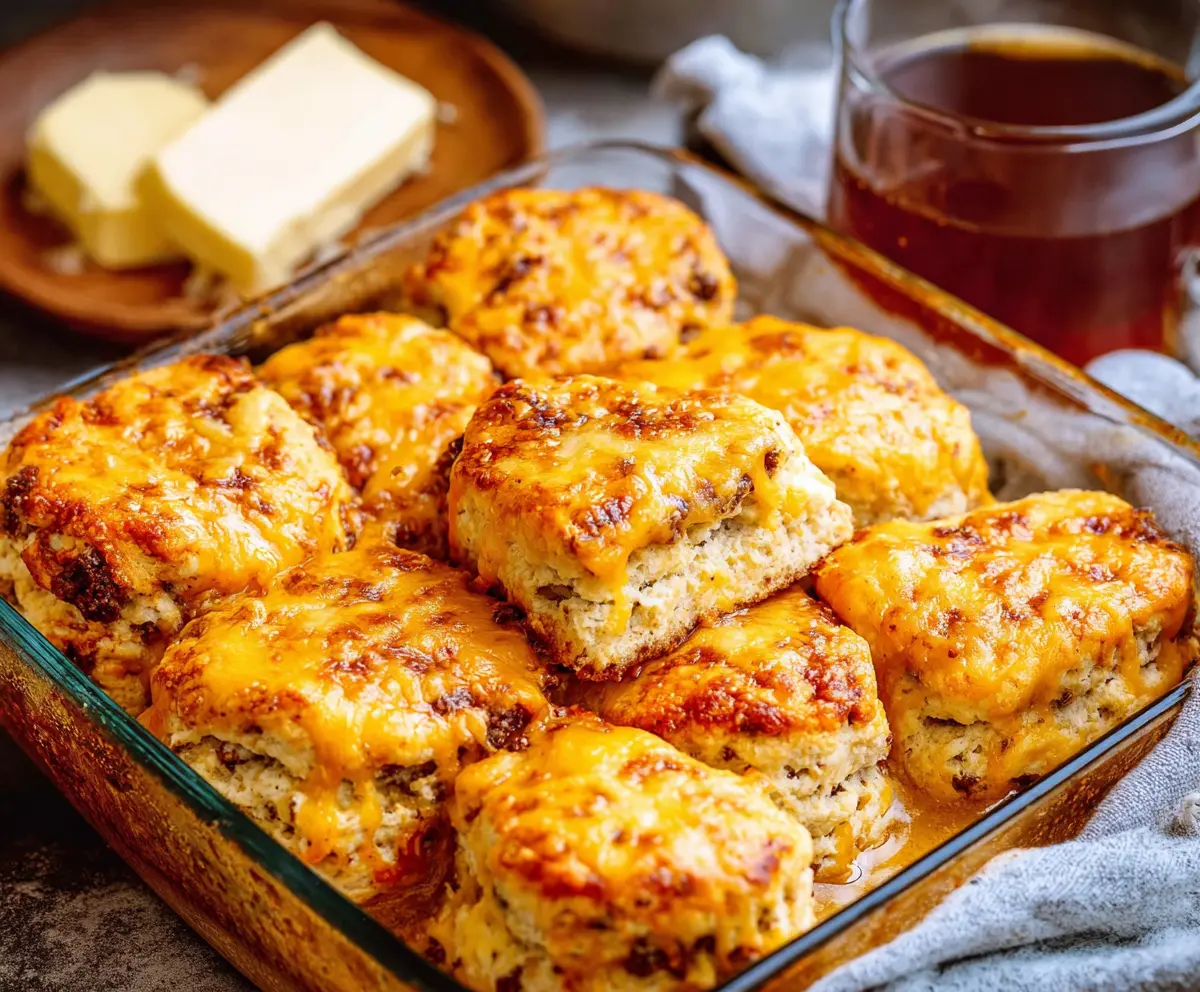
These Breakfast Butter Swim Biscuits are as easy as pie! You mix up a simple dough and let them swim in buttery goodness, making them fluffy and tasty.
I love how they can be ready in no time, perfect for busy mornings. Pair them with jam or honey, and you’ll be smiling! Who needs fancy when you’ve got buttery love on a plate? 😊
Key Ingredients & Substitutions
Flour: All-purpose flour is best for biscuits, giving just the right texture. If you want to make gluten-free biscuits, try using a gluten-free all-purpose blend that’s designed for baking.
Buttermilk: Buttermilk adds a nice tang and helps make the biscuits tender. If you don’t have any, you can substitute with regular milk mixed with a tablespoon of vinegar or lemon juice. Let it sit for a few minutes to sour.
Sausage: Adding sausage crumbles gives flavor and heartiness. However, for a vegetarian version, omit the sausage or use cooked mushrooms and spinach to add texture and taste.
Cheese: Sharp cheddar is my favorite for its bold flavor, but you could use pepper jack for a spicy kick, or mozzarella for a milder taste that melts beautifully.
How Do I Make Sure My Biscuits Are Tender and Fluffy?
It’s all about handling the dough gently. Overmixing can lead to tough biscuits, so keep it simple:
- Mix the dry ingredients without any lumps.
- Cut in the cold butter quickly to leave small chunks – this creates flakiness.
- Stir in the buttermilk just until combined; don’t worry about small lumps!
- Pat your dough into shape rather than rolling to keep air in the biscuits.
Remember, a bit of care goes a long way in achieving that soft, melt-in-your-mouth biscuit goodness!

Breakfast Butter Swim Biscuits
Ingredients You’ll Need:
For the Biscuits:
- 2 cups all-purpose flour
- 1 tablespoon baking powder
- 1 teaspoon salt
- 1/2 teaspoon baking soda
- 1 teaspoon dried sage (optional for added flavor)
- 1 cup buttermilk
- 1/2 cup unsalted butter, cold and cubed (for dough)
- 1 cup sharp cheddar cheese, shredded (plus extra for topping)
- 1/2 cup cooked breakfast sausage crumbles (optional)
For the Swimming Butter:
- 1/2 cup unsalted butter (for swimming/baking)
- 1 tablespoon melted butter (for brushing, optional)
How Much Time Will You Need?
This recipe takes about 15 minutes of preparation and around 25 minutes to bake. You’ll have warm, buttery biscuits ready in less than an hour—perfect for a delicious breakfast!
Step-by-Step Instructions:
1. Prepare the Oven and Dish:
Start by preheating your oven to 375°F (190°C). While that heats up, grease a 9×9 inch baking dish or a glass casserole dish to prevent the biscuits from sticking.
2. Mix the Dry Ingredients:
In a large mixing bowl, whisk together the flour, baking powder, salt, baking soda, and dried sage (if you’re using it). This will ensure even distribution of all the dry ingredients.
3. Cut in the Butter:
Add the cold cubed butter to the flour mixture. Using a pastry cutter or your fingertips, cut the butter into the dry ingredients until the mixture looks like coarse crumbs. This step is key for keeping the biscuits flaky!
4. Add Cheese and Sausage:
Gently stir in the shredded cheddar cheese and any cooked sausage crumbles, mixing them evenly throughout the flour mixture.
5. Combine with Buttermilk:
Now pour in the buttermilk and use a spoon to gently stir until the dough starts to come together. Remember, don’t overmix! This helps keep your biscuits tender.
6. Shape the Dough:
Turn the dough out onto a lightly floured surface. With your hands, gently pat the dough into a rectangular shape about 1 inch thick—no rolling pin needed!
7. Cut the Biscuits:
Using a biscuit cutter (about 2.5 to 3 inches in diameter) or a glass, cut out rounds from the dough. Place each round into the prepared baking dish, making sure they are close but not touching.
8. Add the Butter:
Now it’s time for the fun part! Melt the 1/2 cup of butter and carefully pour it evenly over and around the biscuits in the baking dish. They’ll swim in deliciousness!
9. Top with Cheese:
Sprinkle additional shredded cheddar cheese on top of the biscuits for a lovely cheesy crust as they bake.
10. Bake the Biscuits:
Place the baking dish in the oven and bake for about 20-25 minutes, or until the biscuits are golden brown, cooked through, and the cheese has melted and slightly browned.
11. Brush with Butter:
If you like, brush the tops of the biscuits with melted butter right after they come out of the oven for that extra rich flavor.
12. Serve and Enjoy:
Serve these warm, and enjoy every buttery, cheesy bite! They’re delicious on their own or great with a bit of honey or jam spread on top. Perfect for breakfast with coffee!
This recipe yields rich and tender biscuits soaked in butter, resulting in a golden, savory crust and a moist interior. You’ll be looking forward to breakfast time!
Can I Use Whole Milk Instead of Buttermilk?
Yes! If you don’t have buttermilk on hand, you can make your own by mixing 1 cup of milk with 1 tablespoon of vinegar or lemon juice. Let it sit for about 5 minutes until it thickens slightly, then use it as a substitute!
How Do I Store Leftover Biscuits?
Store leftover biscuits in an airtight container at room temperature for up to 2 days. If you want to keep them longer, you can freeze them in a zip-top bag for up to 3 months. Just reheat them in the oven or microwave to enjoy later!
Can I Add Different Fillings to These Biscuits?
Absolutely! Feel free to experiment with different cheeses, like mozzarella or pepper jack, or add veggies like chopped green onions or bell peppers to customize the flavor to your liking!
Are These Biscuits Freezer-Friendly?
Yes, you can freeze the unbaked biscuits before pouring the melted butter over them. Just place them on a baking sheet to freeze individually, then transfer them to a freezer bag. When ready to bake, just add the butter and bake straight from frozen, increasing the baking time by a few minutes.