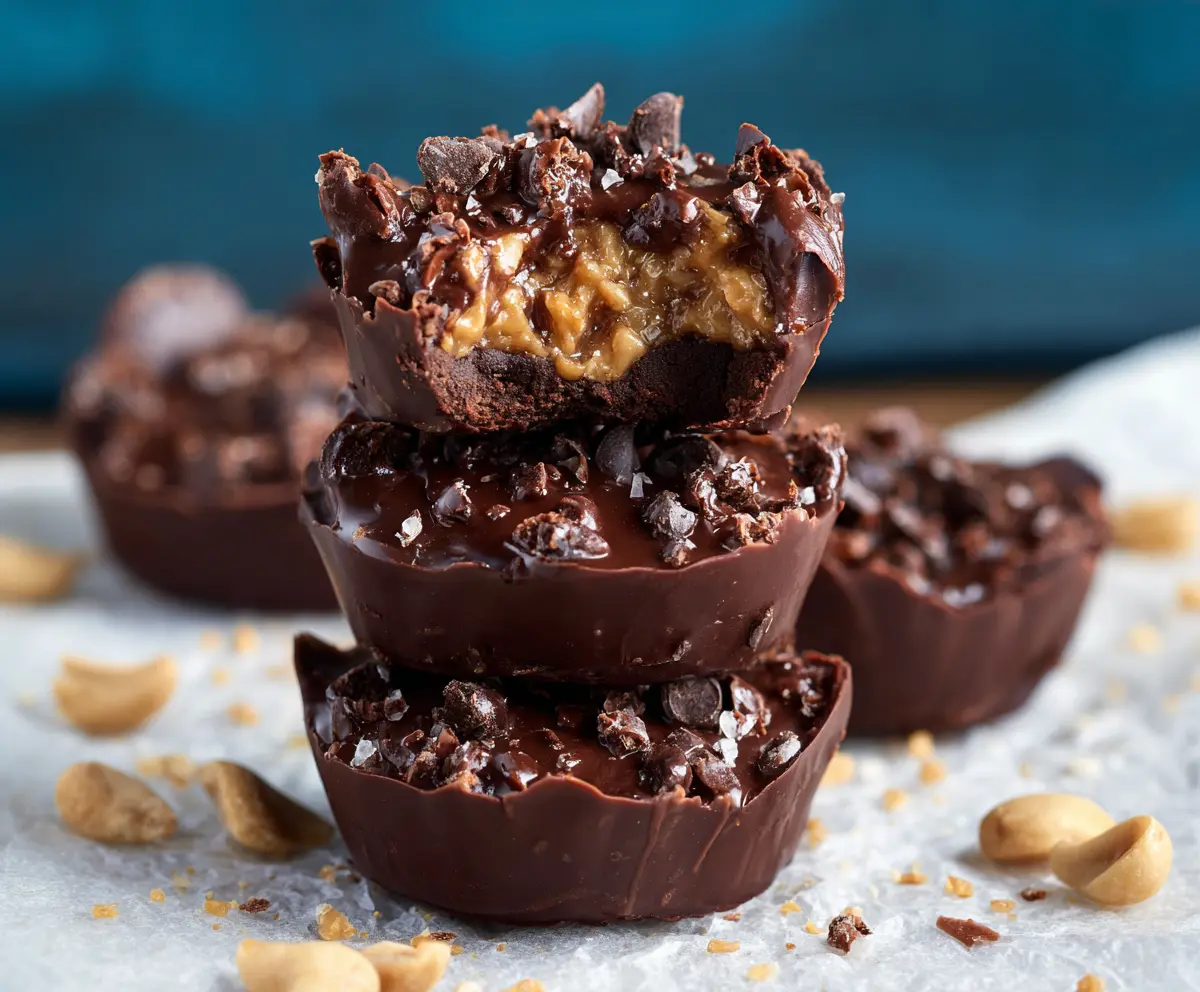
These Chocolate Peanut Butter Crunch Cups are a delightful treat! With creamy peanut butter and crunchy goodness wrapped in rich chocolate, they are hard to resist!
Honestly, I can’t help but pop one (or three) every time I pass by them. They are perfect for sharing, but good luck if you try! 😂 Enjoy them with a glass of milk for extra happiness!
Key Ingredients & Substitutions
Chocolate Chips: Semi-sweet chocolate chips are classic for these cups, but dark chocolate can add richer flavor. You could swap in milk chocolate for a sweeter taste, too!
Peanut Butter: Creamy peanut butter gives a smooth texture. If you prefer crunchy, go for it! Nut butters like almond or cashew can be used for a different twist.
Powdered Sugar: This adds sweetness and helps with smoothness. Adjust the amount based on your taste. If you’re looking for a healthier option, feel free to use a sugar substitute.
Crispy Rice Cereal: This gives that enjoyable crunch. You can replace it with crushed pretzels or nuts for a different texture, or even a gluten-free cereal.
How Do I Get the Chocolate to Set Right?
To ensure the chocolate cups set perfectly, keep these tips in mind:
- Use a microwave-safe bowl and melt chocolate in short intervals to avoid burning. Stir well each time.
- Make a thin, even layer of chocolate in the muffin liners, which helps with easy removal later.
- Chill the cups in the freezer until completely firm. Ensure they are well-covered when pouring the next chocolate layer.
By following these steps, you can ensure your cups come out with the perfect crunch and rich flavor!
How to Make Chocolate Peanut Butter Crunch Cups
Ingredients You’ll Need:
For the Chocolate Cups:
- 1 1/2 cups semi-sweet or dark chocolate chips (divided)
For the Peanut Butter Filling:
- 1 cup creamy peanut butter (preferably natural and unsweetened)
- 1/4 cup powdered sugar (adjust to taste)
- 1 teaspoon vanilla extract
- 1/2 cup crispy rice cereal or crushed crunchy peanuts (for crunch)
For Topping:
- Sea salt flakes, for topping
How Much Time Will You Need?
This recipe takes about 15-20 minutes of prep time, plus an additional 30-40 minutes to chill in the freezer. Perfect for a quick, sweet treat that doesn’t keep you in the kitchen for too long!
Step-by-Step Instructions:
1. Prepare the Muffin Tin:
Start by lining a mini muffin tin with silicone or paper liners. This will make it super easy to remove your delicious cups once they are set.
2. Melt the Chocolate:
In a microwave-safe bowl, melt 1 cup of chocolate chips in 30-second intervals, stirring between each increment until the chocolate is creamy and smooth. This helps prevent burning!
3. Create the Chocolate Shells:
Using a spoon, add a thin layer of melted chocolate into each muffin liner. Tilt the liner to coat both the bottom and sides. Pop the tin in the freezer for about 10 minutes to help it set up nicely.
4. Make the Peanut Butter Filling:
While the chocolate sets, get started on the peanut butter mixture. In a bowl, blend together the creamy peanut butter, powdered sugar, vanilla extract, and crispy rice cereal until everything is well combined.
5. Assemble the Cups:
After the chocolate layer has set, take the muffin tin out of the freezer. Spoon about 1 tablespoon of the peanut butter mixture into each chocolate shell, pressing down gently.
6. Add More Chocolate:
Melt the remaining 1/2 cup of chocolate chips until smooth. Use it to cover the peanut butter layer completely, ensuring everything is sealed in chocolaty goodness.
7. Finish with Crunch:
Before the tops set, add your favorite crunchy bits—like crushed peanuts or more crispy rice cereal. Don’t forget a little sprinkle of sea salt flakes to enhance the flavor!
8. Final Chill:
Return the tray to the freezer again for about 15-20 minutes, or until the cups are fully set and firm. This step is key for the perfect crunch!
9. Serve & Enjoy:
Once set, gently remove the cups from the liners and store them in an airtight container in the refrigerator until you’re ready to indulge. Enjoy every crunchy, chocolatey bite!
Can I Use Different Types of Chocolate?
Absolutely! You can use semi-sweet, dark, or even milk chocolate depending on your preference. Just keep in mind that milk chocolate will be sweeter, while dark chocolate offers a richer flavor.
What if I Don’t Have Mini Muffin Liners?
No worries! If you don’t have mini muffin liners, you can grease the muffin tin lightly with cooking spray or butter to help the cups release more easily. You can also use silicone molds, which work great without liners!
Can I Make These Vegan or Dairy-Free?
Yes! You can easily make this recipe vegan by using dairy-free chocolate chips and natural plant-based peanut butter. Just make sure to check the labels for any dairy ingredients.
How Should I Store the Crunch Cups?
Store the cups in an airtight container in the refrigerator for up to a week. They also freeze well! Just ensure they’re in a sealed container, and they’ll last for up to a month in the freezer.