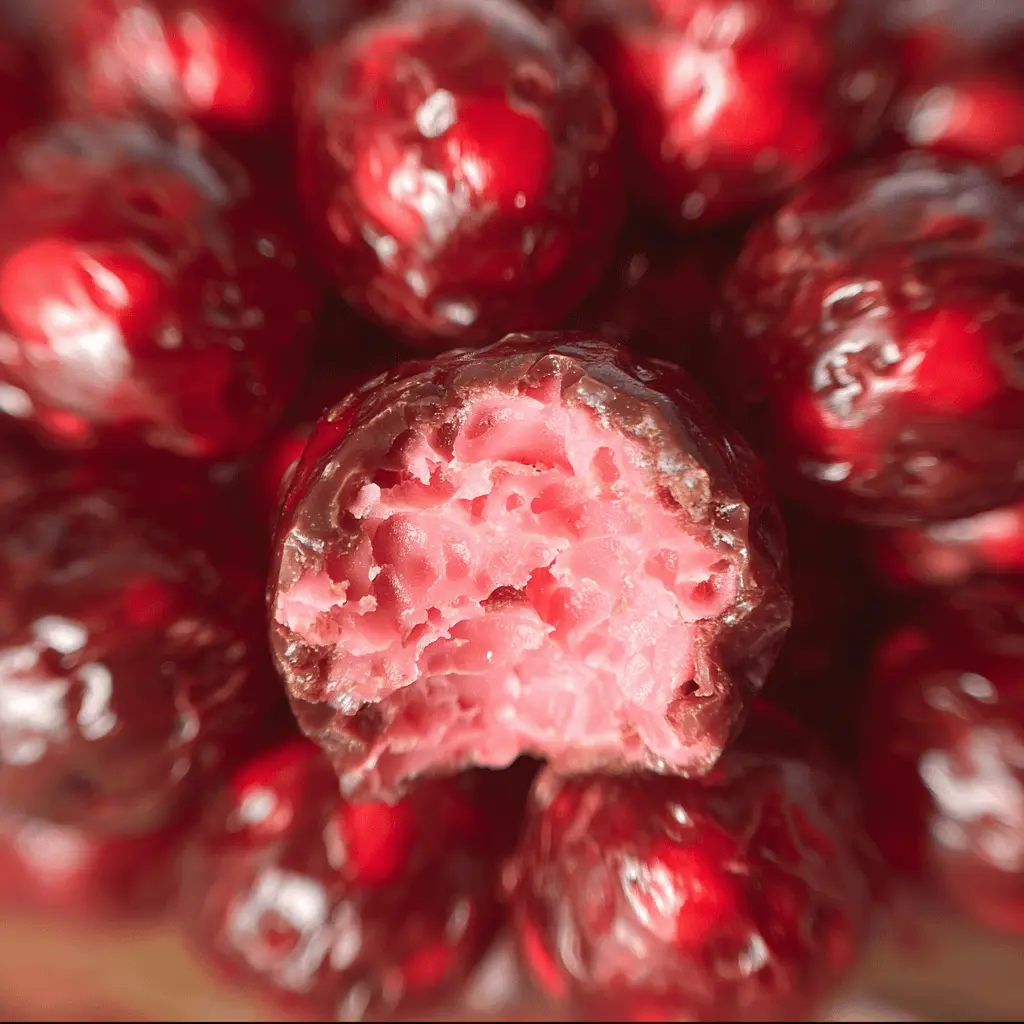
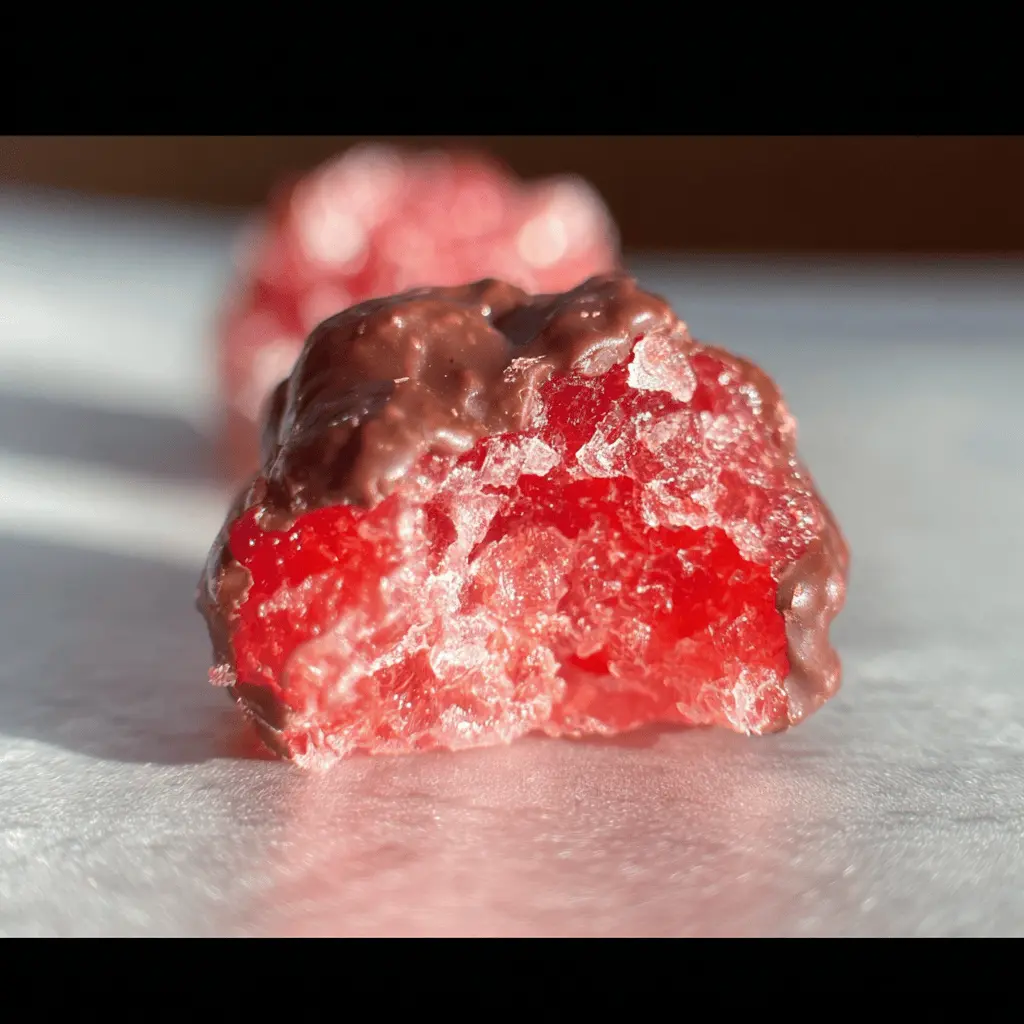
This Easy Homemade Cherry Mash Candy is a sweet treat that combines bright cherries and creamy chocolate. It’s fun to make and perfect for sharing with friends or enjoying all by yourself!
I love how quick this candy is to whip up. Just mix, mold, and let it set. Plus, who can resist that cherry taste? It’s like a cherry party in your mouth! 🍒
Key Ingredients & Substitutions
Powdered Sugar: This is essential for sweetness and texture. If you’re looking for a healthier option, you could blend coconut sugar until it’s a powder or use erythritol for a low-calorie substitute.
Maraschino Cherries: These give the candy its signature flavor. If you prefer fresh cherries, use sweet ones, but be sure to chop them finely and remove the pits. Dried cherries could work too, though they’ll change the candy’s texture.
Shredded Coconut: Adds a nice chewiness and flavor. If you aren’t a fan of coconut or are allergic, you can substitute with crushed graham crackers or a nut-based flour for a different texture.
Creamy Peanut Butter: This binds everything together and adds creaminess. If you’re allergic to peanuts, try almond butter or sunbutter as alternatives. Just make sure they are creamy for ease of mixing.
Chocolate Chips: Milk chocolate is traditional, but you can use dark chocolate or even white chocolate depending on your taste. Just adjust the sweetness based on the chocolate type.
How Do I Get the Chocolate Coating Just Right?
Coating your Cherry Mash pieces in chocolate can be tricky, but here’s how to do it smoothly:
- Make sure your chocolate is fully melted and smooth—no lumps! If it’s too thick, add a tiny bit of coconut oil to loosen it.
- Cooling your cherry mash pieces thoroughly before dipping helps the chocolate adhere better.
- When coating, use a fork to dip and roll, allowing excess chocolate to drip back into the bowl. This keeps the candy looking neat and prevents clumps.
- Don’t rush the chilling steps—letting everything set properly will give you a clean bite of candy.
With these tips, you’ll have beautiful Cherry Mash candies that look as good as they taste. Enjoy the smiles they bring!
Easy Homemade Cherry Mash Candy
Ingredients You’ll Need:
- 2 cups powdered sugar
- 1 cup finely chopped maraschino cherries, drained
- 1 cup shredded coconut
- 1/2 cup creamy peanut butter
- 1 tsp vanilla extract
- 1 (12 oz) package milk chocolate chips or melting chocolate
- 1/2 cup chopped peanuts (optional, for coating)
How Much Time Will You Need?
This delightful candy takes about 15 minutes of prep time, plus 1 hour of chilling time (30 minutes for the cherry mash and another 30 for the chocolate coating). In a little over an hour, you’ll have delicious homemade candy ready to enjoy!
Step-by-Step Instructions:
1. Mix Your Ingredients:
Start by gathering your ingredients in a large mixing bowl. Combine the powdered sugar, finely chopped maraschino cherries, shredded coconut, creamy peanut butter, and vanilla extract. Mix everything together until the mixture is soft and holds together nicely without being too wet.
2. Shape the Cherry Mash:
Now it’s time to get creative! Shape the mixture into small logs or individual bite-sized balls—whatever you prefer. Place each piece on a parchment-lined baking sheet to keep them from sticking.
3. Chill the Cherry Mash:
Pop the baking sheet into the refrigerator for about 30 minutes. This will help the cherry mash firm up, making it easier to dip in chocolate later on.
4. Melt the Chocolate:
While those cherry mash pieces are chilling, melt your chocolate chips! You can do this in a microwave-safe bowl, heating in 30-second intervals and stirring after each until smooth. If you prefer, use a double boiler to melt the chocolate gently.
5. Optional Peanut Coating:
If you’d like to add a bit of crunch, stir the chopped peanuts into the melted chocolate. This will give your candy an extra layer of flavor!
6. Dip the Cherry Mash Pieces:
Time to coat those cherry mash pieces! Use a fork or a dipping tool to dip each piece into the melted chocolate. Roll it around until fully coated and let excess chocolate drip off.
7. Set the Chocolate Coating:
Place the chocolate-coated cherry mash pieces back onto the parchment paper. This is essential so they don’t stick together.
8. Final Chill:
Return the tray to the refrigerator and chill for at least another 30 minutes, or until the chocolate is fully set and hard.
9. Store and Enjoy:
Once your candy is all set, store the homemade Cherry Mash treats in an airtight container in the fridge. They can last up to one week, but I doubt they’ll last that long because they’re so delicious!
Enjoy your rich and creamy cherry-filled chocolate candy!
FAQ for Easy Homemade Cherry Mash Candy
Can I Use Fresh Cherries Instead of Maraschino Cherries?
Yes, you can! Just make sure to pit and finely chop the fresh cherries. Note that using fresh cherries will alter the texture a bit compared to maraschino cherries. Be sure to drain any excess moisture to avoid a wet mixture.
What If I Don’t Have Powdered Sugar? Can I Substitute It?
While powdered sugar is ideal for this recipe, you can make your own by blending granulated sugar in a blender or food processor until fine. Just be cautious not to over-process it to prevent it from turning into syrup.
How Should I Store Leftovers?
Store any leftover Cherry Mash candy in an airtight container in the refrigerator. They will stay fresh for up to one week. For longer storage, you can freeze them—just make sure to separate layers with parchment paper to prevent sticking.
Can I Make This Recipe Vegan?
Absolutely! To make the candy vegan, swap the regular milk chocolate for dairy-free chocolate chips and use a plant-based peanut butter if desired. Just check the brand of chocolate you choose to ensure it’s vegan-friendly.