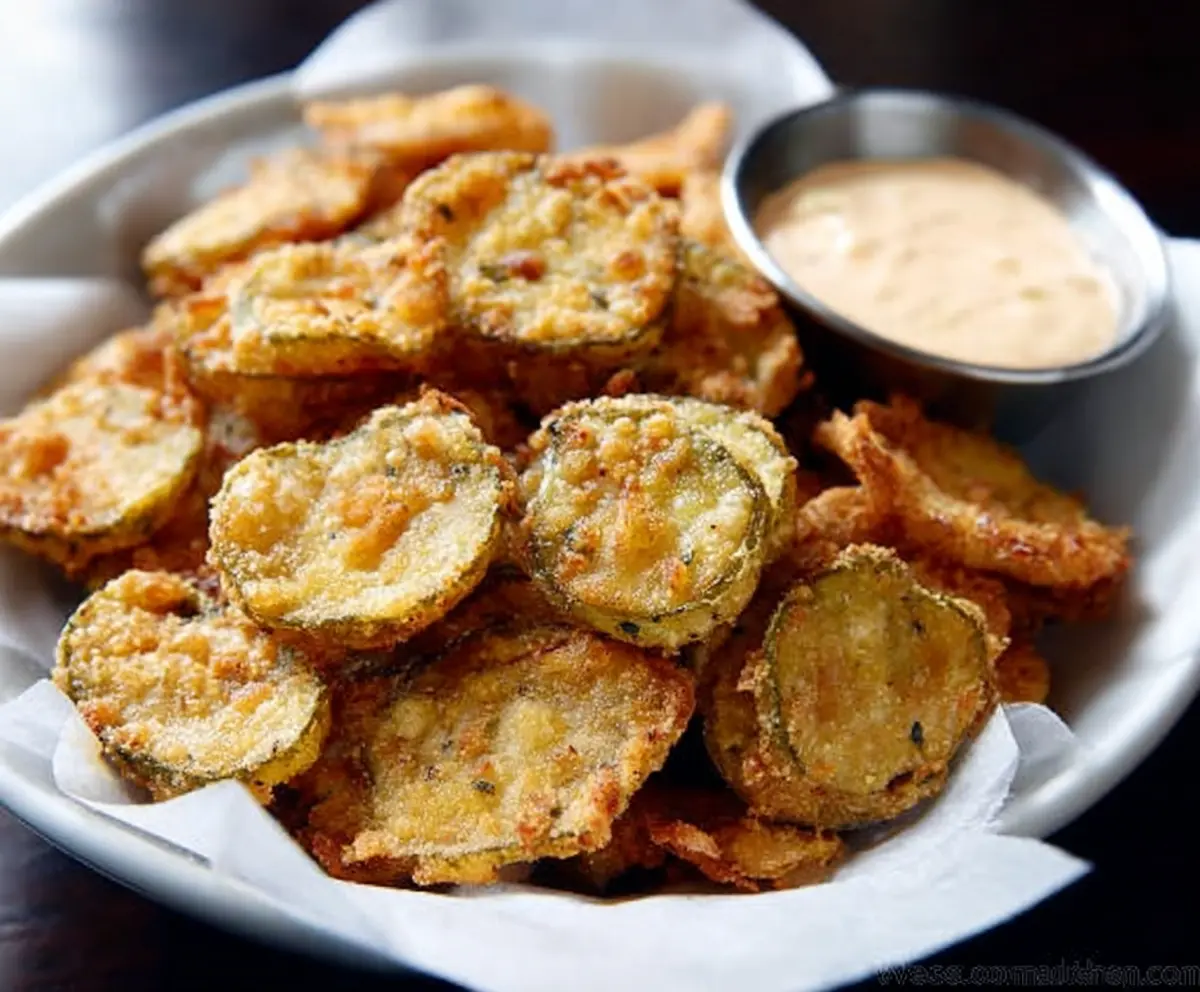
Fried pickles are a crunchy and tangy treat that everyone loves. These little bites are coated in a crispy batter and fried until golden brown. They make a fun snack or appetizer!
Let’s be real, dipping them in ranch dressing makes them even better! 😋 I enjoy serving them at parties, and they always disappear fast. Plus, they’re super easy to make, and your friends will be impressed!
Key Ingredients & Substitutions
Dill Pickle Slices: Opt for dill pickles for that classic tangy flavor. If you prefer less tang, try bread-and-butter pickles instead. My go-to is always the dill variety, since it gives that perfect kick!
All-Purpose Flour: This flour helps create a great coating. If you’re gluten-free, use almond flour or a gluten-free all-purpose blend instead. I often use whole wheat flour for added flavor and nutrition.
Cornmeal or Panko Breadcrumbs: Cornmeal gives a great crunch, but panko is lighter and flakier. You can mix both for the best of both worlds! I find that panko adds extra crispness that’s hard to beat.
Buttermilk: This adds a nice tang and helps the batter stick. If you don’t have buttermilk, mix regular milk with a little vinegar or lemon juice and let it sit for 5 minutes. It works like a charm!
What’s the Best Way to Get Perfectly Crispy Fried Pickles?
To achieve that crispy texture, you need to follow a few essential steps closely. Start by ensuring your pickle slices are well-drained. Too much moisture can make them soggy.
- Use a thermometer to keep the oil at the right temperature (350°F). If it’s too low, they’ll absorb oil and taste greasy.
- Don’t overcrowd the pan; fry in batches to avoid lowering the oil’s temperature. Each batch should be golden and crisp.
- Let them drain on paper towels to remove excess oil after frying. This step helps keep them crispy until serving!
With these tips, your fried pickles will turn out wonderfully crispy every time! Enjoy your cooking adventure!
Fried Pickles Recipe
Ingredients You’ll Need:
For the Fried Pickles:
- 1 cup dill pickle slices (about 20-25 slices), drained and patted dry
- 1 cup all-purpose flour
- 1 teaspoon garlic powder
- 1 teaspoon paprika
- 1/2 teaspoon salt
- 1/2 teaspoon black pepper
- 1/2 teaspoon cayenne pepper (optional, for a bit of heat)
- 1 cup buttermilk
- 1 large egg
- 1 1/2 cups cornmeal or panko breadcrumbs (for extra crunch)
- Vegetable oil, for frying (about 2-3 cups)
How Much Time Will You Need?
This recipe takes around 30 minutes in total: about 15 minutes for prep and 15 minutes for frying. It’s a quick and fun treat to whip up for snacks or gatherings!
Step-by-Step Instructions:
1. Prepare the Pickles:
Start by draining the pickle slices on paper towels to get rid of excess moisture. This is important to ensure the fried pickles stay crispy. Pat them dry with additional paper towels for best results.
2. Make the Batter:
In a medium bowl, whisk together the flour, garlic powder, paprika, salt, black pepper, and optional cayenne pepper. In another bowl, whisk the buttermilk and egg together until well combined. Lastly, place the cornmeal or panko breadcrumbs in a third shallow bowl.
3. Coat the Pickles:
Take each pickle slice and dip it first into the flour mixture, then into the buttermilk mixture, and finally dredge it in the cornmeal or panko breadcrumbs. Make sure to press gently to help the coating stick. Set the coated pickles aside on a plate.
4. Heat the Oil:
In a deep skillet or heavy-bottomed pot, pour in vegetable oil to a depth of about 2 inches. Heat the oil to 350°F (175°C). Using a thermometer will help you keep the temperature right for frying.
5. Fry the Pickles:
Carefully add the coated pickles into the hot oil in small batches. Avoid overcrowding the pan! Fry them for about 2-3 minutes per side, or until they turn golden brown and crispy.
6. Drain Excess Oil:
Using a slotted spoon, carefully transfer the fried pickles to a plate lined with paper towels. This helps absorb any extra oil, keeping them nice and crispy.
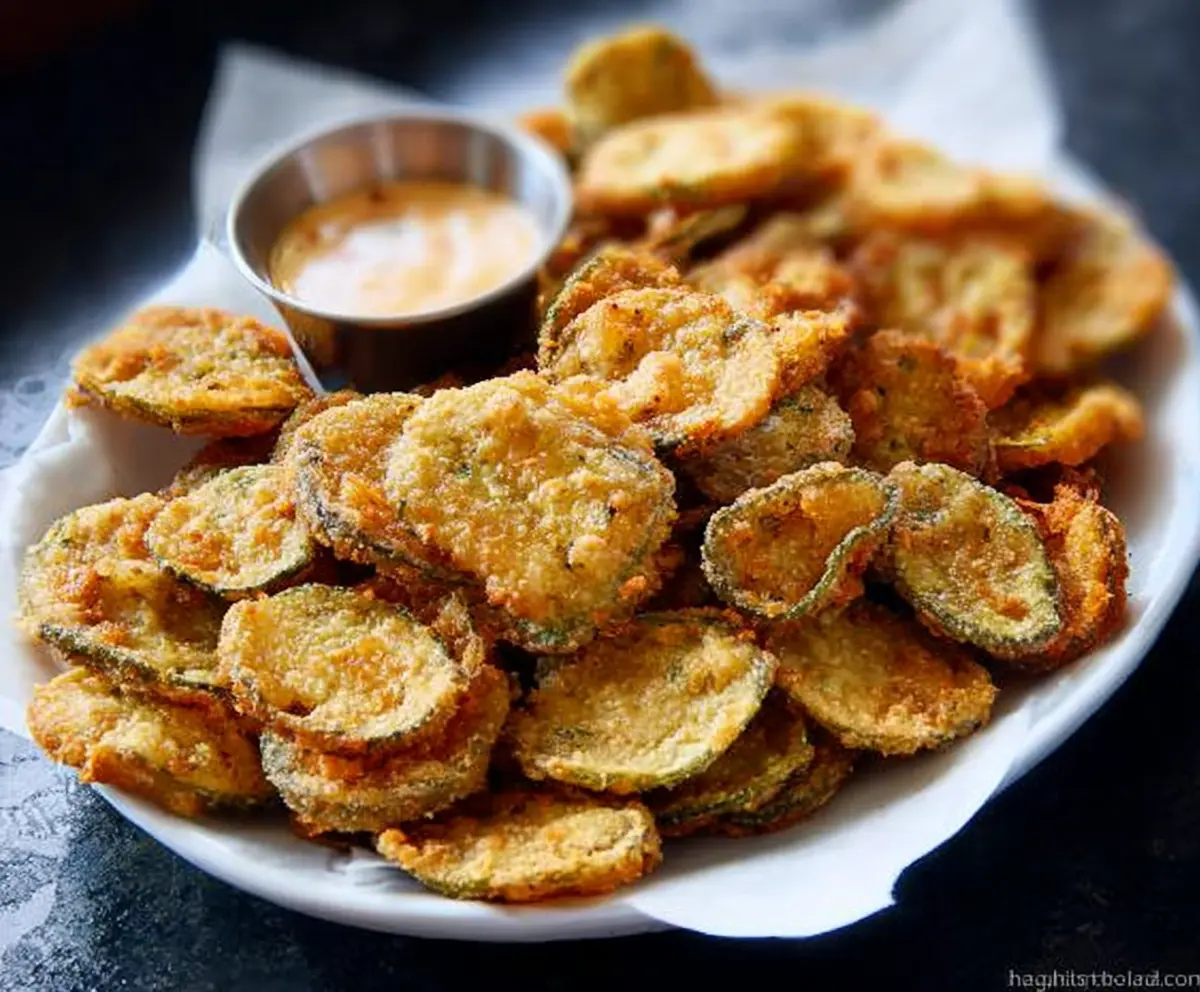
7. Serve:
Enjoy your fried pickles while they’re hot and crispy! Serve them up with ranch dressing or your favorite dipping sauce for the ultimate snack experience.
Enjoy your delicious, crispy, tangy fried pickles!
Can I Use Relish Instead of Pickle Slices?
No, relish won’t work in this recipe as it has a different texture and moisture content. Stick with dill pickle slices for the ideal crunch and flavor profile!
Can I Make These Fried Pickles Gluten-Free?
Absolutely! Just use a gluten-free all-purpose flour blend and certified gluten-free breadcrumbs. Substitute the buttermilk with a non-dairy milk mixed with a bit of vinegar for that tangy flavor!
How Do I Store Leftover Fried Pickles?
Store leftover fried pickles in an airtight container in the refrigerator for up to 3 days. To reheat, place them in an oven at 375°F (190°C) for about 10 minutes to help them regain their crispiness.
Can I Prepare the Batter Ahead of Time?
Yes, you can prepare the flour and buttermilk mixtures in advance. Just keep them covered and refrigerated until you’re ready to coat the pickles. However, it’s best to coat and fry them fresh for maximum crispiness!