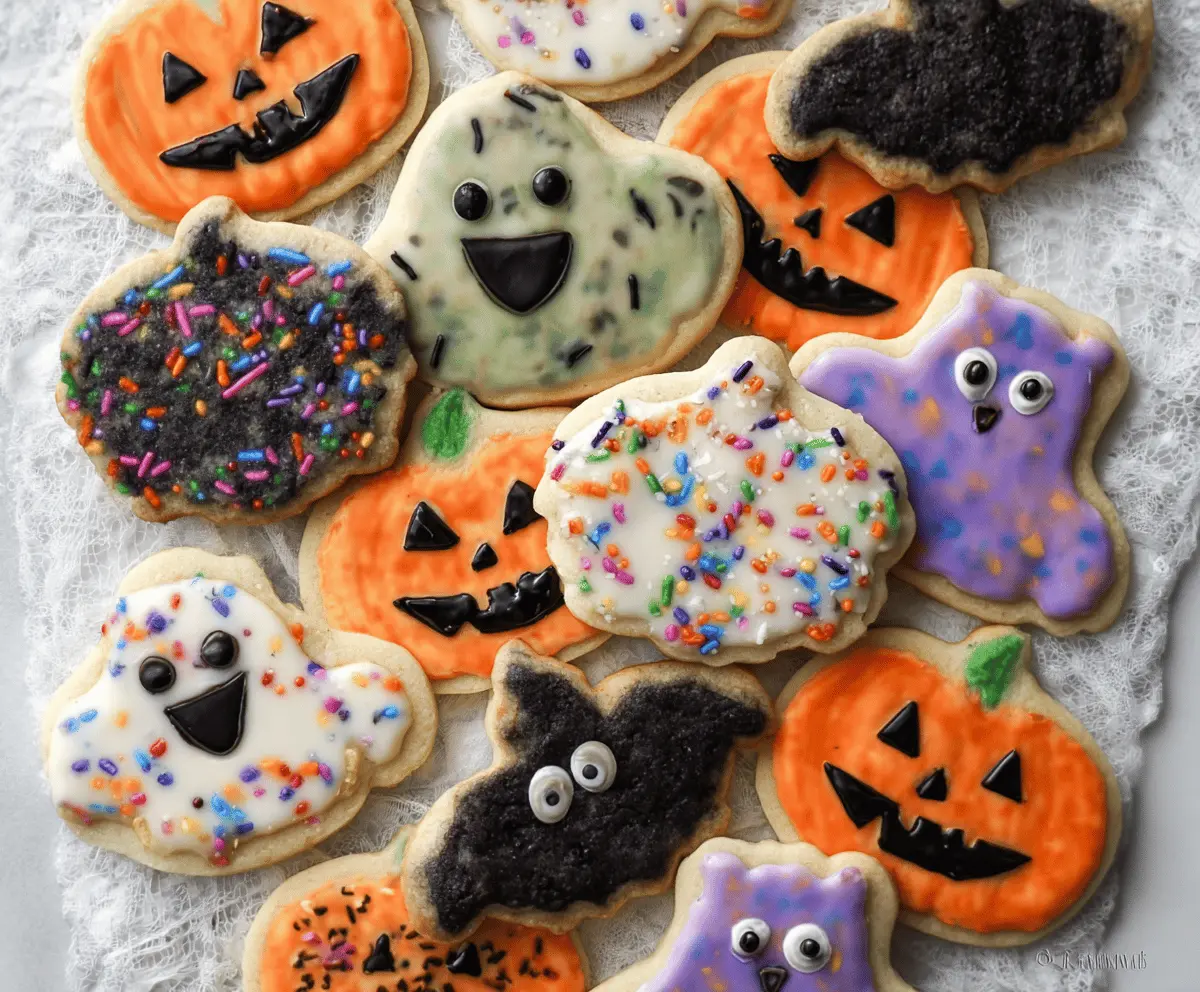
These Halloween shortbread cookies are super fun and easy to make! With their buttery flavor and cute spooky shapes, they’re perfect for the holiday. 🎃
Making these cookies always brings out my inner kid. I love decorating them with colorful icing and sprinkles—it’s like a mini art project! Who knew cookies could be so fun? 😊
Key Ingredients & Substitutions
Unsalted Butter: Use real butter for the best flavor. If you’re lactose intolerant, you can substitute with margarine or a dairy-free butter alternative. Just make sure it’s unsalted to avoid altering the sweetness!
Granulated Sugar: This is essential for sweetness. If you want a bit of a lower-calorie option, you can try using coconut sugar, which will give a slight caramel taste.
All-purpose Flour: All-purpose flour gives these cookies their structure. You can substitute with gluten-free flour blends if you need a gluten-free version. Just be sure to use one that’s designed for baking.
Food Coloring: I love using gel food coloring for vibrant colors without altering the cookie dough texture. Liquid food coloring works too, but use it sparingly to avoid adding too much moisture.
How do I Ensure My Cookies Hold Their Shape?
To keep your Halloween cookies from spreading too much during baking, refrigerating the dough before rolling it out is key. This helps the butter firm up again, which keeps the cookies maintaining their spooky shapes!
- After mixing the dough, shape it into a flat disc and wrap it tightly in plastic wrap.
- Chill it in the refrigerator for at least 30 minutes. If you have time, chilling it longer is even better!
- When rolling out the dough, keep your work surface lightly floured to prevent sticking.
Halloween Shortbread Cookies
Ingredients You’ll Need:
For the Cookies:
- 1 cup unsalted butter, softened
- 1/2 cup granulated sugar
- 1/4 teaspoon salt
- 2 cups all-purpose flour
- 1 teaspoon vanilla extract
For the Icing:
- Assorted food coloring (orange, white, purple, green, black)
- 1 cup powdered sugar
- 2-3 tablespoons milk or water (to achieve desired icing consistency)
- Halloween-themed sprinkles
How Much Time Will You Need?
This delightful Halloween treat will take about 20 minutes of preparation time and 15-18 minutes of baking time. Plus, you’ll want to let the cookies cool for about 30 minutes before decorating. In total, you can expect a little over an hour to have these spooky cookies ready!
Step-by-Step Instructions:
1. Preheat the Oven:
Start by preheating your oven to 325°F (165°C). While that’s heating up, line two baking sheets with parchment paper to prevent sticking.
2. Cream the Butter and Sugar:
In a large bowl, combine the softened butter and granulated sugar. Use a hand mixer or a wooden spoon to cream them together until the mixture is light and fluffy, which should take about 3-4 minutes. This is a great way to work out any frustration from the day! 🥰
3. Add Vanilla:
Now, mix in the teaspoon of vanilla extract, giving it a good stir to incorporate the flavor.
4. Mix Dry Ingredients:
In a separate bowl, whisk together the flour and salt. Gradually add this dry mixture into the butter mixture, mixing just until everything is combined. The dough might feel a bit crumbly, but it should hold together when you press it.
5. Chill the Dough:
Gather the dough into a ball, flatten it into a disc, and wrap it securely in plastic wrap. Pop it in the refrigerator for at least 30 minutes. This helps the cookies keep their shape when baking!
6. Roll Out the Dough:
Once chilled, sprinkle a little flour on your work surface and roll out the dough to about 1/4-inch thickness. Don’t worry if it cracks a bit—it’ll still be yummy!
7. Cut Out Shapes:
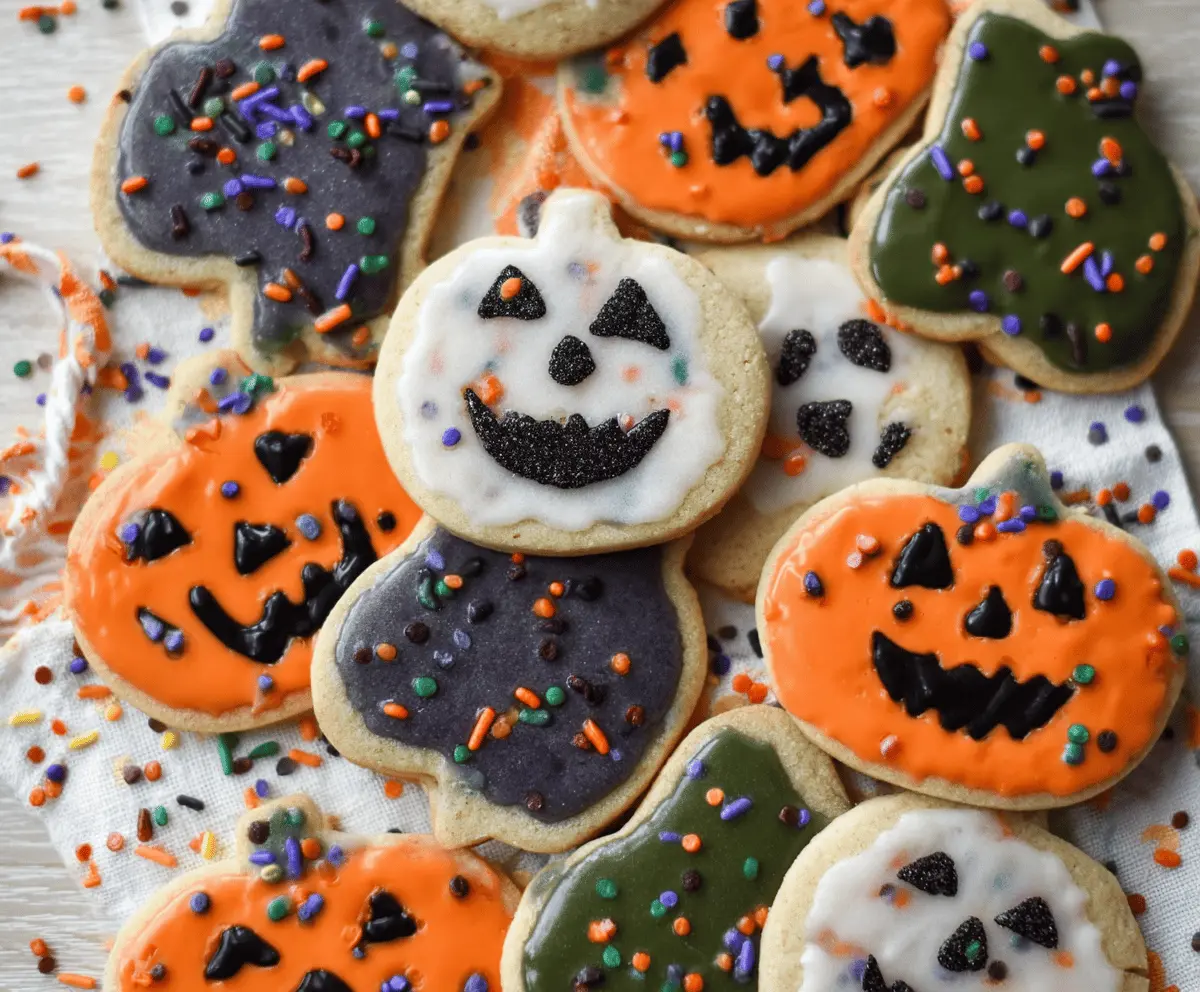
Use your Halloween-themed cookie cutters to cut fun shapes (like pumpkins, ghosts, and bats). Place the cookie shapes about 1 inch apart on the prepared baking sheets.
8. Bake the Cookies:
Pop the baking sheets in the oven and bake for 15-18 minutes. You’ll know they’re ready when the edges start to turn golden. Once baked, remove from the oven and let them cool completely on a wire rack.
9. Make the Icing:
To create your icing, whisk the powdered sugar with a tablespoon or two of milk or water in a bowl. Keep mixing until it’s smooth and thick enough to hold its shape. Divide it into smaller bowls and color each with your assorted food coloring!
10. Decorate the Cookies:
Once your cookies are completely cool, grab a spoon or piping bag to decorate them! Use the icing to create fun faces or designs on your cookies, and don’t forget to sprinkle them with Halloween-themed sprinkles while the icing is still wet.
11. Let Them Set:
Once decorated, let the icing set completely before enjoying or storing your festive cookies. They’ll make the perfect spooky treat for any Halloween gathering!
Enjoy your delicious Halloween shortbread cookies with family and friends, and let the fun begin! 🎃👻
Can I Use Margarine Instead of Butter?
Yes, you can substitute margarine for unsalted butter if needed! Just make sure to choose a stick variety for best results. The flavor might be slightly different, but it will still work fine in the recipe.
Can I Freeze the Cookie Dough?
Absolutely! You can freeze the dough for up to 3 months. Simply wrap it tightly in plastic wrap and place it in an airtight container. When you’re ready to bake, thaw it in the refrigerator overnight before rolling it out and cutting shapes.
How Do I Achieve the Right Icing Consistency?
For the icing, start with 2 tablespoons of milk or water, and mix until smooth. If it’s too thick, add a little more liquid, one teaspoon at a time, until you reach a spreadable consistency that holds shape but isn’t runny.
What’s the Best Way to Store Leftover Cookies?
Store any leftover cookies in an airtight container at room temperature for up to 5 days. If the icing starts to get soft or melt, you can place the cookies in the fridge for a firmer texture. Just remember to let them come back to room temperature before serving for the best flavor!