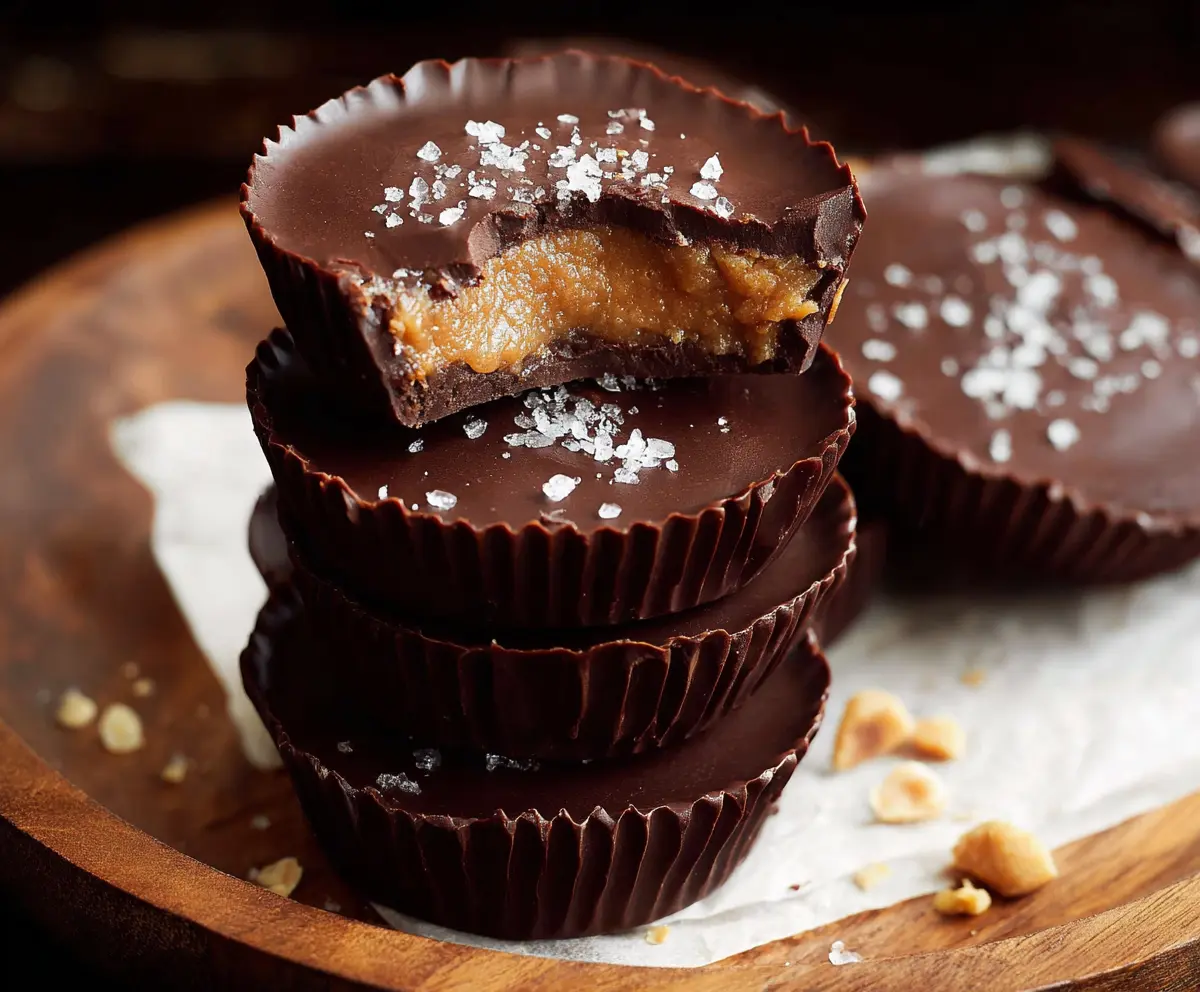
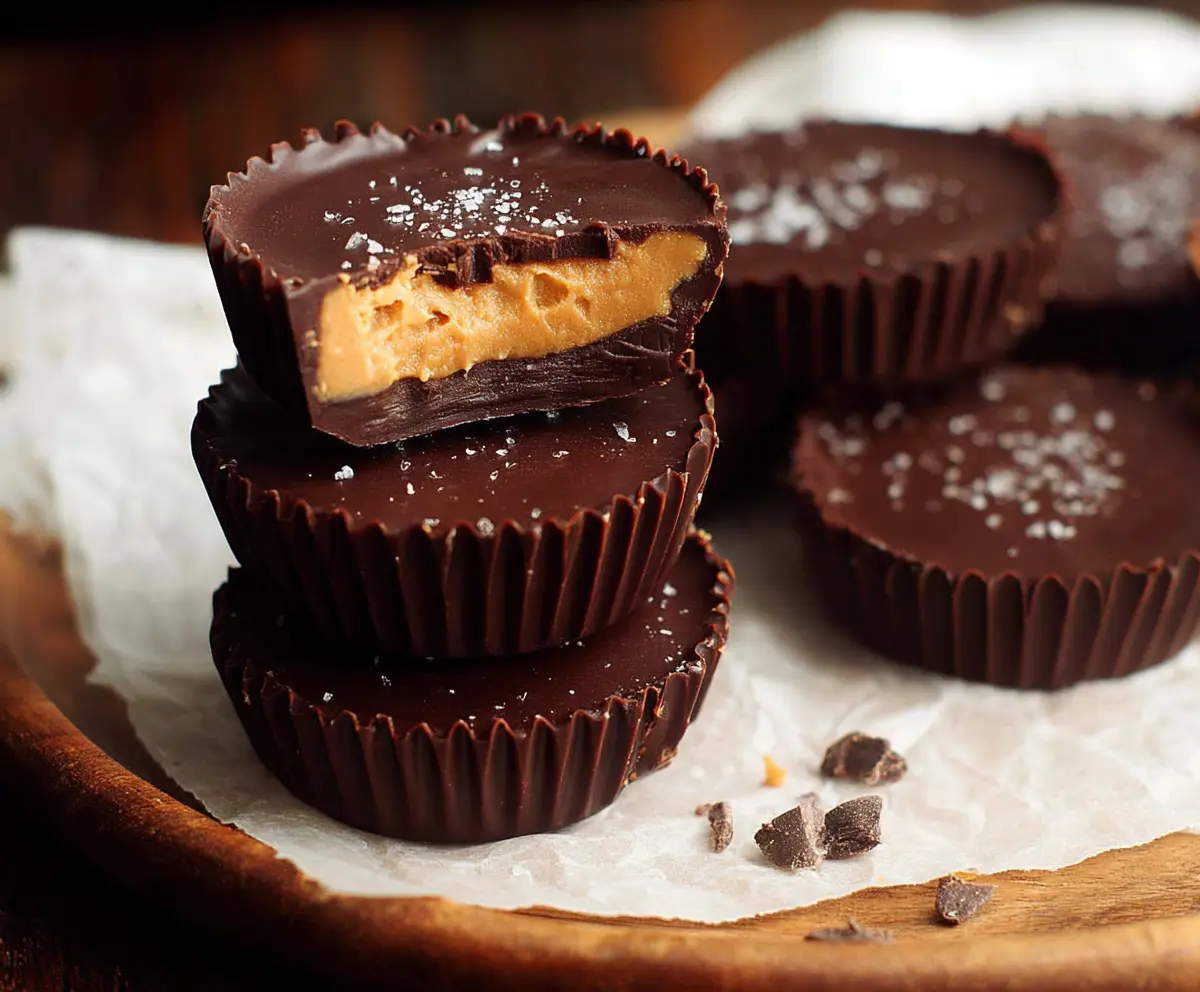
These easy dark chocolate peanut butter cups are a tasty treat that you can feel good about! With creamy peanut butter and rich dark chocolate, they’re the perfect snack.
Honestly, who can resist these little cups of joy? I love making a batch and sneaking them for dessert or even breakfast! They’re that good. 😋
Making them is super simple! Just melt the chocolate, fill the cups, and let them chill. I can’t wait to share them with friends and see their faces light up!
Key Ingredients & Substitutions
Natural Creamy Peanut Butter: I always reach for the no-sugar-added type for a healthier twist. If you’re allergic to peanuts, try almond butter or sun butter for a similar texture and flavor.
Maple Syrup or Honey: Both add a touch of sweetness. If you’re vegan, stick with maple syrup. For a sugar-free option, consider using stevia or another sugar substitute, but remember it can change the texture slightly.
Coconut Oil: This not only helps the peanut butter mixture come together but also adds a nice flavor. You can substitute it with unsalted butter if you prefer. Just keep in mind that the texture might be a bit different.
Dark Chocolate Chips: Look for chips that are at least 70% cacao. If you want a dairy-free option, choose vegan chocolate chips. If you can’t find chocolate chips, you can chop up a dark chocolate bar instead.
How Do You Get the Perfect Layering Technique for These Cups?
Layering is key to achieving those delicious, creamy cups! Start with a generous spoonful of melted chocolate at the bottom. It’s essential to ensure it’s spread evenly across the bottom of the liner to make the base.
- After chilling the first layer, add the peanut butter filling. Gently flatten it, but resist the urge to push too hard. It’s okay to have a bit of height!
- Top with more melted chocolate, ensuring the filling is completely covered. This creates a pleasing aesthetic and prevents the filling from being exposed.
Don’t rush the cooling time in the freezer. It helps the layers solidify correctly and gives you that perfect peanut butter cup bite!
Healthy Dark Chocolate Peanut Butter Cups
Ingredients You’ll Need:
- 1 cup natural creamy peanut butter (no sugar added)
- 2 tbsp pure maple syrup or honey
- 1/4 cup coconut oil, melted
- 1 tsp vanilla extract
- 1/4 tsp sea salt (plus extra for topping)
- 1 1/2 cups dark chocolate chips (70% cacao or higher)
- 1 tbsp coconut oil (for melting chocolate)
How Much Time Will You Need?
This recipe will take about 15 minutes to prepare and then about 40 minutes to chill in the freezer. So, total time needed is approximately 55 minutes before you can enjoy your delicious peanut butter cups!
Step-by-Step Instructions:
1. Mix the Peanut Butter Filling:
In a medium bowl, combine the peanut butter, maple syrup (or honey), melted coconut oil, vanilla extract, and 1/4 tsp sea salt. Stir well until everything is blended into a smooth and creamy mixture. This will be your delicious filling!
2. Prepare the Muffin Tin:
Line a muffin tin with 10-12 paper cupcake liners. This makes it easier to remove the cups once they’re ready. Plus, it looks nice!
3. Melt the Chocolate:
In a microwave-safe bowl, mix the dark chocolate chips with 1 tbsp of coconut oil. Microwave in 30-second intervals, stirring well after each, until the chocolate is fully melted and smooth. Be careful not to overheat it!
4. Layer the Chocolate:
Take a teaspoon of the melted chocolate and spoon it into the bottom of each cupcake liner. Use the back of the spoon to spread it evenly across the bottom. This creates a tasty chocolate base for your cups.
5. Chill the First Layer:
Place the muffin tin in the freezer for about 10 minutes to let the chocolate harden. This is a crucial step, so don’t skip it!
6. Add the Peanut Butter Mixture:
After the chocolate has hardened, remove the tin from the freezer. Add about a tablespoon of the peanut butter mixture on top of the hardened chocolate layer in each cup. Gently flatten the peanut butter filling to create an even layer.
7. Top with More Chocolate:
Now, spoon another teaspoon of melted chocolate on top of the peanut butter layer to fully cover it. Make sure it’s well-coated for that delicious chocolate shell!
8. Finish with a Sprinkle:
Before the chocolate sets, sprinkle a pinch of sea salt on top of each cup for a flavor boost. This little touch makes a big difference!
9. Chill Again:
Return the muffin tin to the freezer and chill for at least 30 minutes or until the cups are firm. This solidifies everything perfectly!
10. Enjoy Your Treats:
Once set, gently remove the peanut butter cups from the liners. Store them in an airtight container in the refrigerator for up to a week—if they last that long! Enjoy your healthy and indulgent treat!
Now you can delight in rich, creamy, and healthier dark chocolate peanut butter cups whenever you crave something sweet!
Can I Use Different Nut Butters?
Absolutely! You can substitute the peanut butter with almond butter, cashew butter, or sunflower seed butter if you’re looking for a nut-free alternative. Just ensure that the consistency is similar to creamy peanut butter for the best results!
How Should I Store These Peanut Butter Cups?
Store the cups in an airtight container in the refrigerator for up to 1 week. If you want to keep them longer, you can also freeze them! Just make sure to separate them with parchment paper to prevent sticking.
Can I Make These Vegan?
Yes! To make these completely vegan, use maple syrup as a sweetener and make sure your dark chocolate chips are dairy-free. Many brands offer vegan chocolate chips that are delicious and perfect for this recipe!
What If the Chocolate Is Too Thick to Spread?
If your chocolate mixture seems too thick, try adding an extra teaspoon of coconut oil to help it melt down and spread more easily. Microwaving it in short intervals while stirring helps maintain a smooth consistency!