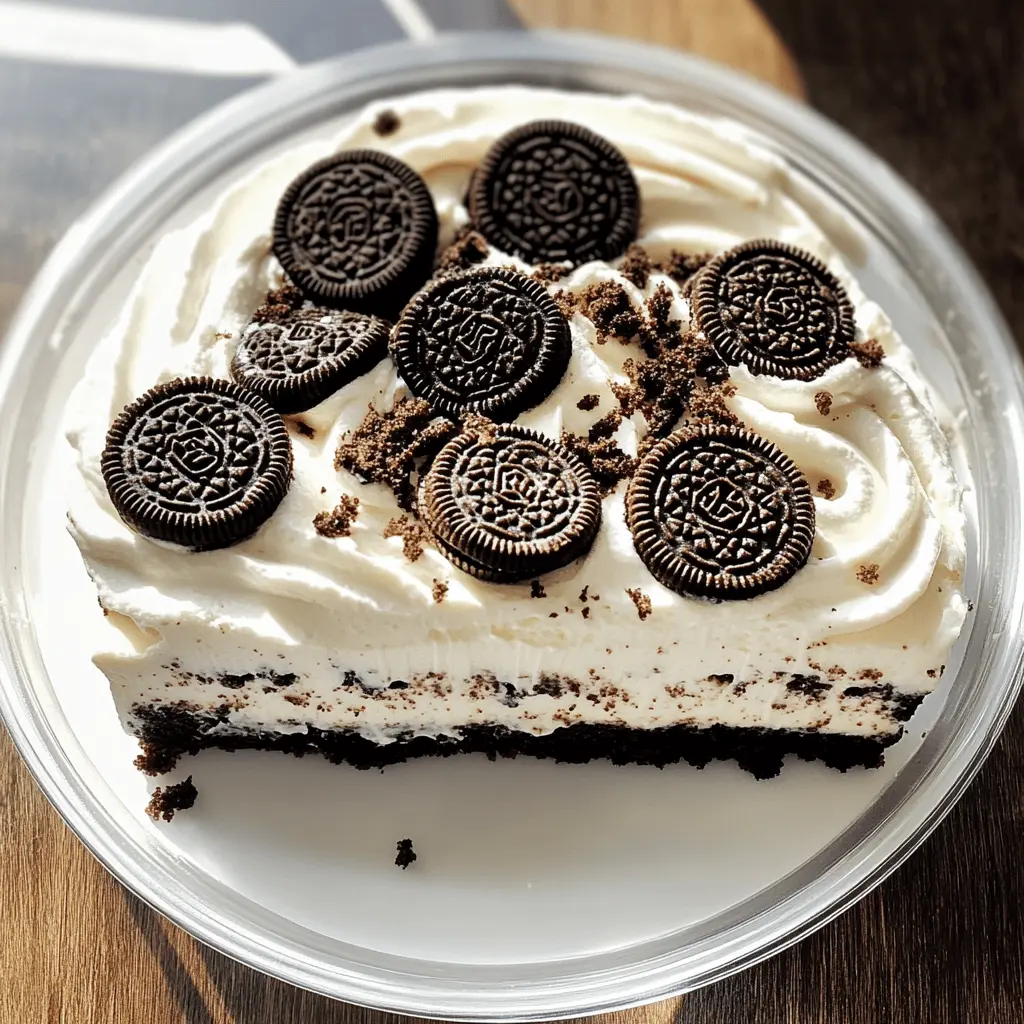
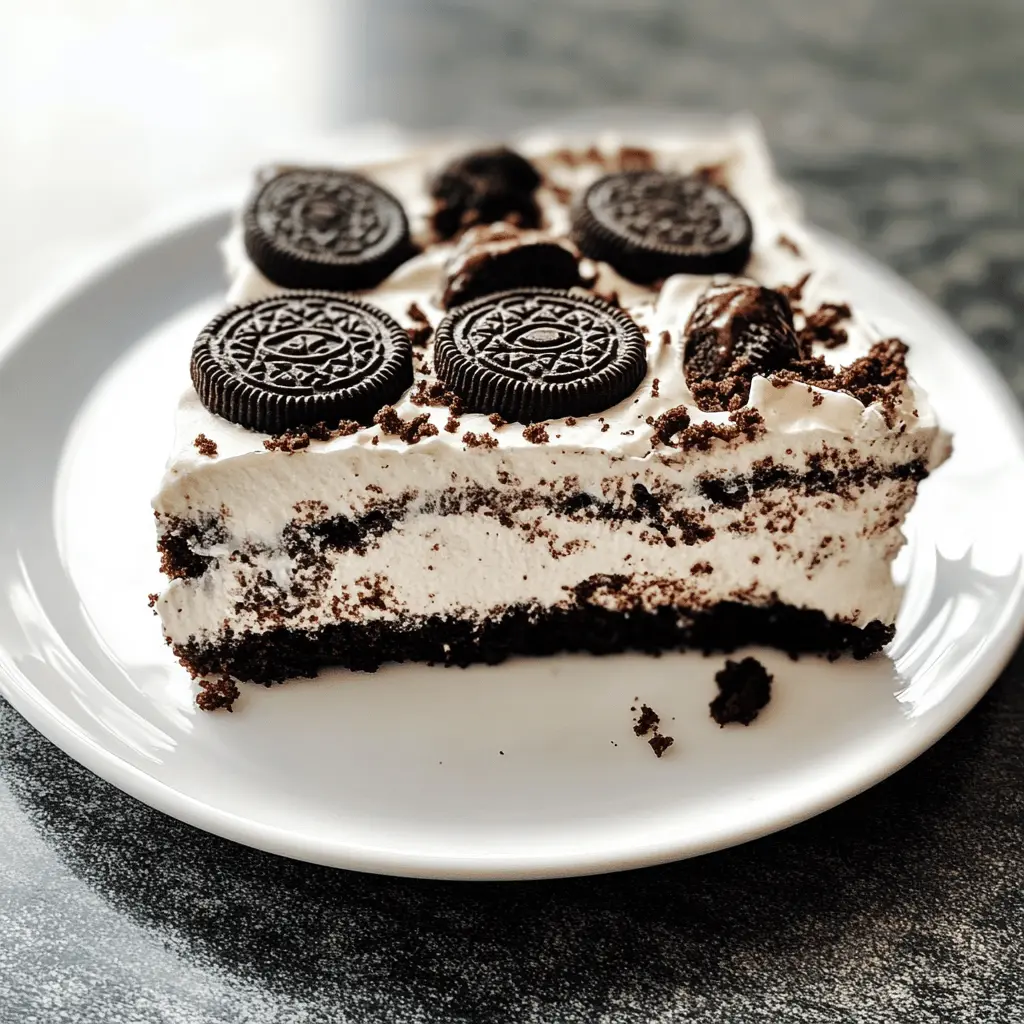
This Heavenly Oreo Dessert is a dreamy layer of creamy goodness, crunchy Oreos, and a touch of chocolate. It’s as delicious as it sounds, perfect for any sweet lover!
I can’t resist a dessert with Oreos! It’s fun to make and even better to share. Just make sure to save a slice for yourself before it disappears at parties! 😉
Ingredients & Substitutions
Oreo Cookies: These give the dessert its signature flavor. If you’re looking for a gluten-free option, try gluten-free chocolate cream cookies. I find the classic Oreos work best for that authentic taste.
Unsalted Butter: Stick with unsalted for better control over the dessert’s saltiness. If you’re dairy-free, coconut oil can work well as a substitute here.
Cream Cheese: Make sure it’s softened to blend easily. If you’re going for a lighter option, Neufchâtel cheese can be a good alternative. My personal favorite is the classic cream cheese for that creamy texture.
Heavy Cream: This provides richness. If you prefer a lighter version, you can use whipped coconut cream for dairy-free. Be aware that it may change the flavor slightly.
Instant Chocolate Pudding Mix: This is key for a rich chocolate layer. You’re free to swap it with vanilla pudding mix if you want a different flavor. I sometimes mix chocolate and vanilla for a fun twist!
How Do I Get the Perfect Oreo Crust?
The crust is crucial for this dessert as it provides a sturdy base. To make it perfect, crush the Oreo cookies into fine crumbs using a food processor or by placing them in a sealed bag and rolling with a rolling pin. Mixing the crumbs with melted butter allows the crust to hold together.
- Preheat your oven to 350°F (175°C).
- Combine crushed Oreos with melted butter until fully coated.
- Press mixture firmly into the bottom of your baking dish; don’t skip this step as it ensures a solid layer!
- Bake for 10 minutes and allow to cool completely.
This step is vital to avoid a soggy crust, so be patient and let it cool before adding the cream cheese layer! Trust me, it’s worth it.
How to Make Heavenly Oreo Dessert
Ingredients You’ll Need:
For the Crust:
- 1 package (15.5 oz) Oreo cookies
- 1/2 cup unsalted butter, melted
For the Cream Cheese Layer:
- 1 package (8 oz) cream cheese, softened
- 1/2 cup powdered sugar
- 1 cup heavy cream
- 1 teaspoon vanilla extract
For the Pudding Layer:
- 1 package (3.9 oz) instant chocolate pudding mix
- 2 cups milk
For the Topping:
- 1 container (8 oz) whipped topping (e.g., Cool Whip)
- Additional crushed Oreos for topping
How Much Time Will You Need?
This recipe takes about 40 minutes of active preparation time, plus at least 4 hours of chilling time in the refrigerator. It’s the perfect dessert for parties or gatherings—just mix, layer, and chill!
Step-by-Step Instructions:
1. Prepare the Crust:
First, preheat your oven to 350°F (175°C). Take the Oreo cookies and crush them into fine crumbs; you can use a food processor or place them in a zip-top bag and crush them with a rolling pin. Set aside 1/2 cup of these crumbs for later. In a bowl, mix the remaining crumbs with the melted butter until everything is combined. Now, press this mixture firmly into the bottom of a 9×13 inch baking dish to form your crust. Pop it in the oven and bake for 10 minutes. Once done, take it out and let it cool completely.
2. Make the Cream Cheese Layer:
While the crust is cooling, grab another mixing bowl. Beat the softened cream cheese and powdered sugar together until the mixture is nice and smooth. In a separate bowl, take your heavy cream and vanilla extract and whip them together until stiff peaks form. Gently fold this whipped cream into the cream cheese mixture, ensuring everything is well combined. Spread the cream cheese mixture evenly over the cooled Oreo crust.
3. Add the Chocolate Pudding Layer:
Now it’s time for the pudding! In another bowl, whisk together the chocolate pudding mix and cold milk until it thickens up, which should take about 2 minutes. Once thickened, spread the chocolate pudding layer over the cream cheese layer.
4. Final Touches and Chilling:
Top everything off with the whipped topping, spreading it smoothly over the pudding layer. Finally, sprinkle the reserved crushed Oreos over the top for a delicious garnish. Cover your dessert and pop it in the refrigerator for at least 4 hours, or even overnight, to let those flavors blend beautifully. When you’re ready to serve, just slice and enjoy your creamy Heavenly Oreo Dessert!
Can I Use Reduced-Fat Oreos for This Recipe?
Yes, you can! Reduced-fat Oreos will work fine in this recipe. Keep in mind that the texture might be slightly different, but it’ll still taste delicious. Just make sure to follow the same crushing and mixing methods as the regular Oreos.
How Can I Make This Dessert Gluten-Free?
To make this Heavenly Oreo Dessert gluten-free, simply substitute regular Oreos with gluten-free Oreo cookies. The rest of the ingredients are already gluten-free, so you’re all set! Just verify that any whipped topping or pudding mix used is also gluten-free.
What’s the Best Way to Store Leftovers?
Store any leftovers in an airtight container in the refrigerator for up to 3 days. It’s best served cold, so just grab a slice and enjoy! If it’s covered well, the dessert should keep its texture and flavor.
Can I Substitute the Heavy Cream?
Absolutely! If you want a lighter option, you can use half-and-half or whole milk in place of the heavy cream, but keep in mind that the texture may not be as rich and creamy. For a dairy-free alternative, opt for coconut cream to maintain a similar consistency and flavor profile!