
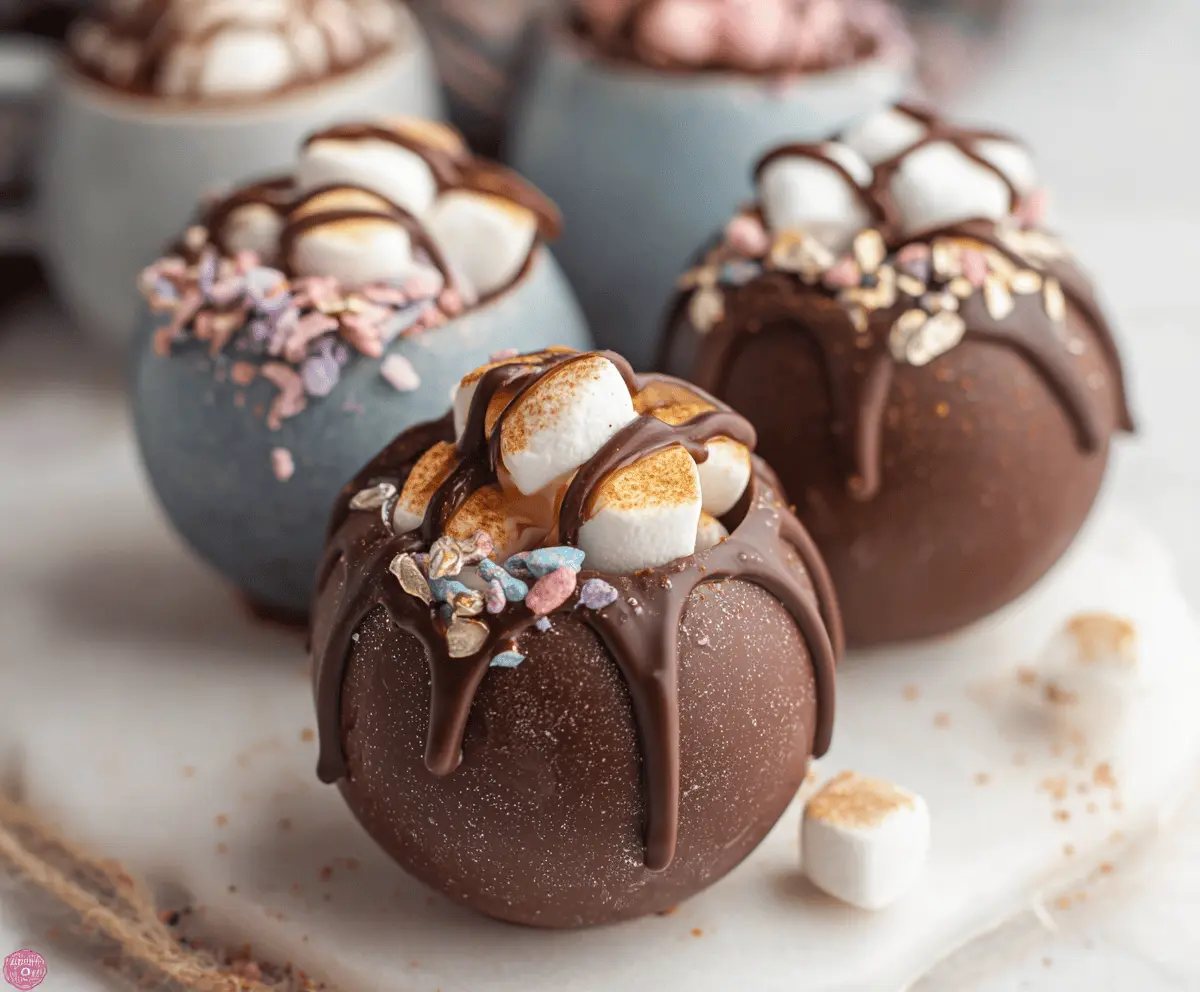
Hot Chocolate Bombs are fun little treats that burst with chocolatey goodness! Just pop one in a mug, pour hot milk over it, and watch the magic happen as it melts.
These delightful bombs are like a party for your taste buds—rich cocoa, fluffy marshmallows, and a bit of sweetness all wrapped up in chocolate. So cozy up and enjoy your drink!
Key Ingredients & Substitutions
Chocolate: High-quality semisweet or milk chocolate works best. If you’re in a pinch, chocolate melts or candy coating can be used, but they may not taste as rich. I prefer good quality chocolate for the best flavor!
Hot Cocoa Mix: You can use store-bought instant hot cocoa mix, but if you’re feeling adventurous, homemade cocoa powder with sugar and your preferred flavorings works wonders. Just ensure it’s well mixed before filling the bombs.
Mini Marshmallows: If you can’t find mini marshmallows, try using chopped regular marshmallows or even marshmallow fluff. Both can add that special sweetness when melted.
White Chocolate: This is great for drizzling, but if you want an alternative that adds color, you can use colored candy melts instead.
How Do I Ensure My Chocolate Bombs Hold Together?
Getting your chocolate bombs to stay intact can be tricky, but with a few careful steps, it’s easy! First, make sure your chocolate is melted smoothly—this helps achieve a nice, even coating. Use a generous layer in the molds; aim for at least a quarter-inch thick.
- Chill the molds after the first coat to set quickly and firmly.
- Apply a second layer to strengthen the shells, then chill again.
- When sealing, slightly warm the edges for a perfect bond.
Wipe away any excess chocolate to keep the edges neat. These tips will help your bombs hold together beautifully!
Hot Chocolate Bombs
Ingredients You’ll Need:
- 8 oz. high-quality semisweet or milk chocolate (or chocolate melts)
- 1 cup hot cocoa mix (instant hot chocolate powder)
- 1 cup mini marshmallows (plus extra for garnish)
- White chocolate for drizzling (optional)
- Edible sprinkles or crushed candy canes for decoration (optional)
- Cocoa powder or cinnamon for garnish (optional)
How Much Time Will You Need?
This recipe takes about 30 minutes of active preparation time, plus at least 30 minutes for setting in the refrigerator. Enjoy some patience as the chocolate bombs chill and set for the perfect finish!
Step-by-Step Instructions:
1. Melt the Chocolate:
Start by chopping the chocolate finely. Melt the chocolate in a microwave-safe bowl by microwaving in 30-second intervals, stirring after each, until it’s nice and smooth. Watch it closely so it doesn’t overheat or burn!
2. Coat the Molds:
Grab your silicone sphere mold (about 2.5 inches in diameter) and spoon or brush a generous layer of the melted chocolate inside each half of the mold. Make sure to cover all surfaces evenly; the chocolate should be thick enough to make sturdy shells. Pop the molds into the refrigerator for about 10 minutes so the chocolate can set.
3. Add a Second Layer:
If you’d like your bombs to be extra strong, go ahead and apply a second layer of melted chocolate inside each mold half. Then, return them to the fridge for another setting session.
4. Remove Chocolate Shells:
Once set, gently pop the chocolate halves out of the molds. Take your time to avoid breaking them!
5. Fill the Bombs:
Fill half of the chocolate shells with a teaspoon of hot cocoa mix and a tablespoon of mini marshmallows. Fun fact: you can customize the filling with flavored cocoa if you like!
6. Seal the Bombs:
To seal your bombs together, warm a plate in your oven or microwave (just lightly warm, no need for hot!). Briefly press the rim of an empty chocolate half on the warm plate to melt the edge slightly. Then, press this melted edge onto a filled half. Gently press the edges together to form a complete sphere and wipe away any excess chocolate.
7. Decorate:
Time to get creative! Drizzle melted white chocolate or your remaining melted chocolate over the sealed bombs and add mini marshmallows, sprinkles, or crushed candy canes for a festive look. If you like, you can dust them with cocoa powder or cinnamon for that extra touch!
8. Let Set:
Place the decorated bombs on a parchment-lined tray and refrigerate or allow to cool until the drizzle has hardened. Patience is key!
9. Serve:
When you’re ready for some cozy sipping, drop one hot chocolate bomb into a mug. Pour 8 oz. of steaming hot milk (or your favorite milk alternative) over the bomb. Sit back and watch it melt away, releasing all the delicious cocoa and marshmallows inside. Stir well and enjoy your rich, warm hot chocolate!
These homemade Hot Chocolate Bombs make a fun treat for yourself or a delightful gift for family and friends. Enjoy and happy sipping!
Can I Use Different Types of Chocolate for Hot Chocolate Bombs?
Absolutely! While semisweet and milk chocolate are popular choices, you can experiment with dark chocolate, white chocolate, or even flavored chocolates like mint or orange for a unique twist!
How Long Do Hot Chocolate Bombs Last?
If stored correctly in an airtight container at room temperature, your hot chocolate bombs will last for up to 2 weeks. Just keep them away from heat and humidity to maintain their quality!
Can I Make These Bombs Vegan?
Yes, you can make vegan hot chocolate bombs! Use dairy-free chocolate and a plant-based hot cocoa mix. For the filling, make sure to choose vegan marshmallows or omit them altogether!
What Should I Do If My Chocolate Bombs Are Cracking?
If you experience cracking, it could be due to cooling the bombs too quickly or using chocolate that’s too thin. Ensure you’re using a thick layer of chocolate and let them set gradually at room temperature before refrigerating. If they do crack, just use a little melted chocolate to fill in the gaps!