These melt-in-your-mouth sugar cookies are soft, sweet, and oh-so-delicious! They have a perfect buttery flavor that’s hard to resist. Every bite feels like a warm hug!
I think the best part about these cookies is how quickly they disappear! I always make a double batch because friends keep coming back for more. Who can blame them? 😊
Key Ingredients & Substitutions
All-purpose flour: This is the base for the cookies. If you’re looking for a gluten-free option, you can try a 1:1 gluten-free flour blend, which can usually work well in cookies.
Unsalted butter: I always use unsalted butter to control the salt level. You can replace it with vegan butter for a dairy-free option, but the texture may differ slightly.
Sugar: The cookies call for granulated sugar, but you might also consider using a mix of brown and white sugar for added moisture and a richer flavor. Just keep the same overall quantity!
Milk: This adds moisture to the dough. If you prefer a dairy-free version, almond milk or oat milk will work well.
Almond extract: This is optional, but I love using it for that extra layer of flavor! If you’d like to avoid it, vanilla extract can be increased instead.
What’s the Best Way to Cream Butter and Sugar?
Creaming butter and sugar properly is crucial for fluffy cookies. It incorporates air into the mixture, yielding a lighter texture. Here’s how to do it:
- Start with softened butter – it should be at room temperature but still slightly cool to the touch.
- In a mixing bowl, combine softened butter with sugar.
- Using a hand mixer or stand mixer, beat on medium speed for about 3 minutes until the mixture looks light and fluffy.
- Scrape down the sides of the bowl to ensure everything is well mixed.
Remember, don’t rush this step! The fluffiness from well-creamed butter and sugar makes a big difference in the final texture of your cookies.

Melt In Your Mouth Sugar Cookies
Ingredients You’ll Need:
For the Cookie Dough:
- 2 3/4 cups all-purpose flour
- 1 teaspoon baking soda
- 1/2 teaspoon baking powder
- 1 cup unsalted butter, softened
- 1 1/2 cups granulated sugar, divided
- 1 large egg
- 1 teaspoon vanilla extract
- 1/2 teaspoon almond extract (optional for extra flavor)
- 3 to 4 tablespoons milk
For Decorating:
- Additional granulated sugar or sanding sugar
How Much Time Will You Need?
This cookie recipe requires about 15 minutes for preparation and another 8 to 10 minutes for baking. Don’t forget to let them cool for a bit before enjoying! Overall, you’ll have delicious cookies ready in under 30 minutes.
Step-by-Step Instructions:
1. Preheat the Oven:
Start by preheating your oven to 375°F (190°C). This ensures it’s nice and hot when your cookies go in. Line your baking sheets with parchment paper or silicone baking mats to prevent sticking.
2. Whisk the Dry Ingredients:
In a medium bowl, whisk together the all-purpose flour, baking soda, and baking powder. This step combines the dry ingredients and helps evenly distribute the leaveners. Set aside when done.
3. Cream Butter and Sugar:
In a large mixing bowl, using a hand mixer or stand mixer, cream together the softened butter and 1 cup of granulated sugar. Beat this mixture on medium speed until it’s light and fluffy, which should take about 3 minutes.
4. Add the Egg and Extracts:
Next, add in the egg, vanilla extract, and almond extract (if you’re using it). Mix until everything is smoothly combined and well blended.
5. Combine Wet and Dry Ingredients:
Gradually add the dry mixture to the wet mixture, mixing on low speed. Just mix until it’s incorporated—overmixing can make the cookies tough.
6. Adjust Consistency:
Now, add milk to the dough, one tablespoon at a time. You want the dough to be soft and easy to roll into balls, but not sticky. Aim for a nice, workable consistency.
7. Shape the Cookies:
Scoop out tablespoon-sized amounts of dough and roll them into balls. Then, roll each ball in the remaining 1/2 cup of granulated sugar before placing them on the prepared baking sheets about 2 inches apart.
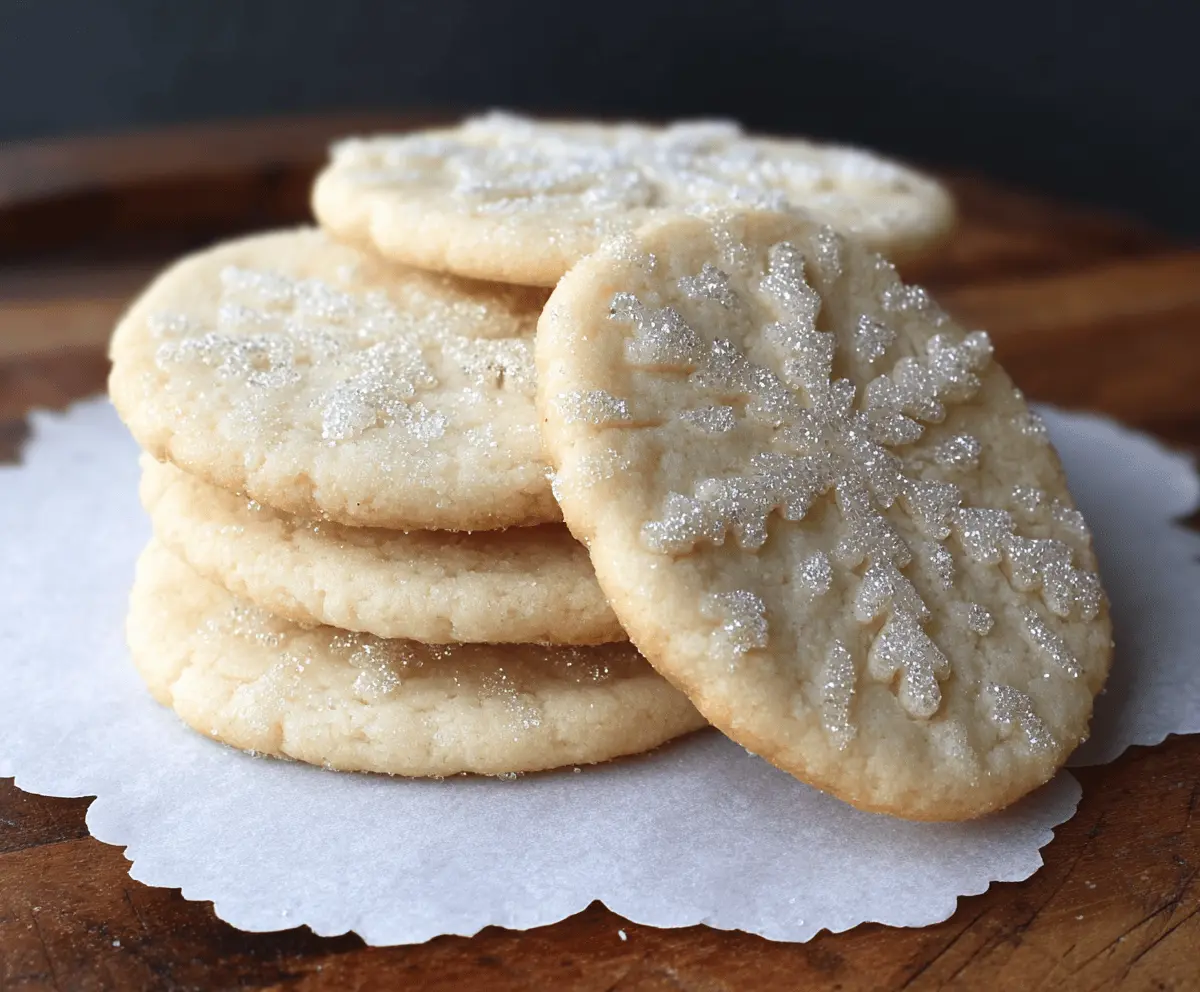
8. Decorate (Optional):
If you have a snowflake cookie stamp or cutter, gently press it into each dough ball to create a lovely pattern on top.
9. Bake the Cookies:
Place the baking sheets in the preheated oven and bake for about 8 to 10 minutes, or until the edges are just set and the bottoms are lightly golden. Keep a close eye on them to prevent over-baking!
10. Cool and Enjoy:
Once done, remove the cookies from the oven and allow them to cool on the baking sheet for about 5 minutes. Then transfer them to a wire rack to cool completely.
11. Final Touch:
If you’d like, sprinkle a bit more sanding sugar on the warm cookies for an extra sparkle!
Enjoy your soft, buttery, melt-in-your-mouth sugar cookies that sparkle like snowflakes! They’re perfect for sharing or indulging on your own! 😊
Can I Use Different Types of Flour for These Cookies?
Yes! While all-purpose flour gives the best results, you can substitute it with a gluten-free flour blend. Just make sure it’s a 1:1 blend designed for baking to maintain the cookie’s texture.
What If My Dough Is Too Sticky?
If your dough feels sticky and difficult to handle, try adding a little more flour, one tablespoon at a time, until it reaches a workable consistency. Be careful not to add too much, or the cookies may become dry.
How Should I Store Leftover Cookies?
Store any leftover cookies in an airtight container at room temperature for up to 3 days. For longer storage, you can freeze them! Just make sure they are well-wrapped to prevent freezer burn. Thaw at room temperature when you’re ready to enjoy.
Can I Omit the Almond Extract?
Absolutely! The almond extract adds a lovely flavor, but if you prefer to skip it, simply increase the vanilla extract by the same amount, or leave it out entirely. The cookies will still be delicious!