Do you love the bright, sunny taste of orange creamsicles? I certainly do! Today, I’m excited to share two amazing orange creamsicle cheesecake recipes that capture that exact happy flavor. These sweet treats are perfect for any occasion, offering a creamy, citrusy dessert experience you’ll adore.
Whether you prefer a bite-sized cheesecake or a grand no-bake option, I have you covered. Let’s make some delicious orange creamsicle cheesecakes together!
Jump to Recipe:
Orange Creamsicle Mini Cheesecakes
These mini cheesecakes bring sunshine to your day. They are small, bright, and taste just like your favorite frozen orange treat.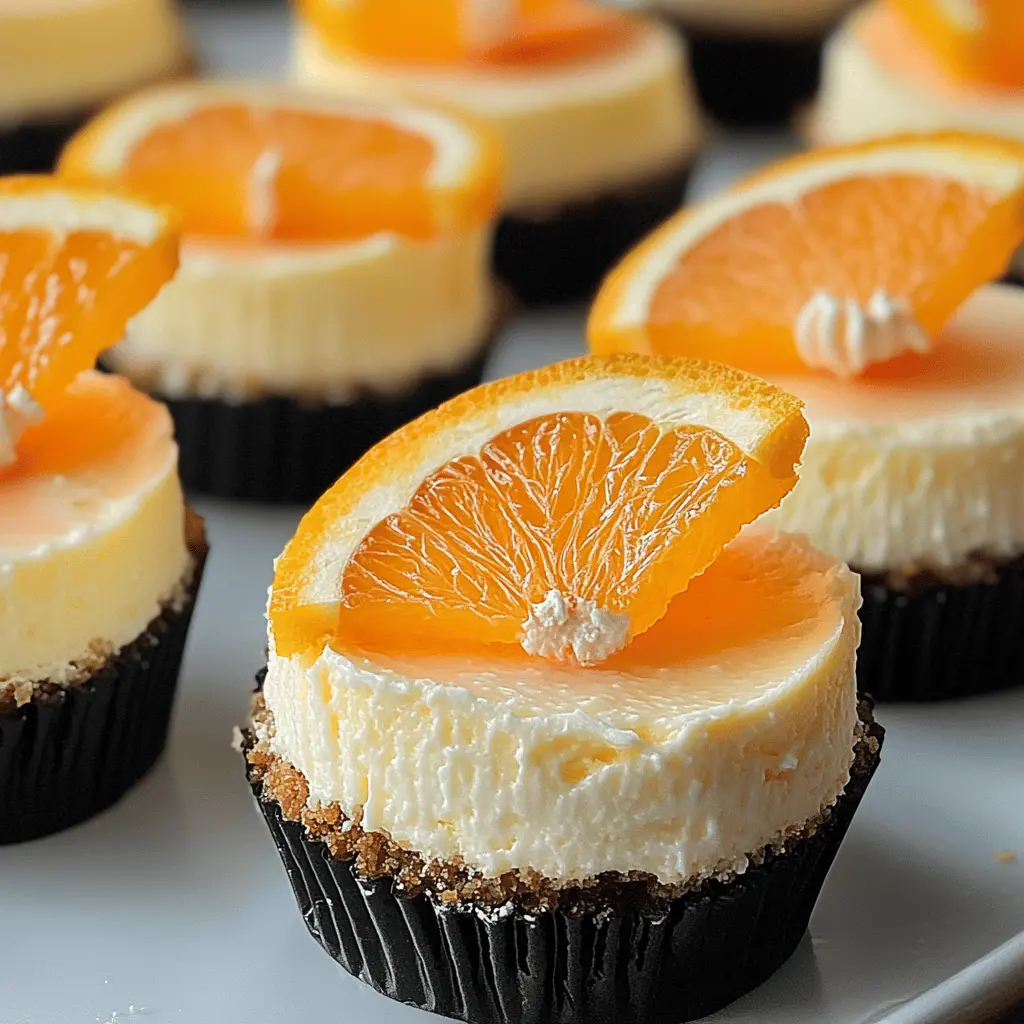
Key Ingredients & Tips for Mini Orange Creamsicle Cheesecakes
- Orange Zest: Adds a bright, fresh orange taste without extra liquid. Be sure to only get the orange part, not the white pith.
- Mini Muffin Liners: Make serving super easy and keep your cheesecakes neat. Use paper liners for easy removal.
What You Need for Orange Creamsicle Mini Cheesecakes
- Graham cracker crumbs
- Cream cheese
- Fresh orange juice and zest
- Sugar
- Eggs
⏱️ Time: 45 minutes🍽️ Yields: 12 mini cheesecakes
How to Make Orange Creamsicle Mini Cheesecakes
Step 1: Make the Crusts
Mix graham cracker crumbs with melted butter. Press this mixture into the bottom of mini muffin liners in a muffin pan.
Step 2: Prepare Batter & Bake
Beat cream cheese, sugar, fresh orange juice, and zest until smooth. Mix in eggs, then spoon the batter over the crusts. Bake until set.
📝 Final Note
Chill these mini cheesecakes for at least 2 hours before serving. This makes them firm and extra delicious!
No Bake Orange Creamsicle Cheesecake
When you want a creamy, cool dessert without turning on the oven, this no-bake cheesecake is perfect. It’s so simple to make and full of sweet orange flavor.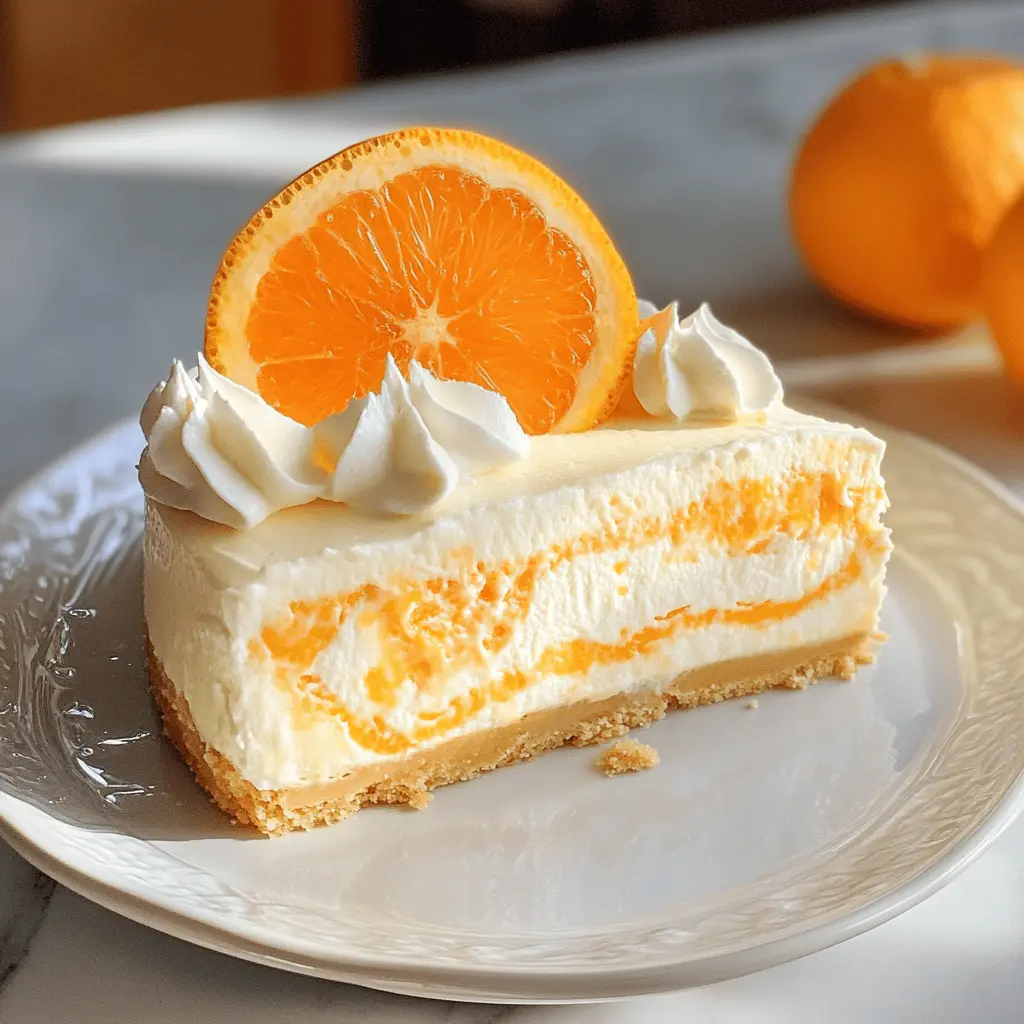
Key Ingredients & Tips for No Bake Orange Creamsicle Cheesecake
- Gelatin Powder: Helps the cheesecake set up perfectly without baking. Make sure to dissolve it fully in warm water first.
- Heavy Cream: Whipping cream creates a light, airy texture for your cheesecake filling. Chill your bowl and beaters for best results.
What You Need for No Bake Orange Creamsicle Cheesecake
- Graham cracker crust (store-bought or homemade)
- Cream cheese
- Powdered sugar
- Orange extract
- Heavy whipping cream
- Gelatin
⏱️ Time: 30 minutes prep, 4 hours chill🍽️ Yields: 8 servings
How to Make No Bake Orange Creamsicle Cheesecake
Step 1: Make the Filling
Beat softened cream cheese with powdered sugar and orange extract. Gently fold in whipped heavy cream and dissolved gelatin until fully combined.
Step 2: Assemble & Chill
Pour the creamy filling into your prepared graham cracker crust. Place it in the fridge to chill for at least four hours, or until firm.
📝 Final Note
For a pretty finish, top your no-bake cheesecake with fresh orange slices or a dollop of whipped cream just before serving.