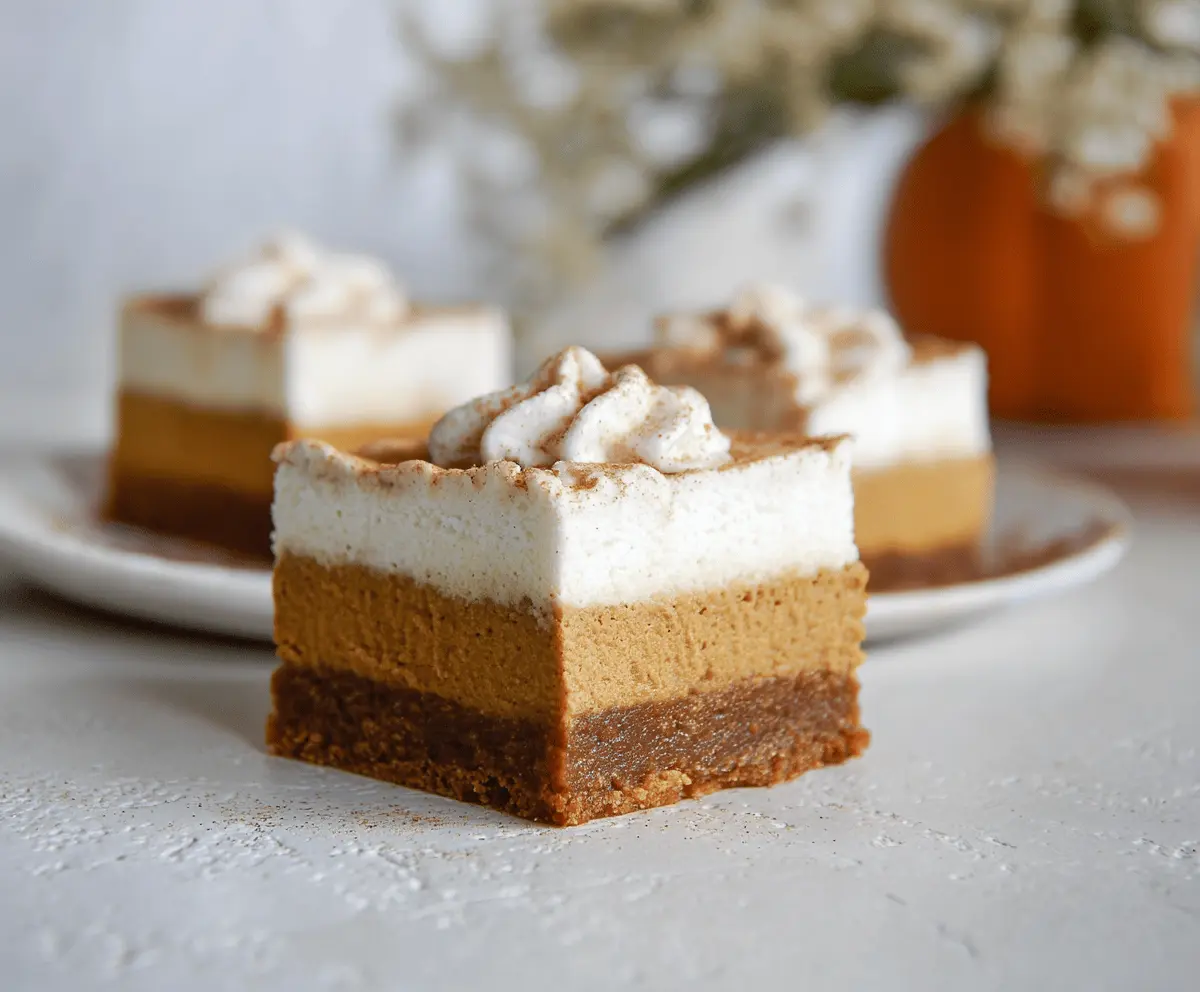
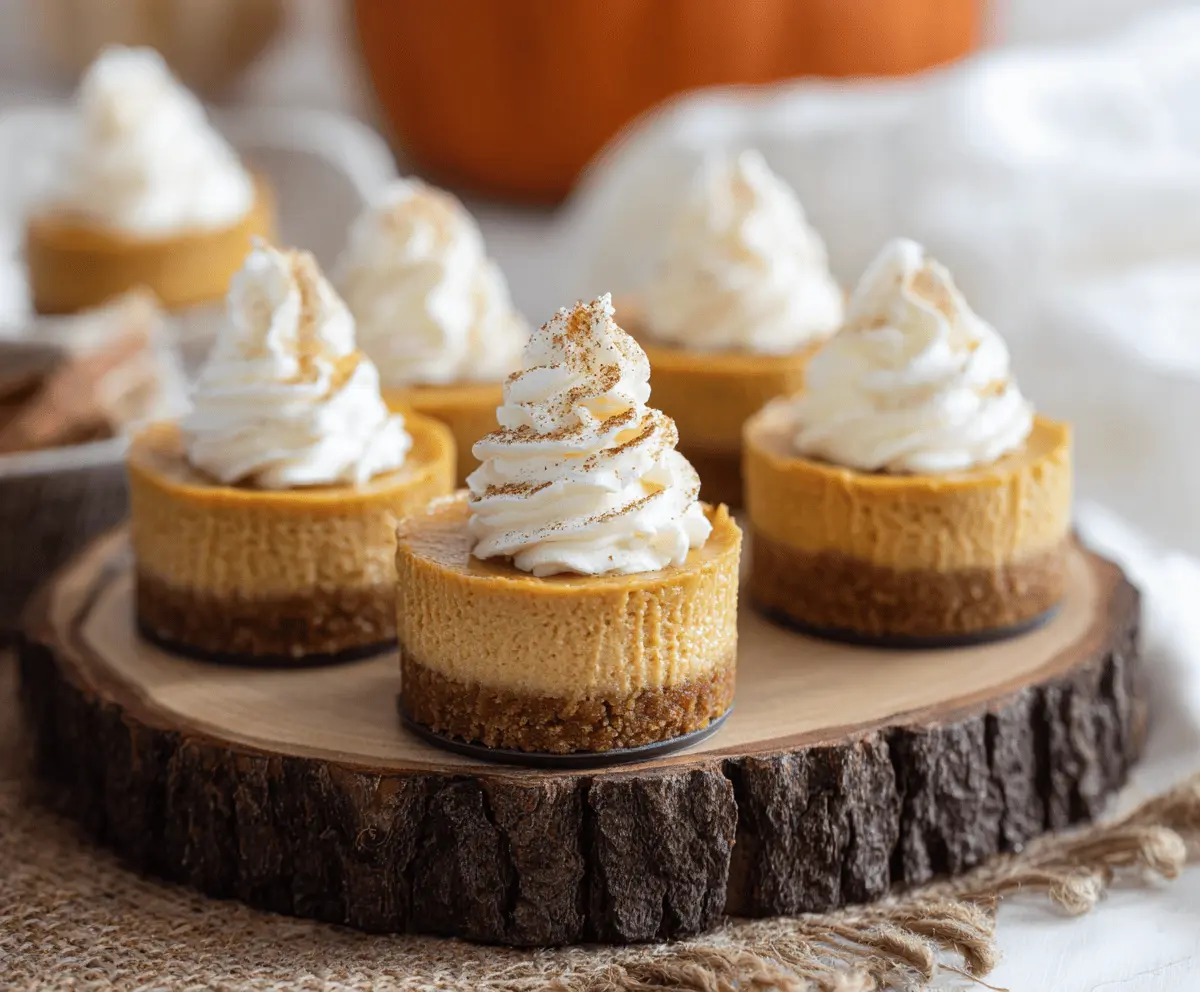
Fall is here, and for me, that means pumpkin! If you love creamy desserts with that warm spice flavor, then you’re probably looking for the best pumpkin cheesecake recipes. I’ve gathered my favorite ways to enjoy this classic fall treat, perfect for any gathering or just a cozy night in.
You’ll find everything from easy bars to individual mini cheesecakes, all packed with delicious pumpkin goodness. Get ready to bake something wonderful!
Jump to Recipe:
- 1. Pumpkin Blondie Cheesecake Bars
- 2. Delightful Pumpkin Mini Cheesecakes
- 3. Perfect Pumpkin Pie Cheesecake
Pumpkin Blondie Cheesecake Bars
These bars bring together a chewy blondie base with a spiced pumpkin cheesecake layer.
It’s a fantastic combination of textures and fall flavors that everyone will enjoy.
Key Ingredients & Tips for Pumpkin Blondie Cheesecake Bars
- Brown Butter Base: Browning your butter for the blondie base adds a rich, nutty flavor that deepens the overall taste.
- Room Temperature Cream Cheese: Make sure your cream cheese is soft before mixing for a smooth, lump-free cheesecake batter.
- Don’t Overbake: Blondies can dry out if baked too long. The edges should be set, and the center still a little soft when you take it out.
What You Need for Pumpkin Blondie Cheesecake Bars
- All-purpose flour
- Brown sugar
- Butter
- Cream cheese
- Canned pumpkin puree
- Pumpkin pie spice
- Eggs
⏱️ Time: 1 hour 15 mins🍽️ Yields: 16 bars
How to Make Pumpkin Blondie Cheesecake Bars
Step 1: Make the Blondie Base
Preheat your oven and prepare a baking pan. Melt butter and brown it slightly on the stove. Mix this with brown sugar, an egg, and vanilla, then add flour until everything is just combined. Press this mixture into your prepared pan to form the base.
Step 2: Prepare the Cheesecake Layer
In a separate bowl, beat the softened cream cheese until smooth. Add sugar, canned pumpkin puree, another egg, and pumpkin pie spice. Mix gently until the cheesecake batter is smooth and well combined. Pour this creamy mixture evenly over the blondie base in your pan.
Step 3: Bake and Chill Completely
Bake the bars until the edges are set and the center is mostly firm with a slight jiggle. Let them cool completely on a wire rack at room temperature. Once cool, transfer the pan to the refrigerator and chill for at least 4 hours, or overnight, before slicing and serving.
📝 Final Note
Chilling these bars fully is key for clean, neat slices and the best creamy, chewy texture.
Delightful Pumpkin Mini Cheesecakes
These adorable pumpkin mini cheesecakes are perfect for individual servings.
They are great for parties or just for simple portion control, each one a delightful bite of fall flavor.
Key Ingredients & Tips for Pumpkin Mini Cheesecakes
- Vanilla Wafer Crust: A single vanilla wafer cookie pressed into the bottom of each muffin cup makes a quick and tasty crust.
- Muffin Liners are a Must: Use paper or foil muffin liners for easy removal and serving, they also help with cleanup.
- Don’t Overfill: Fill muffin cups only about two-thirds full to prevent them from overflowing during baking and ensure a neat presentation.
What You Need for Pumpkin Mini Cheesecakes
- Cream cheese
- Pumpkin puree
- Sugar
- Eggs
- Pumpkin pie spice
- Vanilla wafers
- Whipped cream (for topping)
⏱️ Time: 55 mins🍽️ Yields: 12 mini cheesecakes
How to Make Pumpkin Mini Cheesecakes
Step 1: Prep Your Muffin Pan
Preheat your oven. Line a 12-cup muffin tin with paper or foil liners. Place one vanilla wafer cookie in the bottom of each lined muffin cup to create a simple crust.
Step 2: Mix the Mini Cheesecake Batter
In a medium bowl, beat softened cream cheese with sugar until light and fluffy. Add pumpkin puree, an egg, and pumpkin pie spices, mixing on low speed just until the batter is smooth.
Step 3: Bake and Cool to Perfection
Spoon the pumpkin cheesecake batter into the prepared muffin cups, filling each about two-thirds full. Bake until the centers are just set. Cool completely in the muffin pan on a wire rack, then chill in the refrigerator for at least 2 hours before serving.
📝 Final Note
A dollop of whipped cream and a sprinkle of cinnamon or a tiny candy pumpkin makes these look extra festive for serving.
Perfect Pumpkin Pie Cheesecake Recipe
Why choose between pumpkin pie and cheesecake when you can have both?
This recipe combines the best of both desserts into one incredible, creamy creation.
Key Ingredients & Tips for Pumpkin Pie Cheesecake
- Gingersnap Crust: A gingersnap cookie crust adds a wonderful spicy kick that complements the pumpkin filling perfectly.
- Creamy Texture: For the creamiest cheesecake, mix ingredients on low speed and avoid overmixing to keep air out of the batter.
- Slow Cooling Process: Let the cheesecake cool slowly in the oven with the door ajar after baking to help prevent cracks from forming.
What You Need for Pumpkin Pie Cheesecake
- Gingersnap cookies
- Melted butter
- Cream cheese
- Canned pumpkin
- Eggs
- Brown sugar
- Pumpkin pie spices (cinnamon, nutmeg, ginger, cloves)
⏱️ Time: 2 hours 30 mins🍽️ Yields: 10-12 slices
How to Make Pumpkin Pie Cheesecake
Step 1: Prepare the Gingersnap Crust
Preheat your oven and prepare a springform pan. Finely crush gingersnap cookies and mix them with melted butter. Press this mixture firmly into the bottom and slightly up the sides of your springform pan to form the crust.
Step 2: Create the Pumpkin Cheesecake Filling
In a large mixing bowl, beat softened cream cheese until it’s smooth. Add brown sugar, canned pumpkin puree, eggs, and all your favorite fall spices like cinnamon, nutmeg, ginger, and cloves. Mix everything together on low speed just until it is combined and smooth.
Step 3: Bake and Thoroughly Chill
Pour the cheesecake filling over the gingersnap crust in the springform pan. Bake in your preheated oven until the edges are set and the center jiggles only slightly. Turn off the oven, open the door slightly, and let the cheesecake cool slowly inside. Once cooled, chill thoroughly in the refrigerator for at least 6 hours, or overnight, before serving.
📝 Final Note
Serve this pumpkin pie cheesecake with a swirl of whipped cream and a sprinkle of extra cinnamon for a beautiful presentation.