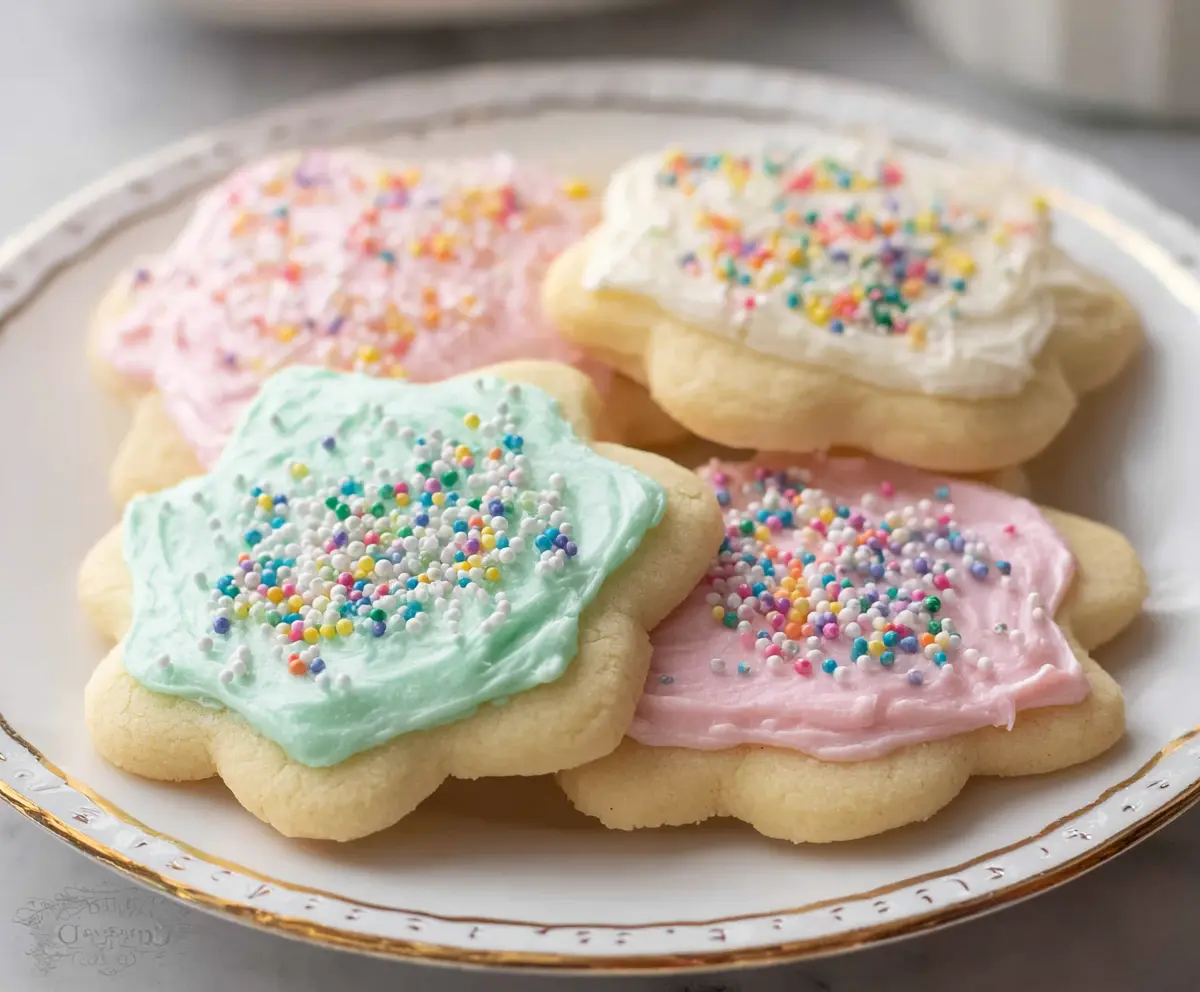
These Sour Cream Sugar Cookies are soft, sweet, and oh-so-easy to make! The secret ingredient, sour cream, keeps them moist and gives them a delightful flavor you’ll love.
Every bite is like a hug from a cookie! I enjoy adding colorful sprinkles on top to make them extra fun. They’re perfect for any occasion—or just because it’s Tuesday! 😄
Key Ingredients & Substitutions
All-Purpose Flour: The base for the cookies. If you want a gluten-free option, you can use a gluten-free all-purpose flour blend, which works quite well in this recipe.
Sour Cream: This is the hero of the recipe! It keeps the cookies moist. If you don’t have sour cream, plain yogurt or buttermilk can be good substitutes. They will still keep the cookies soft!
Butter: Unsalted butter is best because you control the salt in your cookies. If you’re in a pinch, you can use margarine or coconut oil, but the flavor may change slightly.
Granulated Sugar: For sweetness, of course! If you want a little variety, try half brown sugar for a hint of caramel flavor; just adjust the texture slightly since brown sugar adds moisture.
How Do You Achieve the Perfect Texture for Sugar Cookies?
Getting that soft, pillowy texture is simpler than you think! The key lies in your mixing method and baking time.
- When creaming butter and sugar, beat until fluffy to add air. This makes cookies light.
- Avoid overmixing once you add dry ingredients; mix just enough so there are no flour streaks.
- Bake until the edges turn golden, but the centers will look soft; they’ll continue to firm up as they cool.
- Cooling them on the baking sheet for a few minutes helps keep that soft texture.
These tips will help you bake cookies that everyone will love—just remember to have fun decorating!

How to Make Sour Cream Sugar Cookies
Ingredients You’ll Need:
- 2 ¾ cups all-purpose flour
- 1 tsp baking soda
- ½ tsp baking powder
- ½ tsp salt
- 1 cup unsalted butter, softened
- 1 ½ cups granulated sugar
- 1 large egg
- 1 tsp vanilla extract
- ½ cup sour cream
- Colored frosting (pink, white, blue, or your choice)
- Assorted sprinkles
How Much Time Will You Need?
This tasty treat takes about 20 minutes of active prep time and around 10-12 minutes to bake. Make sure to allow some time for cooling before frosting the cookies, so the whole process will take roughly 40-50 minutes from start to tasty cookie in hand!
Step-by-Step Instructions:
1. Prepare Your Oven and Baking Sheets:
Start by preheating your oven to 350°F (175°C). Line your baking sheets with parchment paper to prevent sticking—this will make cleanup so much easier!
2. Combine the Dry Ingredients:
In a medium bowl, whisk together the all-purpose flour, baking soda, baking powder, and salt. This helps to evenly distribute the baking agents in your dough. Now, set this dry mixture aside for later.
3. Cream the Butter and Sugar:
In a large bowl, use an electric mixer to beat the softened butter and granulated sugar together until the mixture is light and fluffy. This should take about 3-4 minutes. It’s important to incorporate air into the mixture for fluffy cookies!
4. Add Your Wet Ingredients:
Next, add in the egg and vanilla extract, mixing well until combined. Follow this by stirring in the sour cream. You want everything to be nicely mixed and smooth!
5. Combine Dry and Wet Ingredients:
Now, take the dry ingredients you set aside earlier and gradually mix them into the wet mixture. Do this until just incorporated—be careful not to overmix, or your cookies might turn out tough!
6. Shape the Cookies:
Roll the dough into small balls about 1 ½ inches in diameter. Place these little dough balls on your prepared baking sheets, leaving about 2 inches of space between each one.
7. Flatten and Bake:
Using the bottom of a glass or your hand, flatten each dough ball slightly. Bake in the preheated oven for 10-12 minutes or until the edges just begin to turn golden. The centers should look soft, as they will continue to firm up as they cool.
8. Cool the Cookies:
Once baked, let the cookies cool on the baking sheet for about 5 minutes. Then, carefully transfer them to a wire rack to cool completely. This step ensures you have nice, soft cookies!
9. Frost and Decorate:
Once the cookies are cooled, spread your favorite colored frosting on top. Be as creative as you’d like! Don’t forget to sprinkle on some colorful sprinkles while the frosting is still soft so they stick nicely.
10. Let Them Set and Enjoy:
Allow the frosting to set for a bit before serving. Then, they’re ready to enjoy! Share them with friends, family, or keep them all to yourself (no judgment here!).
Enjoy your delightful Sour Cream Sugar Cookies topped with frosting and sprinkles! Happy baking! 🍪
Can I Substitute the Sour Cream?
Absolutely! If you don’t have sour cream, plain yogurt or buttermilk can work just as well. Both options will keep the cookies moist and tender.
How Do I Store the Cookies After Baking?
Store any leftover cookies in an airtight container at room temperature for up to 5 days. If you want them to last longer, you can freeze the cookies for up to 3 months. Just make sure to layer them with parchment paper to prevent sticking.
Can I Freeze the Dough for Later Use?
Yes, you can! Roll the dough into balls and freeze them on a baking sheet for about 1-2 hours until firm. Then, transfer the frozen dough balls to a freezer-safe bag or container. When you’re ready to bake, just add a couple of extra minutes to the baking time while they thaw and bake.
What Can I Use Instead of Granulated Sugar?
If you want a little variety, you can substitute up to half of the granulated sugar with brown sugar. This will add a subtle caramel flavor and moisture to the cookies!