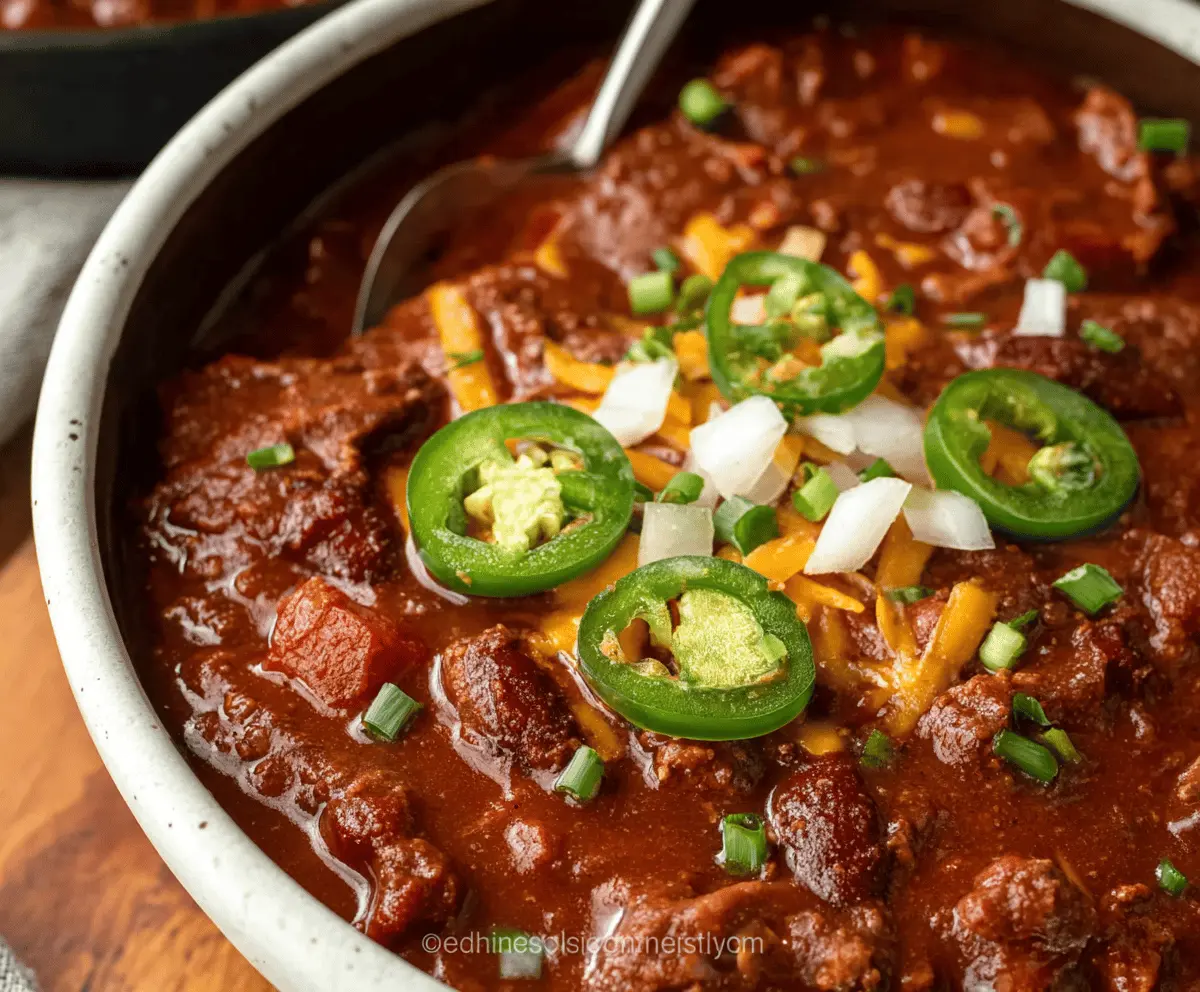
Texas Chili is a hearty and flavorful dish packed with meaty goodness and spices. It usually has no beans, letting the beef and chili peppers shine through!
This dish warms you up from the inside out, and let’s be honest—who doesn’t love a big bowl of chili on a chilly day? I like to top mine with cheese and onions for a tasty finish!
Key Ingredients & Substitutions
Beef Chuck: This cut is great for chili because it becomes tender with slow cooking. If you’re looking for something leaner, try sirloin or chicken for a lighter dish.
Spices: Chili powder is key for flavor. If you don’t have it, mix cumin, paprika, and cayenne. Experimenting with smoked paprika can add depth! A pinch of cinnamon can also enhance the richness.
Dried Chilies: Ancho or guajillo chilies add an authentic kick. If you can’t find them, use a good chili powder or omit them if you prefer a milder chili.
Beef Broth: Homemade is great, but store-bought works well too. For vegetarian options, substitute with vegetable broth or even mushroom broth for a richer flavor.
Garnishes: Feel free to customize! Some people love adding diced avocado or sour cream for creaminess, while others might top it with fresh cilantro for a burst of freshness.
How Can I Get My Beef Perfectly Tender?
Cooking your beef to tenderness is key for tasty chili. Here’s how to achieve it:
- Brown the beef: This step builds flavor. Don’t rush it; allow the beef to brown well on each side before removing it from the pot.
- Low and slow: Simmer your chili on low heat for 2-3 hours. This slowly breaks down the meat fibers for that perfect tenderness.
- Stir regularly: Check and stir your chili every now and then to ensure it cooks evenly and doesn’t stick to the bottom.
Remember, patience is key! The longer you let it simmer, the better the flavors meld and the more tender the beef becomes.
Texas Chili
Ingredients You’ll Need:
For The Chili:
- 2 lbs beef chuck, cut into 1-inch cubes
- 1/2 lb ground beef (optional, for texture)
- 2 tablespoons vegetable oil
- 1 large onion, finely chopped
- 4 cloves garlic, minced
- 3 tablespoons chili powder
- 2 teaspoons ground cumin
- 1 teaspoon smoked paprika
- 1 teaspoon dried oregano
- 1/2 teaspoon cayenne pepper (adjust to taste)
- 1 teaspoon salt (adjust to taste)
- 1/2 teaspoon freshly ground black pepper
- 2 tablespoons all-purpose flour (optional, to thicken)
- 2 cups beef broth
- 1 cup crushed tomatoes (canned)
- 2 dried ancho or guajillo chilies, rehydrated and pureed (optional, for authentic chili flavor)
- 1 tablespoon tomato paste
- 1 teaspoon apple cider vinegar or a splash of lime juice
- Water as needed
For Garnishes (optional):
- Shredded cheddar cheese
- Diced white onions
- Sliced jalapeños
- Chopped green onions
How Much Time Will You Need?
This dish takes about 15 minutes of prep time and 2-3 hours of simmering time. It’s worth the wait for all those rich flavors to meld together!
Step-by-Step Instructions:
1. Prepare the Dried Chilies:
If you’re using dried ancho or guajillo chilies, start by removing the stems and seeds. Soak them in hot water for about 15 minutes until they’re soft. Once softened, blend them into a smooth paste and set aside.
2. Brown the Beef:
In a large heavy pot or Dutch oven, heat the vegetable oil over medium-high heat. Add the cubed beef and ground beef (if using) in batches so that they brown evenly. Cook for about 5-7 minutes per batch until the meat is browned all over, then remove it from the pot and set aside.
3. Cook the Aromatics:
Lower the heat to medium. Add the chopped onions to the same pot, and cook them until they start to turn translucent, which takes about 5 minutes. Next, add the minced garlic and cook for an additional minute until it smells wonderful!
4. Add Spices:
Now, stir in the chili powder, ground cumin, smoked paprika, dried oregano, cayenne pepper, salt, and freshly ground black pepper. Let the spices toast in the pot for 1-2 minutes to bring out their flavors.
5. Combine Flour (Optional):
If you’d like a thicker chili, sprinkle the all-purpose flour over the onion and spice mixture, stirring it for about a minute to combine.
6. Deglaze and Build Flavor:
Slowly pour in the beef broth while stirring, making sure to scrape any browned bits stuck to the bottom of the pot for extra flavor.
7. Add Tomatoes and Chili Paste:
Stir in the crushed tomatoes, tomato paste, and the chili puree you made earlier (if using). Mix everything well.
8. Return Beef to the Pot:
Now, add the browned beef back into the pot and bring the mixture to a gentle boil. Don’t hurry—it’s all about those soft, tender pieces of meat!
9. Simmer:
Reduce the heat to low, cover the pot, and let the chili simmer gently for 2-3 hours. Stir occasionally and feel free to add water or broth if it gets too thick. You want that perfect consistency!
10. Add Acidity:
Right before serving, stir in a splash of apple cider vinegar or lime juice. This will elevate the flavors and give your chili a nice zing.
11. Serve:
Dish your chili into bowls and top it with the garnishes of your choice, like shredded cheddar cheese, diced onions, jalapeño slices, and green onions. Enjoy it alongside some cornbread or tortilla chips for a cozy meal!
This Texas Chili is a hearty classic filled with flavor and perfect for warming you up on a chilly day. Enjoy the robust taste and the satisfaction of a homemade dish!

Can I Use Different Cuts of Meat?
Absolutely! While beef chuck is ideal for its tenderness when slow-cooked, you can also use brisket or sirloin. For a leaner option, consider chicken or turkey, but adjust cooking times accordingly as they will cook faster.
Can I Make This Chili Ahead of Time?
Yes! Texas Chili can be made ahead and actually tastes even better the next day when flavors have melded together. Just store it in an airtight container in the refrigerator for up to 3 days. Reheat on the stove or in the microwave before serving.
How Do I Store Leftovers?
Leftover chili can be stored in an airtight container in the fridge for up to 3 days. For longer storage, it freezes well—just ensure it’s cooled completely before transferring it to a freezer-safe container, where it can last for up to 3 months. Thaw in the fridge overnight and reheat before serving.
Can I Make This Vegetarian or Vegan?
Absolutely! Substitute the beef with a mix of hearty vegetables, lentils, or beans for protein. Use vegetable broth instead of beef broth and skip the meat garnishes to keep it vegan. Adjust spices to your liking for a delicious vegetarian version!