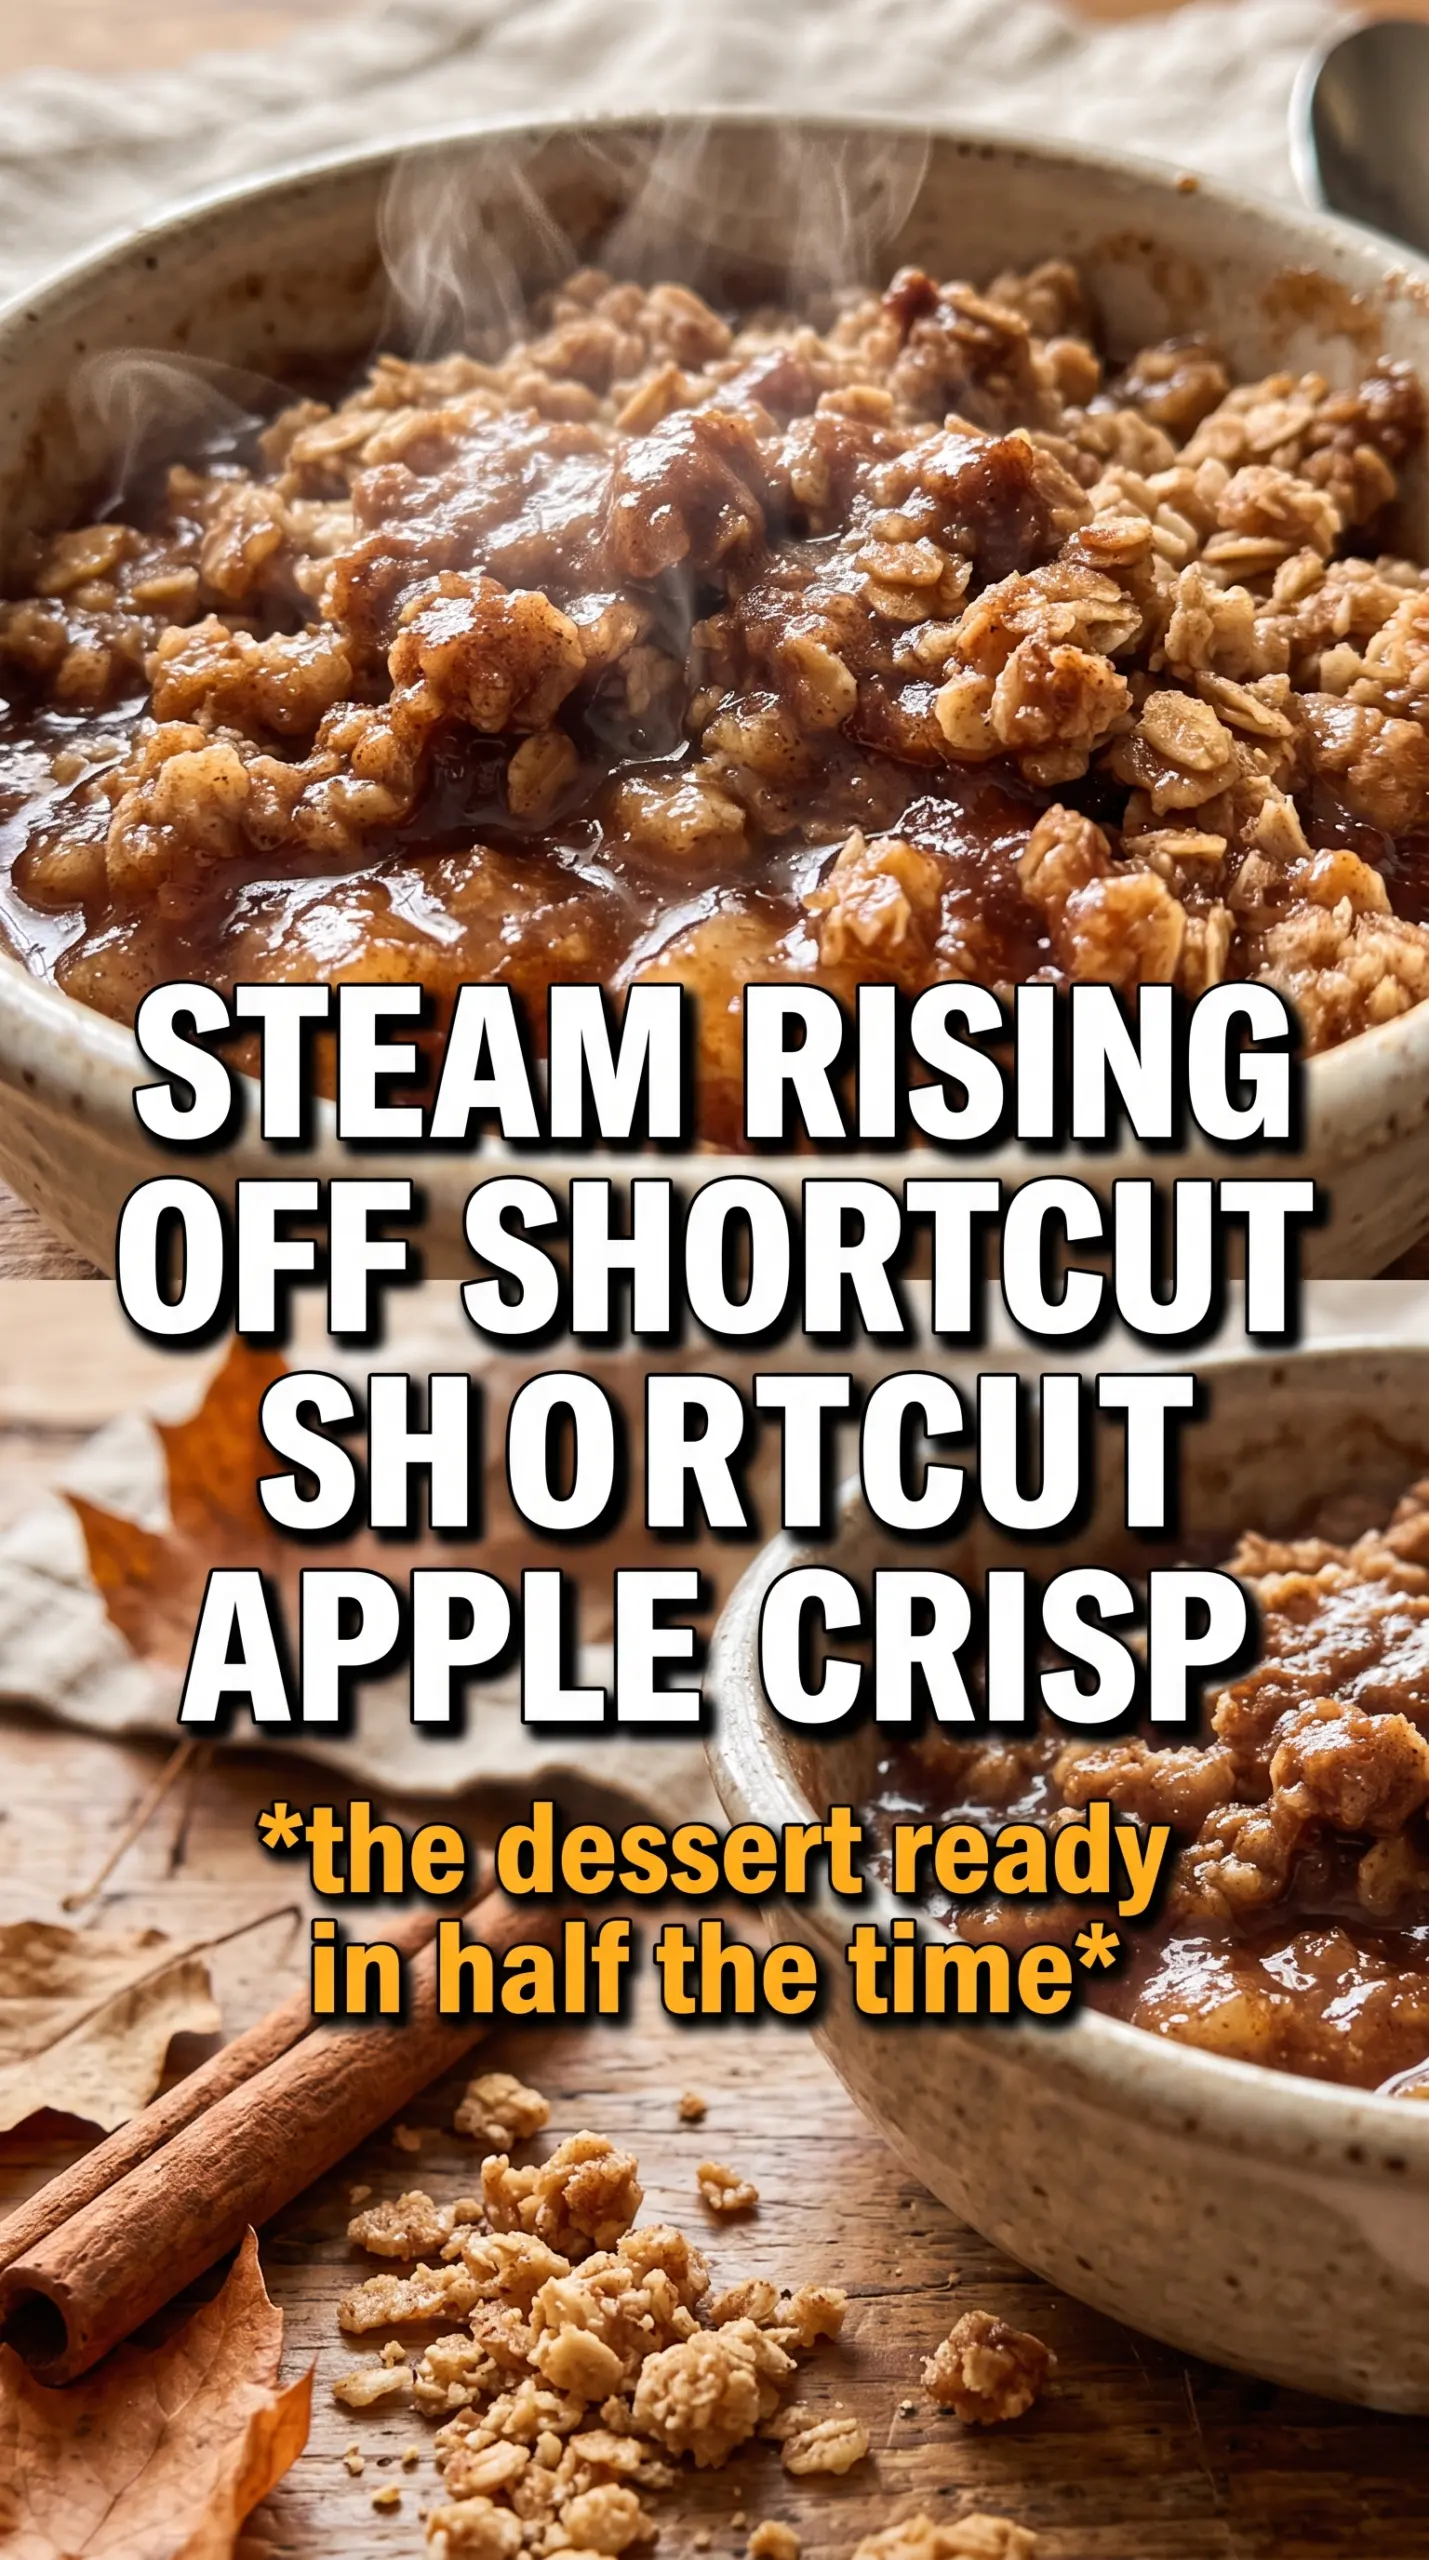
Apple crisp with canned apple filling gets the weeknight dessert job done without tasting like you took the shortcut. The filling turns glossy and bubbling under a thick oat crumble, and the edges of the topping bake up deeply golden while the center stays tender enough to scoop cleanly with a spoon. Served warm with vanilla ice cream, it hits that sweet spot between low-effort and worth repeating.
The trick is giving the canned filling a little help before it goes into the pan. Lemon juice lifts the sweetness, while cinnamon, nutmeg, and allspice make the apples taste more layered and less one-note. On the topping side, cold butter matters. If it melts before it hits the oven, you lose those chunky crumbles and end up with a flatter, sandier lid.
Below, I’ll show you how to keep the filling from tasting canned, how to get a crumble that actually bakes into clusters, and a few easy ways to adapt it when you want it a little different.
The topping came out crisp and buttery, and the filling bubbled up just enough around the edges without turning soupy. I loved that the lemon juice kept the apple filling from tasting too sweet.
Save this apple crisp with canned filling for nights when you want a warm dessert with a caramelized oat topping and almost no prep.
The Shortcut That Keeps the Filling from Tasting Flat
Canned apple pie filling already has sweetness and body, but it usually needs help if you want a dessert that tastes baked from scratch. The extra spices and lemon juice wake it up fast. Without that quick adjustment, the filling can taste one-dimensional once it’s hidden under the topping.
The other thing that matters is the bake. You’re not chasing a dry crumble; you want the filling bubbling at the edges so the fruit mixture is hot all the way through. That bubbling is your cue that the cornstarch in the canned filling has thickened enough to hold together when you scoop it.
- Lemon juice — This keeps the filling from reading as candy-sweet. Use fresh if you have it, but bottled works here because it’s doing balancing work, not showing off.
- Nutmeg and allspice — They add warmth and a little complexity that canned filling usually lacks. Don’t overdo them; you want background depth, not pie spice overload.
- Rolled oats — Old-fashioned oats give the topping structure and those chewy-crisp little ridges. Quick oats turn softer and won’t clump as well.
- Cold butter — This is what creates the crumbly topping. Soft butter blends in too evenly and bakes into a flatter layer instead of those crunchy clusters.
What Each Ingredient Is Actually Doing in This Recipe
- Primary ingredient (the star) — Quality matters most. Choose the best you can find.
- Cooking medium (oil, butter, or broth) — This carries flavors and prevents dryness.
- Seasonings (salt, pepper, spices, herbs) — Layer flavors so nothing overpowers. Build depth gradually.
- Aromatics (garlic, onion, herbs) — Cook with fat to bloom flavors. Become the foundation.
- Supporting ingredients — Complement the main ingredient without overpowering it.
- Sauce or liquid (if applicable) — Brings flavors together. Balance richness with acid.
- Acid (lemon, vinegar, wine, or other) — Brightens and prevents flat-tasting results.
- Final finish (garnish, glaze, or sauce) — Prevents one-dimensional taste and adds visual appeal.
Building the Crumble So It Stays Chunky in the Oven
Season the Filling First
Stir the cinnamon, nutmeg, allspice, and lemon juice directly into the canned apples before they go into the dish. That little step keeps the filling from tasting like it came straight from the can. Spread it in an even layer so the topping bakes at the same rate across the whole pan. If the filling is piled higher in the center, the topping there can look done before the fruit underneath is hot.
Cut the Butter Until It Clumps
Combine the oats, flour, brown sugar, cinnamon, and salt, then cut in the cold butter until you get a mix of crumbs and chunky clumps. Those clumps are what bake into the best part of the crisp. If you keep working it until it looks uniform, you’ll lose the texture that makes crisp worth making. Stop as soon as the mixture holds together when squeezed.
Bake Until the Edges Bubble
Scatter the topping generously over the filling and bake at 375°F until the top is golden and the fruit is bubbling around the edges, usually 30 to 35 minutes. If the topping browns before you see bubbling, your oven is running hot; loosely cover the top with foil for the last few minutes. Let it rest for 5 minutes before serving so the juices settle a little instead of running all over the plate.
Three Ways to Adjust It Without Losing the Crisp Texture
Make it dairy-free
Swap the butter for a solid plant-based butter that bakes well. You’ll still get a crisp topping, but the flavor will be a touch less rich and the crumble may brown a little faster, so start checking it near the end of the bake.
Make it gluten-free
Use a 1:1 gluten-free flour blend in place of the all-purpose flour and confirm your oats are certified gluten-free. The texture stays crisp, though the topping may be a little more delicate when you scoop it.
Add chopped nuts
Fold in 1/2 cup chopped pecans or walnuts with the dry topping ingredients. That adds crunch and a deeper toasted flavor, but it also makes the topping a little more rustic and less soft in the center.
Scale it for a smaller pan
Halve everything and bake it in an 8×8-inch dish. The bake time will usually land a little lower, so start checking at about 25 minutes and pull it once the top is golden and the filling is bubbling at the edges.
Storage and Reheating
- Refrigerator: Cover and refrigerate for up to 4 days. The topping softens a little, but the flavor holds up well.
- Freezer: It freezes well after baking. Cool completely, wrap tightly, and freeze for up to 2 months. Thaw overnight in the fridge before reheating.
- Reheating: Warm individual portions in the microwave, or reheat the full dish in a 325°F oven until hot. The oven brings the topping back to life better than the microwave, which tends to soften the crumble.
Questions I Get Asked About This Recipe
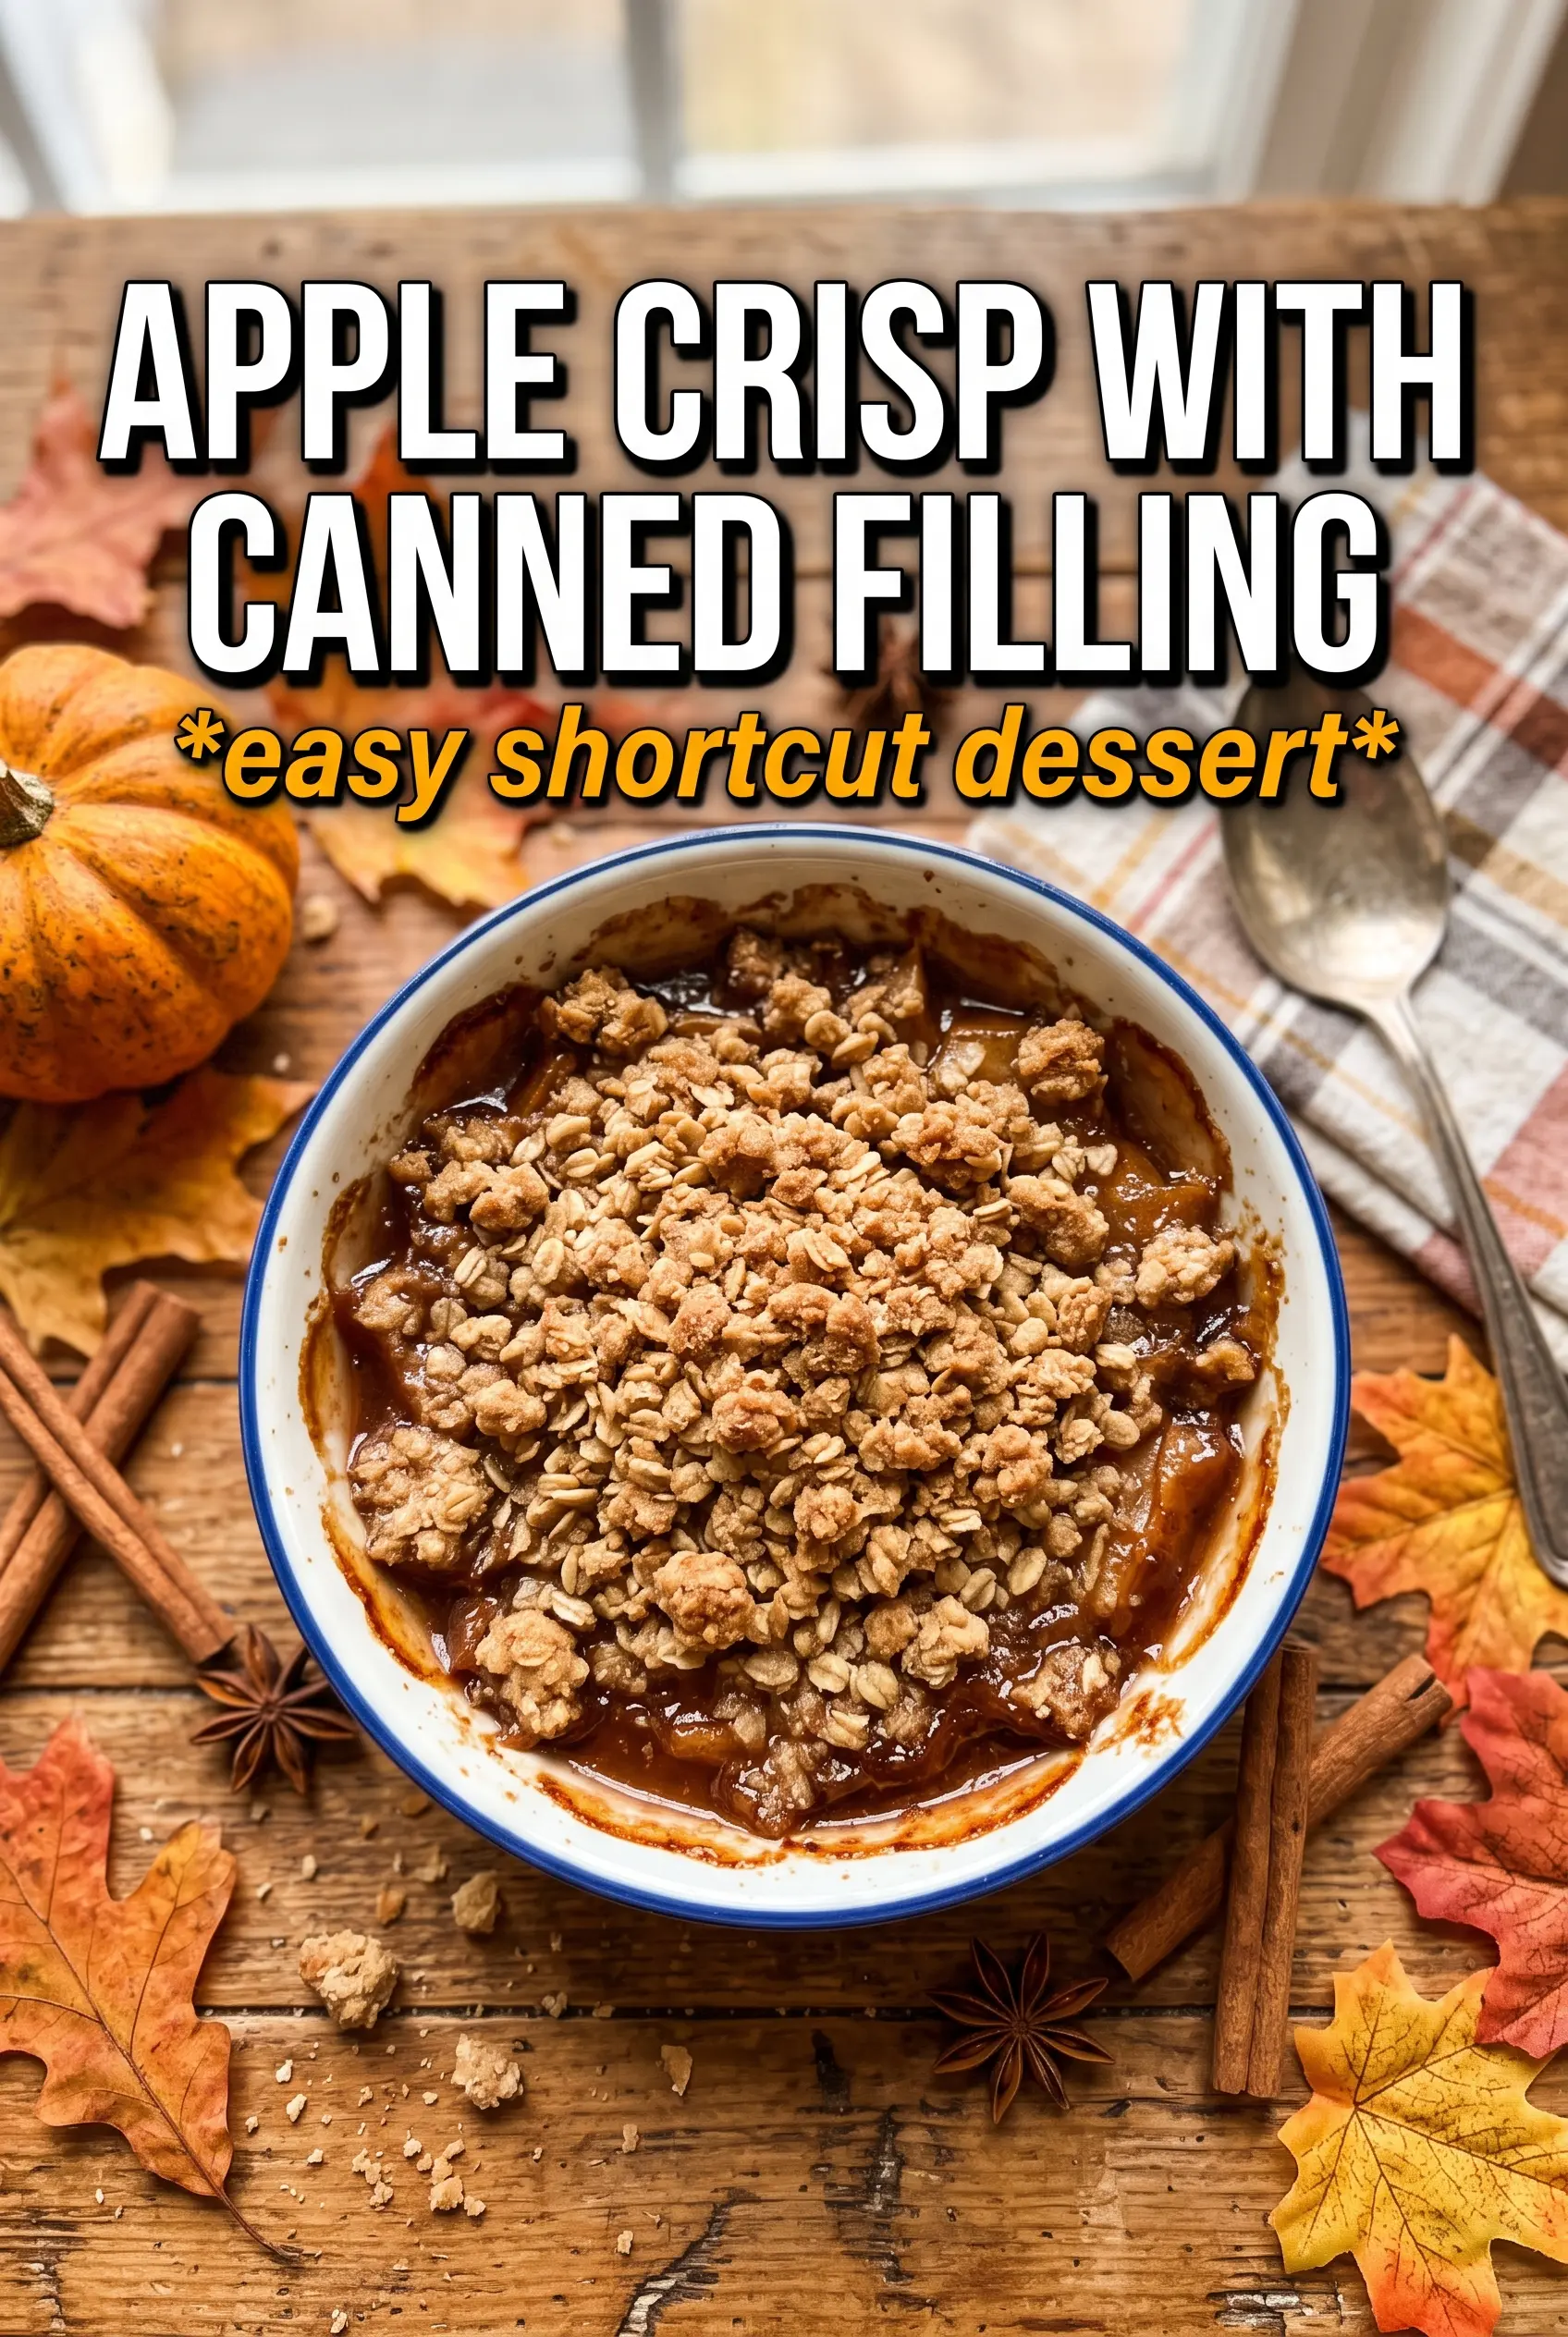
Apple Crisp With Canned Apple Filling
Ingredients
Equipment
Method
- Preheat oven to 375F and grease a 9x13 baking dish so it’s ready to bake the crisp immediately.
- Stir cinnamon, nutmeg, allspice, and lemon juice into the canned apple pie filling, then spread it evenly in the prepared dish.
- Combine rolled oats, flour, brown sugar, cinnamon, and salt, then cut in cold butter until chunky clumps form with visible oat-and-butter bits.
- Scatter the oat crumble generously over the apple filling so the top is fully covered.
- Bake for 30-35 minutes at 375F until the topping is golden and the filling is bubbling around the edges.
- Rest for 5 minutes, then serve warm with vanilla ice cream.